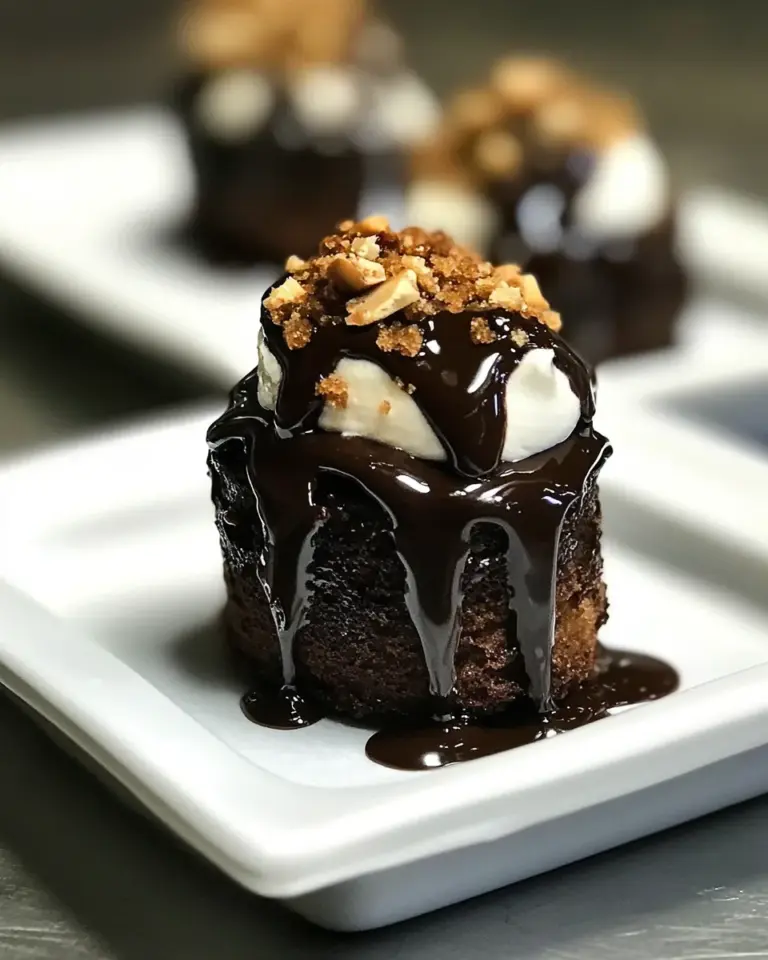
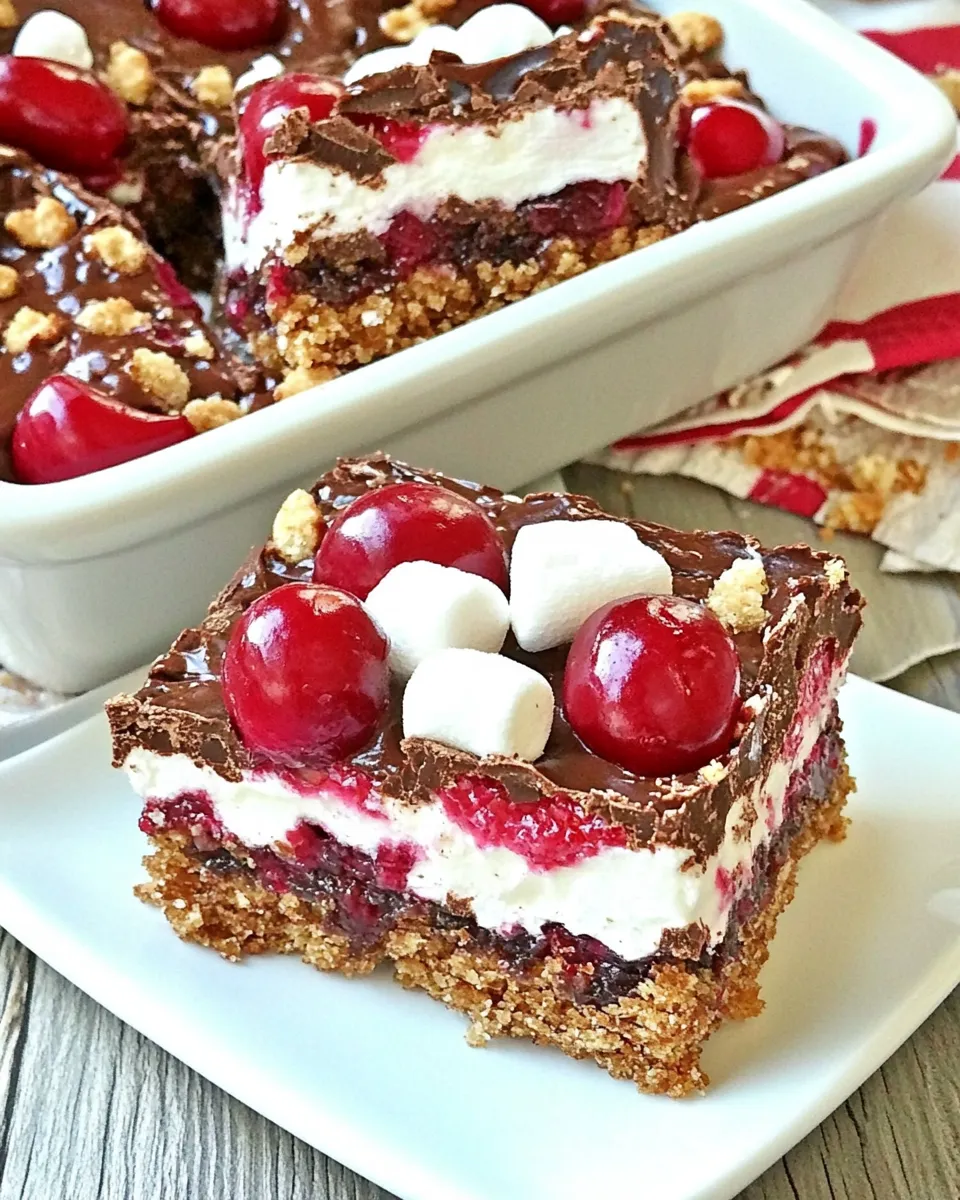
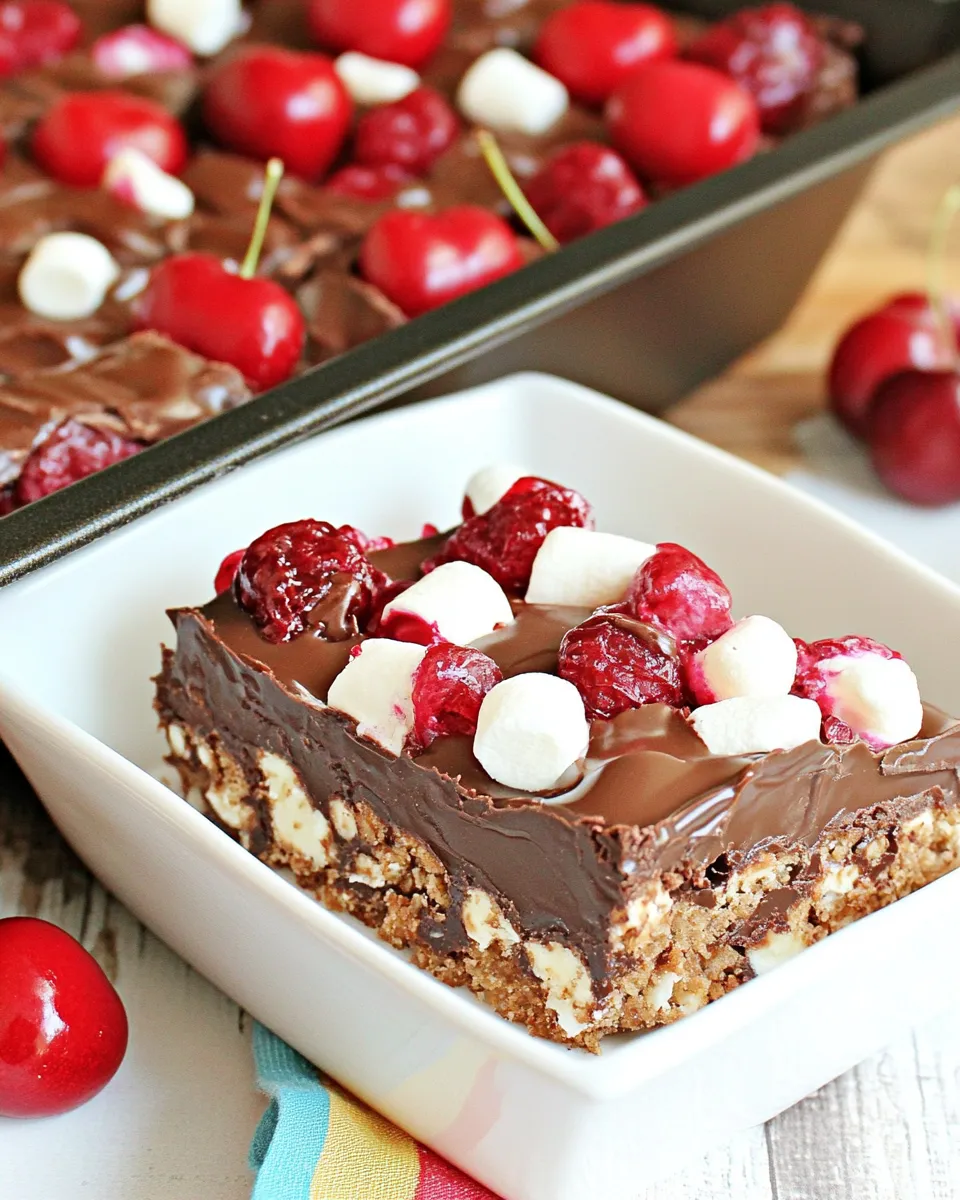
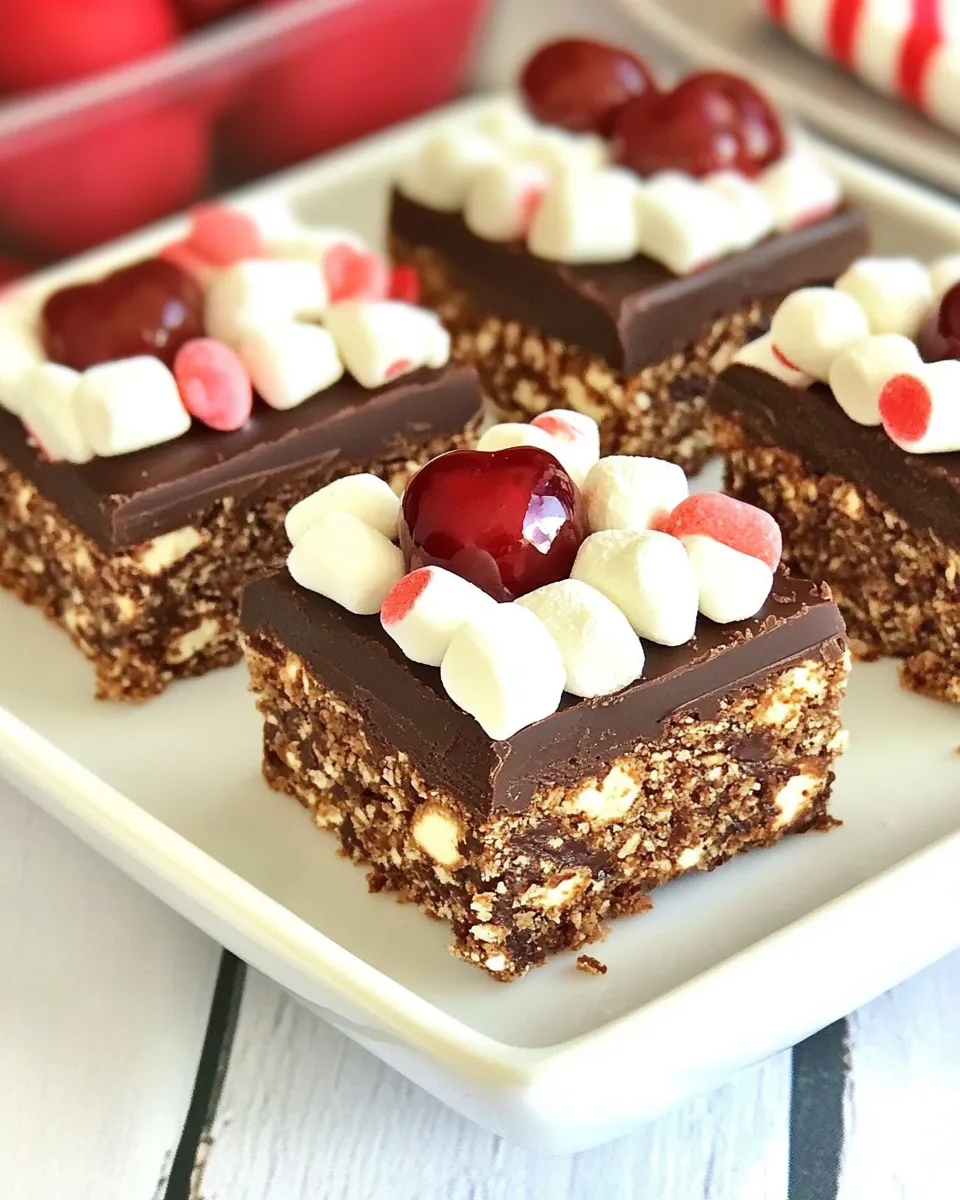
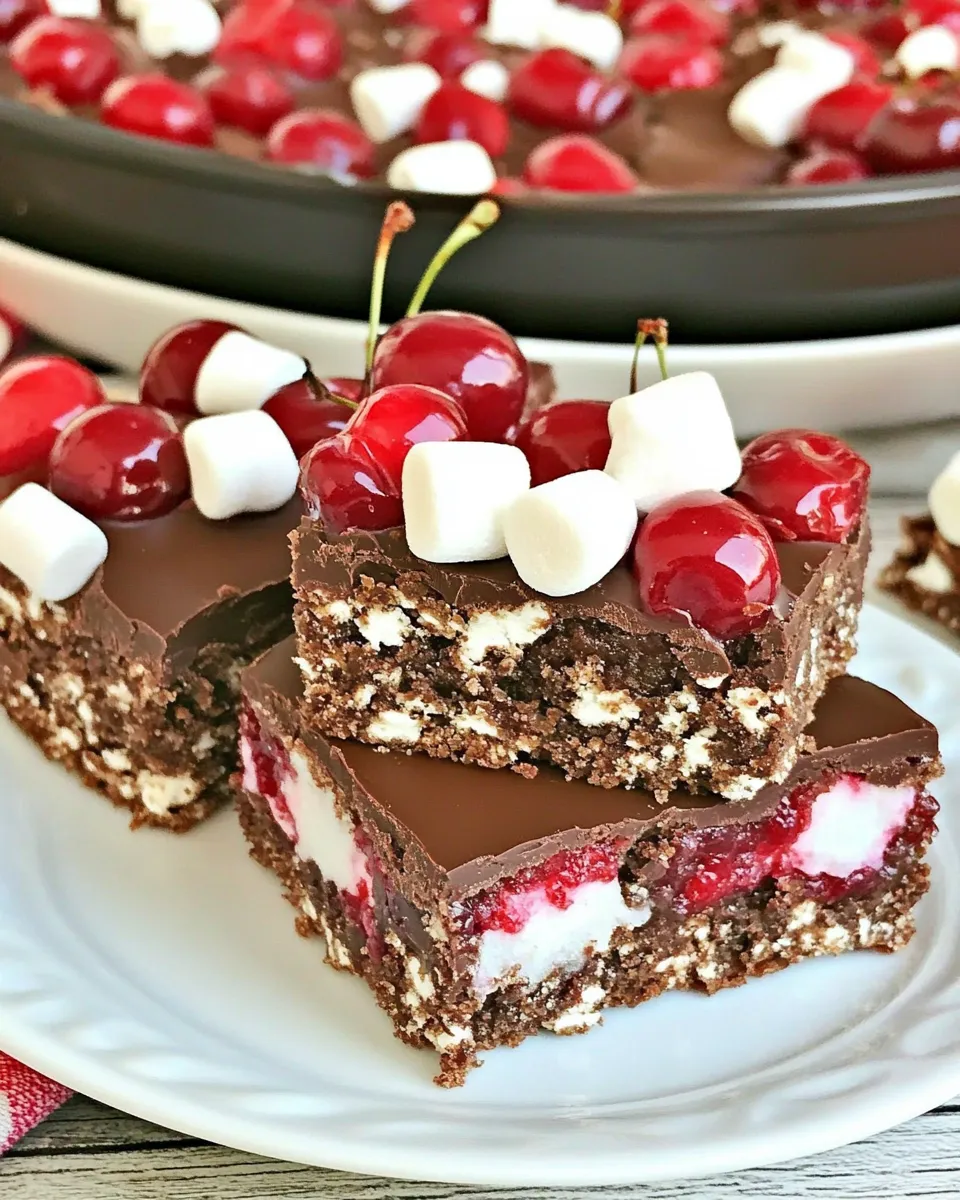
Chocolate Cherry Marshmallow Crunch Bars
Indulging in a sweet treat can brighten any day, and these Chocolate Cherry Marshmallow Crunch Bars are no exception. With the perfect blend of chewy marshmallows, sweet cherries, and a delightful crunch, this recipe is sure to become a favorite in your dessert repertoire. Whether you’re hosting a gathering, celebrating a special occasion, or simply craving something sweet, these bars offer a deliciously unique twist that will keep everyone coming back for more.
Why It Works Every Time
The magic of these Chocolate Cherry Marshmallow Crunch Bars lies in the harmonious balance of flavors and textures. The rich chocolate pairs beautifully with the tartness of the maraschino cherries, while the marshmallows add a delightful chewiness. The addition of Rice Krispies provides a satisfying crunch that contrasts perfectly with the soft elements of the bars. With simple ingredients and straightforward steps, these bars are not only delicious but also incredibly easy to make. You’ll find that they turn out perfectly every time, making them an ideal recipe for both novice and experienced bakers alike.
Your Shopping Guide
To make these delectable Chocolate Cherry Marshmallow Crunch Bars, gather the following ingredients:
- 1/2 cup butter, softened
- 1 cup sugar
- 2 eggs, room temperature
- 1 tsp vanilla extract
- 3/4 cup all-purpose flour
- 3 tbsp unsweetened baking cocoa
- 1/4 tsp salt
- 1/2 tsp baking powder
- 20 oz maraschino cherries, no stems, drained and chopped
- 3 cups miniature marshmallows
- 3/4 cup creamy peanut butter
- 1 cup semi-sweet chocolate chips
- 2 tbsp butter
- 1 1/2 cups Rice Krispies
Make sure to select high-quality chocolate chips and cherries for the best flavor!
Hardware & Gadgets
To create these tasty bars, you’ll need a few essential kitchen tools:
- Mixing bowls – For combining ingredients.
- Wooden spoon or spatula – For mixing and folding.
- 9×13 inch baking pan – To hold the bars while they bake.
- Parchment paper – To line the baking pan for easy removal.
- Measuring cups and spoons – For accurate ingredient measurements.
- Whisk – To incorporate air into the batter.
Having these tools at your disposal will make the baking process smoother and more enjoyable.
Cook Chocolate Cherry Marshmallow Crunch Bars Like This
Step 1: Preheat Your Oven
Begin by preheating your oven to 350°F (175°C). This ensures that your bars bake evenly.
Step 2: Prepare the Baking Pan
Line a 9×13 inch baking pan with parchment paper, leaving some overhang on the sides. This will make it easier to lift the bars out once they are cooled.
Step 3: Cream the Butter and Sugar
In a large mixing bowl, cream together the softened butter and sugar until light and fluffy. This should take about 2-3 minutes.
Step 4: Add Eggs and Vanilla
Add the eggs, one at a time, mixing well after each addition. Then, stir in the vanilla extract until fully incorporated.
Step 5: Mix the Dry Ingredients
In a separate bowl, whisk together the flour, cocoa powder, salt, and baking powder. Gradually add the dry mixture to the wet ingredients, stirring until just combined.
Step 6: Fold in Cherries and Marshmallows
Gently fold in the chopped maraschino cherries and miniature marshmallows. Make sure they are evenly distributed throughout the batter.
Step 7: Prepare the Peanut Butter Mixture
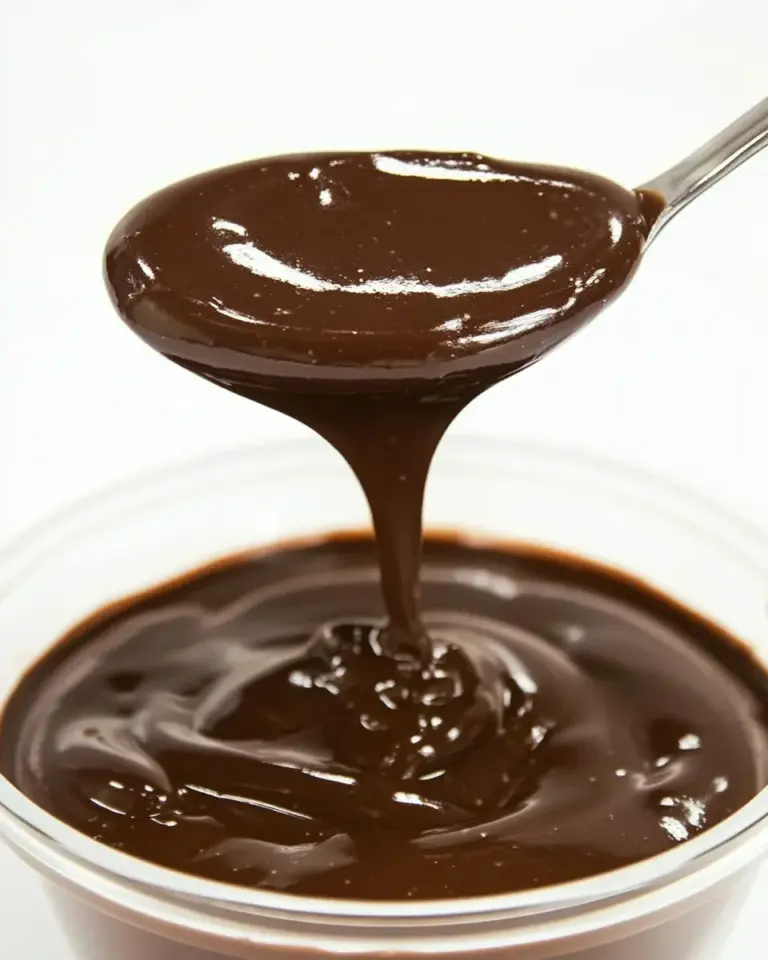
In a microwave-safe bowl, combine the peanut butter and chocolate chips with the 2 tablespoons of butter. Heat in the microwave in 30-second intervals, stirring in between, until melted and smooth.
Step 8: Combine with Rice Krispies
Once melted, remove the peanut butter mixture from the microwave and stir in the Rice Krispies. Mix until they are fully coated.
Step 9: Assemble the Bars
Pour half of the chocolate cherry batter into the prepared pan, spreading it evenly. Next, layer the Rice Krispie mixture on top, followed by the remaining chocolate cherry batter. Swirl with a knife for a marbled effect if desired.
Step 10: Bake
Place the pan in the preheated oven and bake for 25-30 minutes, or until a toothpick inserted into the center comes out clean. The edges should be set while the center remains slightly soft.
Step 11: Cool and Slice
Remove the pan from the oven and allow the bars to cool completely in the pan. Once cooled, lift the bars out using the parchment paper and slice into squares.
Variations for Dietary Needs
If you or your loved ones have specific dietary requirements, consider these variations:
- Gluten-Free: Substitute all-purpose flour with a gluten-free flour blend.
- Dairy-Free: Use a dairy-free butter alternative and non-dairy chocolate chips.
- Nut-Free: Omit the peanut butter and replace it with sunflower seed butter or omit entirely.
- Lower Sugar: Reduce the sugar by 1/4 cup or use a sugar substitute that measures like sugar.
These adaptations will allow everyone to enjoy these delightful bars without worry!
Little Things that Matter
While making Chocolate Cherry Marshmallow Crunch Bars, keep these tips in mind for the best results:
- Ensure your eggs are at room temperature for better incorporation into the batter.
- Do not overmix after adding the flour to avoid tough bars.
- Feel free to experiment by adding nuts or other dried fruits for extra flavor.
- Allow the bars to cool completely before cutting to ensure clean edges.
These small details can make a big difference in the final product!
Cooling, Storing & Rewarming
To keep your Chocolate Cherry Marshmallow Crunch Bars fresh, follow these guidelines:
- Store in an airtight container at room temperature for up to 3 days.
- For longer storage, refrigerate the bars for up to a week.
- If you want to reheat, pop a square in the microwave for about 10-15 seconds for a warm treat.
- For freezing, wrap individual bars tightly in plastic wrap and place them in a freezer-safe bag for up to 3 months.
These storage tips will ensure that your delicious treats remain fresh and enjoyable!
Common Qs About Chocolate Cherry Marshmallow Crunch Bars
Can I use fresh cherries instead of maraschino cherries?
Yes, you can use fresh cherries! Just make sure to pit and chop them before adding them to the batter. Keep in mind that fresh cherries will have a different flavor profile and moisture content compared to maraschino cherries.
What can I substitute for Rice Krispies?
If you don’t have Rice Krispies on hand, you can use any puffed rice cereal or even crushed graham crackers for a different texture and taste.
Can I make these bars ahead of time?
Absolutely! You can prepare these bars a day in advance. Just make sure to store them properly to maintain freshness before serving.
How do I know when the bars are done baking?
The bars are done when the edges are set and a toothpick inserted into the center comes out clean or with a few moist crumbs. Be careful not to overbake, as they will continue to firm up as they cool.
Ready to Cook?
Now that you have all the tips, tricks, and recipes at your fingertips, it’s time to gather your ingredients and get started on these Chocolate Cherry Marshmallow Crunch Bars. You’ll be delighted with the results and the smiles they bring to those who get to enjoy them. Happy baking!
Chocolate Cherry Marshmallow Crunch Bars
Ingredients
Equipment
Method
- Preheat your oven to 350°F (175°C).
- Line a 9x13 inch baking pan with parchment paper, leaving some overhang on the sides.
- Cream together the softened butter and sugar until light and fluffy (about 2-3 minutes).
- Add the eggs one at a time, mixing well after each addition, then stir in the vanilla extract.
- In a separate bowl, whisk together the flour, cocoa powder, salt, and baking powder. Gradually add the dry mixture to the wet ingredients.
- Fold in the chopped maraschino cherries and miniature marshmallows.
- In a microwave-safe bowl, combine the peanut butter and chocolate chips with 2 tablespoons of butter. Heat in 30-second intervals until melted and smooth.
- Stir in the Rice Krispies until fully coated.
- Pour half of the chocolate cherry batter into the prepared pan, layer the Rice Krispie mixture on top, followed by the remaining batter.
- Bake for 25-30 minutes, or until a toothpick comes out clean.
- Allow to cool completely in the pan before lifting out and slicing into squares.
Notes
- Ensure your eggs are at room temperature for better incorporation.
- Do not overmix after adding the flour to avoid tough bars.
- Feel free to experiment by adding nuts or other dried fruits for extra flavor.