Ginger Soy Chicken
Ginger Soy Chicken is a delightful dish that marries the warmth of ginger with the savory depth of soy sauce, creating a meal that is both comforting and full of flavor. This easy-to-make recipe is perfect for weeknight dinners or for impressing guests during a weekend gathering. With just a handful of ingredients, you can whip up this delicious dish that will have everyone asking for seconds. Let’s dive into the details of this flavorful chicken recipe that’s sure to become a staple in your kitchen.
Why You’ll Keep Making It
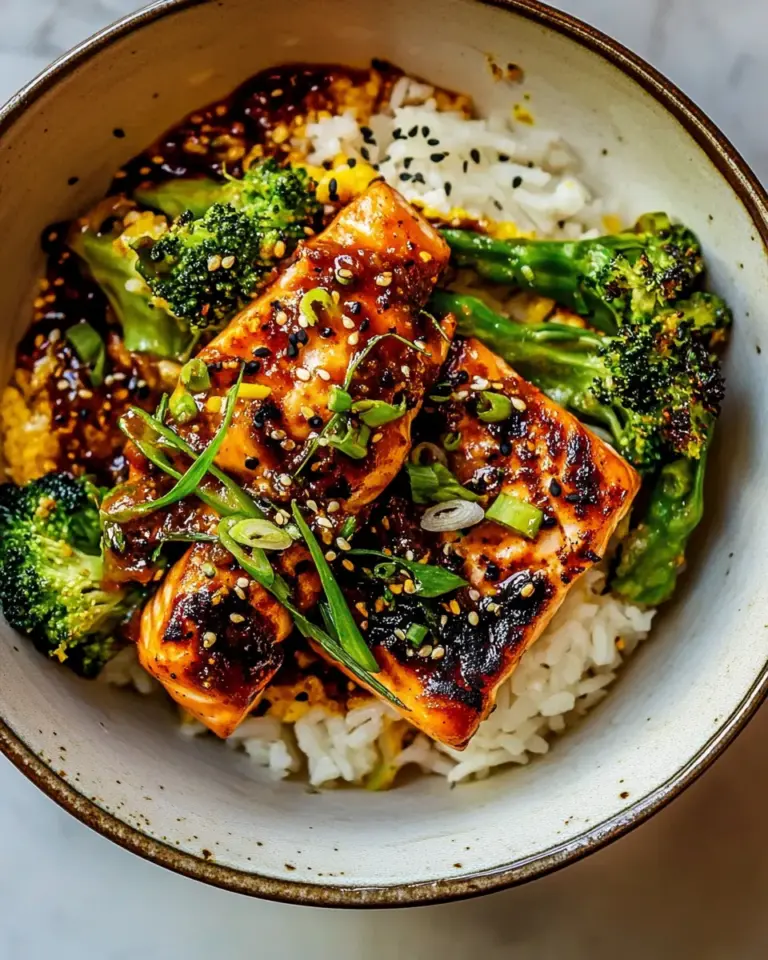
There are countless reasons to fall in love with Ginger Soy Chicken. First, it’s incredibly easy to prepare, making it a fantastic option for those busy weeknights when you don’t have much time to cook. Second, the combination of sweet and savory flavors is irresistible. The brown sugar adds a hint of sweetness that balances the saltiness of the soy sauce, while the garlic and ginger bring a fragrant, aromatic quality to the dish. Finally, it’s incredibly versatile; serve it over rice, alongside steamed vegetables, or in a wrap for a delicious meal any time of the day. Once you try it, you’ll find yourself making it again and again!
Shopping List
- 1 ½ lbs boneless skinless chicken breasts
- 2 teaspoons salt
- 1 teaspoon black pepper
- 1 tablespoon olive oil
- ½ cup packed brown sugar
- 2 teaspoons rice vinegar
- ½ cup low-sodium soy sauce
- ½ cup ketchup
- 2 garlic cloves, minced or grated
- 1 tablespoon grated fresh ginger
- 2 teaspoons cornstarch
- 2 teaspoons water
Appliances & Accessories
- Skillet or frying pan: For cooking the chicken and sauce.
- Measuring cups and spoons: To ensure accurate ingredient proportions.
- Spatula or wooden spoon: For stirring and flipping the chicken.
- Cutting board and knife: To prepare the garlic and ginger.
Build Ginger Soy Chicken Step by Step
Step 1: Prepare the Chicken
Start by patting the chicken breasts dry with paper towels. This helps to achieve a nice sear. Season both sides with salt and black pepper.
Step 2: Sear the Chicken
In a large skillet, heat the olive oil over medium-high heat. Once hot, add the seasoned chicken breasts and sear for about 5-7 minutes on each side, until golden brown and cooked through. Remove the chicken from the skillet and set aside.
Step 3: Make the Sauce
In the same skillet, reduce the heat to medium and add the brown sugar, rice vinegar, low-sodium soy sauce, ketchup, minced garlic, and grated ginger. Stir well to combine and bring to a simmer.
Step 4: Thicken the Sauce
In a small bowl, mix the cornstarch and water to create a slurry. Slowly add this mixture to the sauce while stirring continuously until it thickens, which should take about 2 minutes.
Step 5: Combine Chicken and Sauce
Return the seared chicken to the skillet, coating it well with the sauce. Allow the chicken to simmer in the sauce for an additional 3-4 minutes to absorb the flavors.
Step 6: Serve and Enjoy
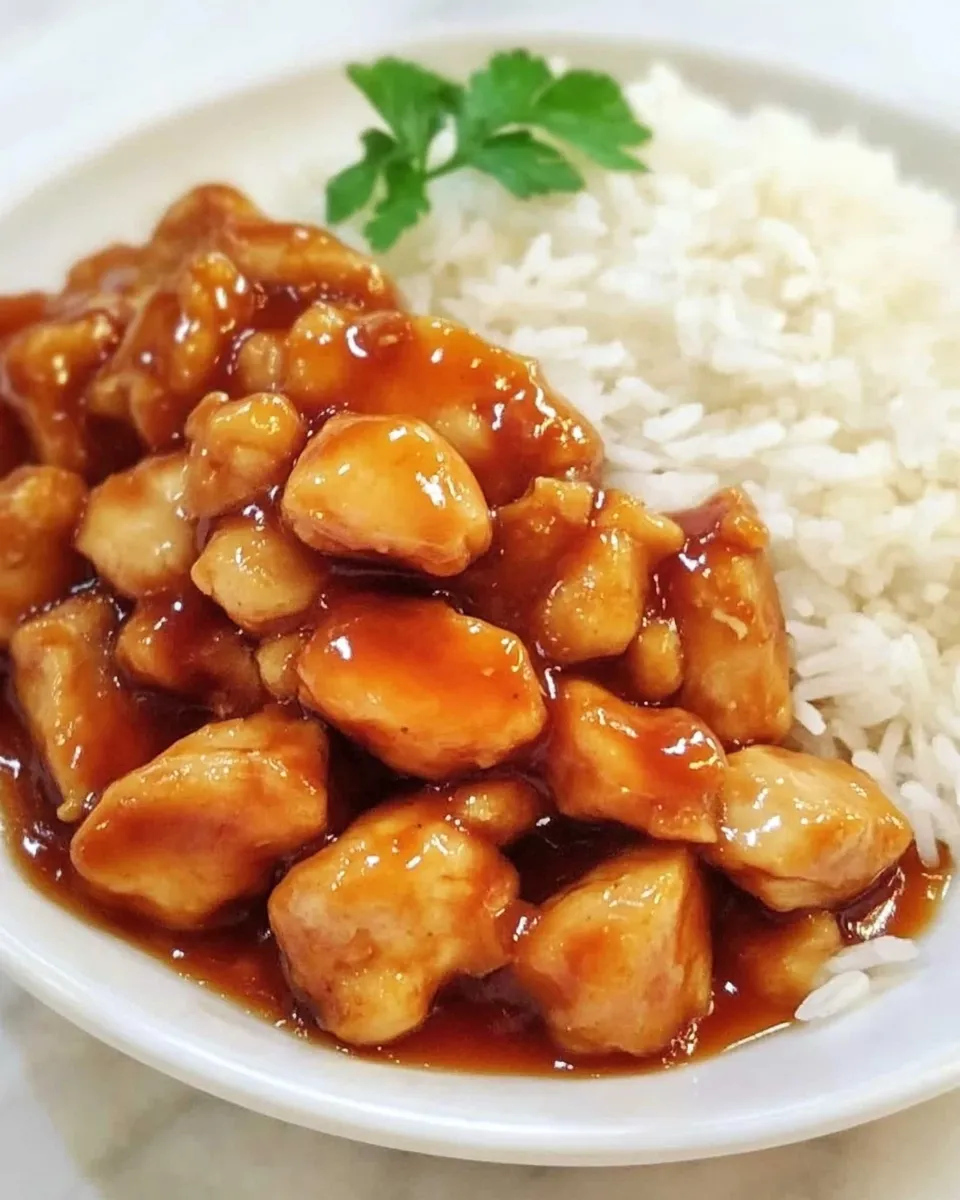
Slice the chicken and serve it over rice or alongside your favorite vegetables. Drizzle extra sauce on top for added flavor, and enjoy this delightful Ginger Soy Chicken!
Easy Ingredient Swaps

- Chicken: Swap chicken breasts for thighs for a juicier texture.
- Brown sugar: Use coconut sugar or maple syrup for a different sweetness profile.
- Ketchup: Substitute with tomato paste mixed with a bit of water for a richer flavor.
- Rice vinegar: Apple cider vinegar can work in a pinch.
Pitfalls & How to Prevent Them
- Overcooking the Chicken: Keep a close eye on the chicken while it’s searing. Use a meat thermometer to ensure it reaches an internal temperature of 165°F.
- Sauce Too Thick: If the sauce becomes too thick, simply add a splash of water or chicken broth to adjust the consistency.
- Burnt Garlic: Garlic can burn quickly, so be sure to stir it in well and avoid letting it sit too long in the hot skillet.
- Uneven Coating: Make sure to coat the chicken thoroughly in the sauce to ensure every bite is flavorful.
Cooling, Storing & Rewarming
To cool, allow the Ginger Soy Chicken to come to room temperature before transferring it to an airtight container. Store it in the refrigerator for up to 4 days. When you’re ready to enjoy leftovers, simply reheat them in a skillet over medium heat until warmed through, or use the microwave for a quick option. If the sauce has thickened in the fridge, add a splash of water when reheating to bring it back to its original consistency.
Ginger Soy Chicken Q&A
Can I use frozen chicken breasts for this recipe?
Yes, you can use frozen chicken breasts! However, make sure to thaw them completely before cooking to ensure even cooking and proper flavor absorption.
What can I serve with Ginger Soy Chicken?
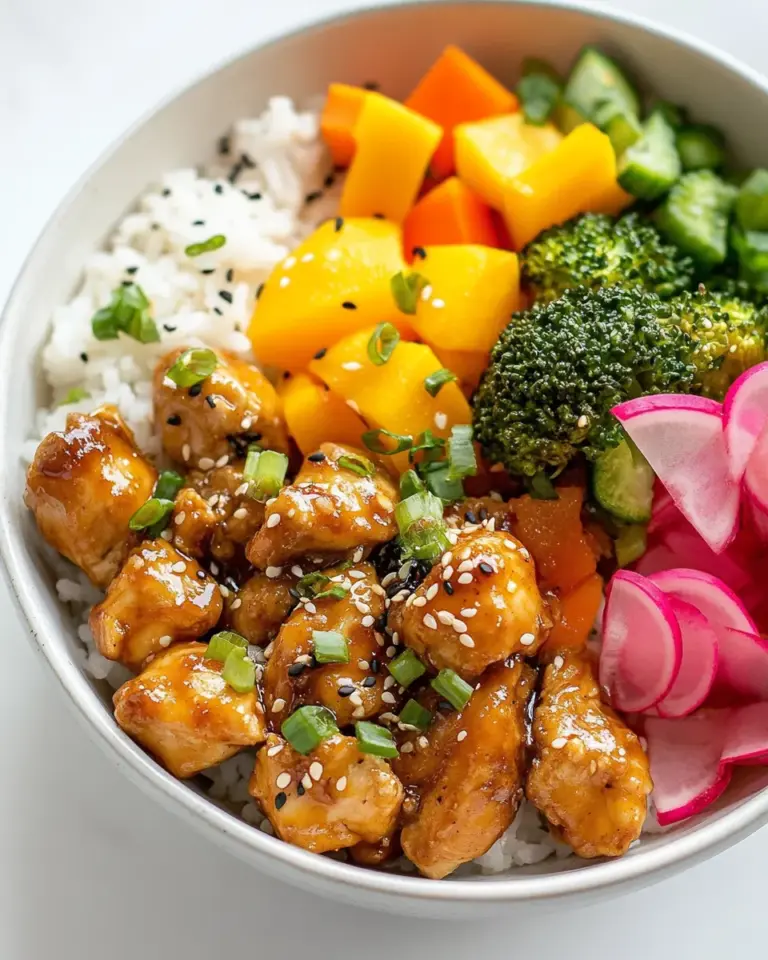
This dish pairs beautifully with steamed rice, sautéed vegetables, or even quinoa for a complete meal. You can also serve it in lettuce wraps for a fun twist!
How can I make this dish spicier?
If you enjoy a bit of heat, consider adding red pepper flakes, sriracha, or fresh chopped chili peppers to the sauce for an extra kick.
Can I make this recipe in advance?
Absolutely! You can prepare the chicken and sauce ahead of time and store them separately in the refrigerator. When you’re ready to serve, just heat them together and enjoy!
Let’s Eat
Now that you have all the information you need, it’s time to gather your ingredients and make this fantastic Ginger Soy Chicken. With its sweet, savory, and slightly spicy flavor profile, it’s bound to become a favorite in your household. The combination of tender chicken and rich sauce makes for a satisfying meal that’s easy to prepare and even easier to enjoy. So grab your skillet, and let’s get cooking!
This Ginger Soy Chicken recipe not only delivers on flavor but also brings a sense of warmth and comfort to your dining table. Whether you’re serving it for a family dinner or packing it for lunch, it’s a dish that’s sure to impress. Happy cooking!

Ginger Soy Chicken
Ingredients
Equipment
Method
- Start by patting the chicken breasts dry with paper towels. This helps to achieve a nice sear. Season both sides with salt and black pepper.
- In a large skillet, heat the olive oil over medium-high heat. Once hot, add the seasoned chicken breasts and sear for about 5-7 minutes on each side, until golden brown and cooked through. Remove the chicken from the skillet and set aside.
- In the same skillet, reduce the heat to medium and add the brown sugar, rice vinegar, low-sodium soy sauce, ketchup, minced garlic, and grated ginger. Stir well to combine and bring to a simmer.
- In a small bowl, mix the cornstarch and water to create a slurry. Slowly add this mixture to the sauce while stirring continuously until it thickens, which should take about 2 minutes.
- Return the seared chicken to the skillet, coating it well with the sauce. Allow the chicken to simmer in the sauce for an additional 3-4 minutes to absorb the flavors.
- Slice the chicken and serve it over rice or alongside your favorite vegetables. Drizzle extra sauce on top for added flavor, and enjoy this delightful Ginger Soy Chicken!
Notes
- For a juicier texture, swap chicken breasts for thighs.
- Use coconut sugar or maple syrup instead of brown sugar for a different sweetness.
- Store leftovers in an airtight container in the refrigerator for up to 4 days.