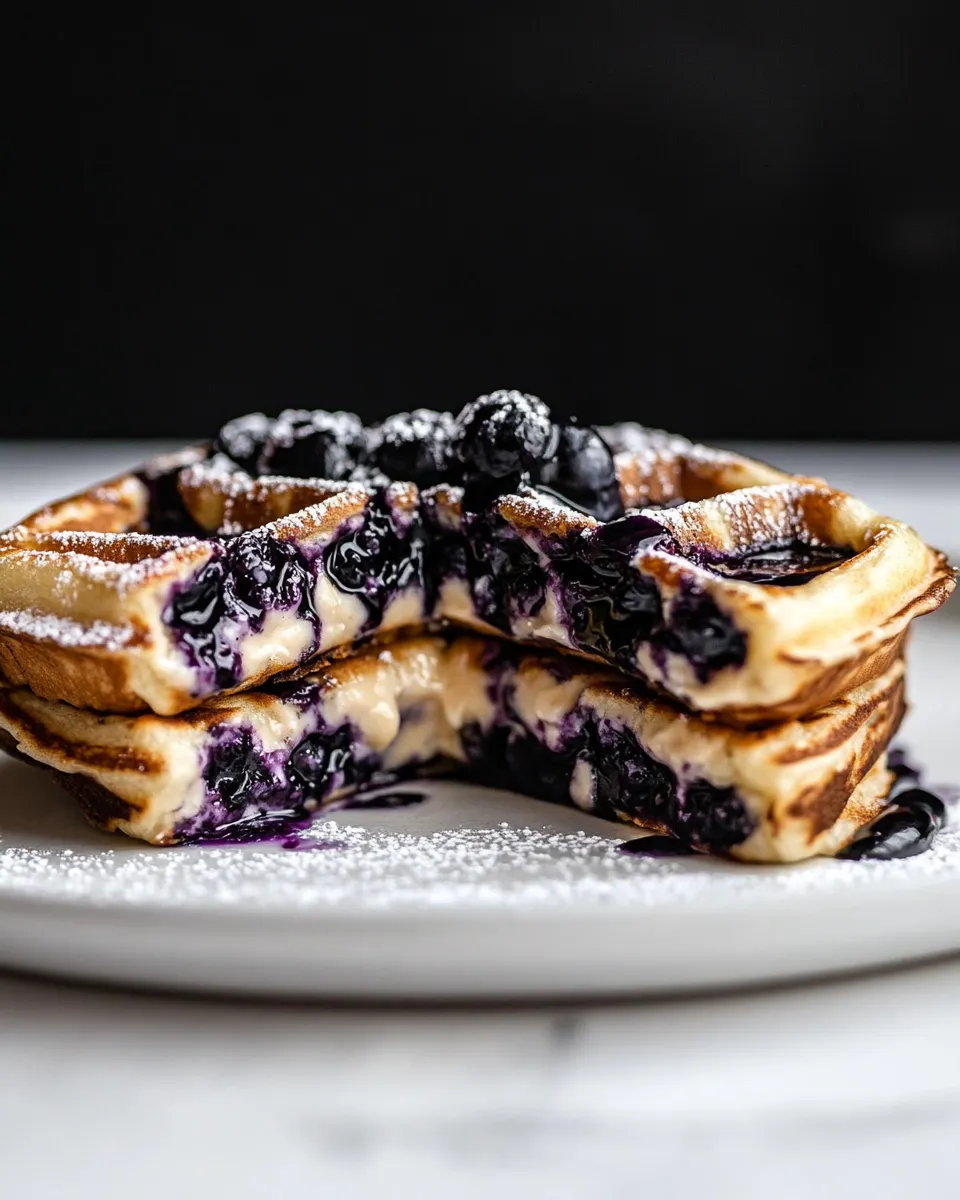
Blueberry Cheesecake Stuffed Protein Waffle
There’s something undeniably delightful about waking up to the smell of freshly made waffles. Now, imagine a fluffy, golden brown waffle filled with a creamy, dreamy cheesecake center and bursting with sweet, juicy blueberries. Enter the Blueberry Cheesecake Stuffed Protein Waffle, a breakfast treat that is not only delicious but also packs a protein punch to kickstart your day. This recipe combines the goodness of oats, the richness of Greek yogurt, and the vibrant flavor of blueberries, making it a perfect choice for a wholesome breakfast or a satisfying snack. Let’s dive into this delightful creation!
Why It Works Every Time
The magic of the Blueberry Cheesecake Stuffed Protein Waffle lies in its carefully selected ingredients that harmonize beautifully. The oat flour and cornstarch create a light and airy texture, while the Greek yogurt adds moisture and a subtle tang. The addition of blueberries not only enhances the flavor but also provides antioxidants, making this waffle a nutritious option. Each bite delivers a satisfying combination of creamy cheesecake and fruity bursts, ensuring that you’ll come back for seconds!
Your Shopping Guide
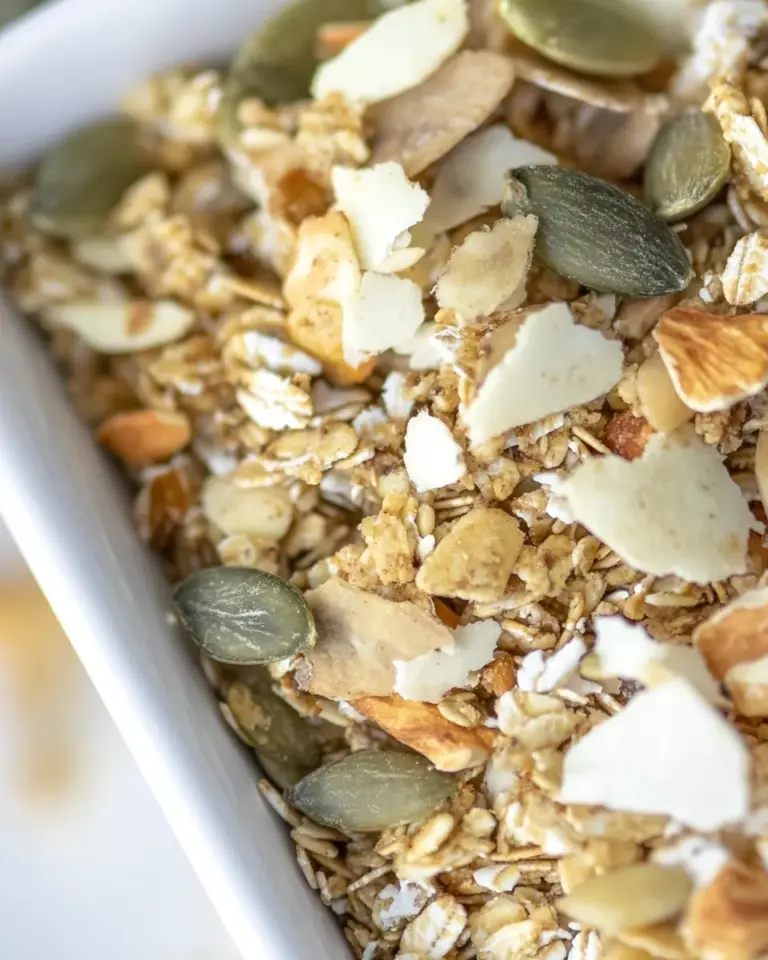
- Oat Flour or Gluten-Free Flour: Use either based on your dietary preferences.
- Cornstarch: This helps achieve the perfect texture.
- Sugar: A touch of sweetness to balance the flavors.
- Baking Powder: Essential for that fluffy lift.
- Sea Salt: Enhances all the flavors.
- Plain, Non-Fat Greek Yogurt: Adds creaminess and protein.
- Large Egg: Binds the ingredients together.
- Almond Milk: Or any milk of your choice for consistency.
- Avocado Oil: A healthy fat that keeps the waffles moist.
- Lemon Extract: Brightens up the flavors.
- Fresh Blueberries: Use seasonal for the best taste; frozen are fine too.
- Whipped Cream Cheese: For that rich cheesecake filling.
Setup & Equipment
- Waffle Iron: Essential for creating those delightful waffle shapes.
- Mixing Bowls: For combining your dry and wet ingredients.
- Whisk: To ensure your batter is lump-free.
- Spatula: For filling and flipping your waffles.
- Measuring Cups and Spoons: Accuracy is key in baking!
Blueberry Cheesecake Stuffed Protein Waffle — Do This Next

Step 1: Prepare the Waffle Batter
In a large mixing bowl, combine 3 tablespoons of oat flour, 3 tablespoons of cornstarch, 2 tablespoons of sugar, 1 teaspoon of baking powder, and a pinch of sea salt. Whisk until well blended.
Step 2: Mix the Wet Ingredients
In another bowl, mix 1/4 cup of plain, non-fat Greek yogurt, 1 large egg, 1 tablespoon of almond milk, 1 teaspoon of avocado oil, and 1/4 teaspoon of lemon extract. Whisk until smooth.
Step 3: Combine Wet and Dry Ingredients
Pour the wet mixture into the dry ingredients and stir until just combined. Be careful not to overmix; a few lumps are perfectly fine.
Step 4: Add the Blueberries
Gently fold in 1/3 cup of fresh blueberries or thawed frozen blueberries into the batter, ensuring they are evenly distributed.
Step 5: Preheat the Waffle Iron
Preheat your waffle iron according to the manufacturer’s instructions. Lightly grease it with cooking spray or a bit of avocado oil to prevent sticking.
Step 6: Prepare the Cheesecake Filling
In a small bowl, mix 2 tablespoons of whipped cream cheese with 2 teaspoons of sugar until smooth. Set aside.
Step 7: Cook the Waffles
Once the waffle iron is hot, pour half of the waffle batter onto the iron, spreading it evenly. Spoon the cheesecake filling in the center, then cover with the remaining batter. Close the waffle iron and cook until golden brown, usually about 4-5 minutes.
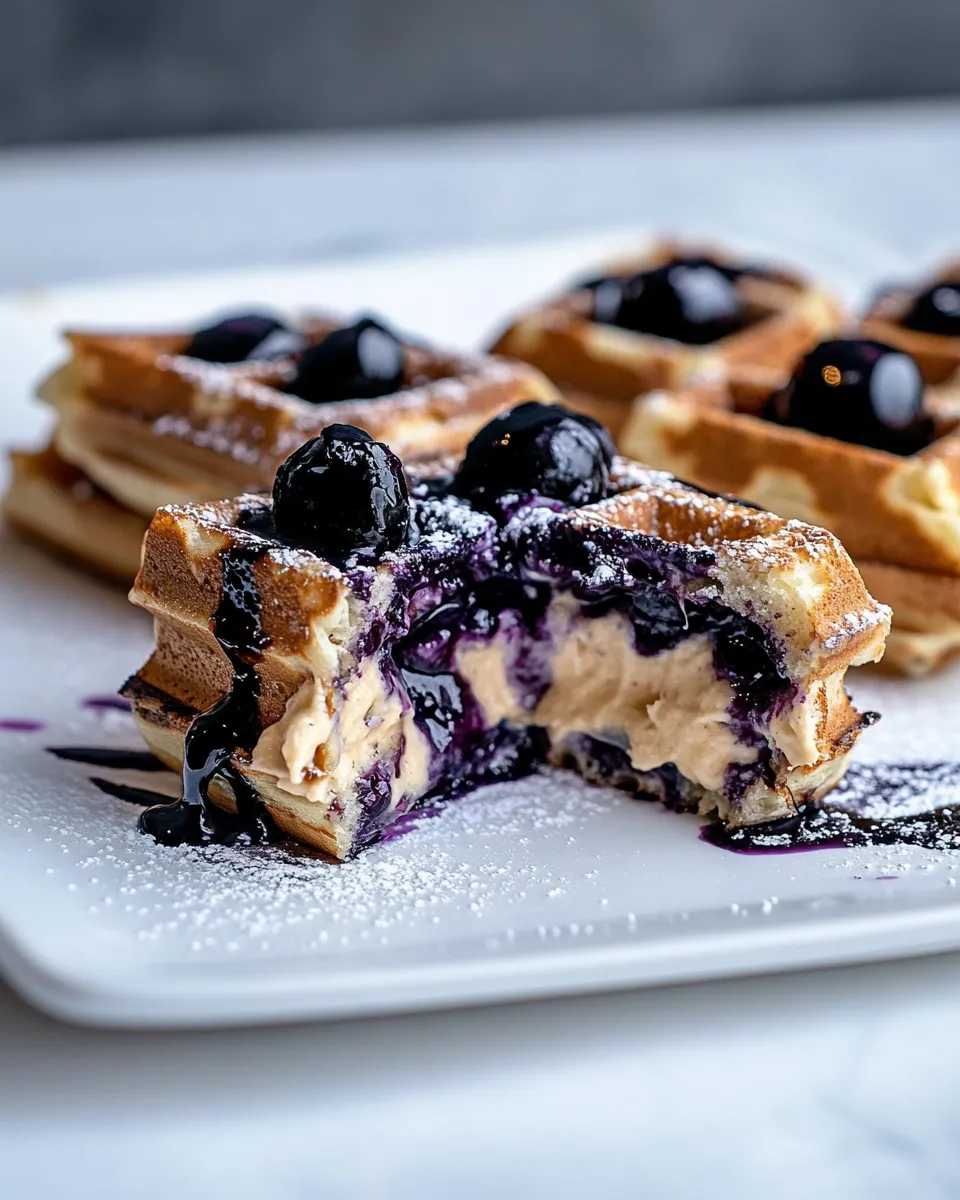
Step 8: Serve and Enjoy!
Carefully remove the waffle from the iron and serve immediately. Top with extra blueberries, a dollop of whipped cream, or a drizzle of maple syrup for an extra special treat!
Better-for-You Options
- Swap sugar for a natural sweetener like honey or maple syrup.
- Use a dairy-free yogurt alternative if you prefer a vegan option.
- Replace the whipped cream cheese with a vegan cream cheese for a plant-based filling.
- Add chia seeds or flaxseed to the batter for an extra boost of nutrients.
Pitfalls & How to Prevent Them
One common issue with waffles is that they can turn out soggy or undercooked. To prevent this, ensure your waffle iron is adequately preheated before adding the batter. Avoid overmixing the batter, as this can lead to tough waffles. If you’re using frozen blueberries, make sure they’re thoroughly thawed and drained to avoid excess moisture in the batter.
Cooling, Storing & Rewarming
These Blueberry Cheesecake Stuffed Protein Waffles are best enjoyed fresh, but you can store leftovers in an airtight container in the refrigerator for up to 3 days. To rewarm, simply pop them in a toaster or a preheated oven at 350°F (175°C) until heated through. This will help restore their crispy exterior.
Ask & Learn
Can I make these waffles ahead of time?
Absolutely! You can prepare the batter the night before and store it in the refrigerator. Just give it a good stir before cooking in the morning. Alternatively, you can cook the waffles ahead of time and reheat them when ready to serve.
What can I use instead of Greek yogurt?
If you don’t have Greek yogurt on hand, you can substitute it with regular yogurt or even cottage cheese for a different texture, though it might slightly alter the flavor.
Can I freeze these waffles?
Yes! These waffles freeze beautifully. Allow them to cool completely, then place them in a single layer on a baking sheet and freeze until solid. Transfer to an airtight container or freezer bag and store for up to 2 months. Reheat directly from frozen.
What if I don’t have a waffle iron?
No problem! You can make these as pancakes instead. Just cook the batter on a skillet over medium heat, flipping once bubbles form on the surface.
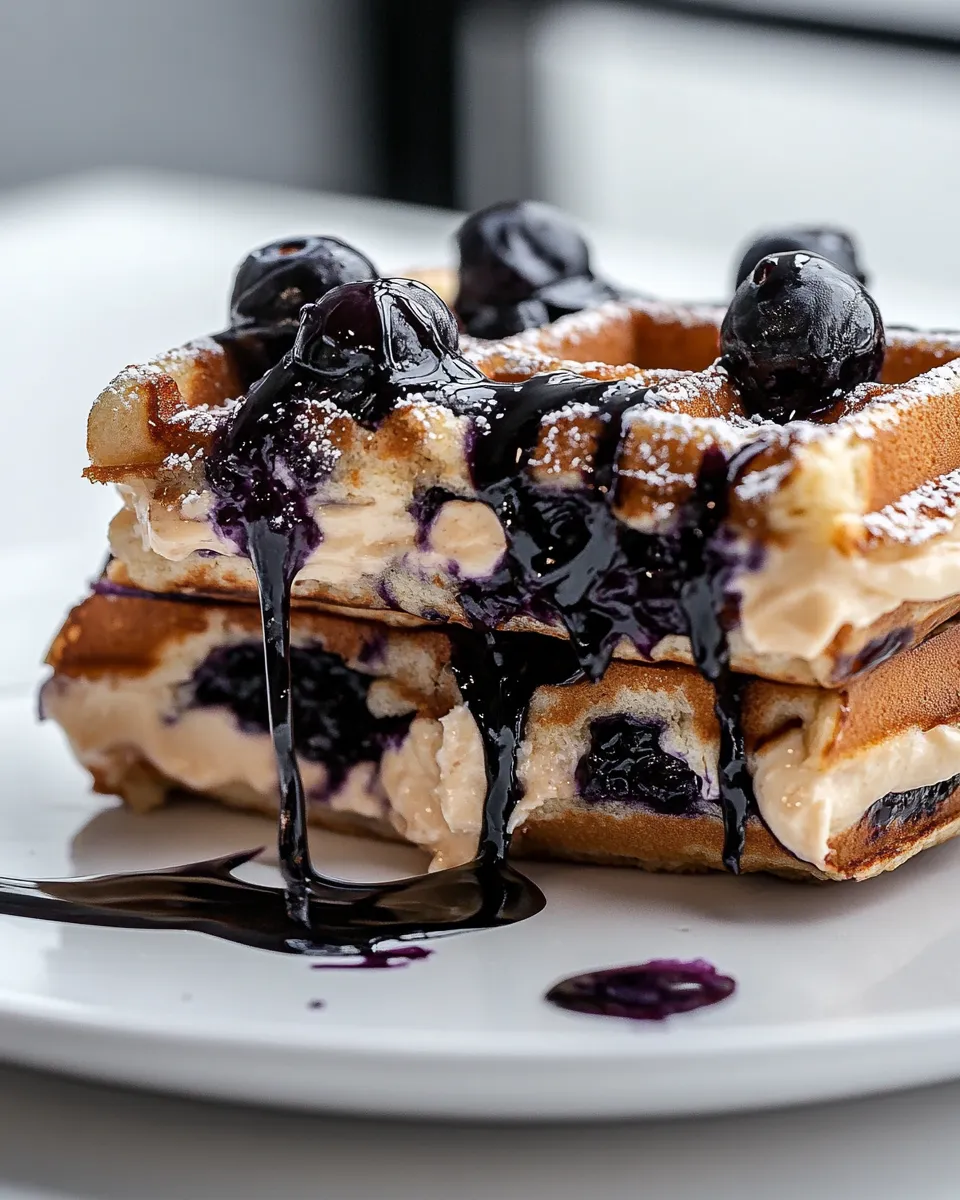
The Takeaway
The Blueberry Cheesecake Stuffed Protein Waffle is a delightful twist on a classic breakfast favorite that brings together the sweetness of blueberries and the rich creaminess of cheesecake. Packed with protein and wholesome ingredients, this waffle is not only satisfying but also nourishing. Whether you’re enjoying it on a lazy Sunday morning or preparing a quick breakfast during a busy week, this recipe is sure to impress. So grab your waffle iron and let’s make some magic happen in the kitchen!
Blueberry Cheesecake Stuffed Protein Waffle
Ingredients
Equipment
Method
- In a large mixing bowl, combine 3 tablespoons of oat flour, 3 tablespoons of cornstarch, 2 tablespoons of sugar, 1 teaspoon of baking powder, and a pinch of sea salt. Whisk until well blended.
- In another bowl, mix 1/4 cup of plain, non-fat Greek yogurt, 1 large egg, 1 tablespoon of almond milk, 1 teaspoon of avocado oil, and 1/4 teaspoon of lemon extract. Whisk until smooth.
- Pour the wet mixture into the dry ingredients and stir until just combined. Be careful not to overmix; a few lumps are perfectly fine.
- Gently fold in 1/3 cup of fresh blueberries or thawed frozen blueberries into the batter, ensuring they are evenly distributed.
- Preheat your waffle iron according to the manufacturer’s instructions. Lightly grease it with cooking spray or a bit of avocado oil to prevent sticking.
- In a small bowl, mix 2 tablespoons of whipped cream cheese with 2 teaspoons of sugar until smooth. Set aside.
- Once the waffle iron is hot, pour half of the waffle batter onto the iron, spreading it evenly. Spoon the cheesecake filling in the center, then cover with the remaining batter. Close the waffle iron and cook until golden brown, usually about 4-5 minutes.
- Carefully remove the waffle from the iron and serve immediately. Top with extra blueberries, a dollop of whipped cream, or a drizzle of maple syrup for an extra special treat!
Notes
- For a healthier option, consider using a natural sweetener like honey or maple syrup instead of sugar.
- This recipe can be made dairy-free by substituting Greek yogurt with a dairy-free alternative.
- Frozen blueberries work well; just ensure they are thawed and drained to prevent excess moisture.