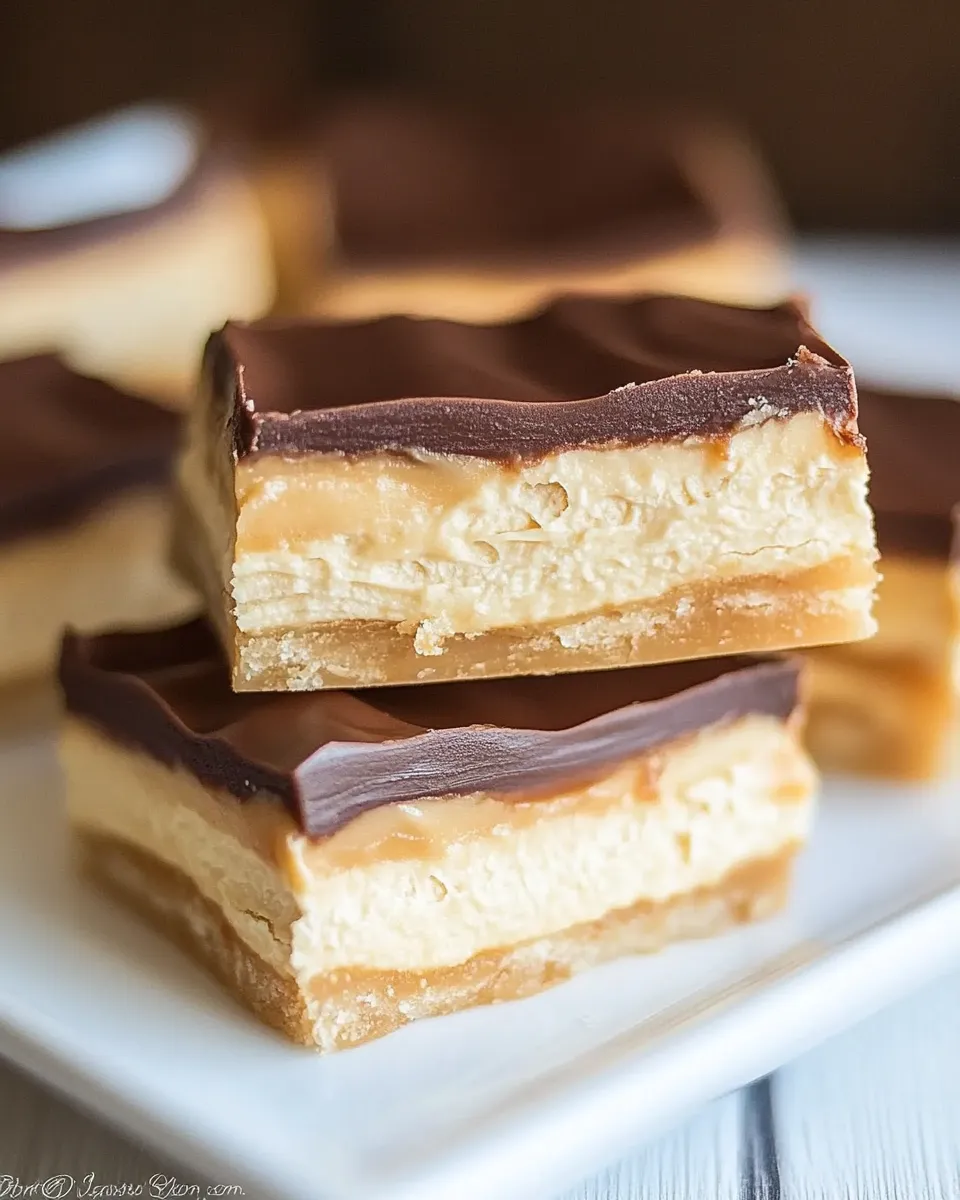
Tagalong Bars
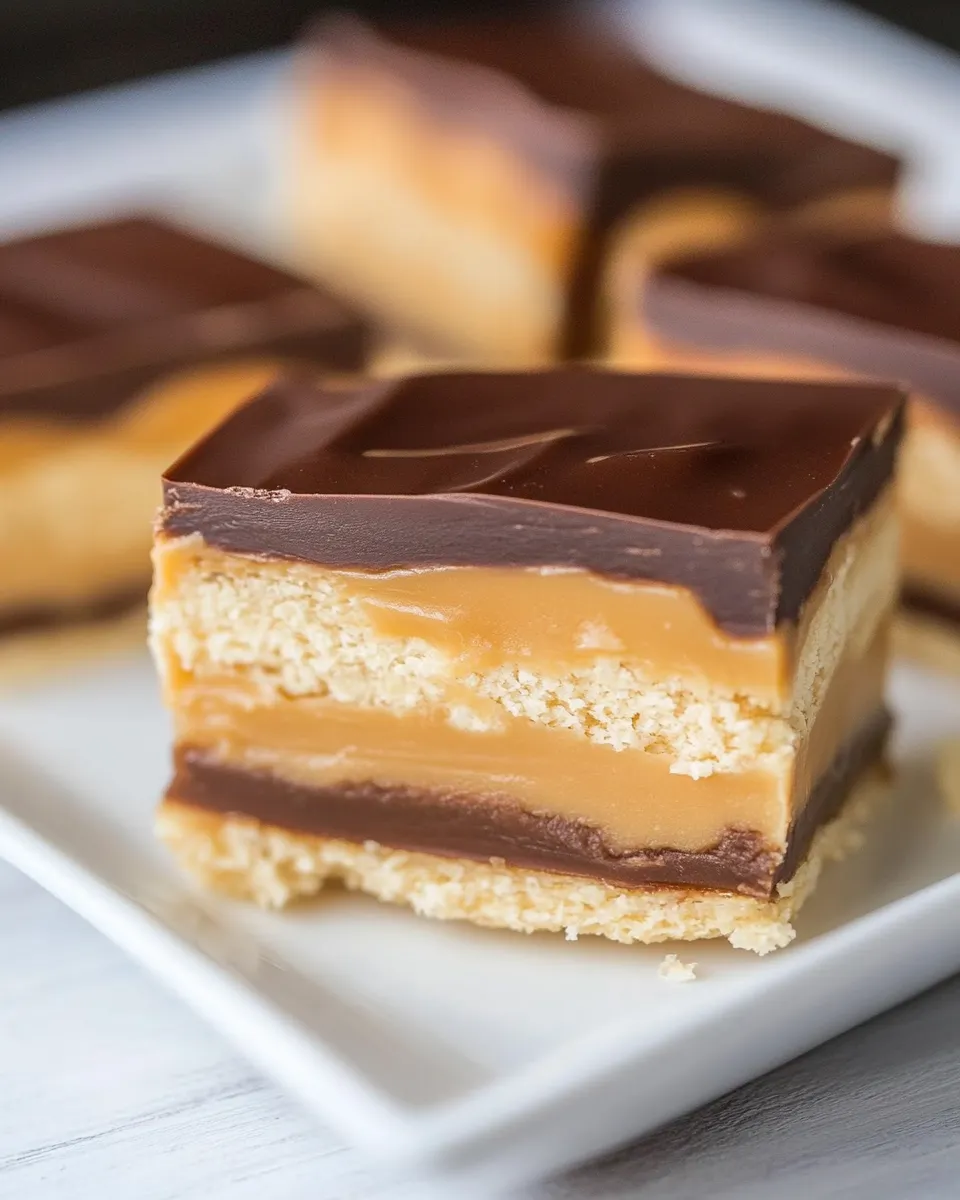
If you’re a fan of the classic Girl Scout cookies, you’re going to love these Tagalong Bars! Bursting with creamy peanut butter, a sweet cookie base, and a velvety chocolate coating, these bars are a delightful treat for any occasion. Perfectly portable and oh-so-satisfying, they’re great for after-school snacks, dessert at family gatherings, or even just a cozy night in. Let’s dive into how to make these deliciously indulgent bars.
The Upside of Tagalong Bars

Tagalong Bars are more than just a cookie-inspired dessert; they are a celebration of flavors and textures. The buttery, crumbly base pairs perfectly with the rich peanut butter layer, while the smooth chocolate coating ties everything together beautifully. They’re easy to make, and you can whip up a batch in no time! Plus, they store well, making them an excellent option for meal prep or sweet cravings throughout the week.
Ingredient Checklist
- 1/2 cup unsalted butter, softened
- 1/3 cup + 1/2 cup powdered sugar, divided
- 2 teaspoons vanilla extract, divided
- 1 1/4 cups all-purpose flour
- 1/4 teaspoon salt
- 1 cup creamy peanut butter (I use Skippy)
- 1 cup milk chocolate chips
- 2 teaspoons Crisco shortening
Kitchen Gear Checklist
- Mixing bowls – for combining your ingredients.
- Electric mixer – to cream the butter and sugars smoothly.
- 9×9 inch baking pan – for the perfect bar size.
- Parchment paper – for easy removal and cleanup.
- Double boiler or microwave-safe bowl – for melting chocolate.
- Spatula – to spread the layers evenly.
Tagalong Bars: From Prep to Plate

Step 1: Preheat and Prepare
Start by preheating your oven to 350°F (175°C). Line your 9×9 inch baking pan with parchment paper, leaving some overhang on the sides for easy removal later.
Step 2: Make the Cookie Base
In a mixing bowl, cream together the softened butter and 1/3 cup of powdered sugar using an electric mixer. Beat in 1 teaspoon of vanilla extract until fully incorporated. Gradually add in the all-purpose flour and salt. Mix until the dough comes together.
Step 3: Bake the Base
Spread the cookie dough evenly into the prepared baking pan. Bake in the preheated oven for 15-18 minutes or until lightly golden. Remove from the oven and let it cool completely in the pan.
Step 4: Prepare the Peanut Butter Layer
In a separate bowl, combine the creamy peanut butter with the remaining 1/2 cup of powdered sugar and the remaining teaspoon of vanilla extract. Mix until smooth and creamy.
Step 5: Layer the Peanut Butter
Once the cookie base is cool, spread the peanut butter mixture evenly over the top. Make sure to cover the entire surface for a balanced flavor in every bite.
Step 6: Melt the Chocolate
In a double boiler or microwave-safe bowl, combine the milk chocolate chips and Crisco shortening. Melt the chocolate gently, stirring until smooth and fully combined.
Step 7: Top with Chocolate
Pour the melted chocolate over the peanut butter layer, spreading it evenly with a spatula. Make sure to cover all the edges to seal in the deliciousness.
Step 8: Chill and Slice
Refrigerate the assembled bars for at least 1 hour or until the chocolate is set. Once firm, use the overhanging parchment paper to lift the bars out of the pan. Cut into squares or rectangles, and indulge!
Holiday-Friendly Variations
- Mint Tagalong Bars: Add a few drops of peppermint extract to the peanut butter layer for a refreshing twist.
- Nutty Tagalong Bars: Mix in chopped nuts like almonds or pecans into the peanut butter layer for added crunch.
- Dark Chocolate Tagalong Bars: Swap the milk chocolate for dark chocolate for a richer flavor.
- Caramel Tagalong Bars: Drizzle caramel sauce over the top before the chocolate sets for an extra layer of sweetness.
Slip-Ups to Skip
- Using cold butter: Make sure your butter is softened to ensure a creamy texture in the cookie base.
- Not cooling the base: Allowing the cookie base to cool completely is essential before adding the peanut butter layer to prevent melting.
- Overbaking: Keep an eye on the cookie base while baking; it should be lightly golden, not brown and dry.
- Skipping the parchment paper: Lining your pan makes it much easier to remove and slice the bars cleanly.
Prep Ahead & Store
Tagalong Bars are perfect for making ahead of time! You can prepare them a day or two in advance and store them in an airtight container in the refrigerator. They also freeze well; just wrap them tightly in plastic wrap and then in aluminum foil for up to 3 months. Thaw overnight in the fridge before enjoying.
Handy Q&A
Can I use crunchy peanut butter instead of creamy?
Absolutely! Crunchy peanut butter will add an extra layer of texture to your Tagalong Bars, making them even more delightful.
What if I don’t have Crisco shortening?
You can substitute the Crisco shortening with an equal amount of coconut oil or simply omit it. The chocolate will still melt nicely without it, though the texture may vary slightly.
How do I store leftovers?
Store any leftovers in an airtight container in the refrigerator for up to a week. Enjoy them chilled or let them come to room temperature before serving.
Can I double the recipe?
Yes, you can easily double the recipe! Just use a larger baking pan and adjust the baking time as needed. Make sure to keep an eye on them while they bake to ensure they don’t overcook.
Save & Share
If you love these Tagalong Bars as much as I do, be sure to share the recipe with friends and family! They’ll be thrilled to have a taste of this delicious treat. Whether you serve them at parties or enjoy them during a cozy movie night, they’re sure to be a hit!
Creating your own Tagalong Bars at home is not only simple, but it also brings a sense of nostalgia and joy. The combination of buttery cookie, creamy peanut butter, and rich chocolate is truly irresistible. So grab your ingredients and get ready to indulge in a sweet adventure that will leave everyone wanting more!
Tagalong Bars
Ingredients
Equipment
Method
- Start by preheating your oven to 350°F (175°C). Line your 9x9 inch baking pan with parchment paper, leaving some overhang on the sides for easy removal later.
- In a mixing bowl, cream together the softened butter and 1/3 cup of powdered sugar using an electric mixer. Beat in 1 teaspoon of vanilla extract until fully incorporated. Gradually add in the all-purpose flour and salt. Mix until the dough comes together.
- Spread the cookie dough evenly into the prepared baking pan. Bake in the preheated oven for 15-18 minutes or until lightly golden. Remove from the oven and let it cool completely in the pan.
- In a separate bowl, combine the creamy peanut butter with the remaining 1/2 cup of powdered sugar and the remaining teaspoon of vanilla extract. Mix until smooth and creamy.
- Once the cookie base is cool, spread the peanut butter mixture evenly over the top. Make sure to cover the entire surface for a balanced flavor in every bite.
- In a double boiler or microwave-safe bowl, combine the milk chocolate chips and Crisco shortening. Melt the chocolate gently, stirring until smooth and fully combined.
- Pour the melted chocolate over the peanut butter layer, spreading it evenly with a spatula. Make sure to cover all the edges to seal in the deliciousness.
- Refrigerate the assembled bars for at least 1 hour or until the chocolate is set. Once firm, use the overhanging parchment paper to lift the bars out of the pan. Cut into squares or rectangles, and indulge!
Notes
- Store any leftovers in an airtight container in the refrigerator for up to a week.
- These bars can be made ahead of time and stored in the fridge.
- They freeze well; wrap them tightly for up to 3 months.