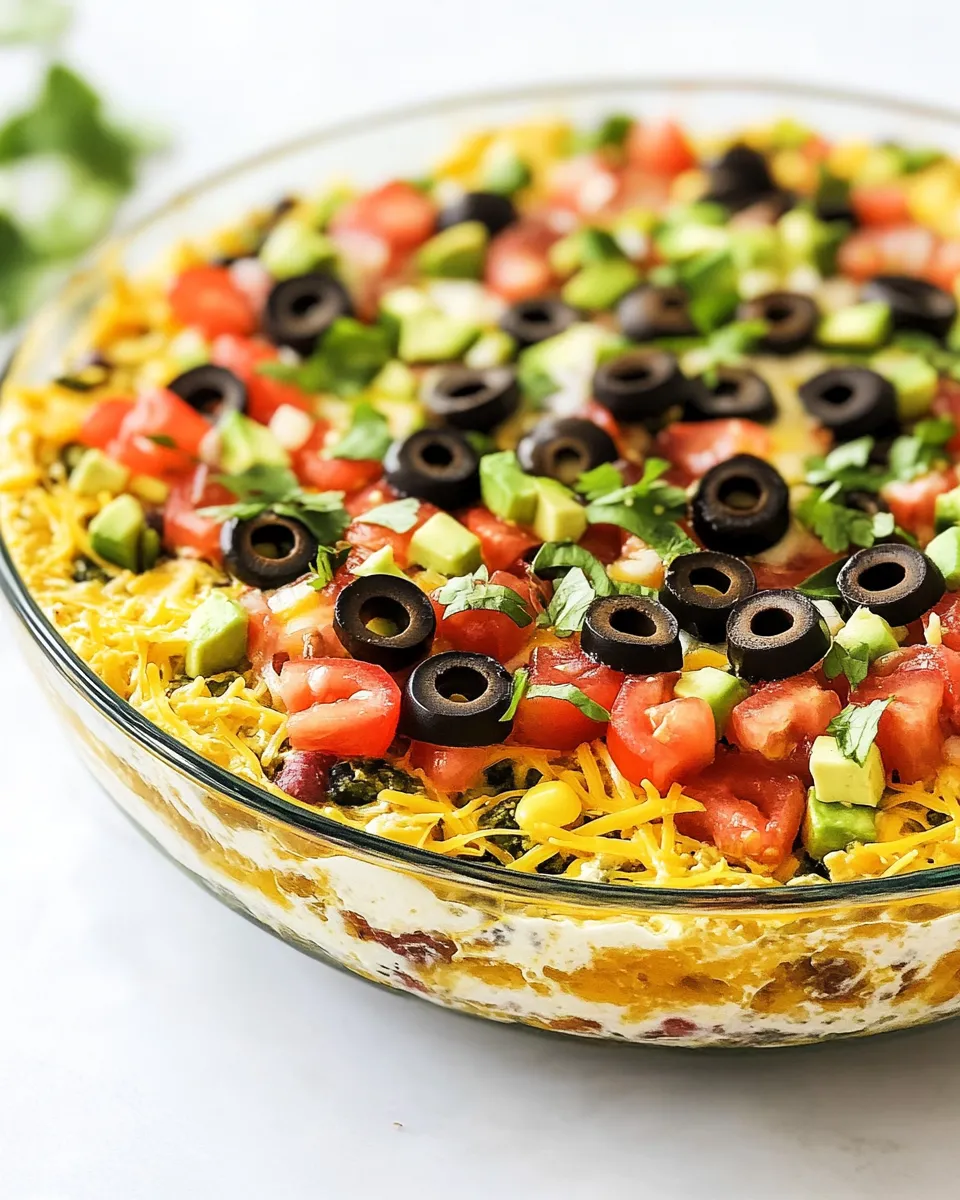
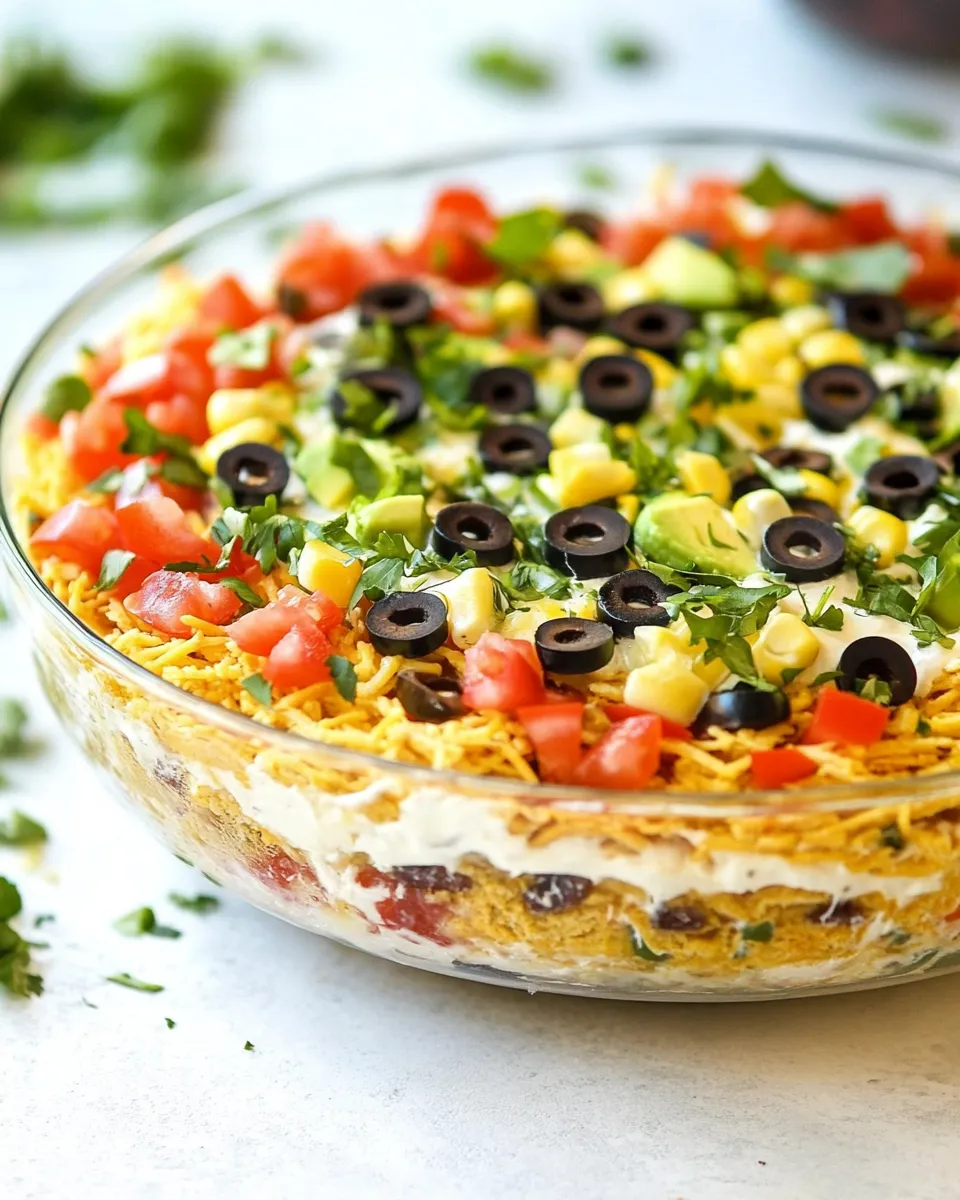
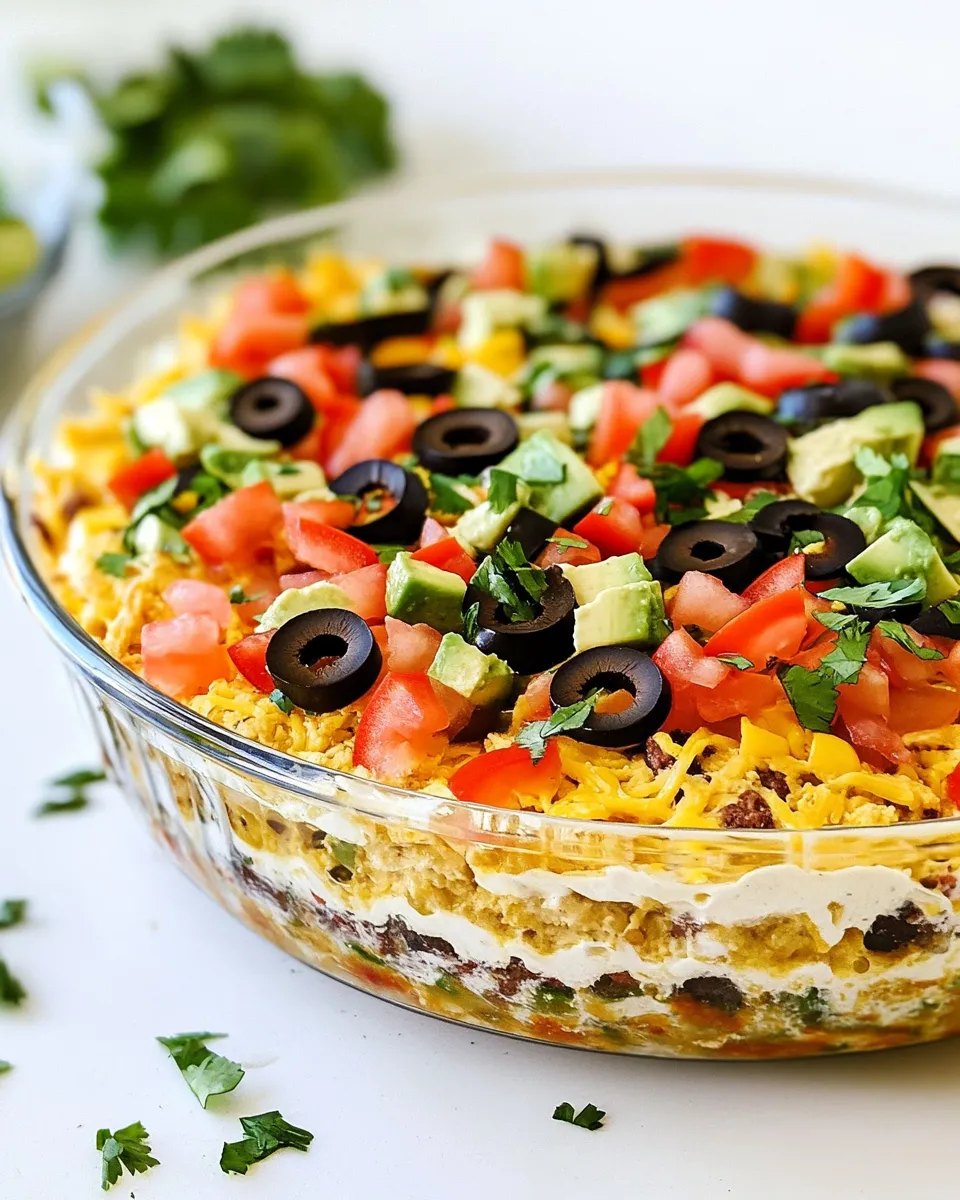
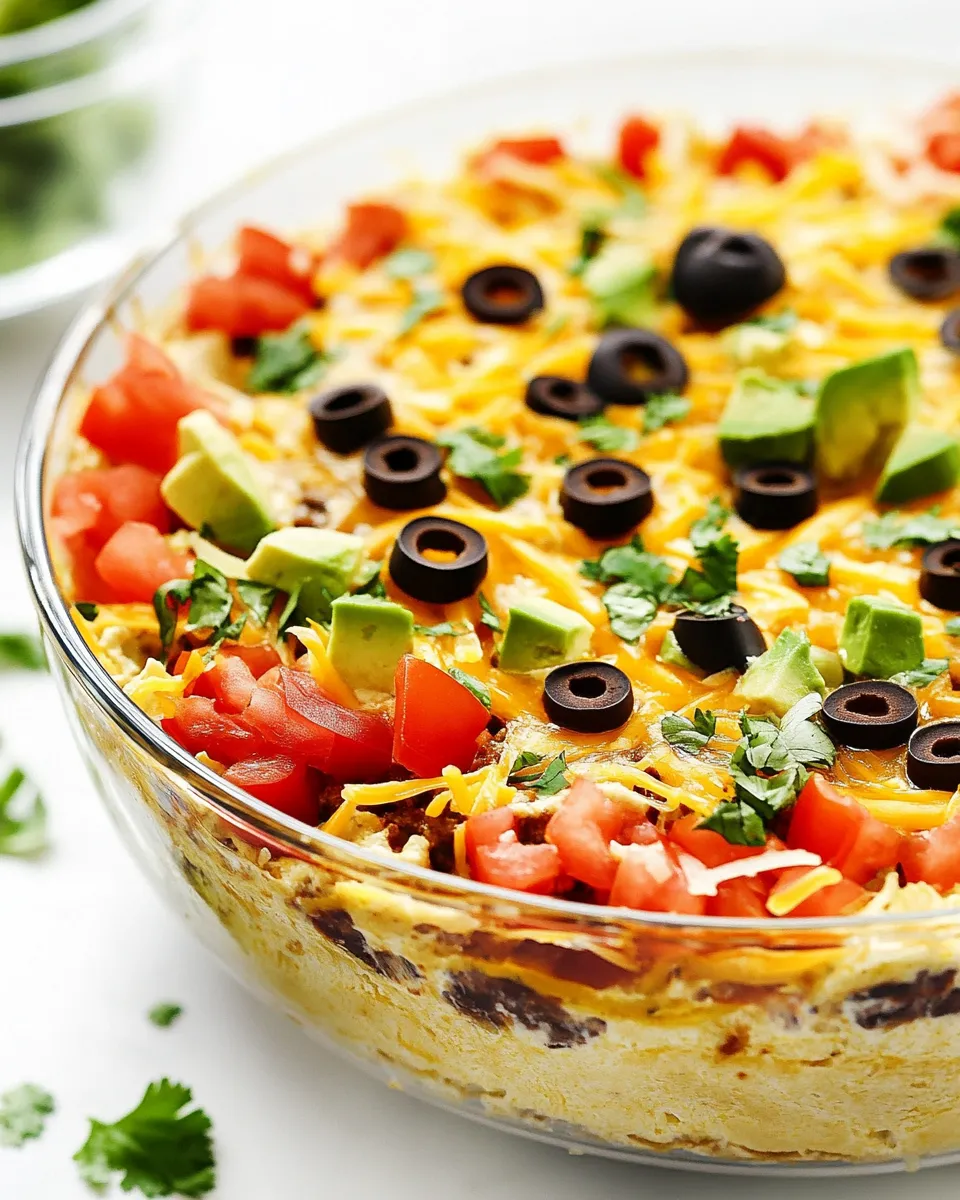
Awesome 7 Layer Dip
Get ready to impress your friends and family with this vibrant and flavorful Awesome 7 Layer Dip! This crowd-pleaser is perfect for game day, movie nights, or any casual gathering where delicious snacks are a must. Each layer adds a unique taste and texture, creating a dip that is as beautiful as it is tasty. Let’s dive into the wonders of this layered delight!
Why You’ll Keep Making It
The Awesome 7 Layer Dip is not just a dip; it’s an experience. The combination of creamy, zesty, and crunchy layers makes this dish irresistible. It’s versatile enough to suit a variety of tastes, allowing you to customize ingredients based on your preferences. Plus, it’s incredibly easy to assemble, making it a go-to recipe for any occasion. Once you serve this dip, it’s guaranteed to become a staple in your entertaining repertoire!
What Goes In
To create your Awesome 7 Layer Dip, you will need the following ingredients:
- 1 (16-ounce) can refried beans
- 1 cup guacamole (homemade or store-bought)
- 1 cup sour cream
- 2 tablespoons taco seasoning (homemade or store-bought)
- 1 cup salsa
- 1 cup shredded Colby Jack cheese
- 1/2 cup sliced olives
- 1/2 cup sliced cherry tomatoes
- 2 sliced green onions
Each ingredient plays a crucial role in building the layers of flavor, from the smooth refried beans to the savory taco seasoning.
Hardware & Gadgets
Before you start layering your dip, make sure you have the following tools on hand:
- 9×13-inch dish – Perfect for layering and serving.
- Mixing bowl – For combining the sour cream and taco seasoning.
- Spatula or spoon – For spreading each layer evenly.
- Knife – For slicing the olives, cherry tomatoes, and green onions.
- Measuring cups and spoons – To ensure you have the right amounts of each ingredient.
The Method for Awesome 7 Layer Dip
Now that you have all your ingredients and tools ready, let’s get into the step-by-step process to create your Awesome 7 Layer Dip.
Step 1: Prepare the Base
In your 9×13-inch dish, start by spreading the refried beans evenly across the bottom. This will be your first layer and provide a hearty base for the dip.
Step 2: Add Guacamole
Next, carefully layer the guacamole over the refried beans. Use a spatula to spread it evenly, ensuring every corner is covered.
Step 3: Mix the Sour Cream and Taco Seasoning
In a mixing bowl, combine the sour cream with the taco seasoning. Mix well until fully incorporated. Then, spread this mixture over the guacamole layer.
Step 4: Pour the Salsa
Gently pour the salsa over the sour cream layer. Be careful to spread it evenly without mixing the layers beneath.
Step 5: Cheese Layer
Sprinkle the shredded Colby Jack cheese over the salsa layer, creating a cheesy, delicious topping.
Step 6: Add Olives and Tomatoes
Next, evenly distribute the sliced olives and cherry tomatoes over the cheese layer. Their vibrant colors will add a fresh touch to your dip.
Step 7: Top with Green Onions
Finally, sprinkle the sliced green onions over the top for a burst of flavor and a pop of green.
How to Make It Lighter
If you’re looking to make your Awesome 7 Layer Dip a bit lighter without sacrificing flavor, consider these tips:
- Use low-fat sour cream or Greek yogurt instead of regular sour cream.
- Opt for a reduced-fat cheese or substitute with a dairy-free cheese alternative.
- Make your guacamole with less avocado and more lime juice for a lighter taste.
- Use homemade salsa, which often has fewer preservatives and can be made with fresh ingredients.
Method to the Madness
Creating the Awesome 7 Layer Dip is all about layering and balancing flavors. Here’s how to enhance your dip further:
- Experiment with different types of cheese, such as pepper jack for a spicy kick.
- Add black beans or corn for extra texture and flavor.
- Incorporate jalapeños for added heat if you enjoy spicy food.
- Try using different salsas, such as corn salsa or mango salsa, for a unique twist.
Save It for Later
If you have leftovers (though it’s likely you won’t!), store the Awesome 7 Layer Dip in an airtight container in the refrigerator. It’s best enjoyed within a couple of days. If you’re prepping ahead of time, consider assembling the layers separately and combining them just before serving to keep everything fresh.
Your Questions, Answered
Can I make this dip ahead of time?
Yes! You can prepare the layers ahead of time and assemble them just before serving, or keep it in the fridge for a day. Just be sure to cover it well to maintain freshness.
Is there a vegetarian option for this dip?
Absolutely! All the ingredients in this Awesome 7 Layer Dip are vegetarian-friendly. Just ensure that the taco seasoning and any other packaged ingredients are vegetarian-approved.
Can I freeze the 7 Layer Dip?
While it’s not recommended to freeze assembled 7 Layer Dip, you can freeze individual components, like the refried beans or guacamole, and assemble them fresh when you’re ready to serve.
What can I serve with this dip?
This dip pairs wonderfully with tortilla chips, pita chips, or fresh vegetable sticks like carrots and celery. You could also serve it with mini tacos or quesadillas for a fun twist.
Before You Go
This Awesome 7 Layer Dip is not only a feast for the eyes but also a delicious combination of flavors that will keep everyone coming back for more. With its creamy layers and fresh toppings, it’s sure to be a hit at your next gathering. Remember, the beauty of this dip lies in its versatility, so feel free to get creative and make it your own. Whether you’re hosting a party or just enjoying a cozy night in, this dip is the perfect addition to your culinary repertoire. So gather your ingredients, put on your favorite playlist, and let the layering fun begin! Enjoy every bite of this Awesome 7 Layer Dip!
Awesome 7 Layer Dip
Ingredients
Equipment
Method
- In your 9x13-inch dish, start by spreading the refried beans evenly across the bottom. This will be your first layer and provide a hearty base for the dip.
- Next, carefully layer the guacamole over the refried beans. Use a spatula to spread it evenly, ensuring every corner is covered.
- In a mixing bowl, combine the sour cream with the taco seasoning. Mix well until fully incorporated. Then, spread this mixture over the guacamole layer.
- Gently pour the salsa over the sour cream layer. Be careful to spread it evenly without mixing the layers beneath.
- Sprinkle the shredded Colby Jack cheese over the salsa layer, creating a cheesy, delicious topping.
- Next, evenly distribute the sliced olives and cherry tomatoes over the cheese layer. Their vibrant colors will add a fresh touch to your dip.
- Finally, sprinkle the sliced green onions over the top for a burst of flavor and a pop of green.
Notes
- Use low-fat sour cream or Greek yogurt for a lighter version.
- Experiment with different types of cheese for added flavor.
- Store leftovers in an airtight container in the refrigerator for best freshness.