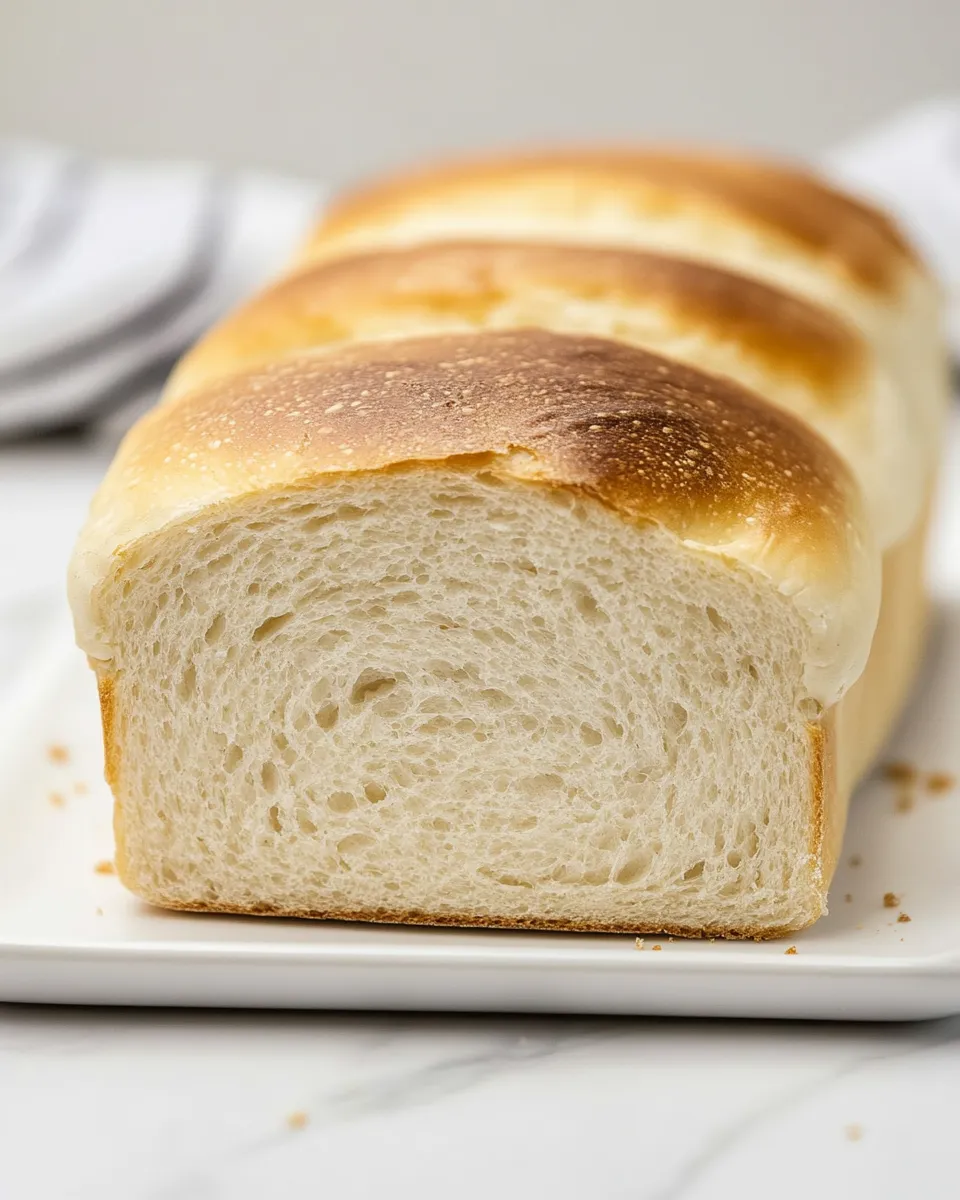
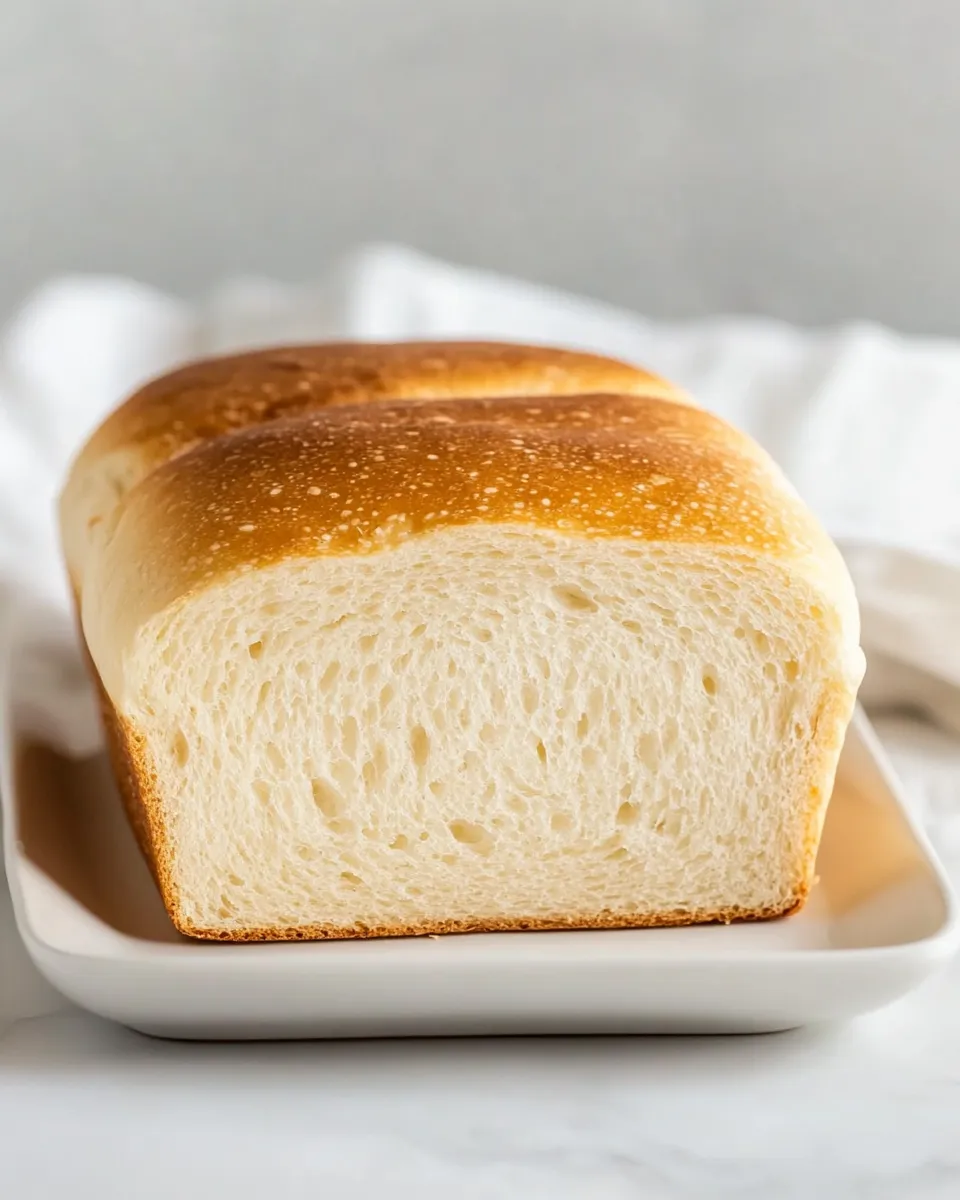
Basic Homemade Bread
There’s something truly magical about the aroma of freshly baked bread wafting through your home. It brings comfort and warmth, and there’s nothing quite like the satisfaction of slicing into a loaf you’ve made yourself. This Basic Homemade Bread recipe is straightforward and perfect for beginners, yet it yields a loaf that would impress even the most seasoned bakers. The best part? You don’t need any special equipment or techniques—just a little time and love.
Why It Deserves a Spot
Homemade bread is a timeless staple that embodies the essence of home cooking. Not only is it delicious, but it also offers a sense of accomplishment. This Basic Homemade Bread is versatile enough for sandwiches, toast, or simply slathered with butter. The ingredients are simple, and the process is manageable, making it an ideal recipe for any day of the week. Whether you’re looking to impress your family with a warm loaf or simply craving the comforting texture of bread, this recipe is perfect for you.
Ingredients at a Glance
- 3/4 cup (175ml) warm water (110-115 degrees)
- 2 1/2 tsp (9g) active dry yeast or instant yeast
- 2 1/2 Tbsp (32g) granulated sugar, divided
- 1 1/2 tsp salt
- 3/4 cup (175ml) milk, warmed to 110-115 degrees
- 3 1/2 cups (496g) unbleached all-purpose flour or bread flour, plus more as needed
- 3 Tbsp (42g) unsalted butter, softened, plus 1/2 Tbsp more for top
Tools & Equipment Needed
- Mixing bowl: For combining ingredients.
- Measuring cups & spoons: Accurate measurements are crucial for baking.
- Wooden spoon or dough whisk: For mixing the dough.
- Kitchen towel or plastic wrap: To cover the dough while it rises.
- Baking sheet or loaf pan: To shape and bake your bread.
- Wire rack: For cooling the bread after baking.
From Start to Finish: Basic Homemade Bread
Step 1: Prepare the Yeast
In a small bowl, combine the warm water (110-115 degrees) and 1 tablespoon of sugar. Sprinkle the yeast over the top and let it sit for about 5-10 minutes, or until it becomes frothy. This indicates that the yeast is active and ready to use.
Step 2: Mix the Wet Ingredients
In a large mixing bowl, combine the warmed milk, remaining sugar, and salt. Once mixed, add the frothy yeast mixture and softened butter. Stir until well blended.
Step 3: Add the Flour
Gradually add the flour to the wet mixture, 1 cup at a time, stirring continuously. The dough will begin to come together and should pull away from the sides of the bowl. If the dough feels too sticky, add more flour, a tablespoon at a time, until it reaches a manageable consistency.
Step 4: Knead the Dough
Turn the dough out onto a floured surface and knead for about 8-10 minutes until it becomes smooth and elastic. You can also use a stand mixer with a dough hook for this step, kneading on low speed for about 5-7 minutes.
Step 5: First Rise
Place the kneaded dough in a lightly greased bowl, turning it to coat the surface. Cover the bowl with a kitchen towel or plastic wrap and let it rise in a warm, draft-free area for about 1 to 1.5 hours, or until it has doubled in size.
Step 6: Shape the Dough
Once risen, punch down the dough to release the air. Turn it out onto a floured surface again. Shape it into a loaf by flattening the dough into a rectangle and rolling it tightly from one end to the other. Pinch the seams to seal.
Step 7: Second Rise
Place the shaped loaf seam-side down in a greased loaf pan. Cover it again and let it rise for an additional 30-45 minutes, or until it has doubled in size.
Step 8: Preheat and Bake
While the dough is rising, preheat your oven to 350°F (175°C). Once the dough has risen, brush the top with melted butter for a golden crust. Bake for 25-30 minutes or until the bread sounds hollow when tapped on the bottom and is golden brown on top.
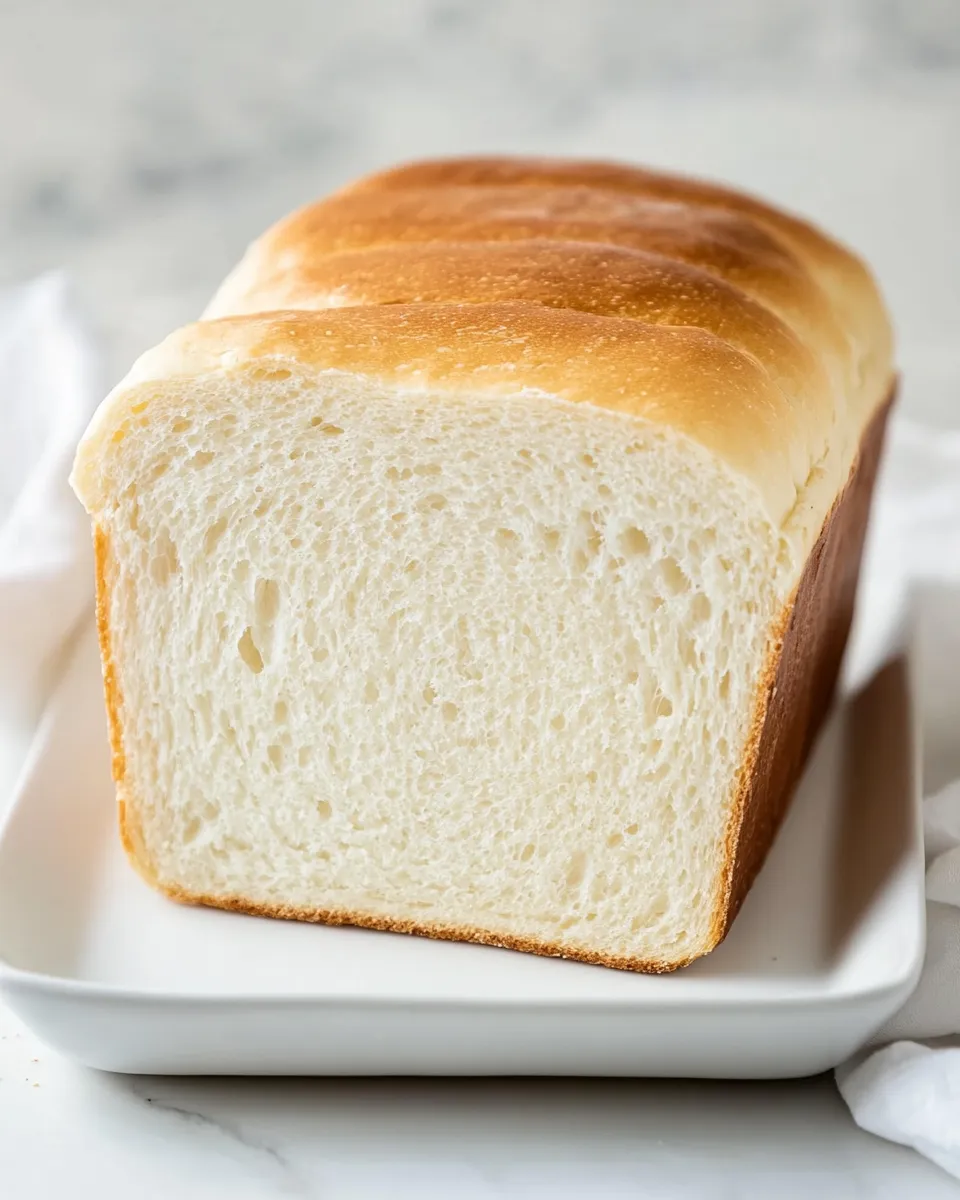
Step 9: Cool and Enjoy
Remove the bread from the oven and let it cool in the pan for 5 minutes. Then transfer it to a wire rack to cool completely before slicing. Enjoy your freshly made Basic Homemade Bread warm or at room temperature!
Smart Substitutions
- Milk: You can substitute with almond milk, oat milk, or any non-dairy milk for a different flavor.
- Butter: Use coconut oil or olive oil for a dairy-free option.
- Flour: Whole wheat flour can be used for a denser bread; just note that it may require more liquid.
- Sweetener: Honey or maple syrup can replace granulated sugar if desired.
Chef’s Notes
- Make sure your yeast is fresh for the best rise. Expired yeast can result in dense bread.
- If you live in a cooler climate, consider placing the dough in a slightly warm oven (turned off) to rise.
- You can add herbs or spices to the dough for a unique flavor twist.
- This bread can be easily doubled; just ensure your mixing bowl is large enough!
Storage & Reheat Guide
To store, wrap your cooled bread in plastic wrap or aluminum foil and keep it at room temperature for up to 3 days. For longer storage, slice the bread and freeze it in an airtight container or bag for up to 3 months. To reheat, simply pop slices in the toaster or wrap the loaf in foil and warm in the oven at 350°F (175°C) for about 10 minutes.
Basic Homemade Bread Q&A
Can I use whole wheat flour instead of all-purpose flour?
Yes, you can use whole wheat flour, but it may result in a denser texture. You might need to add a bit more liquid to the dough.
What if my bread doesn’t rise?
If your bread doesn’t rise, it could be due to inactive yeast or a cold environment. Always check that your yeast is fresh, and make sure the dough is kept in a warm place to rise.
How do I know when my bread is done baking?
The bread is done when it’s golden brown and sounds hollow when tapped on the bottom. You can also use a thermometer; the internal temperature should be around 190°F (88°C).
Can I add other ingredients to the dough?
Absolutely! Feel free to incorporate ingredients like seeds, nuts, or dried fruits to enhance the flavor and texture of your Basic Homemade Bread.
Bring It Home
Making your own Basic Homemade Bread is a rewarding experience that not only fills your home with delightful aromas but also nourishes your body and soul. With just a handful of ingredients and a little time, you can create a delicious loaf that can accompany any meal. Whether you slather it with butter, turn it into sandwiches, or dip it in soups, this bread will surely become a staple in your kitchen.
As you embark on your bread-making journey, remember that practice makes perfect. Don’t be discouraged if your first loaf isn’t perfect—each attempt will bring you closer to your ideal bread.
So, gather your ingredients, roll up your sleeves, and let’s get baking! Your Basic Homemade Bread adventure awaits, and trust me, it’s worth every moment spent in the kitchen.
Basic Homemade Bread
Ingredients
Equipment
Method
- In a small bowl, combine the warm water (110-115 degrees) and 1 tablespoon of sugar. Sprinkle the yeast over the top and let it sit for about 5-10 minutes, or until it becomes frothy.
- In a large mixing bowl, combine the warmed milk, remaining sugar, and salt. Once mixed, add the frothy yeast mixture and softened butter. Stir until well blended.
- Gradually add the flour to the wet mixture, 1 cup at a time, stirring continuously until it comes together.
- Turn the dough out onto a floured surface and knead for about 8-10 minutes until it becomes smooth and elastic.
- Place the kneaded dough in a lightly greased bowl, cover it, and let it rise in a warm area for 1 to 1.5 hours, or until doubled in size.
- Once risen, punch down the dough and shape it into a loaf, sealing the seams.
- Place the shaped loaf seam-side down in a greased loaf pan. Cover and let it rise for 30-45 minutes.
- Preheat your oven to 350°F (175°C). Brush the top of the dough with melted butter and bake for 25-30 minutes.
- Remove from the oven and let it cool in the pan for 5 minutes, then transfer to a wire rack to cool completely before slicing.
Notes
- Ensure your yeast is fresh for the best rise.
- In cooler climates, place dough in a warm oven to rise.
- Add herbs or spices for a unique flavor twist.