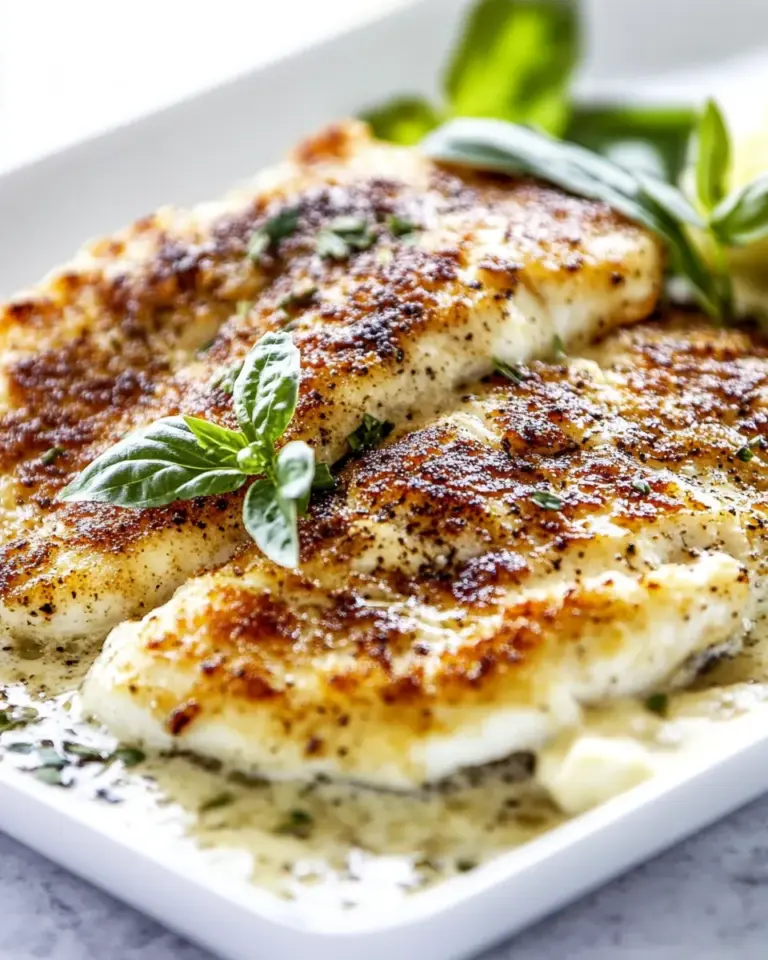
Chicken Roll Ups
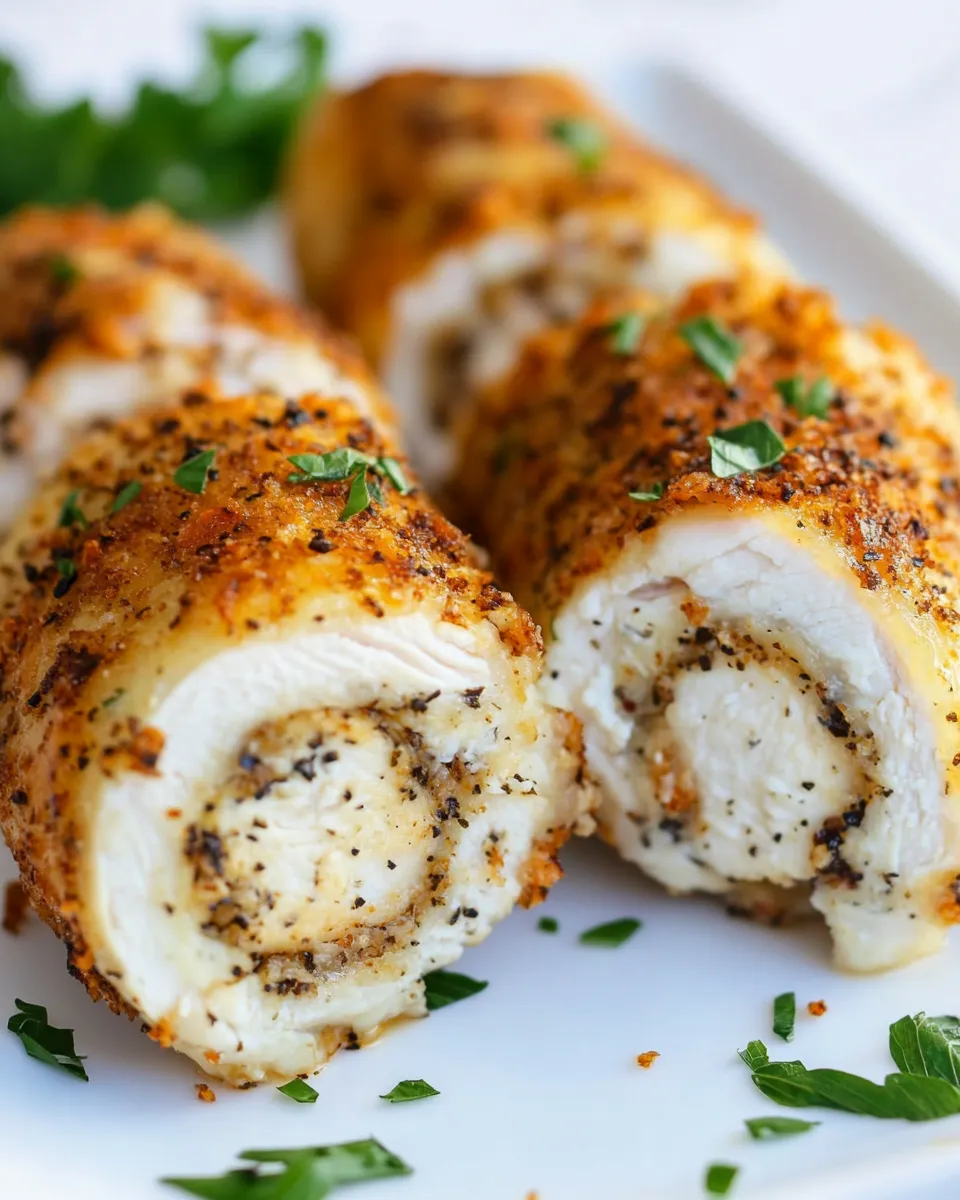
When it comes to quick and delicious meals, Chicken Roll Ups are a showstopper in every sense. With just a handful of ingredients, these delightful rolls come together in no time, making them perfect for busy weeknights or as a crowd-pleasing appetizer for gatherings. Imagine tender chicken breasts wrapped around a creamy and flavorful filling, then baked to golden perfection. This recipe is not only easy to prepare but also customizable, allowing you to get creative with the fillings. Let’s dive into the delicious world of Chicken Roll Ups!
The Upside of Chicken Roll Ups
Chicken Roll Ups are versatile, tasty, and easy to make, making them a perfect dish for any occasion. The tender chicken forms a lovely pocket for the creamy Boursin cheese, while the blend of spices like garlic powder and smoked paprika elevates the flavor profile to something extraordinary. Not to mention, they are a hit among both kids and adults, making them an ideal choice for family dinners. Plus, they can be made ahead of time and simply popped in the oven when you’re ready to eat!
Ingredients at a Glance
To make these scrumptious Chicken Roll Ups, you will need the following ingredients:
- 1 teaspoon garlic powder
- 1 teaspoon smoked paprika
- 1 teaspoon Italian seasoning
- 1 teaspoon kosher salt
- 1 teaspoon ground black pepper
- 1 pound thinly sliced chicken breasts
- 5.3 ounces garlic & fine herbs Boursin cheese (1 package)
- ½ cup freshly shredded mozzarella cheese
Prep & Cook Tools
To get started on your Chicken Roll Ups, gather the following tools:
- Cutting board: For preparing the chicken and other ingredients.
- Sharp knife: To slice and dice ingredients as needed.
- Baking dish: To hold your roll-ups while they bake.
- Mixing bowl: For combining the spices and cheese.
- Aluminum foil: To cover the dish while baking, if desired.
- Oven: Preheated to ensure even cooking.
Chicken Roll Ups: Step-by-Step Guide
Now that you have everything ready, let’s go through the steps to create the perfect Chicken Roll Ups.
Step 1: Prepare the Chicken
Begin by preheating your oven to 375°F (190°C). Lay the thinly sliced chicken breasts on a clean cutting board.
Step 2: Season the Chicken
In a small bowl, mix together the garlic powder, smoked paprika, Italian seasoning, kosher salt, and ground black pepper. Sprinkle this spice mixture evenly over both sides of the chicken slices.
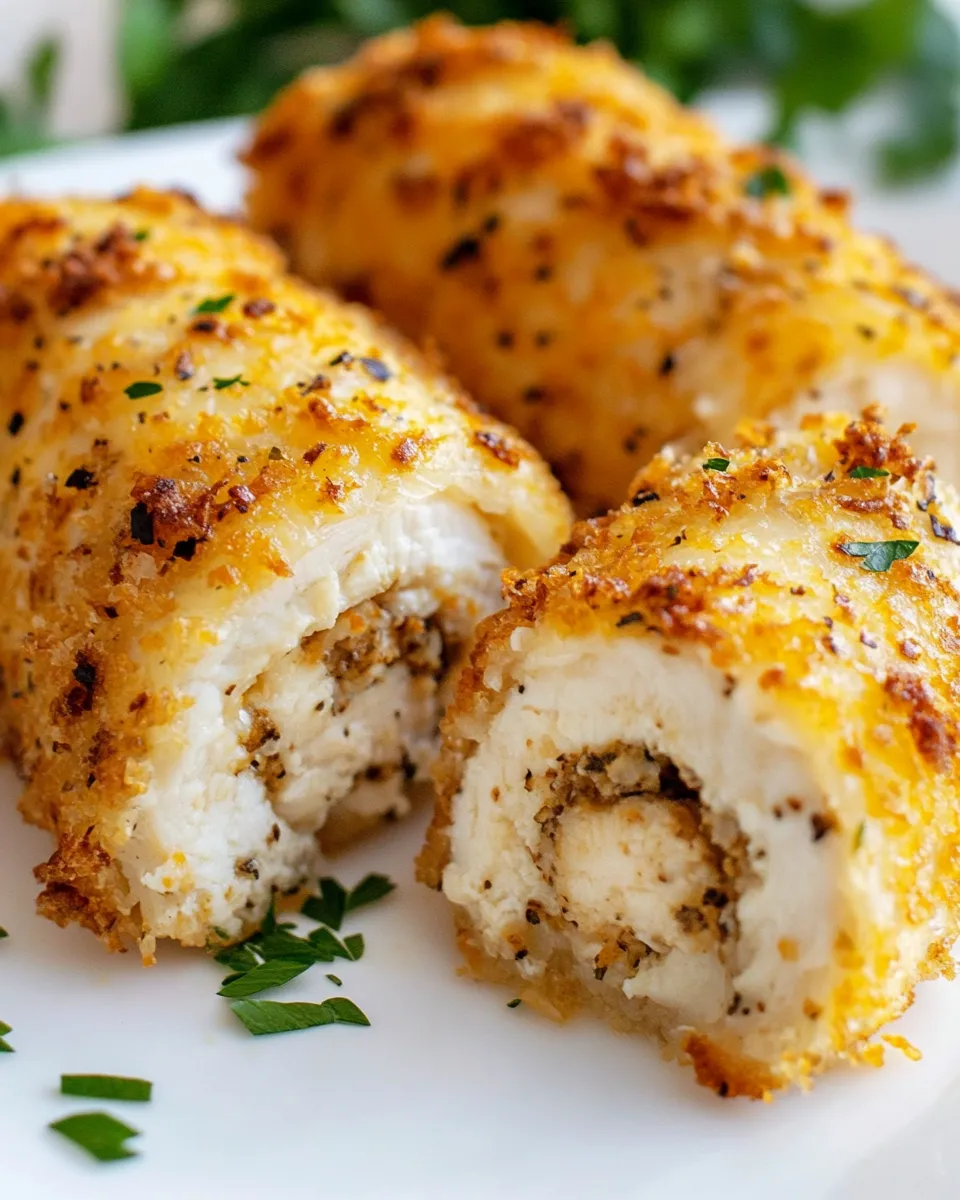
Step 3: Add the Cheese Filling
Take the package of garlic & fine herbs Boursin cheese and place a generous spoonful in the center of each chicken slice. Follow this with a sprinkle of freshly shredded mozzarella cheese.
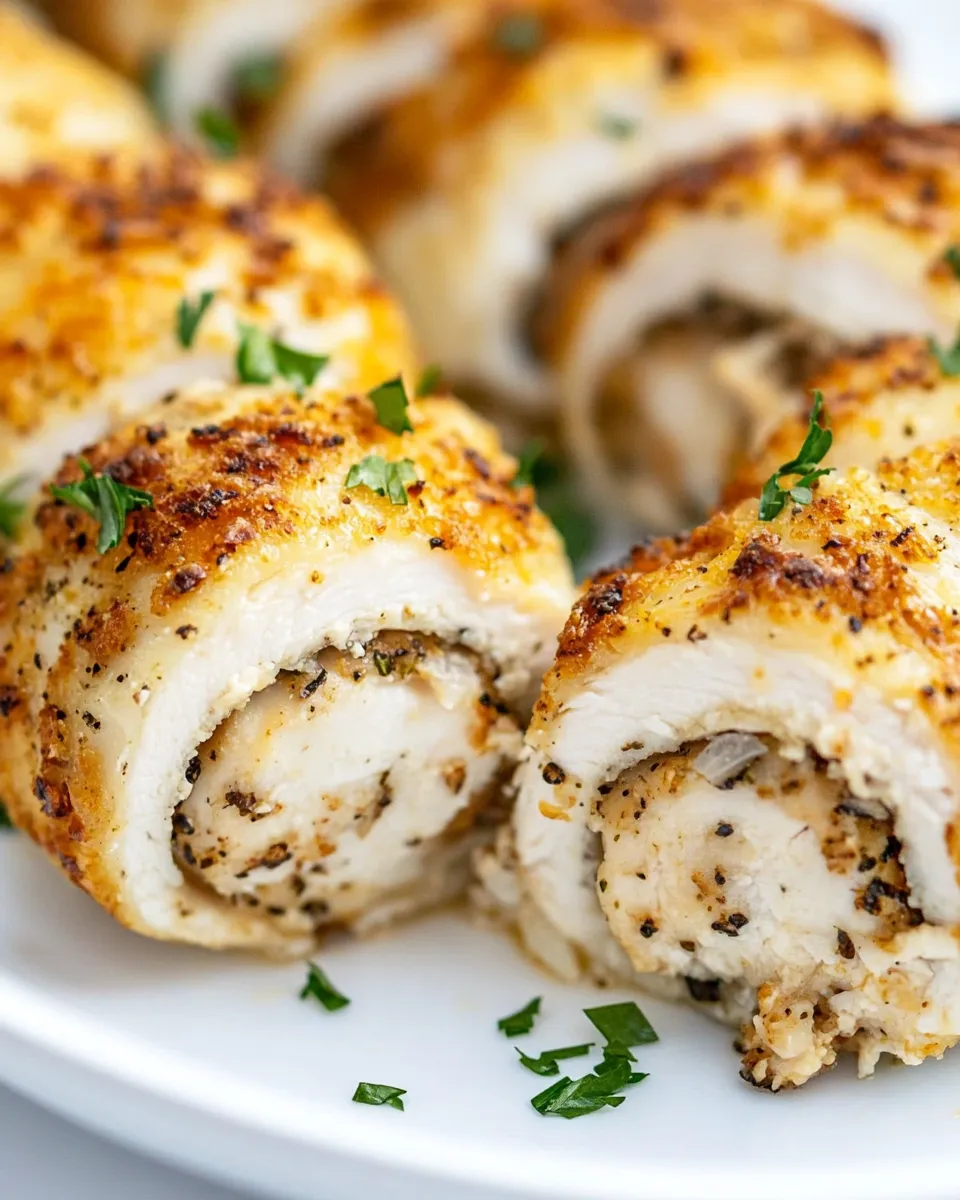
Step 4: Roll It Up
Carefully roll each chicken slice tightly around the filling, starting from one end and securing it tightly. Ensure the filling stays inside as you roll.
Step 5: Arrange in Baking Dish
Place the rolled-up chicken pieces seam-side down in a greased baking dish. If you have extra cheese or any remaining seasoning, sprinkle it over the top for added flavor.
Step 6: Bake
Cover the baking dish with aluminum foil and place it in the oven. Bake for about 25-30 minutes. After that, remove the foil and bake for an additional 10-15 minutes, or until the chicken is cooked through and the tops are golden brown.
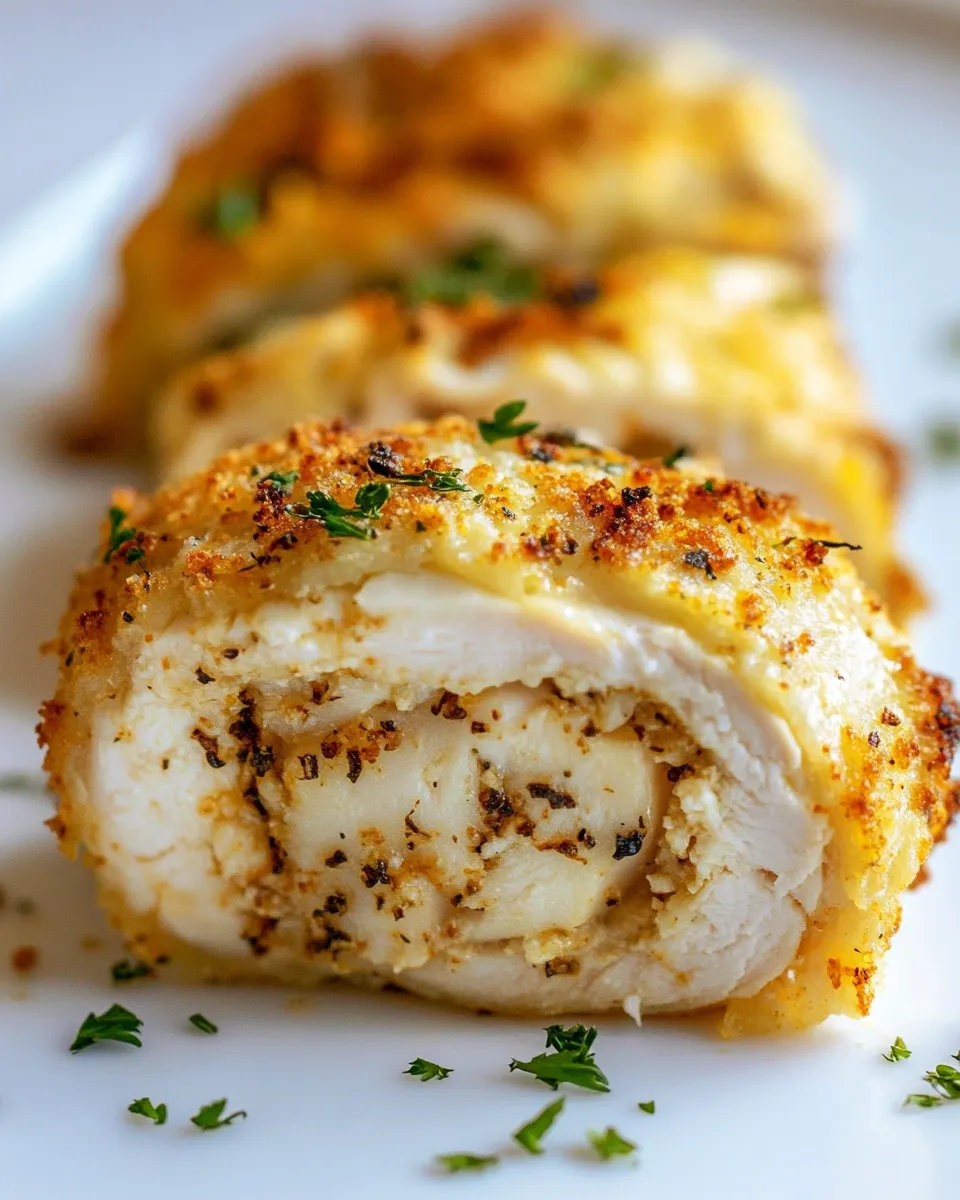
Step 7: Serve and Enjoy!
Once baked, remove the Chicken Roll Ups from the oven and let them rest for a few minutes before slicing. Serve warm, and enjoy the delectable flavors in every bite!
Make It Your Way
The beauty of Chicken Roll Ups lies in their adaptability. Here are some variations you can try:
- Vegetable Additions: Add sautéed spinach, bell peppers, or mushrooms for an extra layer of flavor and nutrition.
- Different Cheeses: Swap the Boursin cheese for a cream cheese blend or a spicy cheese for a kick.
- Herb Infusion: Experiment with fresh herbs like basil or cilantro for a unique twist.
- Spice Level: Add crushed red pepper flakes or cayenne pepper for a spicy version.
Learn from These Mistakes
When making Chicken Roll Ups, keep the following tips in mind to avoid common pitfalls:
- Make sure the chicken slices are thin—this ensures they cook evenly and roll easily.
- Don’t overfill the chicken with cheese and other fillings; it can make rolling difficult and cause them to burst while cooking.
- Allow the Chicken Roll Ups to rest for a few minutes after baking to help the juices redistribute.
- Check for doneness with a meat thermometer; chicken should reach an internal temperature of 165°F (74°C).
Shelf Life & Storage
If you have leftovers (which is rare, but possible), here’s how to store your Chicken Roll Ups:
- Refrigerate: Store in an airtight container in the refrigerator for up to 3 days.
- Freezing: Wrap individual Chicken Roll Ups in plastic wrap and place them in a freezer bag for up to 2 months.
- Reheating: For best results, reheat in the oven to maintain crispness, or microwave for a quick meal.
Your Questions, Answered
Can I use chicken thighs instead of chicken breasts?
Yes! Chicken thighs will add a richer flavor and remain moist during cooking. Just ensure they are thinly sliced for easy rolling.
What if I don’t have Boursin cheese?
You can substitute it with a mixture of cream cheese and herbs. Simply blend cream cheese with garlic, herbs, and a bit of salt to mimic the flavor.
Can I make these ahead of time?
Absolutely! You can assemble the Chicken Roll Ups a day in advance and store them in the refrigerator until you’re ready to bake.
What sides pair well with Chicken Roll Ups?
These roll-ups pair beautifully with a fresh salad, roasted vegetables, or a side of garlic bread for a complete meal.
Wrap-Up
Chicken Roll Ups are not just a meal; they are an experience. They bring together the simplicity of preparation with the joy of flavor, making them a fantastic addition to your recipe repertoire. Whether you’re cooking for family or hosting friends, these roll-ups are sure to impress. With their versatility and ease of preparation, you can adapt this recipe to suit any palate or occasion.
So, roll up your sleeves, gather your ingredients, and get ready to indulge in a dish that’s as delightful to make as it is to eat. Your taste buds will thank you!
Chicken Roll Ups
Ingredients
Equipment
Method
- Preheat your oven to 375°F (190°C). Lay the thinly sliced chicken breasts on a clean cutting board.
- In a small bowl, mix together the garlic powder, smoked paprika, Italian seasoning, kosher salt, and ground black pepper. Sprinkle this spice mixture evenly over both sides of the chicken slices.
- Take the package of garlic & fine herbs Boursin cheese and place a generous spoonful in the center of each chicken slice. Follow this with a sprinkle of freshly shredded mozzarella cheese.
- Carefully roll each chicken slice tightly around the filling, starting from one end and securing it tightly. Ensure the filling stays inside as you roll.
- Place the rolled-up chicken pieces seam-side down in a greased baking dish. If you have extra cheese or any remaining seasoning, sprinkle it over the top for added flavor.
- Cover the baking dish with aluminum foil and place it in the oven. Bake for about 25-30 minutes. After that, remove the foil and bake for an additional 10-15 minutes, or until the chicken is cooked through and the tops are golden brown.
- Once baked, remove the Chicken Roll Ups from the oven and let them rest for a few minutes before slicing. Serve warm, and enjoy the delectable flavors in every bite!
Notes
- Ensure chicken slices are thin for even cooking and easy rolling.
- Don't overfill the chicken; it can make rolling difficult.
- Let the Chicken Roll Ups rest after baking to help juices redistribute.
- Check for doneness with a meat thermometer; chicken should reach 165°F (74°C).