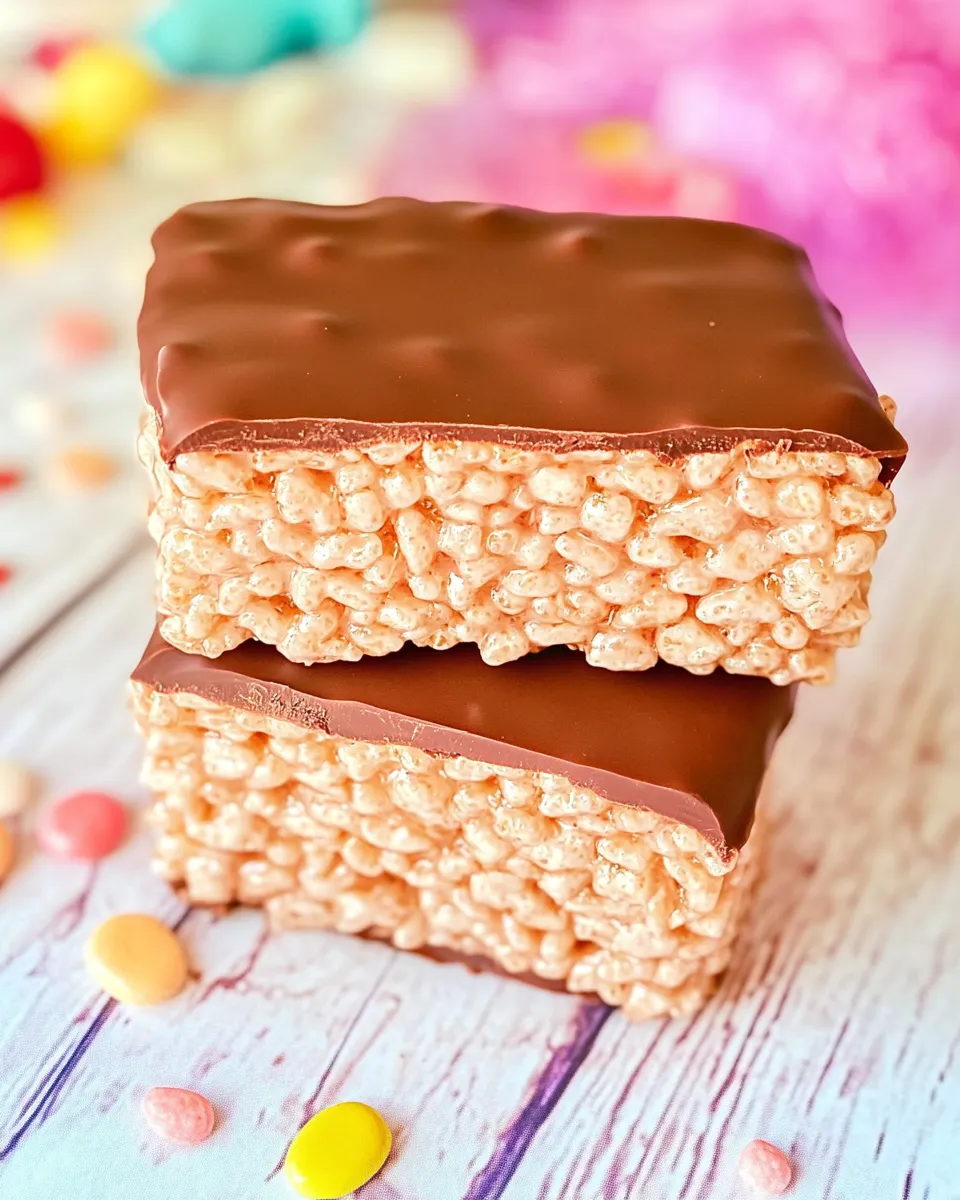
Chocolate Covered Rice Krispie Treats
If you’re looking for a delightful combination of nostalgia and indulgence, you’ve landed in the right place. Chocolate Covered Rice Krispie Treats are not just a dessert; they’re an experience that takes you back to childhood parties, school lunches, and cozy afternoons filled with sweet treats. These crispy, chewy, and chocolatey bites are perfect for any occasion, whether you’re hosting a gathering or just enjoying a quiet night in. With the perfect balance of sweetness and crunch, this recipe is sure to become a favorite in your home. Let’s dive into the delicious world of these chocolate-covered delights!
Why This Recipe Works
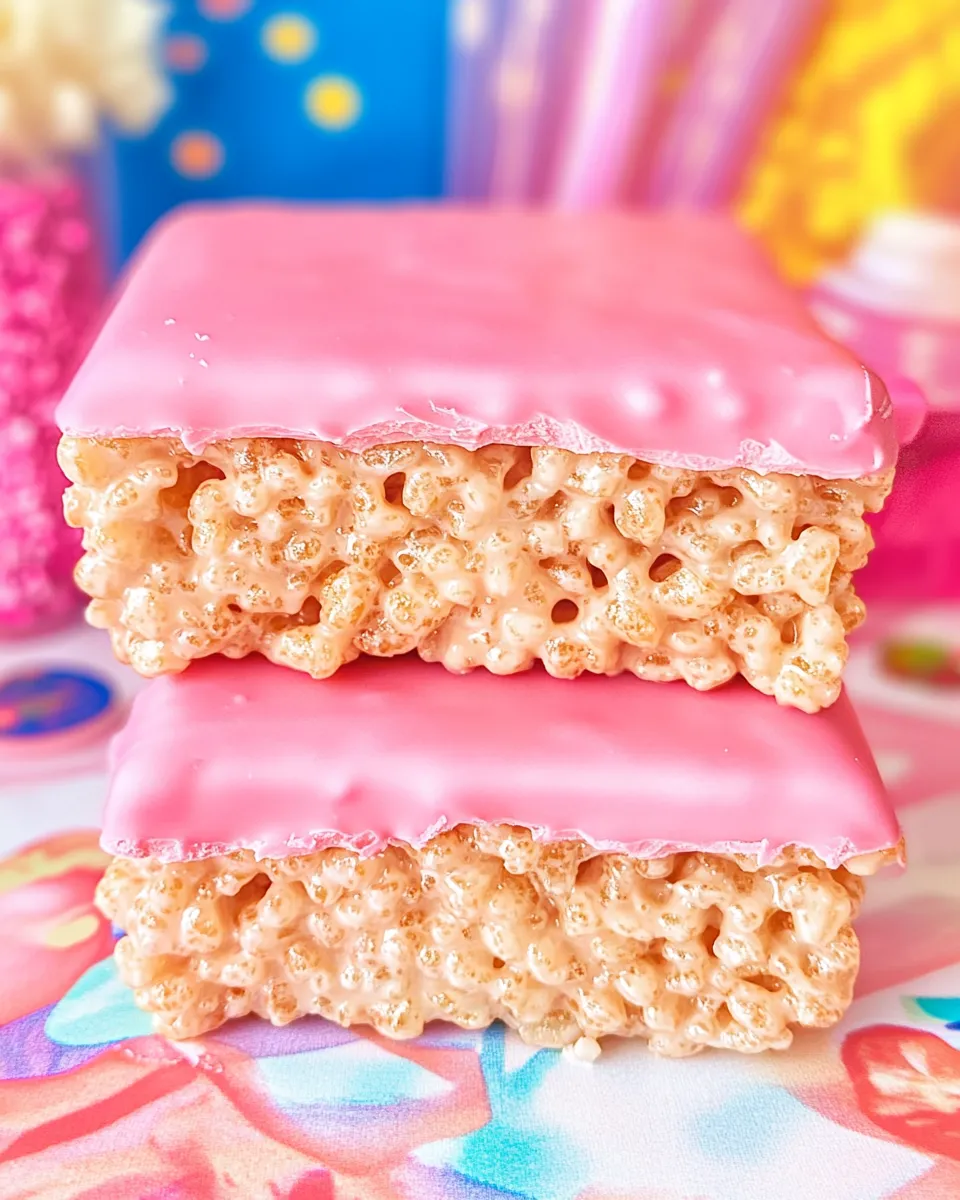
This recipe for Chocolate Covered Rice Krispie Treats stands out because it combines the beloved classic Rice Krispie Treat with a luxurious layer of chocolate. The key to mastering this treat lies in the ratio of marshmallows to cereal and the melting of the candy coating. Using a quality candy melt ensures a smooth, glossy finish that not only enhances the flavor but also elevates the visual appeal of your treats. The combination of textures—from the crispy cereal to the creamy chocolate coating—creates a dessert that is satisfying to bite into and delightful to eat.
Ingredient List
- 32 ounces Rice Krispies Treats Sheet or homemade Rice Krispie mixture (3 tablespoons butter, 1 package (10 oz) mini marshmallows, and 6 cups Rice Krispies cereal)
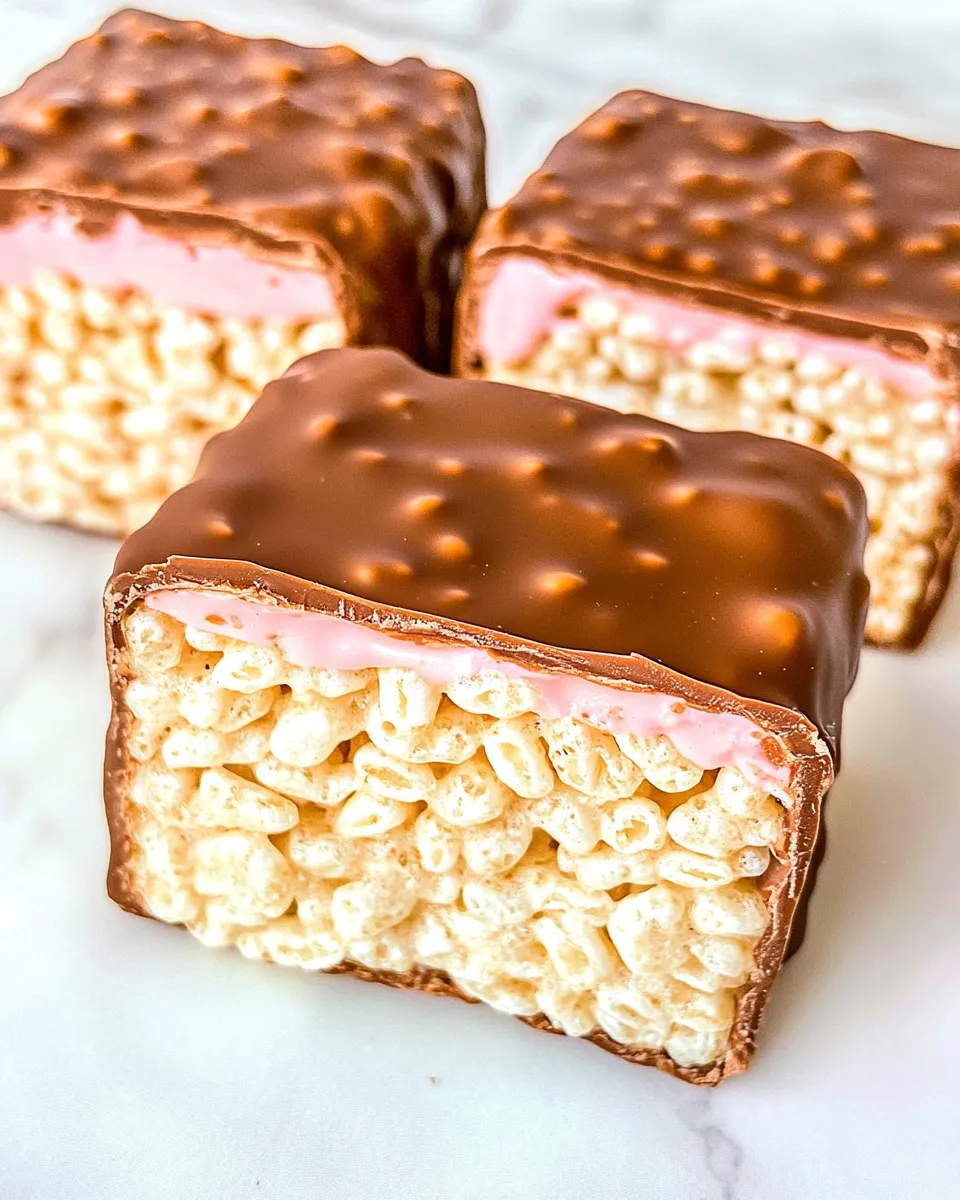
- 24 ounces Pink Candy Melts (feel free to use other colors or flavors such as dark chocolate, white chocolate, or colored candy melts)
- Sprinkles or toppings (optional) for decoration
Equipment at a Glance
- Large mixing bowl for combining your Rice Krispie mixture.
- 9×13 inch baking dish to form your treats.
- Microwave-safe bowl for melting the candy melts.
- Spatula for spreading the Rice Krispie mixture evenly.
- Wax paper or parchment paper for easy cleanup and to prevent sticking.
Directions: Chocolate Covered Rice Krispie Treats
Step 1: Prepare Your Rice Krispie Treats
Begin by preparing your Rice Krispie treats. If you are using a store-bought 32-ounce Rice Krispies Treats Sheet, simply unwrap and cut them into squares. If making them from scratch, melt 3 tablespoons of butter in a large saucepan over low heat. Add 1 package (10 oz) of mini marshmallows and stir until completely melted and smooth. Remove from heat and add 6 cups of Rice Krispies cereal. Stir until well coated. Press the mixture into a greased 9×13 inch baking dish.
Step 2: Cool and Cut
Allow your Rice Krispie treats to cool completely at room temperature. Once cooled, cut them into squares or rectangles, depending on your preference.
Step 3: Melt the Candy Melts
In a microwave-safe bowl, place the 24 ounces of pink candy melts. Heat them in the microwave in 30-second intervals, stirring in between, until they are completely melted and smooth. Be careful not to overheat, as this can cause the candy melts to seize.
Step 4: Dip the Rice Krispie Treats
Once your candy melts are ready, dip each Rice Krispie treat into the melted chocolate, making sure to fully coat each piece. Allow any excess chocolate to drip off before placing the treats on a sheet of wax or parchment paper.
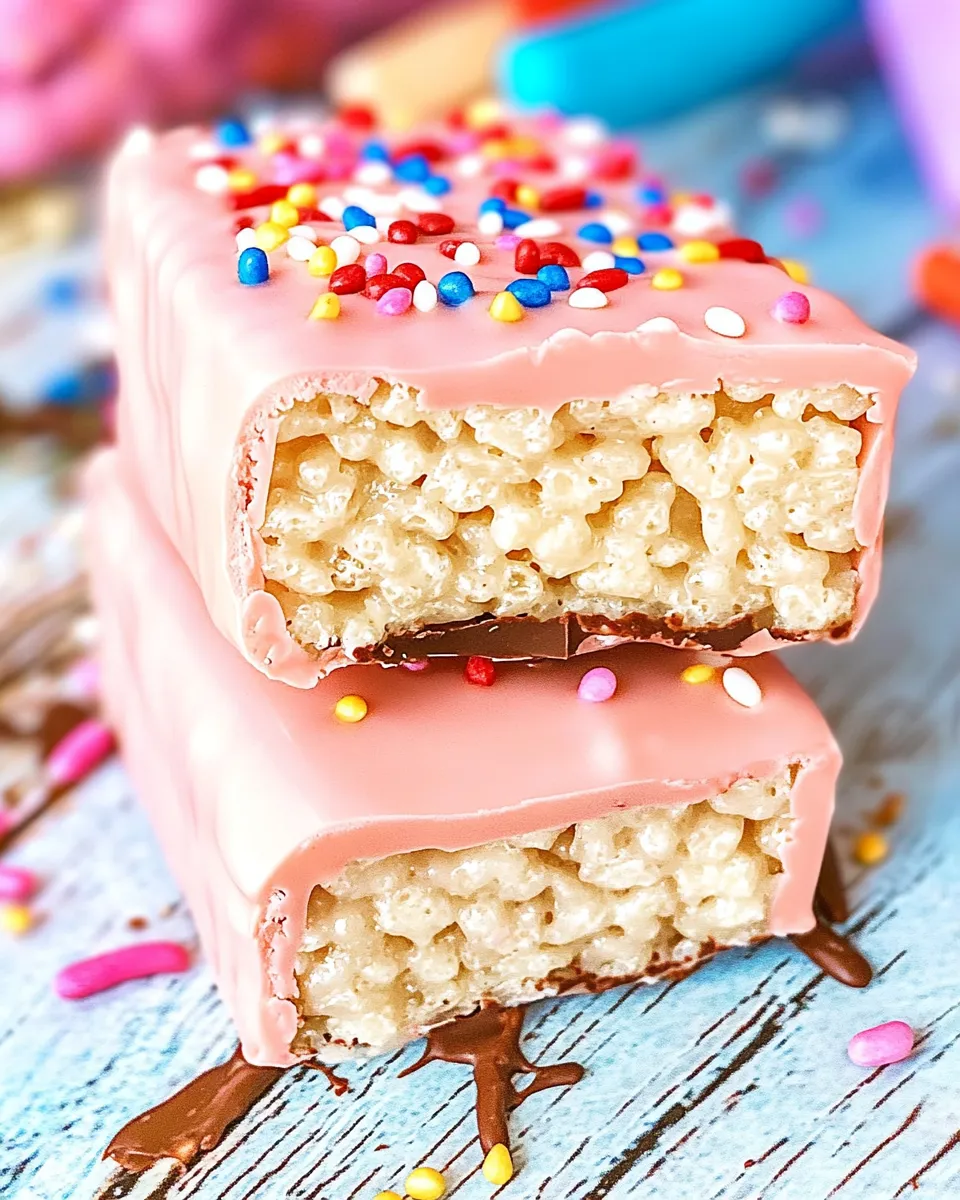
Step 5: Add Toppings (Optional)
If desired, sprinkle your favorite toppings or sprinkles onto the chocolate-covered treats while the coating is still wet. This adds a fun and festive touch!
Step 6: Let Them Set
Let the chocolate coating set completely at room temperature. If you’re in a hurry, you can place them in the refrigerator for about 15 minutes to speed up the process.
Better Choices & Swaps
- Use dark chocolate candy melts for a richer flavor.
- Try flavored candy melts like mint or orange for a unique twist.
- In place of candy melts, you can use high-quality chocolate chips; just ensure you temper the chocolate for a perfect finish.
- Add a pinch of sea salt after dipping for a sweet and salty flavor contrast.
Mistakes That Ruin Chocolate Covered Rice Krispie Treats
Even the best bakers can make mistakes! Here are some common pitfalls to avoid:
- Overheating the marshmallows—this can lead to a sticky, hard mixture.
- Not allowing the Rice Krispie treats to cool completely before dipping, which can cause the chocolate to melt and not adhere properly.
- Using low-quality candy melts, which may not melt smoothly or taste good.
- Rushing the dipping process; allow the excess chocolate to drip off to avoid a messy finish.
Prep Ahead & Store
You can make Chocolate Covered Rice Krispie Treats ahead of time. They can be stored in an airtight container at room temperature for up to 5 days. If you prefer to prepare them further in advance, store the uncoated Rice Krispie treats and dip them in chocolate closer to the time you plan to serve them. For longer storage, you can freeze the uncoated treats for up to 3 months. Just be sure to wrap them tightly in plastic wrap before freezing.
FAQ
Can I use different types of cereal for this recipe?
Absolutely! While Rice Krispies are traditional, you can experiment with other cereals like Cocoa Krispies or Fruity Pebbles for a fun twist.
What can I do if the chocolate is too thick to dip?
If your melted chocolate is too thick, you can add a small amount of coconut oil or vegetable shortening to thin it out. This will help achieve a smoother consistency.
Can I make these in advance for a party?
Yes! Chocolate Covered Rice Krispie Treats can be made a few days in advance. Just store them in an airtight container to keep them fresh.
How do I make my treats less sticky?
To reduce stickiness, ensure you are using enough butter in the Rice Krispie mixture and allow them to cool completely before handling or dipping them in chocolate.
The Last Word
Chocolate Covered Rice Krispie Treats are not only a delicious treat but also a great way to bring joy to any gathering. With their simple ingredients and easy preparation, they are perfect for both novice and experienced bakers. Whether you’re making them for a birthday party, a family gathering, or just because, these treats are sure to please a crowd. The combination of crispy, chewy, and chocolatey is hard to resist, and once you take a bite, you’ll find it difficult to stop at just one. Get ready to enjoy these delightful bites that are as fun to make as they are to eat!
So gather your ingredients, roll up your sleeves, and let’s create some memories with these Chocolate Covered Rice Krispie Treats!
Chocolate Covered Rice Krispie Treats
Ingredients
Equipment
Method
- Step 1: Prepare Your Rice Krispie Treats. Melt 3 tablespoons of butter in a large saucepan over low heat. Add 1 package (10 oz) of mini marshmallows and stir until completely melted and smooth. Remove from heat and add 6 cups of Rice Krispies cereal. Stir until well coated. Press the mixture into a greased 9x13 inch baking dish.
- Step 2: Cool and Cut. Allow your Rice Krispie treats to cool completely at room temperature. Once cooled, cut them into squares or rectangles, depending on your preference.
- Step 3: Melt the Candy Melts. In a microwave-safe bowl, place the 24 ounces of pink candy melts. Heat them in the microwave in 30-second intervals, stirring in between, until they are completely melted and smooth.
- Step 4: Dip the Rice Krispie Treats. Dip each Rice Krispie treat into the melted chocolate, making sure to fully coat each piece. Allow any excess chocolate to drip off before placing the treats on a sheet of wax or parchment paper.
- Step 5: Add Toppings (Optional). Sprinkle your favorite toppings or sprinkles onto the chocolate-covered treats while the coating is still wet.
- Step 6: Let Them Set. Let the chocolate coating set completely at room temperature or refrigerate for about 15 minutes to speed up the process.
Notes
- Store in an airtight container at room temperature for up to 5 days.
- For longer storage, freeze uncoated Rice Krispie treats for up to 3 months.
- Experiment with different cereal types for fun variations.