Chocolate Icing Recipe
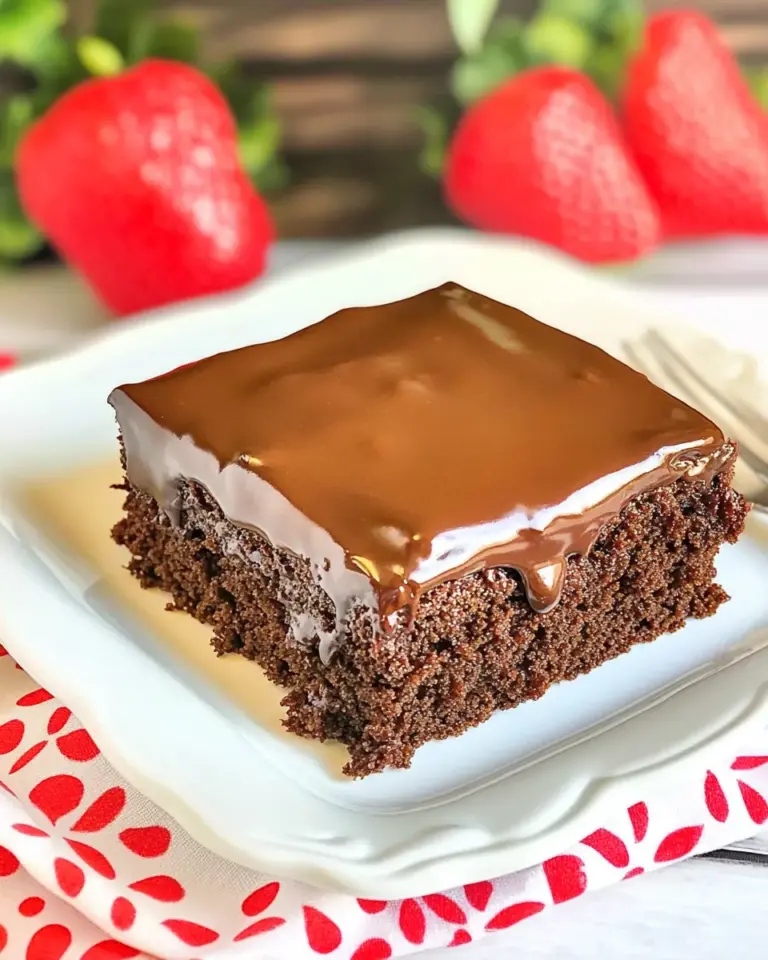
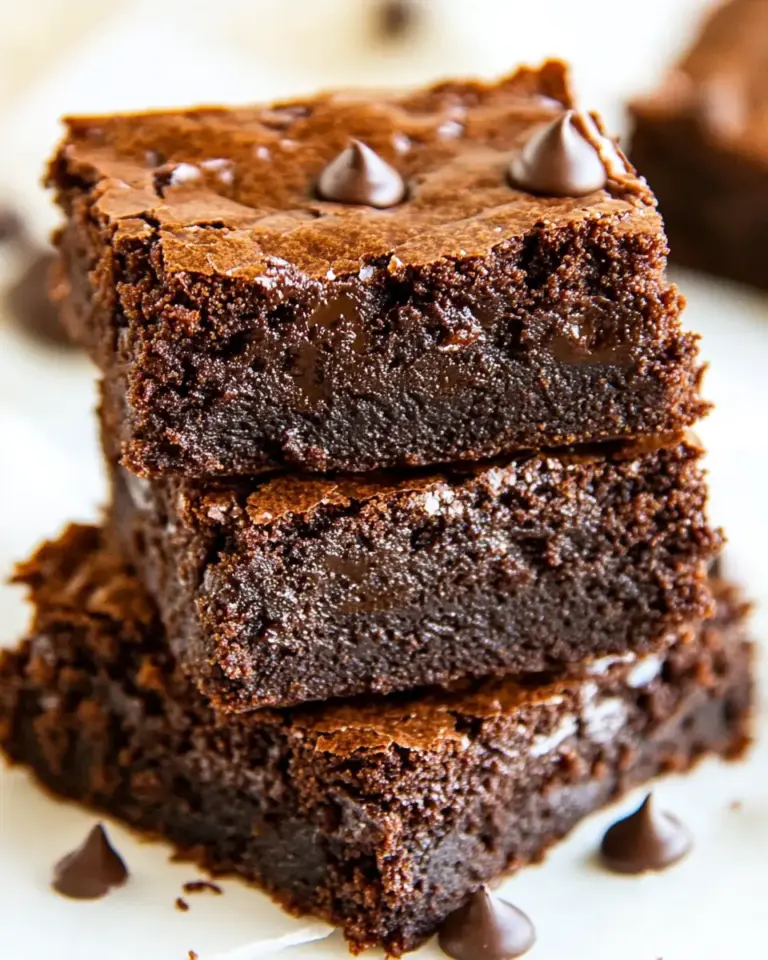
If you’re on the quest for the perfect chocolate icing, look no further! This Chocolate Icing Recipe is rich, creamy, and oh-so-decadent. Whether you’re frosting a layer cake, drizzling it over brownies, or simply dipping your favorite treats, this icing is sure to elevate your desserts to a whole new level. With just a handful of ingredients, you can whip up a batch that will leave your taste buds dancing with joy. Let’s dive into the world of chocolate goodness!
Why This Recipe Works
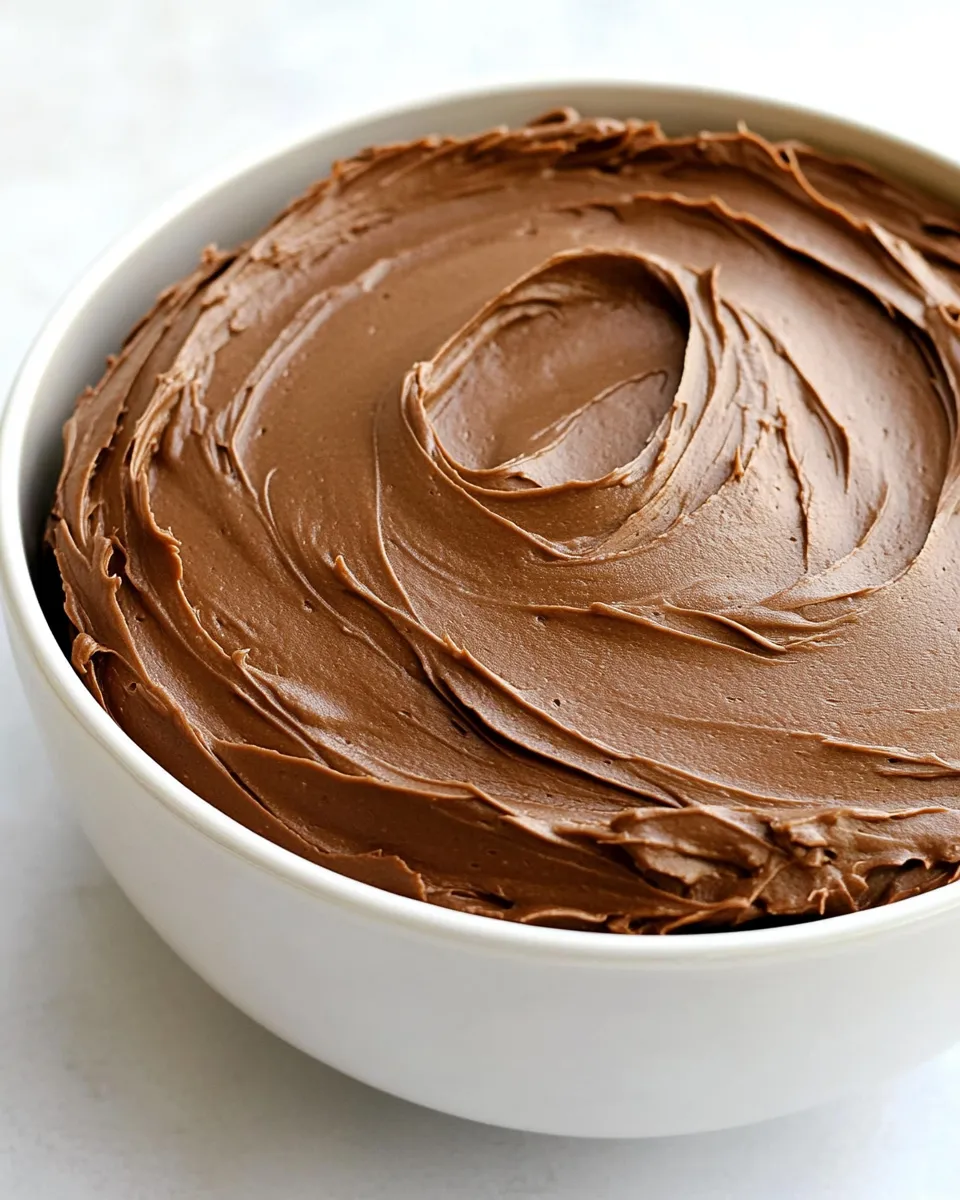
This Chocolate Icing Recipe works wonders because of its delightful balance of flavors and textures. The combination of melted butter and Hershey’s cocoa creates a smooth and glossy finish, while the powdered sugar adds just the right amount of sweetness. Half and half brings a creamy richness that makes this icing easy to spread and perfect for any dessert. Plus, the hint of vanilla extract enhances the chocolate flavor, making it irresistible!
What Goes Into Chocolate Icing Recipe
To create this delicious chocolate icing, you will need the following ingredients:
- 1 cup of melted butter – This provides a rich base for the icing.
- ½ cup of Hershey’s cocoa – The star ingredient that gives the icing its chocolatey flavor.
- 3 cups of powdered sugar – For sweetness and the perfect texture.
- ½ cup of half and half – Adds creaminess and helps achieve the desired consistency.
- 1 teaspoon of vanilla extract – Enhances the chocolate flavor with a lovely aroma.
Gear Checklist
Before you start making your chocolate icing, gather the following tools:
- Mixing bowl – A medium-sized bowl works best for combining the ingredients.
- Whisk or electric mixer – For achieving a smooth and creamy texture.
- Spatula – Ideal for spreading the icing on your desserts.
- Measuring cups and spoons – Accuracy is key for the perfect icing.
- Double boiler or microwave – To melt the butter without burning it.
Chocolate Icing Recipe: Step-by-Step Guide
Step 1: Melt the Butter
Begin by melting the butter in a double boiler or carefully in the microwave. If using the microwave, heat in short bursts of 15-20 seconds to avoid burning. Once fully melted, let it cool slightly.
Step 2: Combine Cocoa Powder
In a mixing bowl, whisk together the melted butter and Hershey’s cocoa until smooth. This will create a rich chocolate base.
Step 3: Add Powdered Sugar
Gradually add the powdered sugar to the chocolate mixture. It’s best to add it in stages to avoid a sugar cloud in your kitchen! Mix until well combined.
Step 4: Incorporate Half and Half
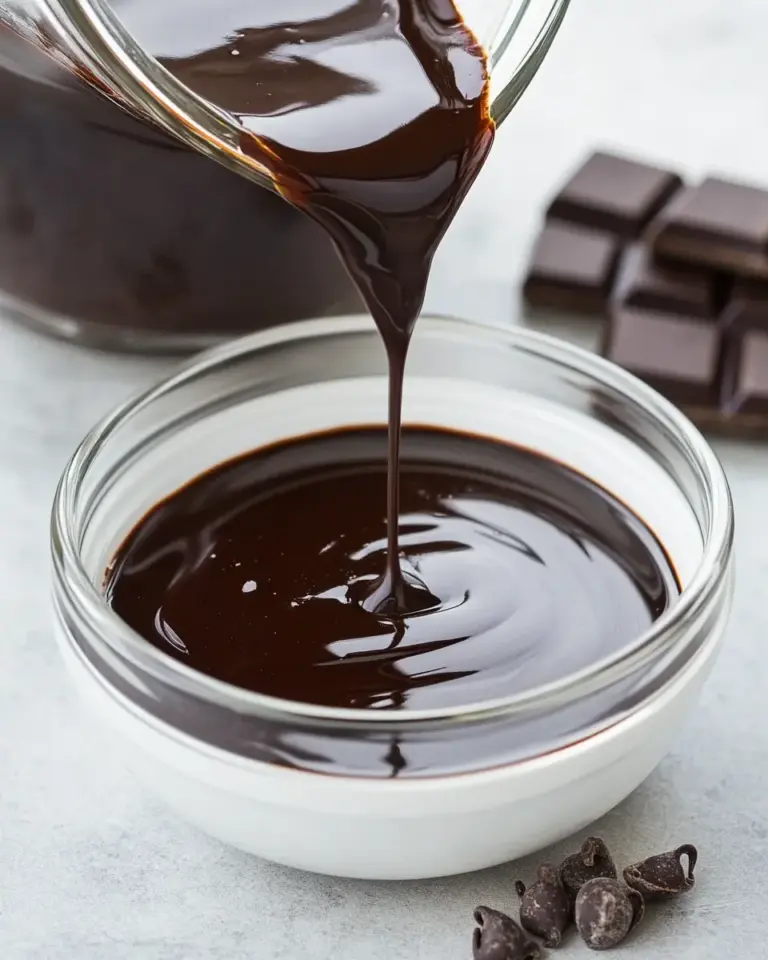
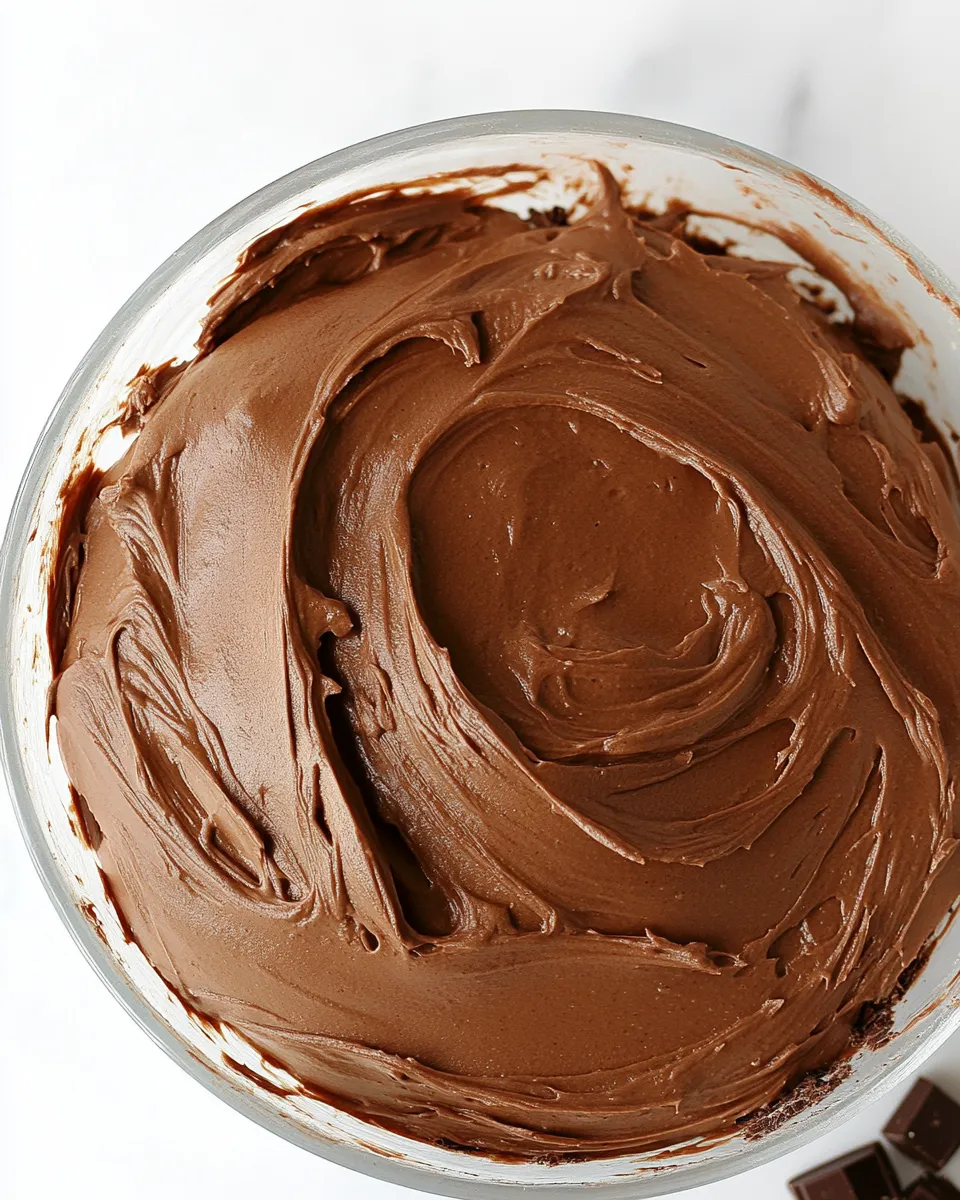
Add the half and half to the mixture, stirring continuously until the icing reaches a smooth consistency. You can adjust the amount of half and half based on your desired thickness.
Step 5: Finish with Vanilla Extract
Finally, stir in the vanilla extract. This step is crucial as it elevates the chocolate flavor to new heights.
Step 6: Spread and Enjoy
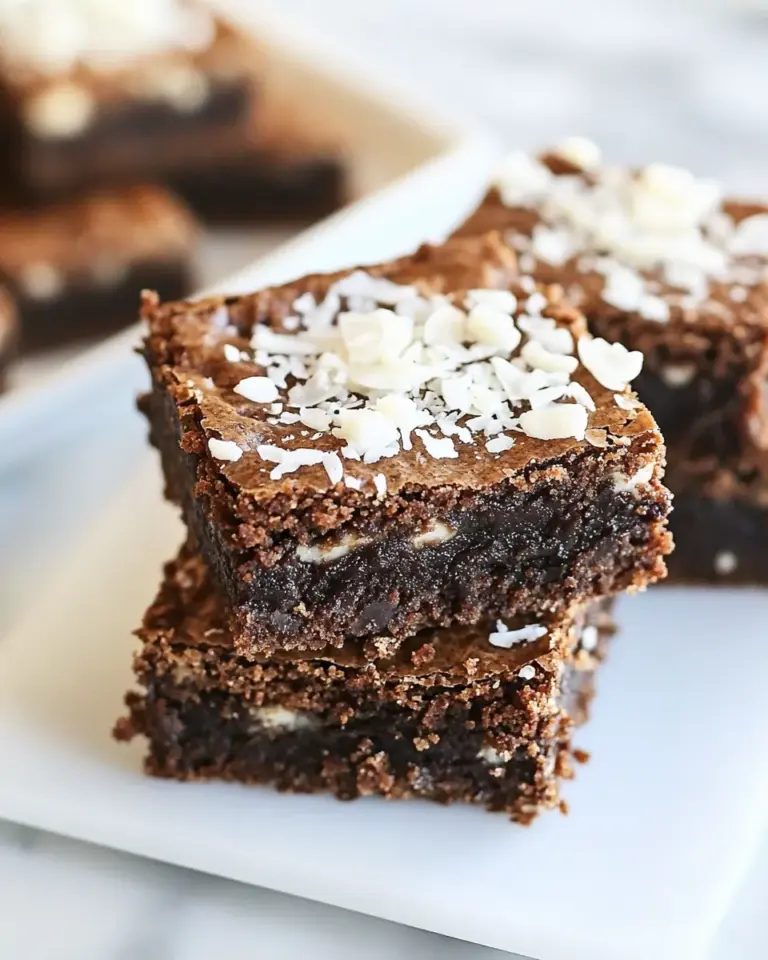
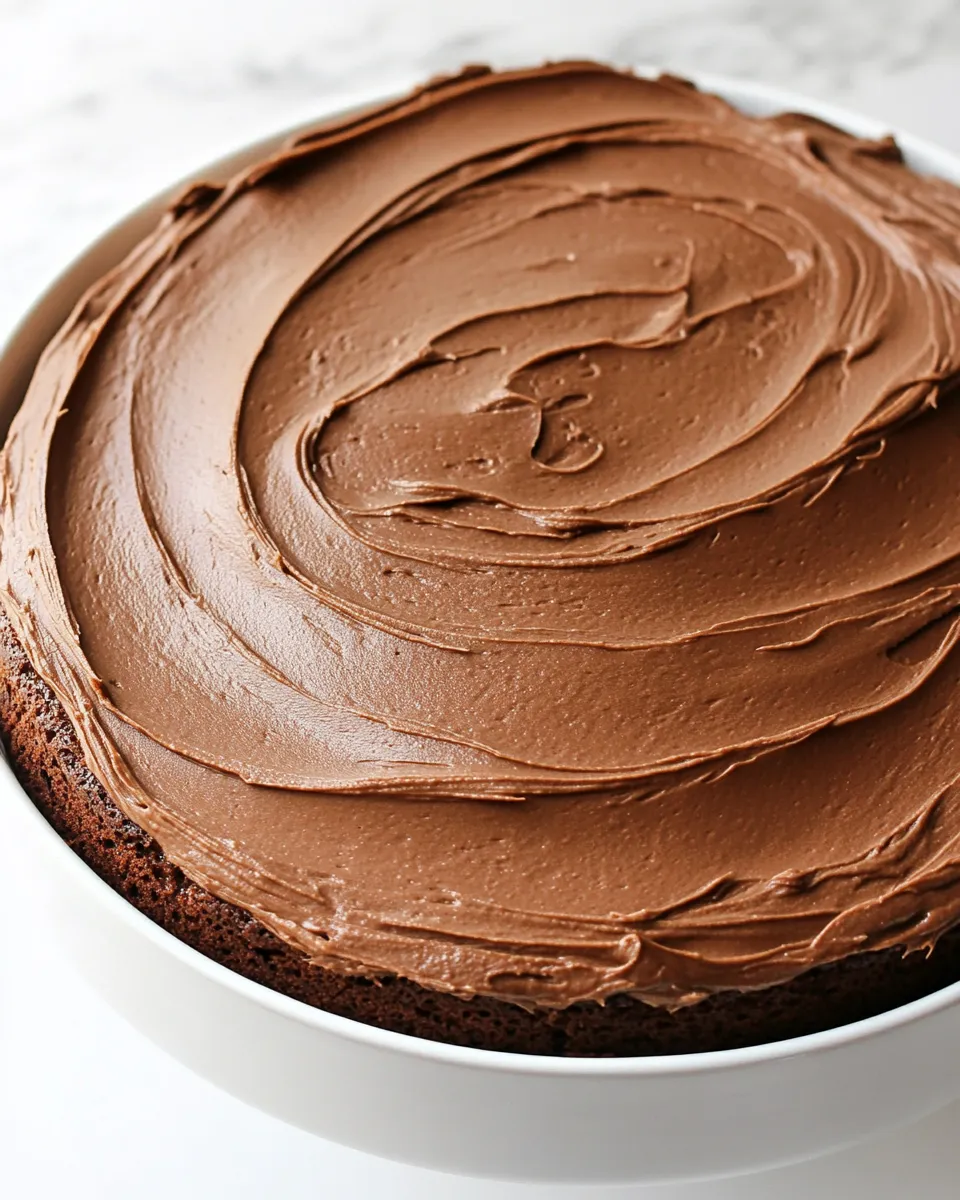
Your chocolate icing is now ready to use! Spread it generously on cakes, cupcakes, or brownies. Enjoy the decadent richness that this icing brings to your desserts!
Fresh Seasonal Changes
This Chocolate Icing Recipe can easily be adapted for different seasons and occasions. Consider these variations:
- Spring: Add a hint of orange zest for a refreshing citrus touch.
- Summer: Mix in some fresh berries for a fruity twist.
- Fall: Incorporate spices like cinnamon or nutmeg for a warm flavor profile.
- Winter: A splash of peppermint extract can create a festive holiday icing.
Slip-Ups to Skip
When making this Chocolate Icing Recipe, there are a few common mistakes to avoid:
- Overheating the Butter: Be cautious not to overheat the butter, as it can change the texture of the icing.
- Not Sifting Powdered Sugar: Sifting the powdered sugar helps prevent lumps in your icing.
- Skipping the Vanilla: Don’t skip the vanilla extract; it is essential for a well-rounded flavor.
- Too Much Liquid: Add the half and half gradually, as it’s easier to thicken the icing than to thin it out.
Storage & Reheat Guide
If you have leftover icing, here’s how to store and reheat it:
Store the chocolate icing in an airtight container in the refrigerator for up to one week. When you’re ready to use it again, simply let it come to room temperature and re-whip with a whisk or mixer to restore its creamy texture.
- Refrigeration: Always keep any unused icing refrigerated.
- Freezing: You can freeze the icing for up to three months. Thaw in the fridge overnight before use.
Common Qs About Chocolate Icing Recipe
Can I use unsweetened cocoa powder instead of Hershey’s cocoa?
Yes, you can use unsweetened cocoa powder. Just keep in mind that it might have a different flavor profile, so adjust the sugar accordingly if necessary.
What can I use instead of half and half?
If you don’t have half and half, you can substitute it with a mixture of milk and heavy cream for a similar consistency.
How can I make this icing dairy-free?
To make a dairy-free version, use vegan butter and almond milk or coconut milk instead of half and half.
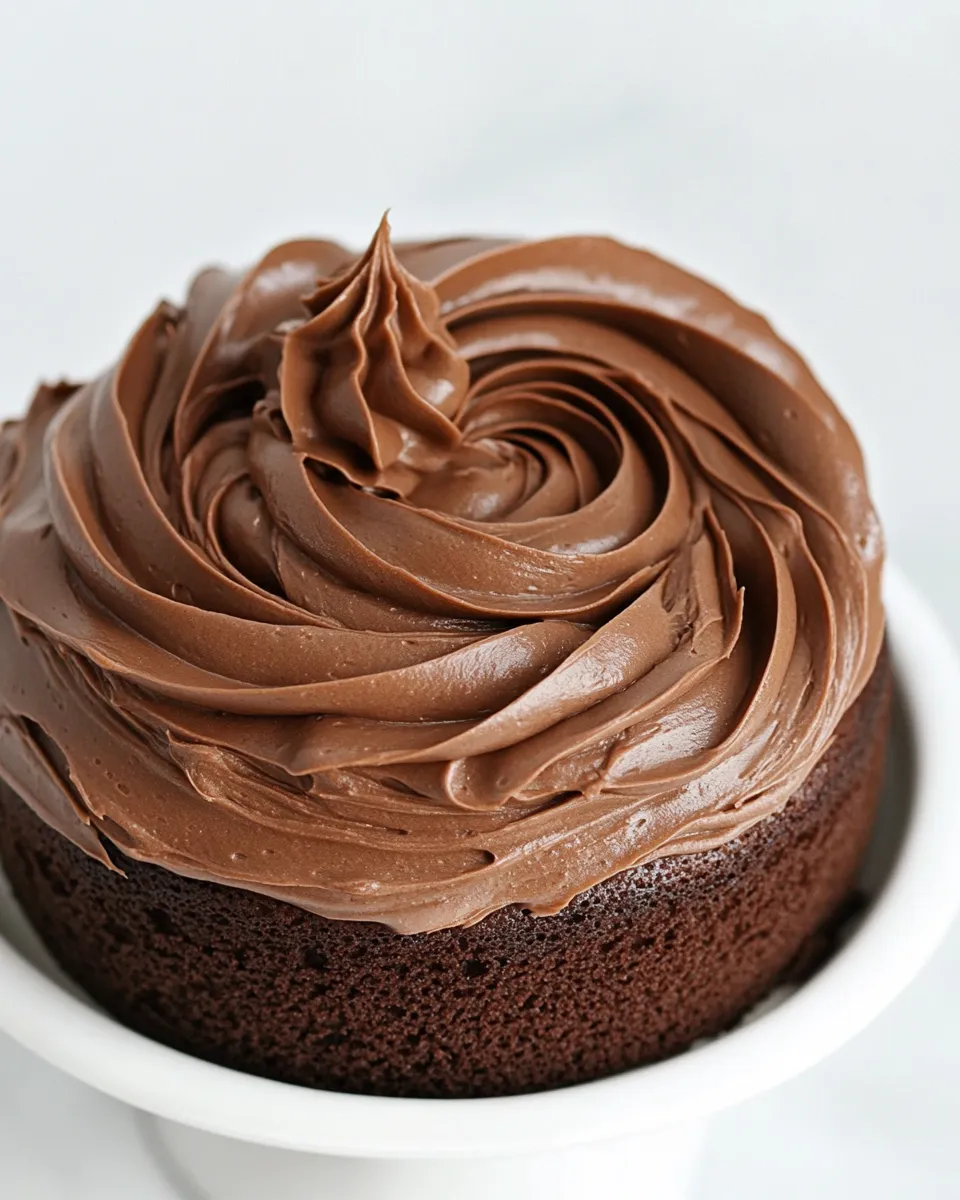
Can I use this icing for decorating cakes?
Absolutely! This chocolate icing is perfect for decorating cakes and cupcakes. Just make sure it’s thick enough to hold its shape when piped.
The Takeaway
This Chocolate Icing Recipe is a versatile and delicious addition to your baking repertoire. Its creamy texture and rich flavor will enhance any dessert, making it a crowd-pleaser for all occasions. Don’t shy away from experimenting with seasonal flavors or homemade variations. With just a few simple ingredients and easy steps, you can create a chocolate icing that is truly memorable.
You’re now equipped with everything you need to whip up this Chocolate Icing Recipe. Whether you’re hosting a gathering, baking for a special occasion, or simply indulging in a sweet treat for yourself, this icing will not disappoint. So grab your whisk, and let the chocolate fun begin!
Chocolate Icing Recipe
Ingredients
Equipment
Method
- Begin by melting the butter in a double boiler or carefully in the microwave. If using the microwave, heat in short bursts of 15-20 seconds to avoid burning. Once fully melted, let it cool slightly.
- In a mixing bowl, whisk together the melted butter and Hershey's cocoa until smooth. This will create a rich chocolate base.
- Gradually add the powdered sugar to the chocolate mixture. It’s best to add it in stages to avoid a sugar cloud in your kitchen! Mix until well combined.
- Add the half and half to the mixture, stirring continuously until the icing reaches a smooth consistency. You can adjust the amount of half and half based on your desired thickness.
- Finally, stir in the vanilla extract. This step is crucial as it elevates the chocolate flavor to new heights.
- Your chocolate icing is now ready to use! Spread it generously on cakes, cupcakes, or brownies. Enjoy the decadent richness that this icing brings to your desserts!
Notes
- Store any leftover icing in an airtight container in the refrigerator for up to one week.
- You can freeze the icing for up to three months. Thaw in the fridge overnight before use.
- For a dairy-free version, use vegan butter and almond or coconut milk instead of half and half.