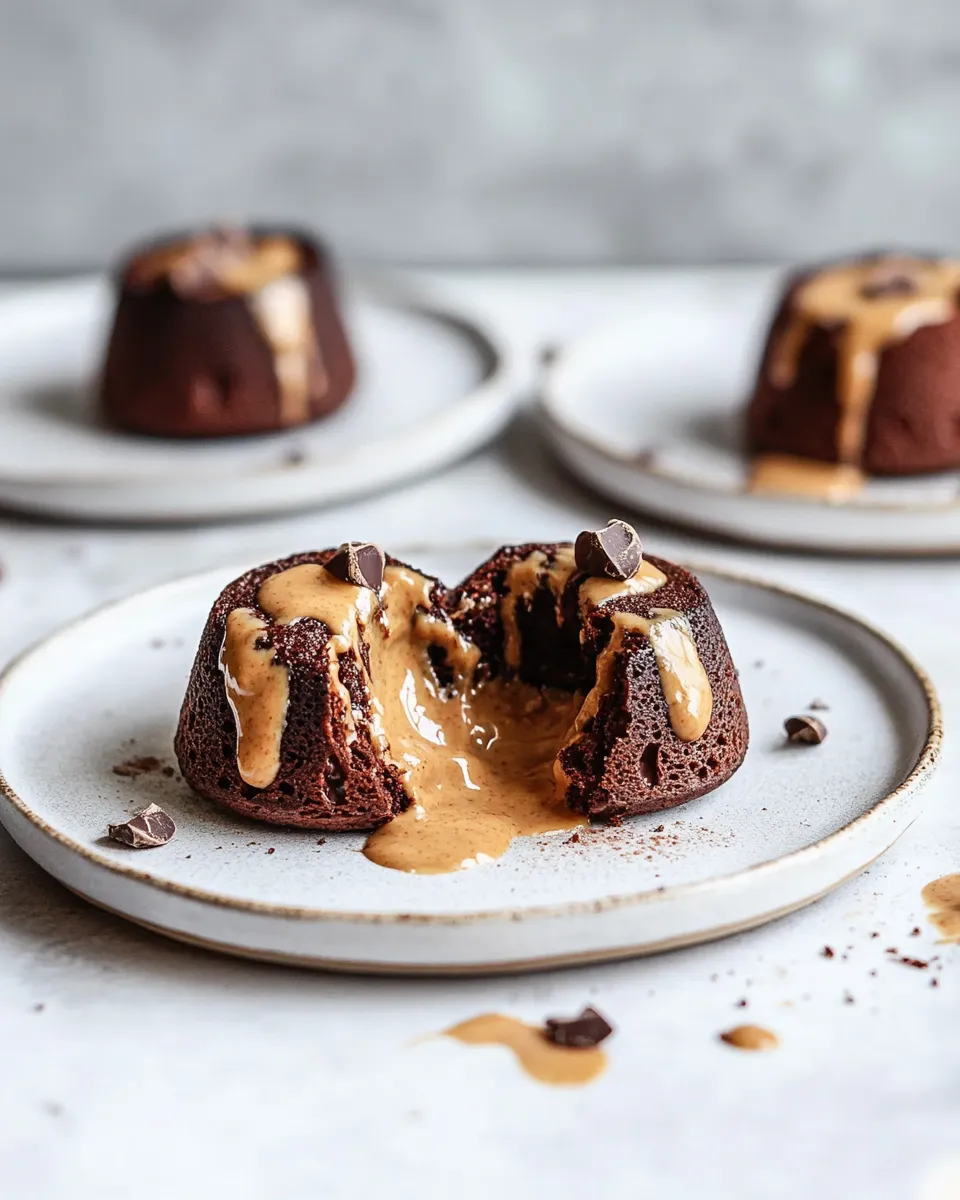
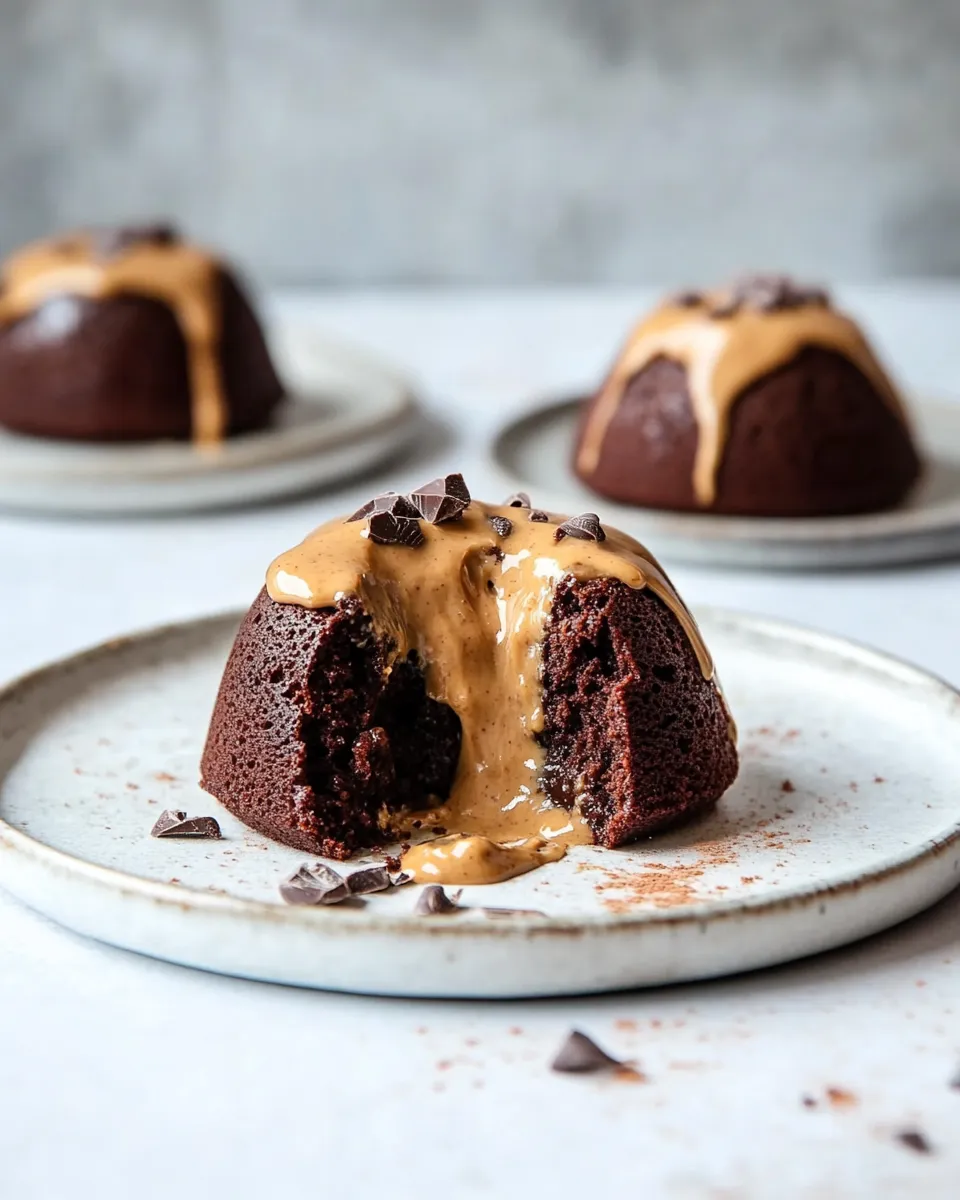
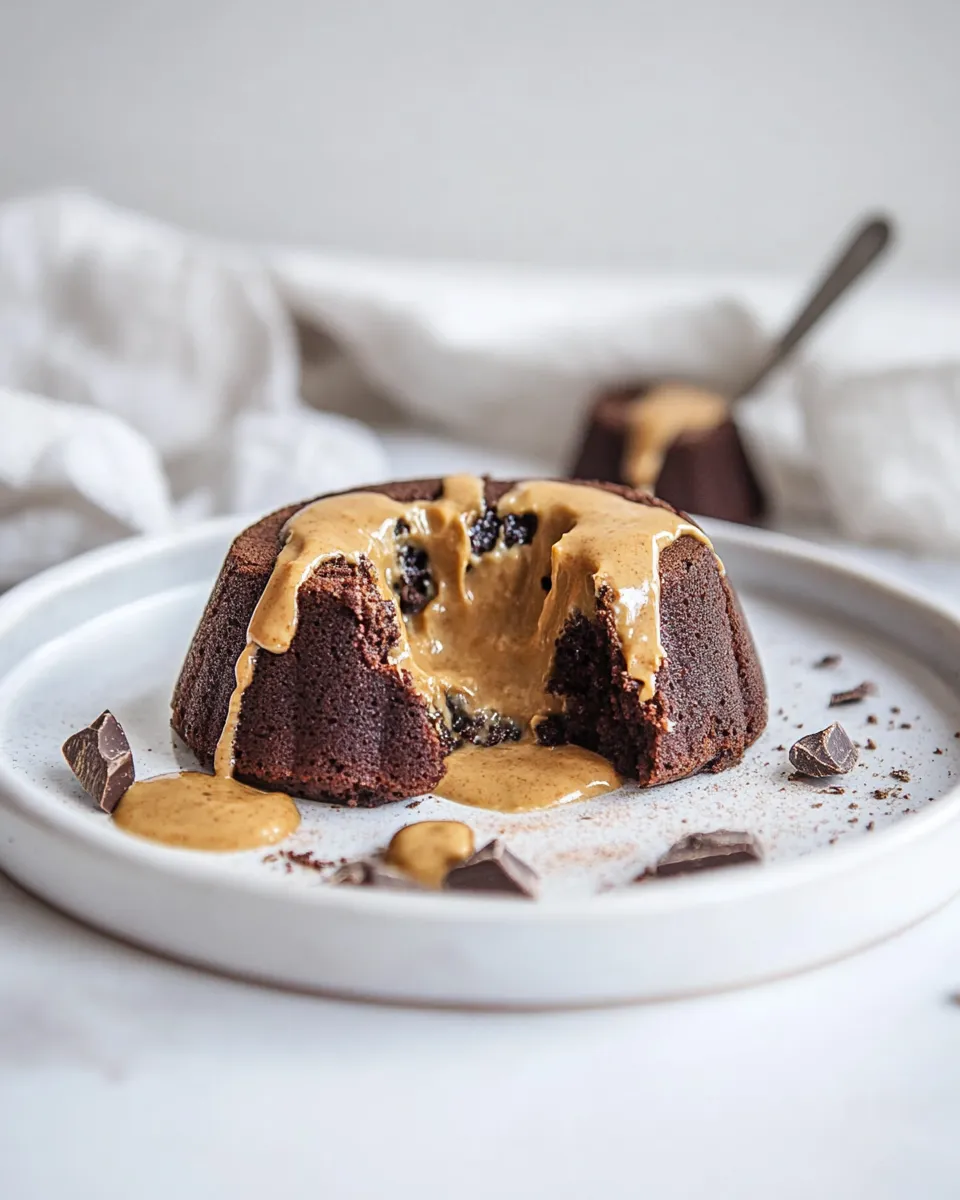
Chocolate Peanut Butter Lava Cakes
Indulging in a rich and decadent dessert is one of life’s greatest pleasures, and nothing quite compares to the warm, gooey center of a Chocolate Peanut Butter Lava Cake. This little creation combines the luxurious taste of chocolate with the creamy goodness of peanut butter for an unforgettable treat. Perfect for a dinner party or a cozy night in, these lava cakes are sure to impress your guests or satisfy your late-night cravings. Let’s dive into the wonderful world of baking and make some chocolatey magic happen!
Why This Chocolate Peanut Butter Lava Cakes Stands Out

The allure of Chocolate Peanut Butter Lava Cakes lies in their delightful combination of flavors and textures. While the exterior is a rich, fudgy chocolate cake, the center oozes warm, molten peanut butter goodness that creates a heavenly experience with every bite. The contrast of the silky chocolate and creamy peanut butter results in a dessert that is both comforting and indulgent. Whether you’re a chocolate lover, a peanut butter aficionado, or simply in search of a show-stopping dessert, this recipe is a must-try.
Ingredient List
- 1 tablespoon unsweetened cocoa powder (5g)
- 5 tablespoons all-purpose flour (38g, divided)
- 9 tablespoons unsalted butter, room temperature (127g, divided; 1 stick)
- 6 ounces German baking chocolate, chopped (170g)
- 3 tablespoons creamy peanut butter (51g, low-fat or any nut butter)
- 1 tablespoon powdered sugar (7g)
- ½ cup granulated sugar (100g)
- 3 large eggs, room temperature (150g)
- 1 pinch kosher salt
Before You Start: Equipment
- Ramekins: Four 6-ounce ramekins for baking the cakes.
- Double boiler or microwave-safe bowl: For melting the chocolate and butter.
- Mixing bowls: For combining ingredients.
- Whisk: For blending the batter smoothly.
- Baking sheet: To catch any overflow when baking.
- Spatula: For scraping down the sides of the mixing bowls.
Chocolate Peanut Butter Lava Cakes, Made Easy
Step 1: Preheat Your Oven
Preheat your oven to 425°F (220°C). This high temperature is essential for the cakes to bake quickly while keeping that delightful molten center.
Step 2: Prepare Your Ramekins
Grease the ramekins with 1 tablespoon of unsalted butter, then dust with cocoa powder, ensuring that the insides are evenly coated. This will help the cakes release easily after baking.
Step 3: Melt Chocolate and Butter
In a double boiler or a microwave-safe bowl, combine the chopped German baking chocolate and 8 tablespoons of unsalted butter. Melt them together, stirring until smooth. If using a microwave, heat in 30-second intervals to prevent burning.
Step 4: Mix the Dry Ingredients
In a separate bowl, whisk together the remaining 4 tablespoons of flour, unsweetened cocoa powder, and a pinch of kosher salt. Set aside.
Step 5: Combine Sugars and Eggs
In a mixing bowl, combine granulated sugar and eggs. Using a whisk, beat the mixture until it becomes pale and slightly thickened. This should take about 2-3 minutes.
Step 6: Combine Mixtures
Pour the melted chocolate mixture into the egg and sugar mixture, stirring until everything is well combined. Gradually fold in the dry ingredients until no streaks remain.
Step 7: Add Peanut Butter
Spoon 1 tablespoon of creamy peanut butter into the center of each ramekin. Then, pour the batter evenly over the peanut butter, filling each ramekin about ¾ full.
Step 8: Bake
Place the filled ramekins on a baking sheet and bake in the preheated oven for 12-14 minutes. The edges should be set, but the center will still look slightly soft and jiggly.
Step 9: Cool and Serve
Allow the cakes to cool for 1 minute before carefully inverting them onto individual plates. Dust with powdered sugar for a touch of elegance, and serve warm.
Seasonal Adaptations
- Fall: Incorporate pumpkin spice into the batter for a seasonal twist.
- Winter: Add a pinch of cinnamon or nutmeg for warmth.
- Spring: Serve with fresh berries for a refreshing contrast.
- Summer: Top with a scoop of vanilla ice cream for an extra indulgence.
Testing Timeline
When testing the Chocolate Peanut Butter Lava Cakes, keep an eye on the baking time. Here’s a quick timeline:
- 0 minutes: Preheat oven and prepare the batter.
- 12-14 minutes: Bake the cakes. Check for doneness at 12 minutes.
- 1 minute: Let the cakes cool slightly before serving.
Storage Pro Tips
To ensure your Chocolate Peanut Butter Lava Cakes remain fresh, follow these storage tips:
- Unbaked batter can be refrigerated for up to 2 days. Just cover the ramekins tightly with plastic wrap.
- Baked lava cakes are best enjoyed immediately, but they can be stored in the refrigerator for up to 2 days. Reheat in the microwave for 10-15 seconds before serving.
- For longer storage, freeze the unbaked ramekins. Just be sure to wrap them well in plastic wrap and foil. They can be baked straight from the freezer—just add a couple of extra minutes to the baking time.
Helpful Q&A
Can I use a different type of chocolate?
Absolutely! You can substitute semi-sweet or dark chocolate for the German baking chocolate. Just keep an eye on the sweetness levels, as different chocolates can alter the flavor profile.
What if I don’t have ramekins?
If you don’t have ramekins, you can use a muffin tin instead. Just adjust the baking time accordingly, and keep an eye on them as they bake.
How do I know when they are done baking?
The edges should be set, and the center should look soft and slightly jiggly. A toothpick inserted into the edges should come out clean, while one inserted in the center will be sticky.
Can I make these ahead of time?
Yes! You can prepare the batter in advance and store it in the refrigerator. Bake them fresh right before serving for the best molten center.
In Closing
If you’re looking for a dessert that perfectly marries rich chocolate with creamy peanut butter, look no further than these Chocolate Peanut Butter Lava Cakes. With their warm, gooey centers and delightful outer crusts, they are sure to be a favorite. Whether you’re hosting a gathering or treating yourself to a special night in, these cakes will undoubtedly satisfy your cravings and impress anyone lucky enough to share in this chocolatey delight. So gather your ingredients, preheat the oven, and get ready to dive into a world of deliciousness!
Chocolate Peanut Butter Lava Cakes
Ingredients
Equipment
Method
- Preheat your oven to 425°F (220°C). This high temperature is essential for the cakes to bake quickly while keeping that delightful molten center.
- Grease the ramekins with 1 tablespoon of unsalted butter, then dust with cocoa powder, ensuring that the insides are evenly coated. This will help the cakes release easily after baking.
- In a double boiler or a microwave-safe bowl, combine the chopped German baking chocolate and 8 tablespoons of unsalted butter. Melt them together, stirring until smooth. If using a microwave, heat in 30-second intervals to prevent burning.
- In a separate bowl, whisk together the remaining 4 tablespoons of flour, unsweetened cocoa powder, and a pinch of kosher salt. Set aside.
- In a mixing bowl, combine granulated sugar and eggs. Using a whisk, beat the mixture until it becomes pale and slightly thickened. This should take about 2-3 minutes.
- Pour the melted chocolate mixture into the egg and sugar mixture, stirring until everything is well combined. Gradually fold in the dry ingredients until no streaks remain.
- Spoon 1 tablespoon of creamy peanut butter into the center of each ramekin. Then, pour the batter evenly over the peanut butter, filling each ramekin about ¾ full.
- Place the filled ramekins on a baking sheet and bake in the preheated oven for 12-14 minutes. The edges should be set, but the center will still look slightly soft and jiggly.
- Allow the cakes to cool for 1 minute before carefully inverting them onto individual plates. Dust with powdered sugar for a touch of elegance, and serve warm.
Notes
- Unbaked batter can be refrigerated for up to 2 days. Just cover the ramekins tightly with plastic wrap.
- Baked lava cakes are best enjoyed immediately, but they can be stored in the refrigerator for up to 2 days. Reheat in the microwave for 10-15 seconds before serving.
- For longer storage, freeze the unbaked ramekins. Just be sure to wrap them well in plastic wrap and foil. They can be baked straight from the freezer—just add a couple of extra minutes to the baking time.