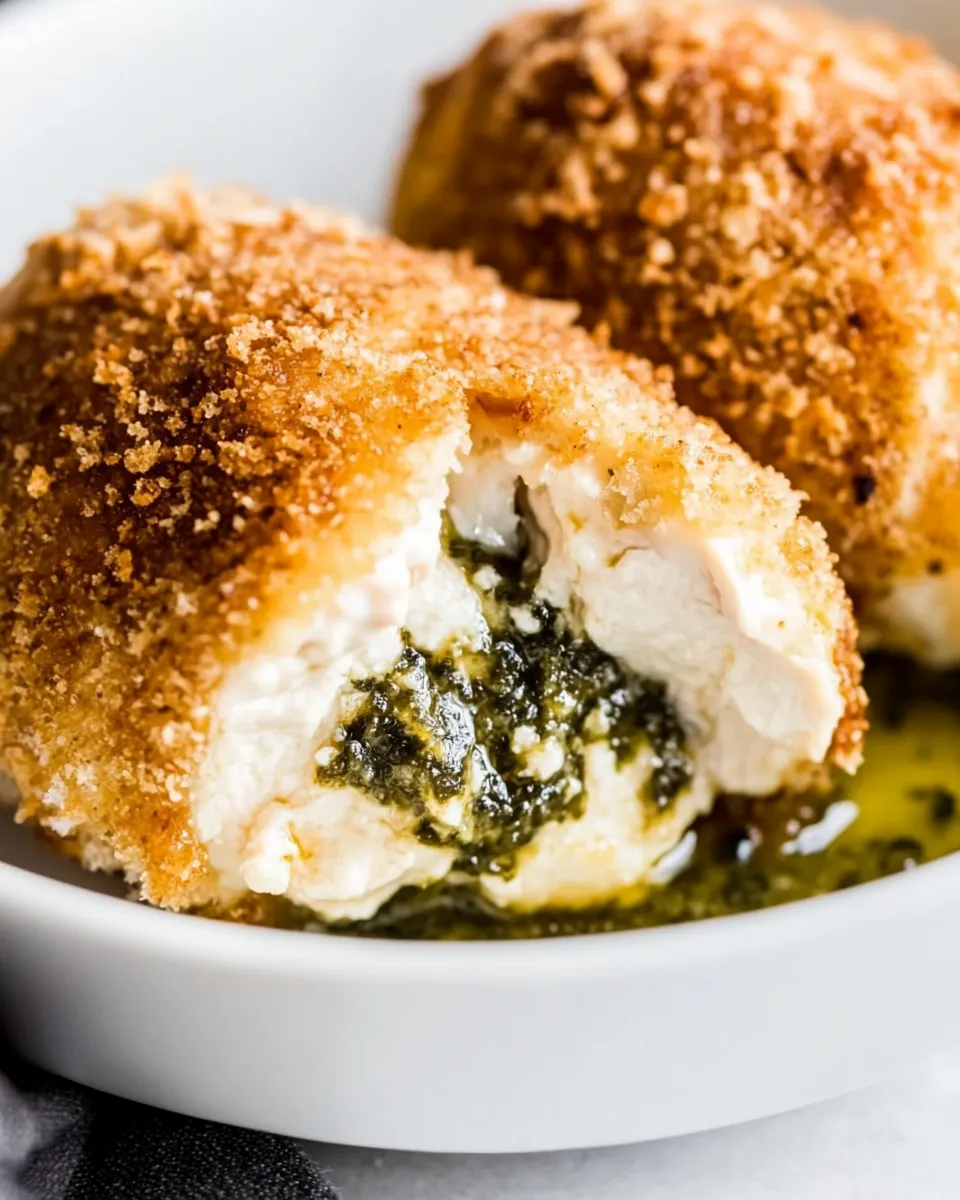
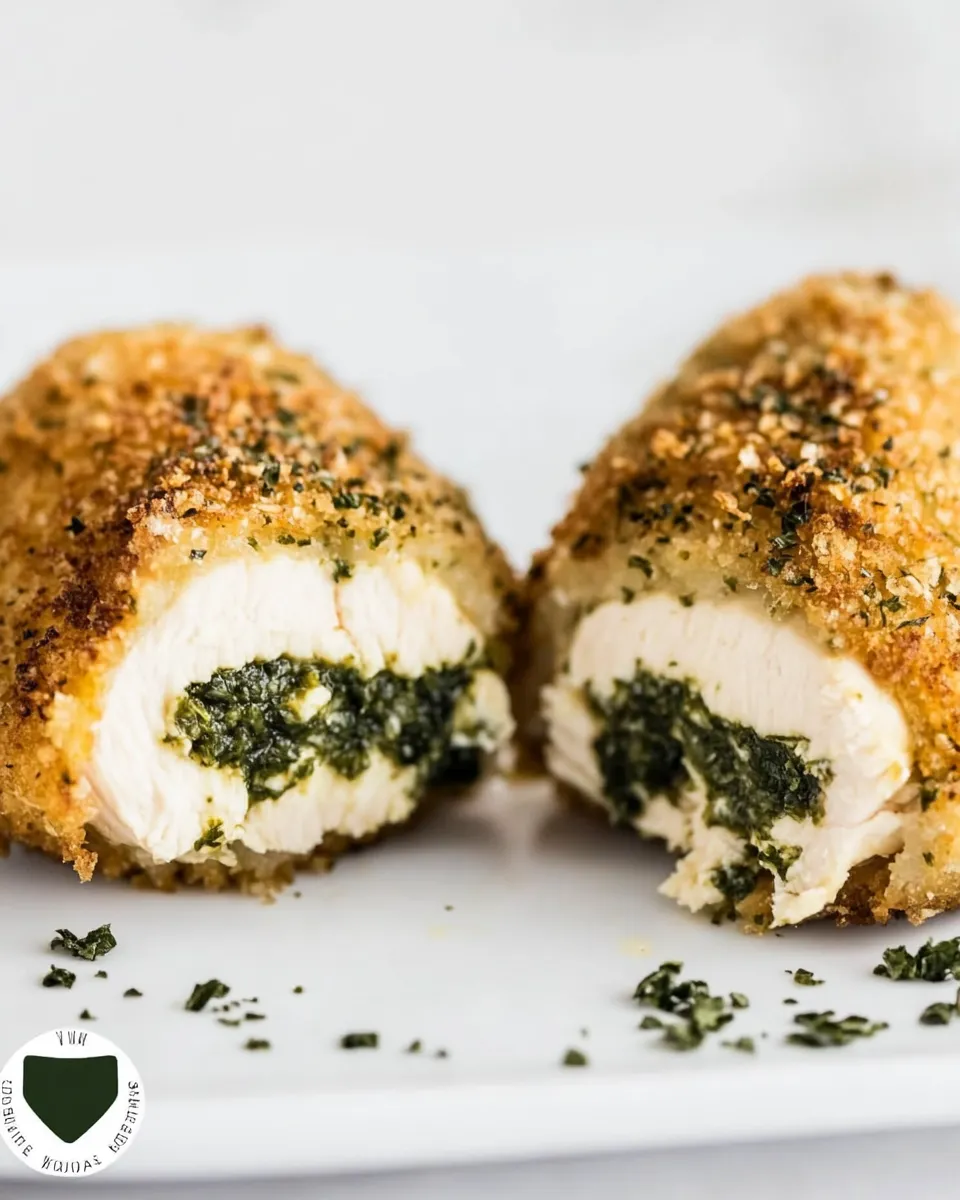
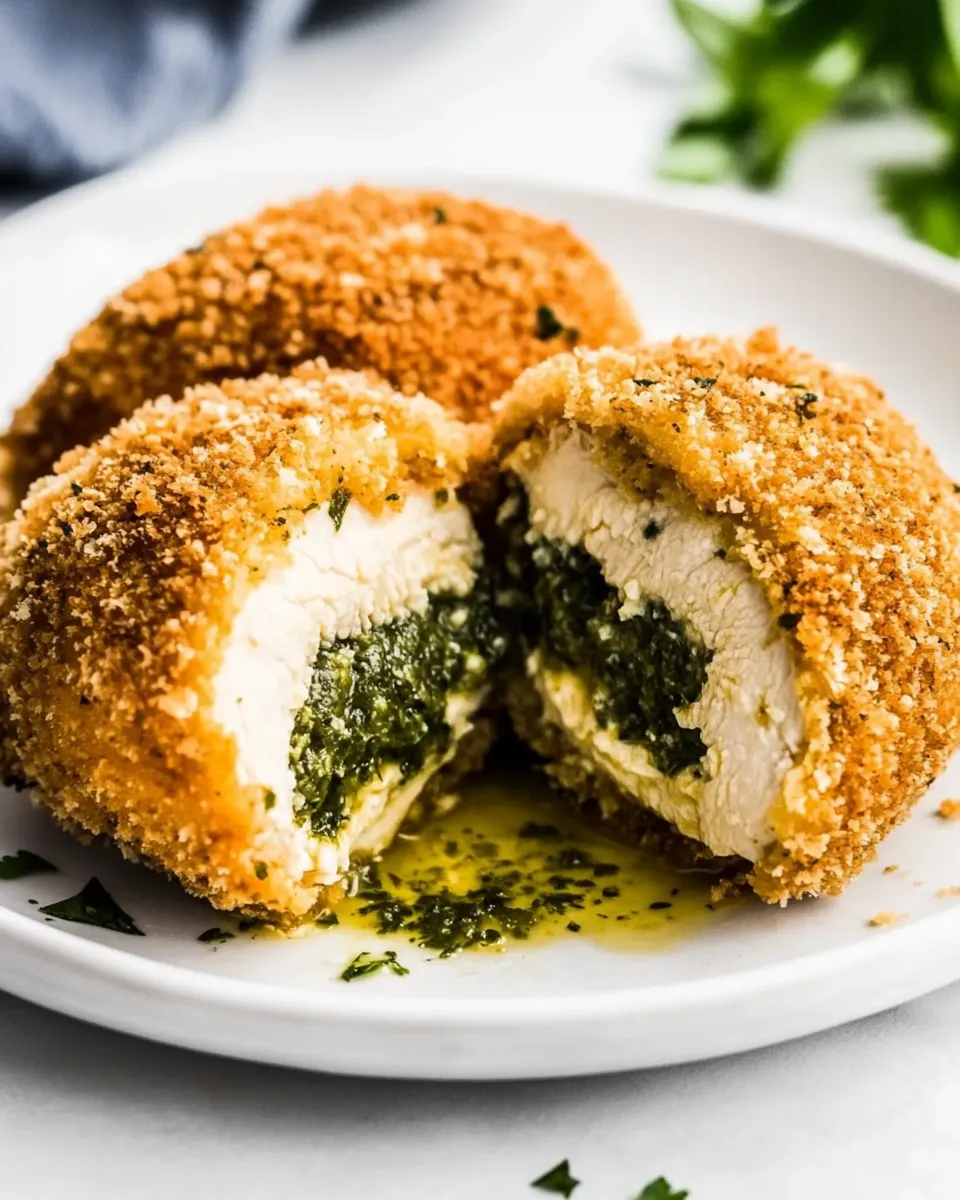
Classic Chicken Kiev Recipe
If you’re searching for a dish that perfectly balances flavor, texture, and comfort, look no further than the Classic Chicken Kiev Recipe. This timeless dish features tender chicken breasts wrapped around a rich garlic herb butter, which melts delightfully during cooking, creating a delightful experience with each bite. The crispy breadcrumb coating adds a satisfying crunch, making it a favorite for family dinners and special occasions alike. Let’s dive into how you can recreate this iconic dish in your own kitchen.
Why This Recipe Works
The beauty of the Classic Chicken Kiev Recipe lies in its simplicity and the quality of its ingredients. The combination of softened unsalted butter, fresh parsley, and garlic creates a flavorful filling that infuses the chicken with moisture and taste. A light coating of flour, egg, and breadcrumbs results in a golden, crispy exterior that contrasts beautifully with the juicy chicken inside. This recipe not only highlights the flavors but also showcases techniques that elevate a simple chicken breast into a gourmet experience.
What to Buy
To make this Classic Chicken Kiev Recipe, you’ll need to gather the following ingredients:
- 1 stick softened unsalted butter
- ½ cup finely minced fresh parsley
- 1 finely minced garlic clove
- Zest and juice of 1 lemon
- Salt and pepper to taste
- 4 boneless skinless chicken breasts
- ½ cup all-purpose flour
- 2 large eggs
- 1 cup breadcrumbs
- Neutral flavored oil for frying
These ingredients are easily accessible and can be found at your local grocery store. Fresh herbs and quality butter are key to achieving that rich flavor that makes this dish so special.
Appliances & Accessories
To prepare the Classic Chicken Kiev Recipe, you’ll need a few basic kitchen tools:
- Meat mallet or rolling pin – for flattening the chicken breasts.
- Mixing bowls – to combine the butter filling and breading ingredients.
- Frying pan – for cooking the chicken to perfection.
- Cooking thermometer – to ensure the chicken reaches the safe internal temperature of 165°F (75°C).
- Oven – optional, if you prefer to finish the chicken in the oven after frying.
These tools will help you achieve the best results while making this delicious dish.
Cooking Classic Chicken Kiev Recipe: The Process
Creating the Classic Chicken Kiev is a rewarding process. Follow these simple steps to make your own:
Step 1: Make the Garlic Herb Butter
In a mixing bowl, combine the softened unsalted butter, finely minced parsley, minced garlic, lemon zest, lemon juice, salt, and pepper. Mix until well combined and smooth. Place the mixture on a piece of plastic wrap, shape it into a log, and refrigerate until firm, about 30 minutes.
Step 2: Prepare the Chicken Breasts
While the butter is chilling, place each chicken breast between two pieces of plastic wrap. Use a meat mallet or rolling pin to gently pound the chicken to an even thickness, about ½ inch. This helps the chicken cook evenly and ensures tenderness.
Step 3: Fill the Chicken
Once the butter is firm, remove it from the refrigerator and cut it into four equal pieces. Place a piece of the butter mixture in the center of each chicken breast. Fold the sides of the chicken over the filling and roll it up tightly, securing the ends with toothpicks if necessary.
Step 4: Bread the Chicken
Set up a breading station with three shallow dishes: one with all-purpose flour seasoned with salt and pepper, one with beaten eggs, and one with breadcrumbs. Dredge each chicken roll in flour, shaking off any excess, then dip it in the egg, and finally coat it with breadcrumbs, pressing gently to adhere.
Step 5: Fry the Chicken
In a large frying pan, heat about ½ inch of neutral flavored oil over medium heat. Once hot, carefully add the breaded chicken rolls. Fry for about 6-8 minutes on each side, or until golden brown and cooked through. You can use a cooking thermometer to check that the internal temperature reaches 165°F (75°C).
Step 6: Rest and Serve
Once cooked, remove the chicken from the pan and place it on a plate lined with paper towels to absorb any excess oil. Let it rest for a few minutes before removing any toothpicks. Serve the Classic Chicken Kiev hot, garnished with additional parsley and lemon wedges if desired.
Low-Carb/Keto Alternatives

If you’re following a low-carb or keto diet, you can easily adapt the Classic Chicken Kiev Recipe:
- Replace all-purpose flour with almond flour or coconut flour for breading.
- Use crushed pork rinds instead of traditional breadcrumbs for a crunchy coating.
- Serve with a side of steamed vegetables instead of potatoes or rice to keep it low-carb.
These substitutions will help you enjoy this classic dish without compromising your dietary goals.
If You’re Curious
Have you ever wondered where Chicken Kiev originated? This dish is believed to have roots in Ukraine, where it was known as “Chicken Kiev” long before it made its way to Western menus. The technique of stuffing meat with flavored butter and then frying it is a culinary tradition found in many cultures.
Another interesting fact is that Chicken Kiev has become a symbol of Soviet cuisine and was a popular dish in many Russian restaurants during the Cold War era. Its crispy exterior and flavorful filling continue to win hearts around the world, making it a beloved comfort food.
Storing, Freezing & Reheating
If you have leftovers, store them in an airtight container in the refrigerator for up to 3 days. To freeze, wrap each chicken roll individually in plastic wrap and then place them in a freezer-safe bag. They can be frozen for up to 3 months.
To reheat, place the chicken in a preheated oven at 350°F (175°C) for about 15-20 minutes or until heated through. If you prefer, you can also reheat them in an air fryer for a crispier texture.
Helpful Q&A
Can I use chicken thighs instead of breasts for this recipe?
Yes, chicken thighs can be used in place of chicken breasts. They tend to be juicier and more flavorful, but may require slightly longer cooking time.
What can I serve with Chicken Kiev?
Classic Chicken Kiev pairs wonderfully with a variety of sides, including mashed potatoes, a fresh garden salad, or steamed vegetables. Consider adding a light sauce or gravy for extra flavor.
Can I bake Chicken Kiev instead of frying?
Absolutely! To bake, preheat your oven to 375°F (190°C) and place the breaded chicken on a baking sheet. Bake for about 25-30 minutes, or until the chicken is cooked through and the coating is golden brown.
How do I prevent the butter from leaking out during cooking?
To prevent the butter from leaking, ensure that the chicken is tightly rolled and sealed. You can also chill the filled chicken rolls for a bit longer to firm up the butter before frying.
Final Thoughts
The Classic Chicken Kiev Recipe is a delightful dish that combines the comforting flavors of garlic, herbs, and tender chicken. With a few simple ingredients and steps, you can create a meal that impresses family and friends alike. Whether you fry it to perfection or choose to bake it, this recipe is sure to become a staple in your culinary repertoire. Enjoy the crispy exterior and the burst of flavorful butter with each bite—it’s truly a dish that brings joy to the dining table.
Classic Chicken Kiev Recipe
Ingredients
Equipment
Method
- In a mixing bowl, combine the softened unsalted butter, finely minced parsley, minced garlic, lemon zest, lemon juice, salt, and pepper. Mix until well combined and smooth. Place the mixture on a piece of plastic wrap, shape it into a log, and refrigerate until firm, about 30 minutes.
- While the butter is chilling, place each chicken breast between two pieces of plastic wrap. Use a meat mallet or rolling pin to gently pound the chicken to an even thickness, about ½ inch.
- Once the butter is firm, remove it from the refrigerator and cut it into four equal pieces. Place a piece of the butter mixture in the center of each chicken breast. Fold the sides of the chicken over the filling and roll it up tightly, securing the ends with toothpicks if necessary.
- Set up a breading station with three shallow dishes: one with all-purpose flour seasoned with salt and pepper, one with beaten eggs, and one with breadcrumbs. Dredge each chicken roll in flour, shaking off any excess, then dip it in the egg, and finally coat it with breadcrumbs, pressing gently to adhere.
- In a large frying pan, heat about ½ inch of neutral flavored oil over medium heat. Once hot, carefully add the breaded chicken rolls. Fry for about 6-8 minutes on each side, or until golden brown and cooked through.
- Once cooked, remove the chicken from the pan and place it on a plate lined with paper towels to absorb any excess oil. Let it rest for a few minutes before removing any toothpicks. Serve the Classic Chicken Kiev hot, garnished with additional parsley and lemon wedges if desired.
Notes
- Use fresh herbs for the best flavor.
- Let the filled chicken rest in the fridge to firm up before frying.
- For a healthier option, consider baking instead of frying.