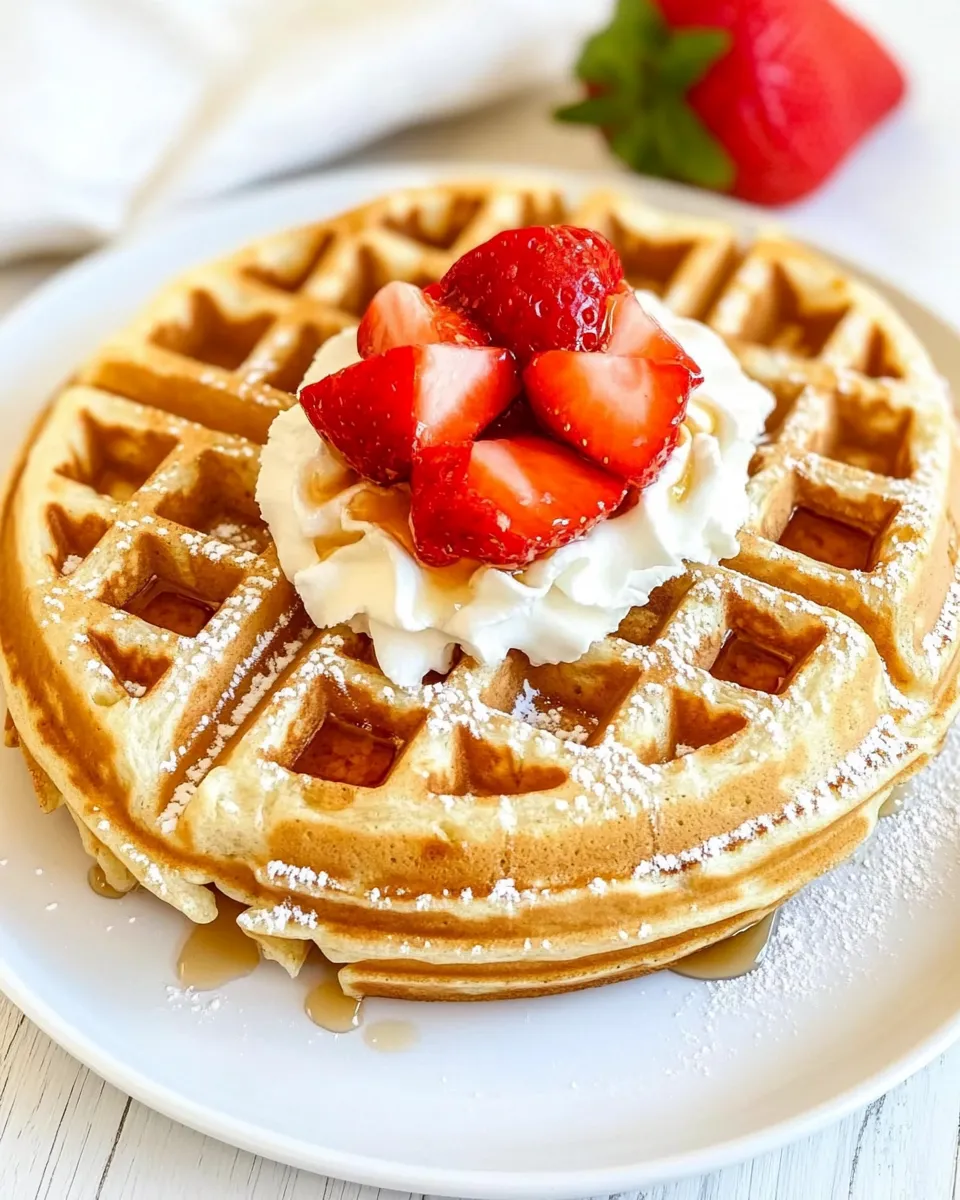
Crispy Belgian Waffles
Crispy Belgian Waffles are the perfect weekend breakfast treat that can easily transform a regular morning into a delightful experience. With their golden-brown exterior and fluffy interior, these waffles are a must-try for any breakfast lover. The simple ingredients come together to create a dish that is not only satisfying but also incredibly versatile. Whether you prefer them topped with fresh fruits, whipped cream, or a drizzle of maple syrup, these waffles are guaranteed to impress.
What Makes This Recipe Special

What sets these Crispy Belgian Waffles apart from your average waffle recipe is the perfect combination of ingredients and techniques. The addition of cornstarch gives them an extra crunch, while the separation of egg whites and yolks allows for a light and airy texture. The melted butter adds richness, and the hint of vanilla extract brings everything together beautifully. Once you take your first bite, you’ll understand why this recipe has become a staple in many households.
Ingredient Notes
- 1 cup all-purpose flour: Provides the structure needed for the waffles.
- 1/2 cup cornstarch: This ingredient ensures that the waffles are crispy on the outside while remaining soft inside.
- 1 tablespoon baking powder: Helps the waffles rise, creating that desirable fluffiness.
- 3 tablespoons sugar: Adds a touch of sweetness that balances the flavors perfectly.
- 1/2 teaspoon salt: Enhances the overall taste of the waffles.
- 2 large eggs (whites separated from yolks): The yolks add richness, while the whipped egg whites create a light texture.
- 1/2 cup unsalted butter (melted): Imparts a delicious flavor and contributes to the crispiness.
- 2 cups milk: Provides moisture and helps to create the batter.
- 1 teaspoon vanilla extract: Adds a lovely aroma and flavor to the waffles.
Gear Checklist
- Waffle iron: A quality waffle iron is essential for achieving that crispy exterior.
- Mixing bowls: You’ll need both a large bowl for the dry ingredients and a separate bowl for the wet ingredients.
- Whisk: Perfect for combining and aerating the batter.
- Measuring cups and spoons: Accurate measurements are crucial for perfect waffles.
- Rubber spatula: Ideal for folding in the egg whites without deflating them.
How to Prepare Crispy Belgian Waffles
Step 1: Preheat the Waffle Iron
Begin by preheating your waffle iron according to the manufacturer’s instructions. If your waffle iron has a non-stick surface, there’s no need to grease it; otherwise, a light coating of cooking spray can help prevent sticking.
Step 2: Combine Dry Ingredients
In a large mixing bowl, whisk together the all-purpose flour, cornstarch, baking powder, sugar, and salt until well combined. This step ensures even distribution of the leavening agents and sugar.
Step 3: Mix Wet Ingredients
In another bowl, beat the egg yolks and then add the melted butter, milk, and vanilla extract. Whisk until everything is well combined and smooth.
Step 4: Create the Batter
Pour the wet ingredients into the dry ingredients and stir gently until just combined. Be careful not to overmix; a few lumps are perfectly fine.
Step 5: Whip Egg Whites
In a clean bowl, beat the egg whites until stiff peaks form. This process is crucial, as it will help create a light and airy waffle.
Step 6: Fold in Egg Whites
Gently fold the whipped egg whites into the batter using a rubber spatula. Be cautious not to deflate the egg whites, as their airiness is what gives the waffles their characteristic texture.
Step 7: Cook the Waffles
Pour an appropriate amount of batter into the preheated waffle iron, close the lid, and cook according to the manufacturer’s instructions, usually around 5-7 minutes or until the waffles are golden brown and crispy.
Step 8: Serve and Enjoy
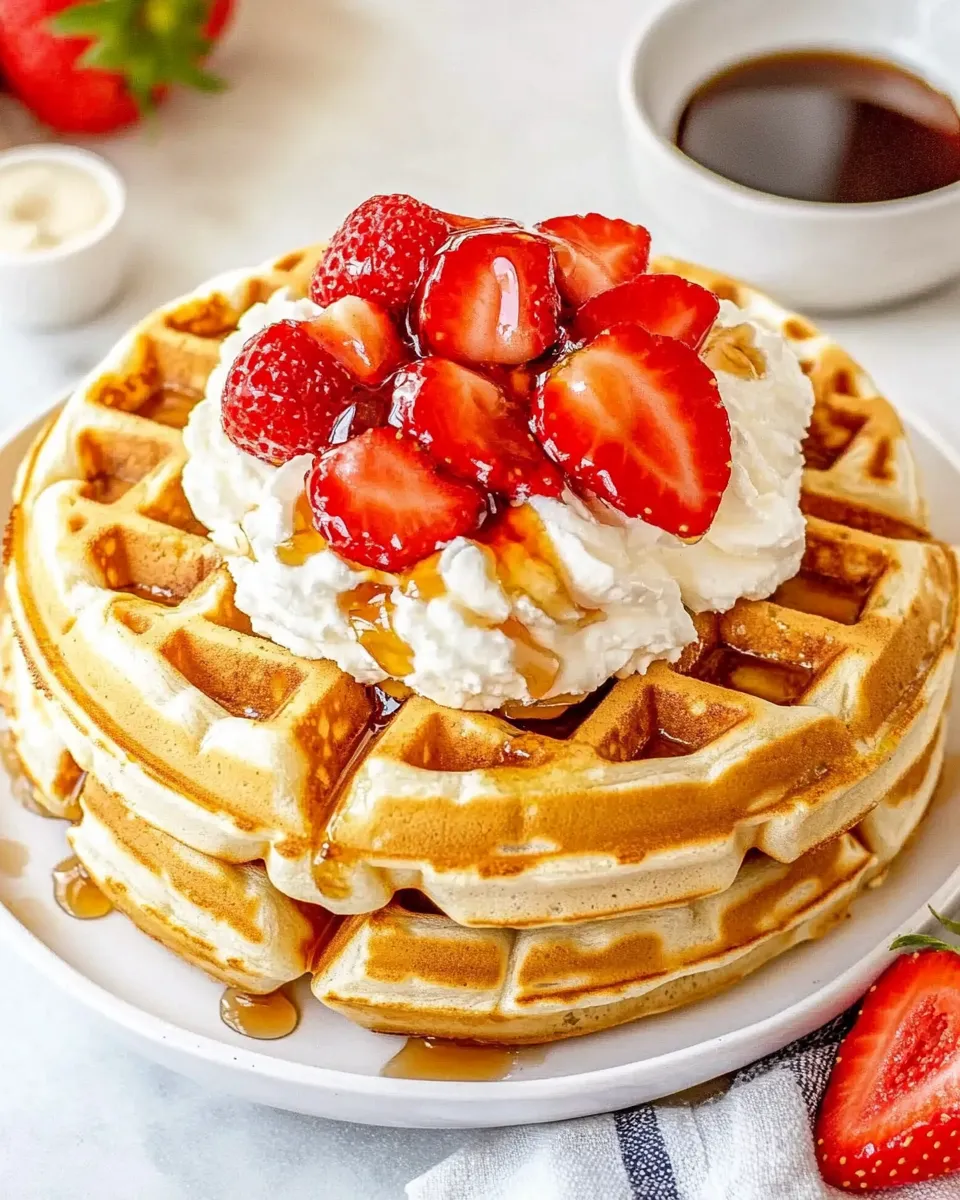
Carefully remove the waffles from the iron and serve immediately. Top with your favorite toppings, such as fresh berries, whipped cream, or maple syrup, and enjoy your homemade Crispy Belgian Waffles!
International Equivalents
- 1 cup = 240 mL
- 1 tablespoon = 15 mL
- 1 teaspoon = 5 mL
- 1 large egg = approximately 50 grams
Errors to Dodge
- Overmixing the batter can lead to dense waffles. Mix just until combined.
- Not preheating the waffle iron properly can result in unevenly cooked waffles.
- Using too much batter can overflow the waffle iron, creating a mess.
- Skipping the step of whipping the egg whites will prevent the waffles from becoming light and fluffy.
Meal Prep & Storage Notes
Crispy Belgian Waffles can be made ahead of time. To store, allow them to cool completely on a wire rack, then place them in an airtight container. They can be refrigerated for up to 3 days or frozen for up to 2 months. When ready to enjoy, simply reheat in a toaster or oven until warmed through and crispy again.
Quick Questions
Can I use whole wheat flour instead of all-purpose flour?
Yes, but the texture of the waffles may change. Whole wheat flour will make them denser. You can also consider a blend of both flours for a healthier version.
How can I make these waffles dairy-free?
To make dairy-free Crispy Belgian Waffles, substitute the milk with almond milk, oat milk, or any preferred non-dairy milk, and use coconut oil or a dairy-free butter alternative instead of regular butter.
What toppings go well with Belgian waffles?
Belgian waffles are incredibly versatile! Popular toppings include fresh fruit, whipped cream, maple syrup, Nutella, or even a sprinkle of powdered sugar. You can also get creative with savory toppings!
Can I make the batter ahead of time?
While it’s best to use the batter immediately for the best texture, you can prepare the dry ingredients ahead of time and mix in the wet ingredients right before cooking.
The Last Word
Crispy Belgian Waffles are not just a breakfast option; they are an experience. Their delightful crunch combined with a fluffy interior makes them suitable for any occasion, from a cozy family breakfast to a festive brunch. This recipe is straightforward and can easily be customized to suit your taste preferences. With the right techniques and a bit of love, you’ll master the art of making these waffles in no time. So gather your loved ones, whip up a batch, and savor every crispy bite. The joy of homemade waffles is truly unmatched, and once you make these Crispy Belgian Waffles, you’ll never want to go back to store-bought again.

Crispy Belgian Waffles
Ingredients
Equipment
Method
- Step 1: Preheat the Waffle Iron - Begin by preheating your waffle iron according to the manufacturer's instructions. If your waffle iron has a non-stick surface, there's no need to grease it; otherwise, a light coating of cooking spray can help prevent sticking.
- Step 2: Combine Dry Ingredients - In a large mixing bowl, whisk together the all-purpose flour, cornstarch, baking powder, sugar, and salt until well combined. This step ensures even distribution of the leavening agents and sugar.
- Step 3: Mix Wet Ingredients - In another bowl, beat the egg yolks and then add the melted butter, milk, and vanilla extract. Whisk until everything is well combined and smooth.
- Step 4: Create the Batter - Pour the wet ingredients into the dry ingredients and stir gently until just combined. Be careful not to overmix; a few lumps are perfectly fine.
- Step 5: Whip Egg Whites - In a clean bowl, beat the egg whites until stiff peaks form. This process is crucial, as it will help create a light and airy waffle.
- Step 6: Fold in Egg Whites - Gently fold the whipped egg whites into the batter using a rubber spatula. Be cautious not to deflate the egg whites, as their airiness is what gives the waffles their characteristic texture.
- Step 7: Cook the Waffles - Pour an appropriate amount of batter into the preheated waffle iron, close the lid, and cook according to the manufacturer's instructions, usually around 5-7 minutes or until the waffles are golden brown and crispy.
- Step 8: Serve and Enjoy - Carefully remove the waffles from the iron and serve immediately. Top with your favorite toppings, such as fresh berries, whipped cream, or maple syrup, and enjoy your homemade Crispy Belgian Waffles!
Notes
- Make the batter immediately before cooking for the best texture.
- For a healthier version, consider using whole wheat flour.
- Store leftovers in an airtight container for up to 3 days or freeze for up to 2 months.