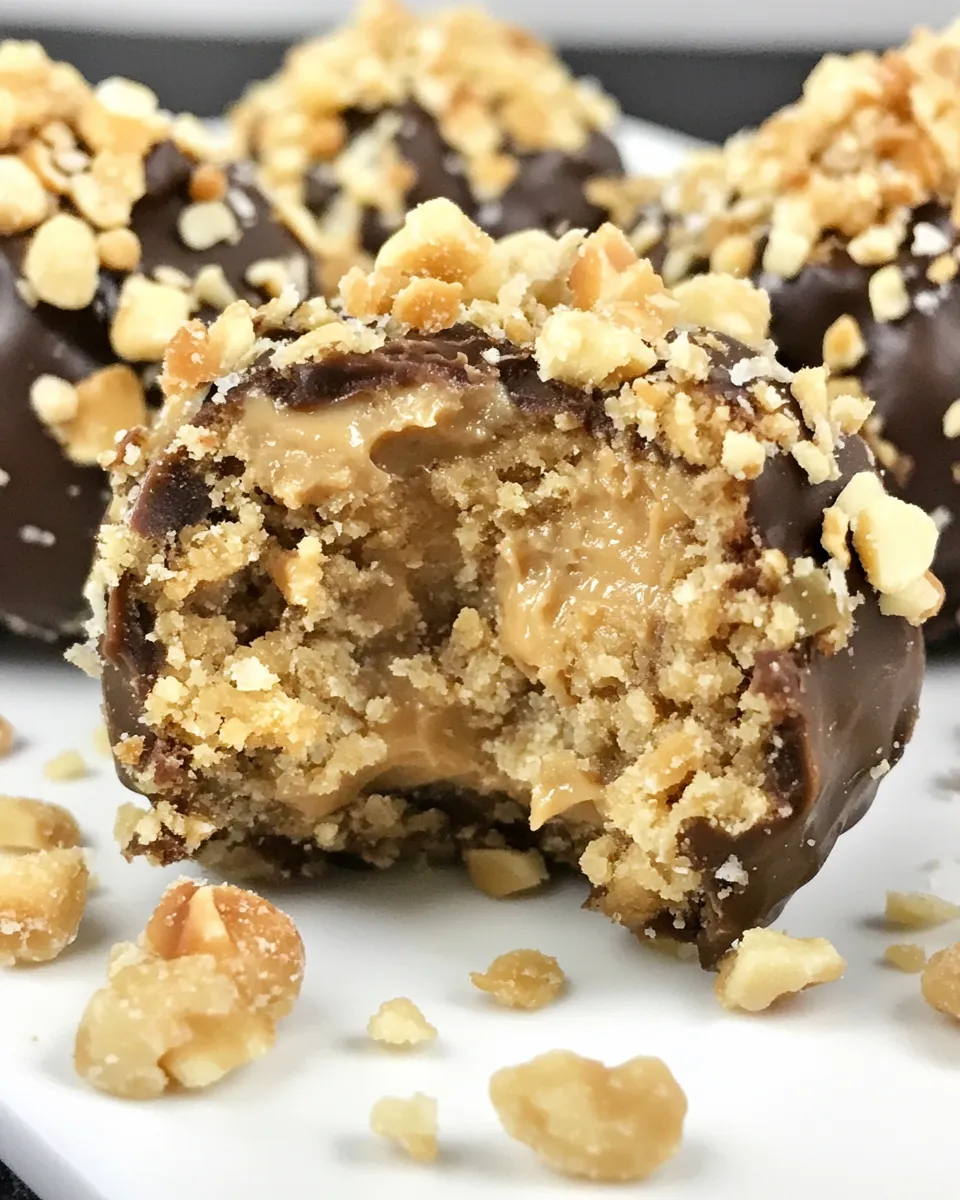
Crispy Peanut Butter Balls
If you’re a fan of sweet and salty treats that also pack a delightful crunch, then you’re in for a real treat with these crispy peanut butter balls! These little bites are the perfect combination of creamy peanut butter and crispy rice cereal, all coated in rich dark chocolate. They’re easy to make, require minimal ingredients, and are sure to satisfy your sweet tooth. Whether you’re serving them at a party, packing them as a snack, or indulging yourself, these crispy peanut butter balls are bound to be a hit.
What You’ll Love About This Recipe

These crispy peanut butter balls are not only delicious but also incredibly versatile. You can customize them to suit your taste preferences by adding different mix-ins or toppings. Plus, they come together in under 30 minutes, making them a quick and easy treat. The combination of the crunchy rice cereal with the smooth peanut butter creates a delightful texture that is simply irresistible. And who can resist the allure of dark chocolate? These treats are the perfect balance of sweet and savory, making them a perfect indulgence for any occasion.
Ingredient Rundown
- 2 cups creamy peanut butter – The star of the show! Choose a natural variety for the best flavor.
- 3 cups rice cereal – This adds the perfect crunch to our crispy peanut butter balls.
- 2 tablespoons pure maple syrup or honey – A touch of sweetness to complement the peanut butter.
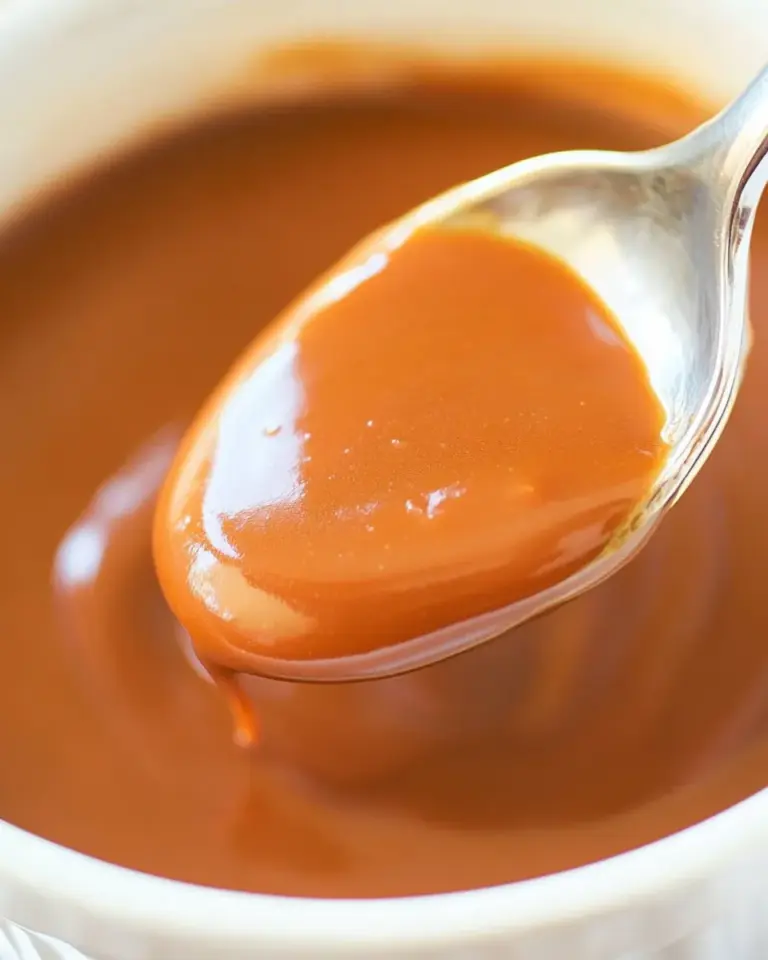
- 2 cups dark chocolate, melted – For a rich, decadent coating that elevates these treats.
- 1 teaspoon vanilla extract – A hint of vanilla to enhance the overall flavor.
- 1/4 cup peanuts, chopped – Optional, for added crunch and texture.
Equipment Breakdown
- Mixing bowl – For combining all your ingredients.
- Spatula – To help mix everything together thoroughly.
- Baking sheet – To set your peanut butter balls on while they firm up.
- Parchment paper – To line your baking sheet for easy cleanup.
- Microwave-safe bowl – For melting the dark chocolate.
Make Crispy Peanut Butter Balls: A Simple Method

Step 1: Prepare Your Ingredients
Start by gathering all of your ingredients. This ensures you have everything on hand and makes the process smooth.
Step 2: Mix the Peanut Butter Mixture
In a large mixing bowl, combine the creamy peanut butter, pure maple syrup (or honey), and vanilla extract. Stir well until the mixture is smooth and creamy.
Step 3: Add the Rice Cereal
Gently fold in the rice cereal into the peanut butter mixture. Make sure the cereal is fully coated without crushing it too much. If you’re adding chopped peanuts, fold them in at this stage as well.
Step 4: Form the Balls
Using your hands, scoop out small amounts of the mixture and roll them into balls about 1 inch in diameter. Place them on a baking sheet lined with parchment paper.
Step 5: Melt the Dark Chocolate
In a microwave-safe bowl, melt the dark chocolate in 30-second intervals, stirring in between until fully melted and smooth.
Step 6: Coat the Peanut Butter Balls
Dip each peanut butter ball into the melted chocolate, ensuring it’s fully coated. Return the coated balls to the baking sheet.
Step 7: Chill and Set
Place the baking sheet in the refrigerator for about 30 minutes or until the chocolate coating is firm.
Texture-Safe Substitutions

- Nut Butter Alternatives – Swap creamy peanut butter for almond or cashew butter for a different flavor profile.
- Sweetener Alternatives – Agave syrup can replace maple syrup or honey if desired.
- Rice Cereal Substitutes – Quinoa puffs or crushed graham crackers can provide a similar crunch.
- Chocolate Options – Use milk chocolate or white chocolate for a sweeter twist.
Avoid These Traps
- Overmixing – Be gentle when mixing in the rice cereal; you want to maintain its crunch.
- Skipping the Chill Step – Don’t skip chilling the chocolate-coated balls; this is crucial for setting the chocolate.
- Using Too Much Heat – Melt chocolate at low heat to prevent burning and ensure a smooth coating.
- Not Lining the Baking Sheet – Always line your baking sheet with parchment paper to prevent sticking.
Keep It Fresh: Storage Guide
To keep your crispy peanut butter balls fresh, store them in an airtight container in the refrigerator for up to one week. If you want to keep them longer, you can freeze them. Place the balls in a single layer on a baking sheet, freeze until solid, and then transfer them to a freezer-safe container. They will last for up to three months in the freezer. Just remember to let them thaw for a few minutes at room temperature before enjoying!
Top Questions & Answers
Can I use crunchy peanut butter instead of creamy?
Yes! Crunchy peanut butter will give your crispy peanut butter balls an extra layer of texture. Just keep in mind that it will change the overall mouthfeel of the treat.
How do I keep the chocolate from cracking?
Make sure to temper your chocolate if you’re using chocolate bars. Melting it slowly and cooling it down before dipping can help prevent cracking when setting.
Can I add other mix-ins to the mixture?
Absolutely! Feel free to add mini chocolate chips, dried fruit, or even shredded coconut to customize your crispy peanut butter balls.
What if I don’t have dark chocolate?
If dark chocolate isn’t available, you can use milk chocolate or white chocolate as a substitute. Just keep in mind that it will alter the flavor profile slightly.
The Takeaway
Crispy peanut butter balls are a delightful treat that combines the creaminess of peanut butter with the crunch of rice cereal, all enveloped in luscious dark chocolate. This recipe is not only simple and quick but also allows for plenty of customization. Whether you are looking for a sweet snack or a party treat, these crispy peanut butter balls will surely impress. With easy-to-find ingredients and straightforward steps, you can whip up a batch in no time. Enjoy the blissful combination of flavors and textures in every bite!
Crispy Peanut Butter Balls
Ingredients
Equipment
Method
- Start by gathering all of your ingredients. This ensures you have everything on hand and makes the process smooth.
- In a large mixing bowl, combine the creamy peanut butter, pure maple syrup (or honey), and vanilla extract. Stir well until the mixture is smooth and creamy.
- Gently fold in the rice cereal into the peanut butter mixture. Make sure the cereal is fully coated without crushing it too much. If you’re adding chopped peanuts, fold them in at this stage as well.
- Using your hands, scoop out small amounts of the mixture and roll them into balls about 1 inch in diameter. Place them on a baking sheet lined with parchment paper.
- In a microwave-safe bowl, melt the dark chocolate in 30-second intervals, stirring in between until fully melted and smooth.
- Dip each peanut butter ball into the melted chocolate, ensuring it’s fully coated. Return the coated balls to the baking sheet.
- Place the baking sheet in the refrigerator for about 30 minutes or until the chocolate coating is firm.
Notes
- Store in an airtight container in the refrigerator for up to one week.
- For longer storage, freeze them for up to three months.
- Let frozen balls thaw at room temperature before enjoying.