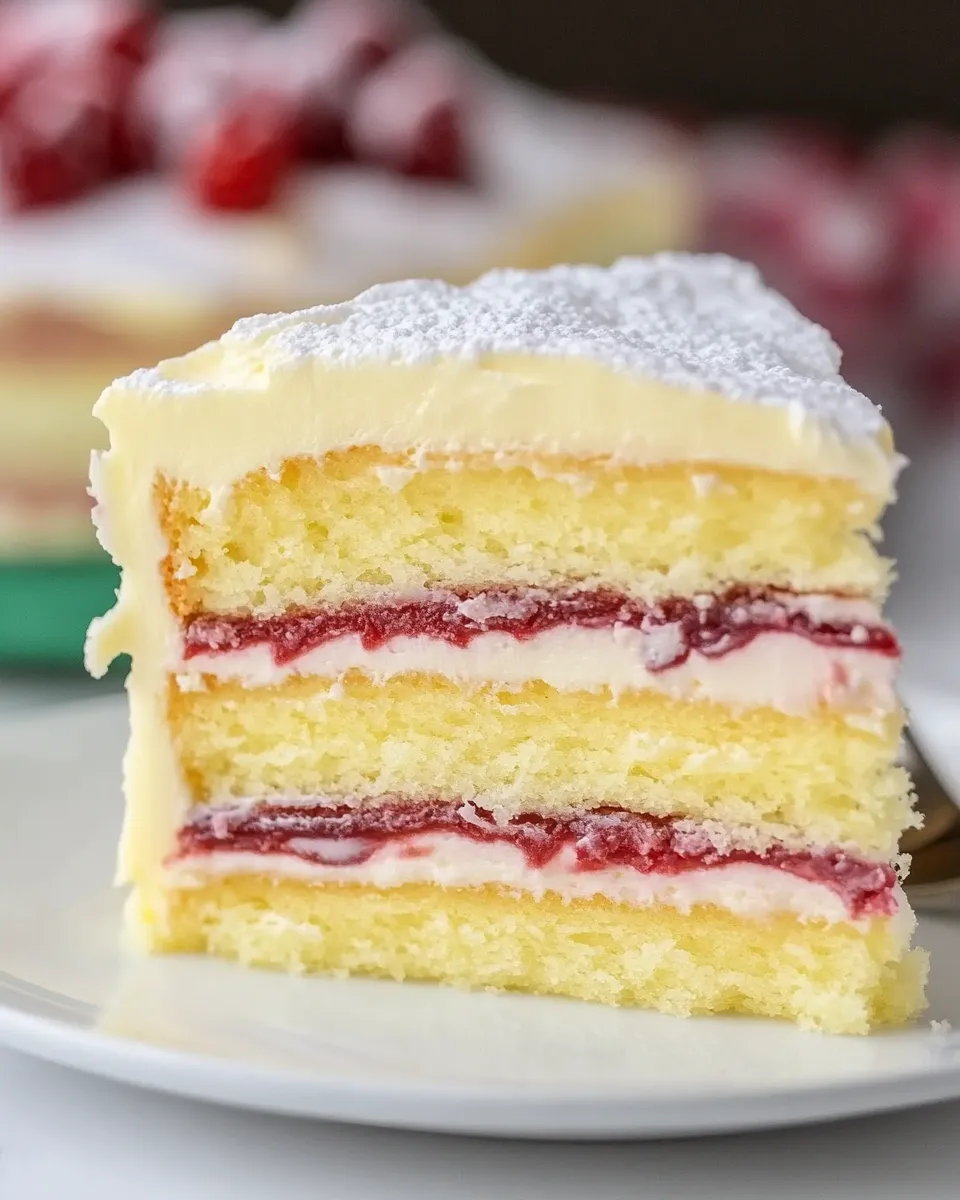
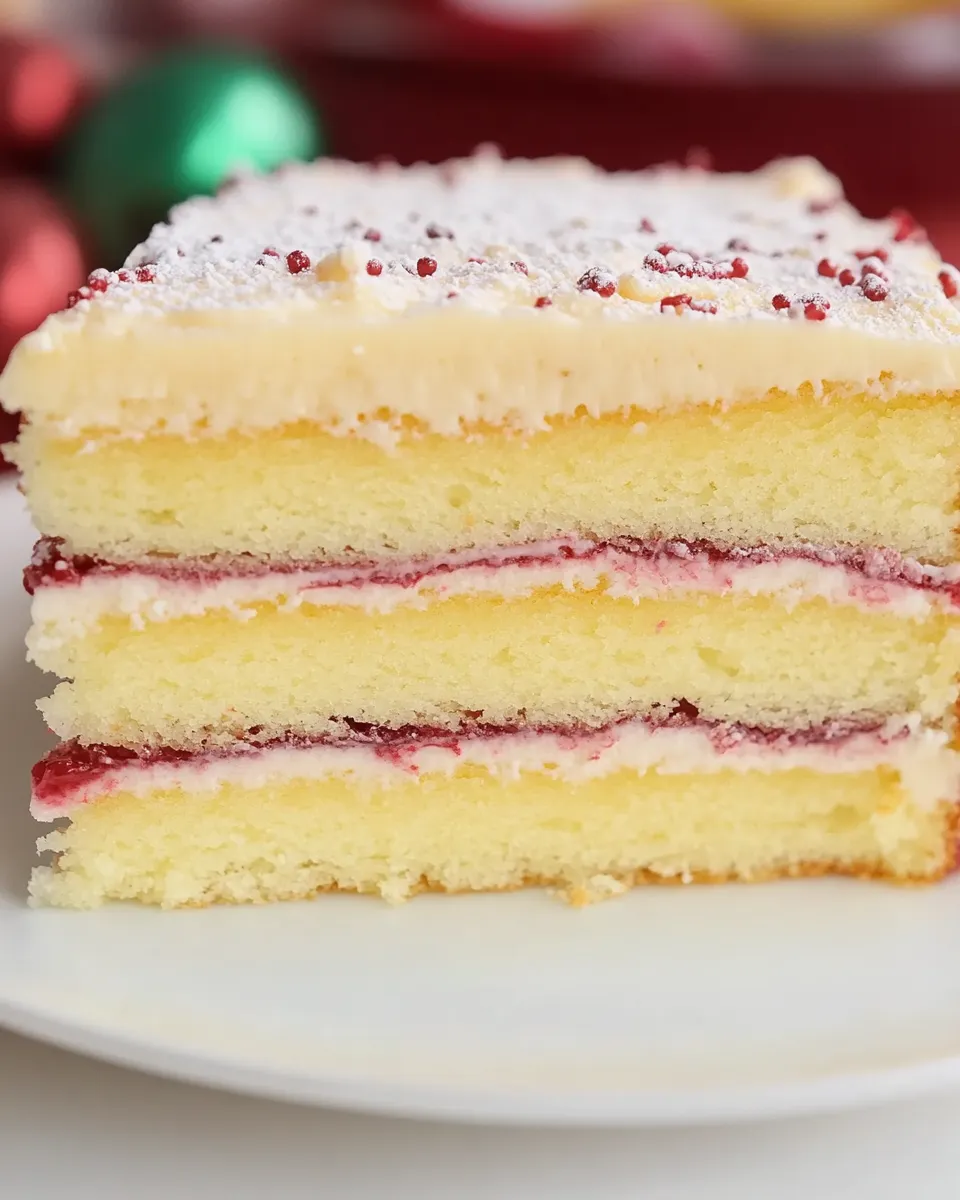
Danish Layer Cake (Dansk Lagekage)
If you’re looking to impress your friends and family with a show-stopping dessert, look no further than the classic Danish Layer Cake, or Dansk Lagekage. This beautifully layered cake is not only a feast for the eyes but also a treat for the taste buds. With soft, fluffy layers of cake, creamy filling, and a hint of raspberry jam, this cake is perfect for celebrations of all kinds or simply to enjoy with a cup of coffee. Let’s dive into the details of how to create this delightful dessert from scratch.
Why It Works Every Time
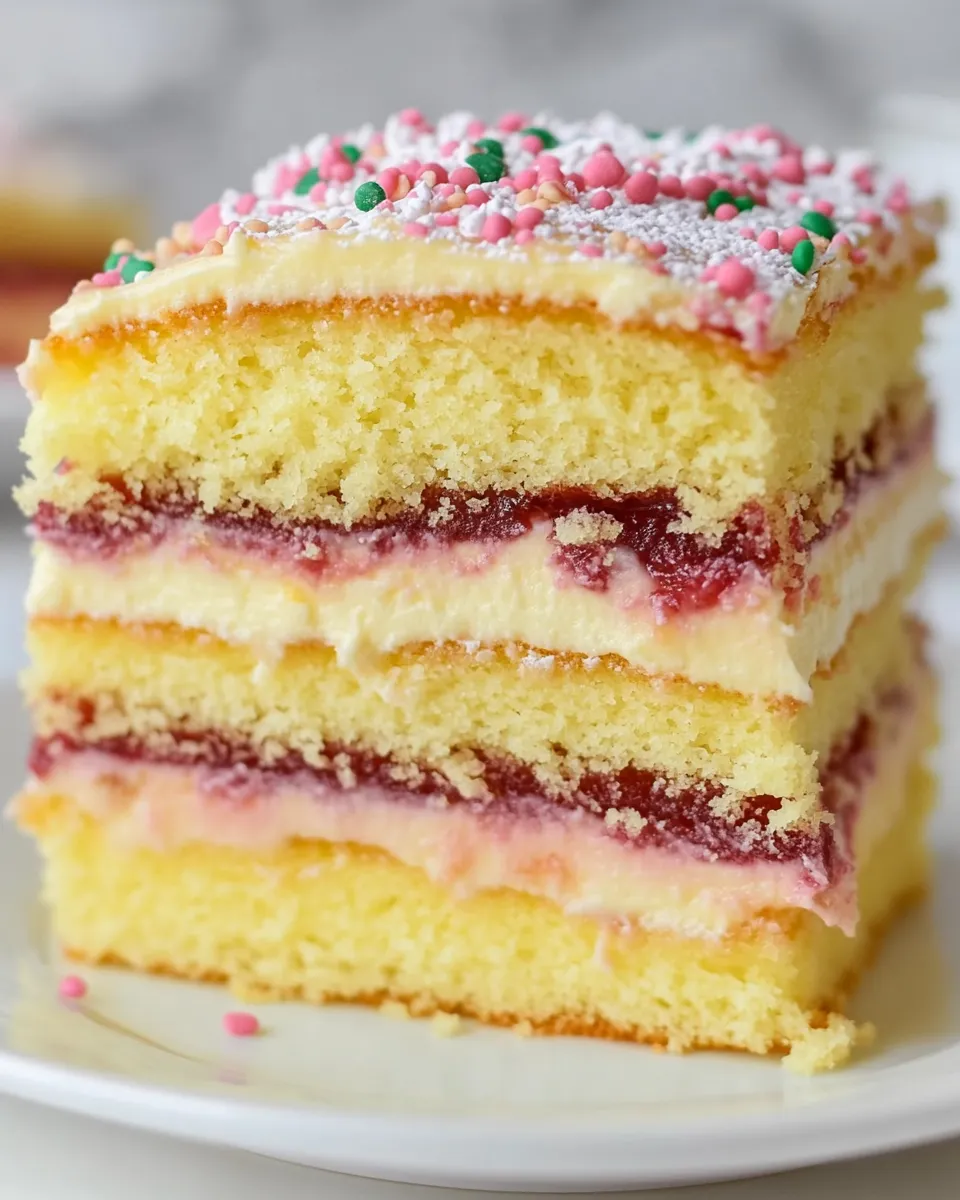
The beauty of the Danish Layer Cake lies in its simplicity and the quality of its ingredients. Each layer is moist and buttery, thanks to the perfect balance of eggs and butter. The use of cornstarch in the custard filling creates a silky texture, while the fresh raspberry jam adds a delightful tang that cuts through the sweetness. This cake is not just a recipe; it’s a celebration of flavors and textures that come together beautifully.
What’s in the Bowl
To make this delicious Danish Layer Cake, you will need the following ingredients:
- 2 cups milk – This forms the base of your custard filling.
- 1 cup granulated sugar – For sweetness in the custard.
- 6 egg yolks – Richness and color for the custard.
- 1/4 cup cornstarch – Thickens the custard for a creamy texture.
- 1/4 teaspoon salt – Enhances the flavors.
- 1 teaspoon vanilla extract – Adds aromatic sweetness to the custard.
- 1/2 cup whole milk at room temperature – Keeps the batter smooth.
- 4 eggs at room temperature – For the cake layers.
- 2 teaspoons vanilla extract – For flavor in the cake batter.
- 1 3/4 cups cake flour (7 ounces) – Creates a tender crumb.
- 1 1/2 cups granulated sugar (10 ounces) – Sweetens the cake layers.
- 2 teaspoons baking powder – Helps the cake rise.
- 3/4 teaspoon salt – Balances the sweetness.
- 1 cup unsalted butter, softened (2 sticks) – For a rich flavor and moist texture.
- 4 to 5 cups powdered sugar – For the frosting.
- 2 teaspoons vanilla extract – Adds flavor to the frosting.
- 1/4 cup heavy cream – Makes the frosting creamy.
- Pinch of salt (optional) – Enhances the sweetness.
- 1 small jar seedless raspberry jam – For filling between the layers.
- Raspberries for garnish (optional) – Adds a fresh touch.
Recommended Tools
To make your baking experience smoother, here are some recommended tools you’ll need:
- Mixing bowls – For combining ingredients.
- Whisk – To mix the custard and cake batter well.
- Measuring cups and spoons – For precise measurements.
- Rubber spatula – To scrape down the sides of the bowl.
- 9-inch round cake pans – For baking the layers evenly.
- Cooling rack – To cool the cake layers completely.
- Offset spatula – For spreading frosting smoothly.
- Plastic wrap – For covering the cake if not serving immediately.
Build Danish Layer Cake (Dansk Lagekage) Step by Step
Step 1: Prepare the Custard Filling
Start by mixing the milk, granulated sugar, and salt in a saucepan. Heat over medium heat until the mixture is just about to simmer.
Step 2: Whisk the Egg Yolks
In a separate bowl, whisk together the egg yolks and cornstarch until smooth. Gradually add a small amount of the warm milk mixture to the egg yolks to temper them, then whisk until combined.
Step 3: Cook the Custard
Pour the egg yolk mixture back into the saucepan with the remaining milk. Cook over medium heat, stirring constantly until the custard thickens and coats the back of a spoon. Remove from heat and stir in the vanilla extract. Let it cool completely.
Step 4: Make the Cake Batter
Preheat your oven to 350°F (175°C). In a large mixing bowl, beat the softened butter and granulated sugar together until light and fluffy. Add the eggs, one at a time, mixing well after each addition. Then, mix in the vanilla extract.
Step 5: Combine Dry Ingredients
In another bowl, whisk together the cake flour, baking powder, and salt. Gradually add the dry ingredients to the butter mixture, alternating with the room temperature whole milk, starting and ending with the flour mixture. Mix until just combined.
Step 6: Bake the Cake Layers
Divide the batter evenly into the prepared cake pans. Bake for 25-30 minutes or until a toothpick inserted in the center comes out clean. Remove from the oven and cool in the pans for 10 minutes before transferring to a cooling rack to cool completely.
Step 7: Assemble the Cake
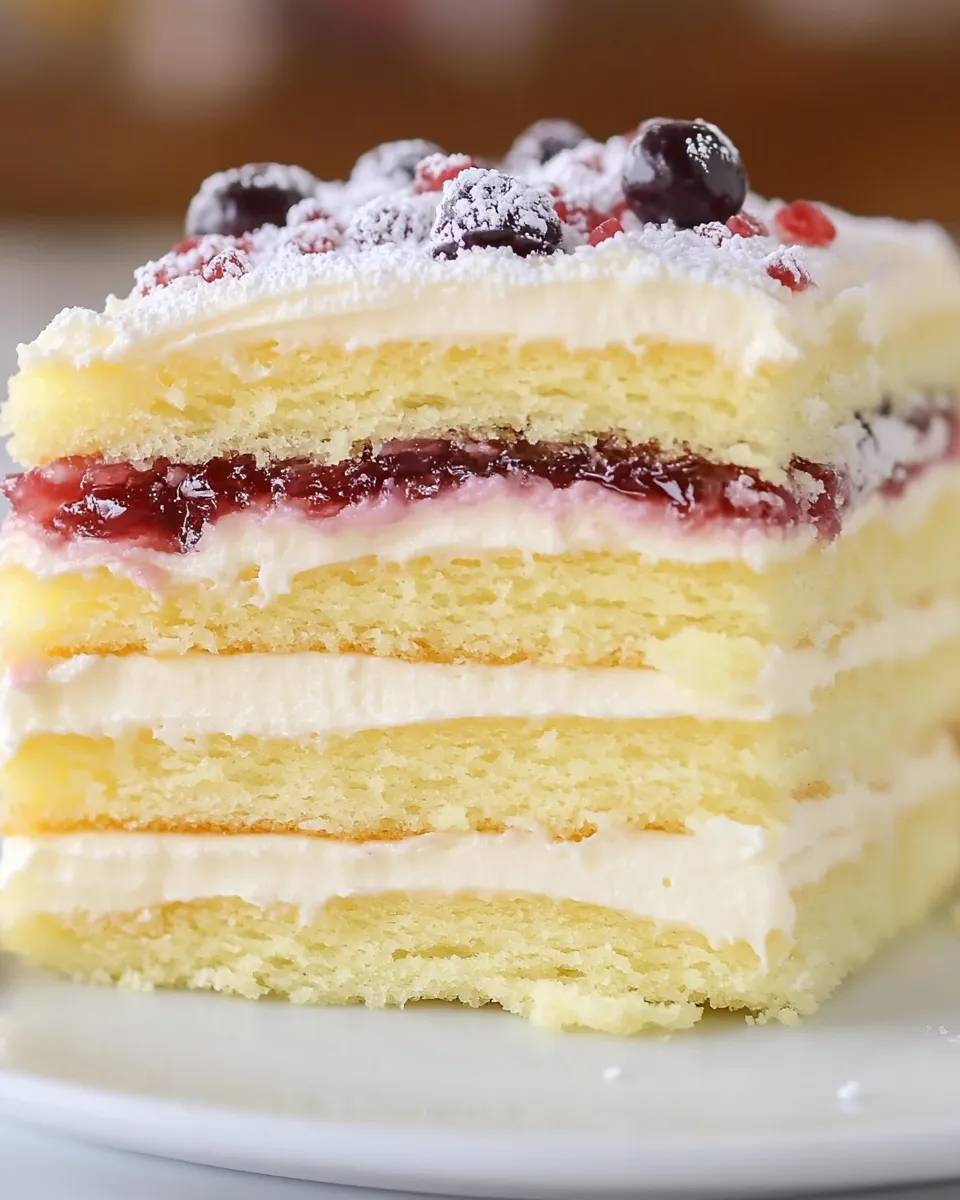
Once the cake layers are completely cool, place one layer on a serving plate. Spread a thin layer of raspberry jam on top, followed by a generous layer of the custard filling. Place the second layer on top and repeat the process until all layers are stacked.
Step 8: Frost the Cake
Using an electric mixer, beat the softened butter until creamy. Gradually add powdered sugar and continue to beat. Pour in the heavy cream and vanilla extract, mixing until smooth and fluffy. Spread the frosting over the top and sides of the cake.
Step 9: Decorate
If desired, decorate the top of the cake with fresh raspberries for an extra touch of elegance.
Make It Your Way
Feel free to customize your Danish Layer Cake with these ideas:
- Substitute the raspberry jam with other flavors like strawberry or apricot.
- Add a layer of fresh fruit between the cake layers for added flavor and texture.
- Use chocolate frosting instead of vanilla for a richer taste.
- Incorporate nuts like slivered almonds for a crunchy texture.
What Not to Do
To ensure your Danish Layer Cake turns out perfectly, avoid the following:
- Don’t skip room temperature ingredients; they mix better and create a smoother batter.
- Avoid overmixing the cake batter to prevent a dense texture.
- Don’t rush the cooling process; warm cake can lead to a messy assembly.
- Refrain from using low-fat dairy products, which can affect the texture and flavor of the cake.
Freezer-Friendly Notes
If you want to make this cake ahead of time, here are some helpful tips:
You can freeze the assembled cake, but it’s best to do so without the frosting. Wrap the cake in plastic wrap and aluminum foil, then store it in the freezer for up to 3 months. When ready to serve, thaw it in the refrigerator overnight, then frost just before serving for the best texture and flavor.
Danish Layer Cake (Dansk Lagekage) FAQs
Can I make the custard filling in advance?
Yes! You can prepare the custard filling a day ahead. Just store it in an airtight container in the refrigerator. Make sure to let it come to room temperature before assembling the cake.
Can I use gluten-free flour for this recipe?
Absolutely! You can substitute the cake flour with a 1-to-1 gluten-free flour blend. The texture may vary slightly, but it should still bake well.
How long does the Danish Layer Cake stay fresh?
If stored in an airtight container in the refrigerator, the cake will stay fresh for about 4-5 days. For optimal freshness, it’s best enjoyed within 2-3 days.
Can I use different flavors of jam?
Yes! While raspberry is traditional, feel free to experiment with other flavors such as blackberry, strawberry, or even lemon curd for a zesty twist.
Before You Go
Now that you have the recipe and know how to make a stunning Danish Layer Cake (Dansk Lagekage), it’s time to roll up your sleeves and start baking. This cake is not only a delicious dessert but also a wonderful way to express your creativity in the kitchen. Whether you’re celebrating a special occasion or indulging in a sweet treat on a Sunday afternoon, this Danish Layer Cake is sure to impress. Happy baking!
Danish Layer Cake (Dansk Lagekage)
Ingredients
Equipment
Method
- Start by mixing the milk, granulated sugar, and salt in a saucepan. Heat over medium heat until the mixture is just about to simmer.
- In a separate bowl, whisk together the egg yolks and cornstarch until smooth. Gradually add a small amount of the warm milk mixture to the egg yolks to temper them, then whisk until combined.
- Pour the egg yolk mixture back into the saucepan with the remaining milk. Cook over medium heat, stirring constantly until the custard thickens and coats the back of a spoon. Remove from heat and stir in the vanilla extract. Let it cool completely.
- Preheat your oven to 350°F (175°C). In a large mixing bowl, beat the softened butter and granulated sugar together until light and fluffy. Add the eggs, one at a time, mixing well after each addition. Then, mix in the vanilla extract.
- In another bowl, whisk together the cake flour, baking powder, and salt. Gradually add the dry ingredients to the butter mixture, alternating with the room temperature whole milk, starting and ending with the flour mixture. Mix until just combined.
- Divide the batter evenly into the prepared cake pans. Bake for 25-30 minutes or until a toothpick inserted in the center comes out clean. Remove from the oven and cool in the pans for 10 minutes before transferring to a cooling rack to cool completely.
- Once the cake layers are completely cool, place one layer on a serving plate. Spread a thin layer of raspberry jam on top, followed by a generous layer of the custard filling. Place the second layer on top and repeat the process until all layers are stacked.
- Using an electric mixer, beat the softened butter until creamy. Gradually add powdered sugar and continue to beat. Pour in the heavy cream and vanilla extract, mixing until smooth and fluffy. Spread the frosting over the top and sides of the cake.
- If desired, decorate the top of the cake with fresh raspberries for an extra touch of elegance.
Notes
- For best results, use room temperature ingredients for a smoother batter.
- Feel free to substitute raspberry jam with other flavors like strawberry or apricot.
- This cake can be frozen without frosting for up to 3 months.