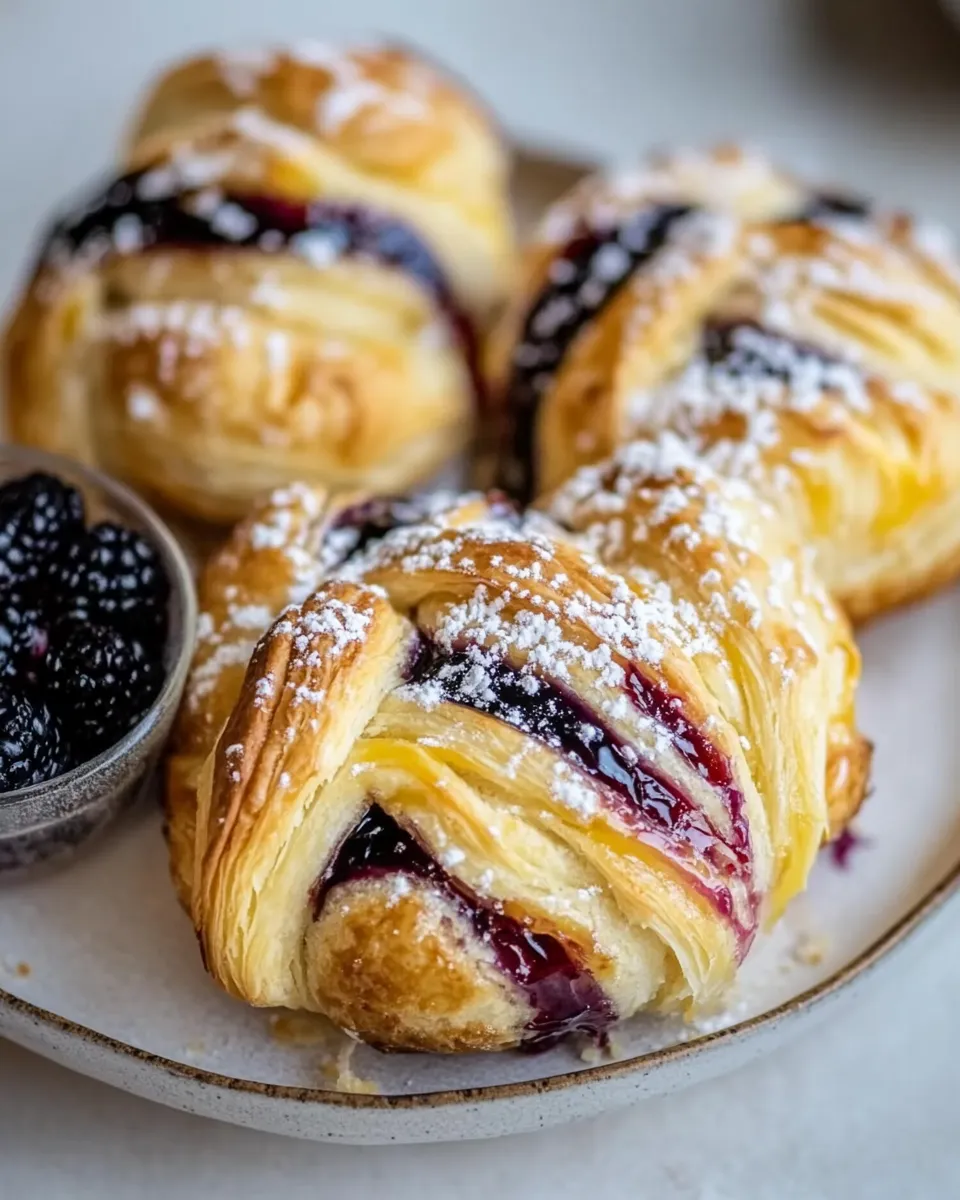
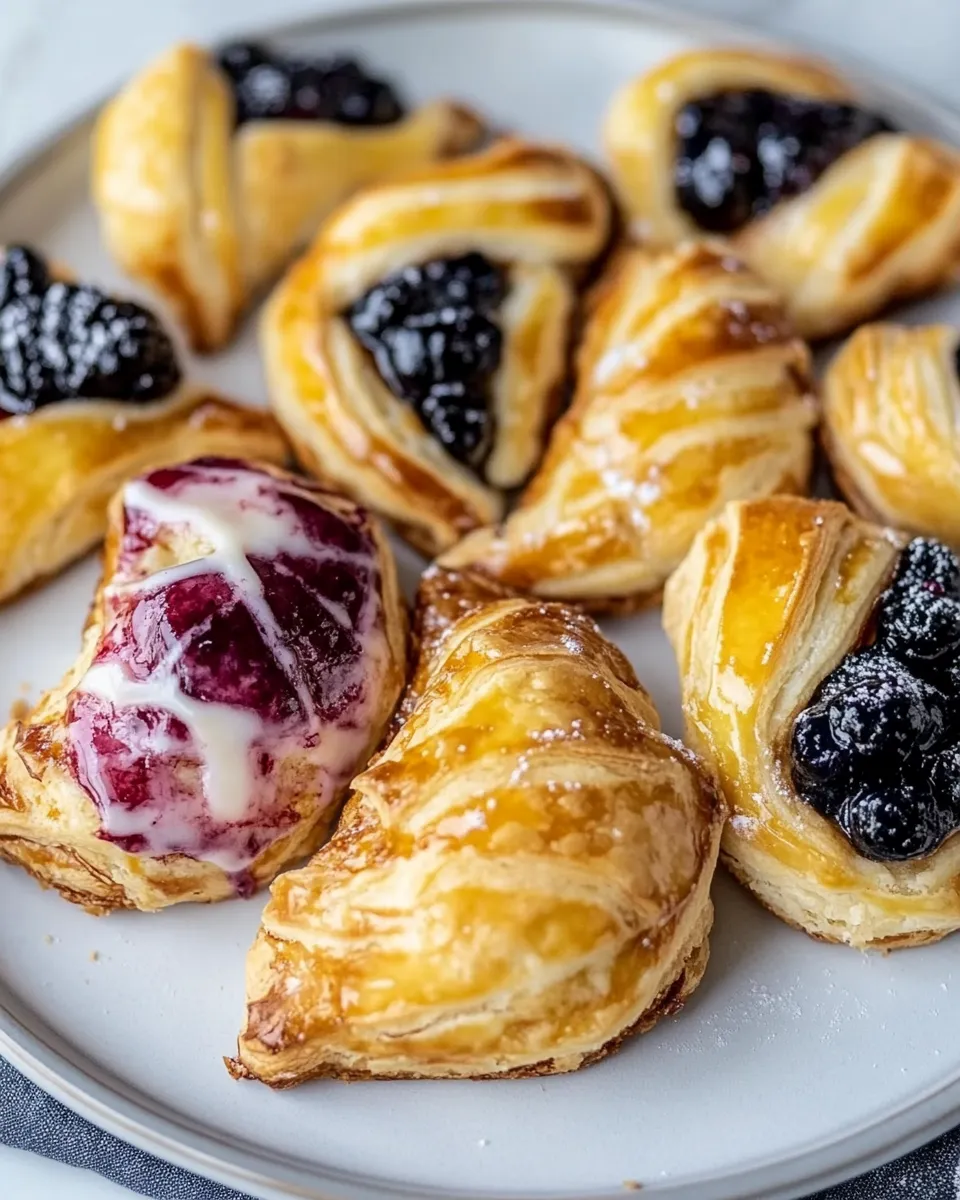
Danish Pastries
Danish pastries are a delightful treat that can elevate any breakfast table or dessert spread. With their flaky layers and sweet fillings, these pastries are always a hit at brunches, parties, or even just as a cozy snack with your afternoon tea. The process of making Danish pastries may seem intricate, but with a little patience and love, you can create a batch that rivals your favorite bakery. Let’s dive into the world of Danish pastries and discover why they are simply irresistible.
Reasons to Love Danish Pastries
Danish pastries are not just delicious; they are a celebration of texture and flavor. Here are a few reasons to adore them:
– **Flaky Layers**: The signature of a great Danish pastry is its flaky, buttery layers, achieved through a process called lamination, which makes them light and airy.
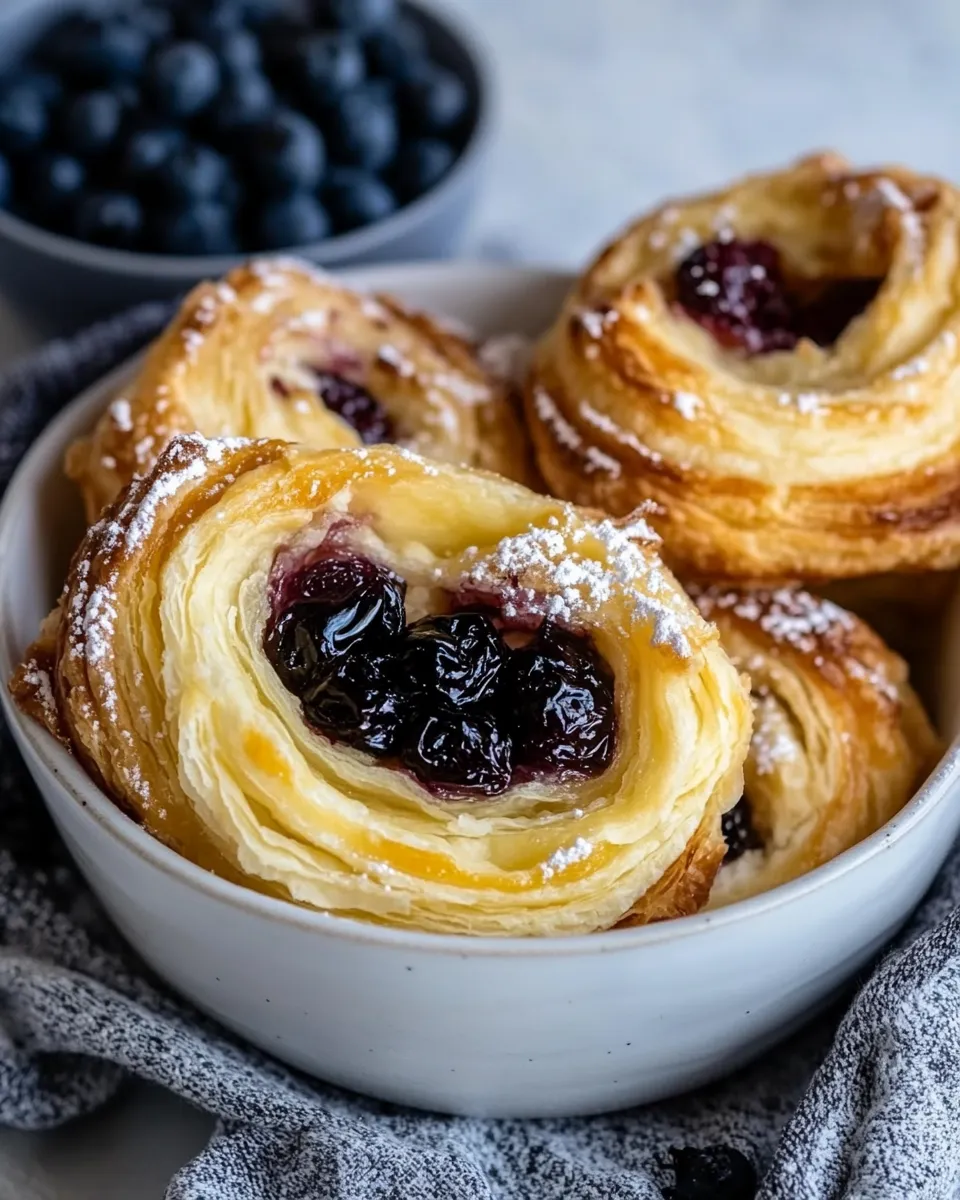
– **Versatile Fillings**: From fruity jams to rich cream cheese fillings, the variety of fillings ensures that there’s a Danish pastry to suit every palate.
– **Perfect for Any Occasion**: Whether it’s a holiday breakfast, a coffee break treat, or a sweet addition to a dessert table, Danish pastries are always appropriate and appreciated.
– **A Sense of Accomplishment**: Making Danish pastries from scratch is a rewarding experience that adds a personal touch to any gathering.
Ingredients at a Glance
To create these delicious Danish pastries, gather the following ingredients:
- 2 cups (454g) unsalted butter, divided – Essential for creating that signature flaky texture.
- 5 cups (663g) all-purpose flour – The foundation of your pastry dough.
- 1 cup (99g) granulated sugar – Adds sweetness to the dough.
- 4 teaspoons instant yeast – Helps the dough rise beautifully.
- 2 teaspoons salt – Balances the sweetness.
- 2 teaspoons vanilla extract – Enhances the flavor profile.
- 1 cup (360ml) milk – Provides moisture to the dough.
- 2 eggs – Adds richness and helps bind the dough.
- 8 ounces cream cheese, at room temperature – Creates a luscious filling.
- 3 tablespoons granulated sugar – Sweetens the cream cheese filling.
- 1 egg – For egg wash, giving a golden finish.
- 1 teaspoon salt – For flavor in the filling.
- 1 cup fruit jam, preserves, or canned pie filling – For a fruity twist.
- 1 egg white – Used in the egg wash for a glossy finish.
- 1 tablespoon water – To thin the egg wash.
- 1 cup (170g) powdered sugar – For a sweet drizzle or glaze.
- 2 tablespoons milk – To achieve the right consistency for the glaze.
Must-Have Equipment
To make your Danish pastries, ensure you have the following essentials:
- Mixing Bowls – For combining the dough and fillings.
- Rolling Pin – To roll out the dough evenly.
- Pastry Brush – For applying egg wash.
- Baking Sheet – To bake your pastries.
- Parchment Paper – To prevent sticking and for easy cleanup.
- Kitchen Scale – For precise measurements (optional but recommended).
Danish Pastries — Do This Next
Follow these steps to create your Danish pastries from scratch:
Step 1: Prepare the Dough
In a large mixing bowl, combine the all-purpose flour, granulated sugar, instant yeast, and salt. Whisk together to combine. In another bowl, mix the milk, eggs, and vanilla extract. Slowly pour the wet ingredients into the dry ingredients, stirring until a dough forms.
Step 2: Incorporate the Butter
Take 1 cup of the unsalted butter and cut it into small cubes. Flatten each cube slightly and incorporate it into the dough by folding it in, creating layers. Once the butter is evenly distributed, wrap the dough in plastic wrap and refrigerate for at least 30 minutes.
Step 3: Roll and Fold
On a floured surface, roll out the dough into a rectangle, approximately 1/2 inch thick. Take the remaining butter and place it in the center of the dough. Fold the dough over the butter, sealing the edges. Roll out again into a rectangle and fold it into thirds like a letter. Repeat this process two more times, chilling the dough between folds.
Step 4: Prepare the Filling
In a mixing bowl, beat the cream cheese with the 3 tablespoons of granulated sugar and 1 teaspoon of salt until smooth. Set aside.
Step 5: Form the Pastries
Roll out the laminated dough to about 1/4 inch thickness. Cut into squares or rectangles, depending on your preference. Place a spoonful of cream cheese filling and a dollop of fruit jam in the center of each piece. Fold the corners over the filling to create a beautiful shape.
Step 6: Bake
Preheat your oven to 375°F (190°C). Place the pastries on a baking sheet lined with parchment paper. Beat the egg white with 1 tablespoon of water and brush it over the pastries for a golden finish. Bake for 20-25 minutes, or until golden brown.
Step 7: Glaze
While the pastries are baking, mix the powdered sugar and 2 tablespoons of milk to create a glaze. Drizzle it over the pastries once they have cooled slightly.
Quick Replacement Ideas
If you find yourself missing some ingredients, here are a few quick replacement ideas:
- Margarine for unsalted butter – Use an equal amount, but know that the flavor may differ.
- Whole wheat flour for all-purpose flour – Use a 50/50 mix for a healthier option.
- Greek yogurt for cream cheese – A lower-fat alternative that adds tanginess.
- Honey or maple syrup for granulated sugar – Use slightly less, as these are sweeter.
What Not to Do
When making Danish pastries, avoid the following common pitfalls:
- Do not skip the chilling steps; this is crucial for achieving flaky layers.
- Avoid overworking the dough, as this can lead to tough pastries.
- Don’t rush the baking process; ensure they are golden brown for the best flavor.
- Don’t forget to let the pastries cool before glazing; otherwise, the glaze will melt away.
Best Ways to Store
To keep your Danish pastries fresh and tasty, consider the following storage tips:
- Store in an airtight container at room temperature for up to 2 days.
- For longer storage, refrigerate for up to a week.
- Freezing is an option as well; wrap each pastry individually in plastic wrap and store in a freezer-safe bag for up to 3 months.
- Reheat in the oven for a few minutes to regain that fresh-baked texture.
Your Top Questions
Can I use whole wheat flour instead of all-purpose flour?
Yes, you can use whole wheat flour, but it may alter the texture. A 50/50 mix with all-purpose flour is recommended for best results.
What types of filling can I use in Danish pastries?
You can use a variety of fillings such as fruit jams, cream cheese, chocolate, or even savory fillings like spinach and cheese for a twist.
How can I make my Danish pastries vegan?
For vegan Danish pastries, substitute the butter with a plant-based margarine, use almond milk instead of regular milk, and replace eggs with flaxseed meal or applesauce.
Is it necessary to use instant yeast?
While instant yeast is recommended for its convenience, you can use active dry yeast. Just be sure to proof it in warm milk before adding it to the dough.
That’s a Wrap
There you have it—your complete guide to creating fluffy, flavorful Danish pastries right in your own kitchen. These pastries are a testament to the beauty of baking; with a little time and effort, you can indulge in a treat that not only pleases the palate but also warms the heart. Whether you choose to fill them with creamy cheese, fruity jam, or perhaps a decadent chocolate, the possibilities are endless. So, roll up your sleeves and get ready to impress your family and friends with your baking skills!
With the right ingredients and a dash of enthusiasm, you’ll soon be savoring the sweet success of your homemade Danish pastries. Enjoy every flaky bite!

Danish Pastries
Ingredients
Equipment
Method
- In a large mixing bowl, combine the all-purpose flour, granulated sugar, instant yeast, and salt. Whisk together to combine. In another bowl, mix the milk, eggs, and vanilla extract. Slowly pour the wet ingredients into the dry ingredients, stirring until a dough forms.
- Take 1 cup of the unsalted butter and cut it into small cubes. Flatten each cube slightly and incorporate it into the dough by folding it in, creating layers. Once the butter is evenly distributed, wrap the dough in plastic wrap and refrigerate for at least 30 minutes.
- On a floured surface, roll out the dough into a rectangle, approximately 1/2 inch thick. Take the remaining butter and place it in the center of the dough. Fold the dough over the butter, sealing the edges. Roll out again into a rectangle and fold it into thirds like a letter. Repeat this process two more times, chilling the dough between folds.
- In a mixing bowl, beat the cream cheese with the 3 tablespoons of granulated sugar and 1 teaspoon of salt until smooth. Set aside.
- Roll out the laminated dough to about 1/4 inch thickness. Cut into squares or rectangles, depending on your preference. Place a spoonful of cream cheese filling and a dollop of fruit jam in the center of each piece. Fold the corners over the filling to create a beautiful shape.
- Preheat your oven to 375°F (190°C). Place the pastries on a baking sheet lined with parchment paper. Beat the egg white with 1 tablespoon of water and brush it over the pastries for a golden finish. Bake for 20-25 minutes, or until golden brown.
- While the pastries are baking, mix the powdered sugar and 2 tablespoons of milk to create a glaze. Drizzle it over the pastries once they have cooled slightly.
Notes
- Chill the dough properly for flaky layers.
- Use a variety of fillings for diverse flavors.
- Store in an airtight container to keep fresh.