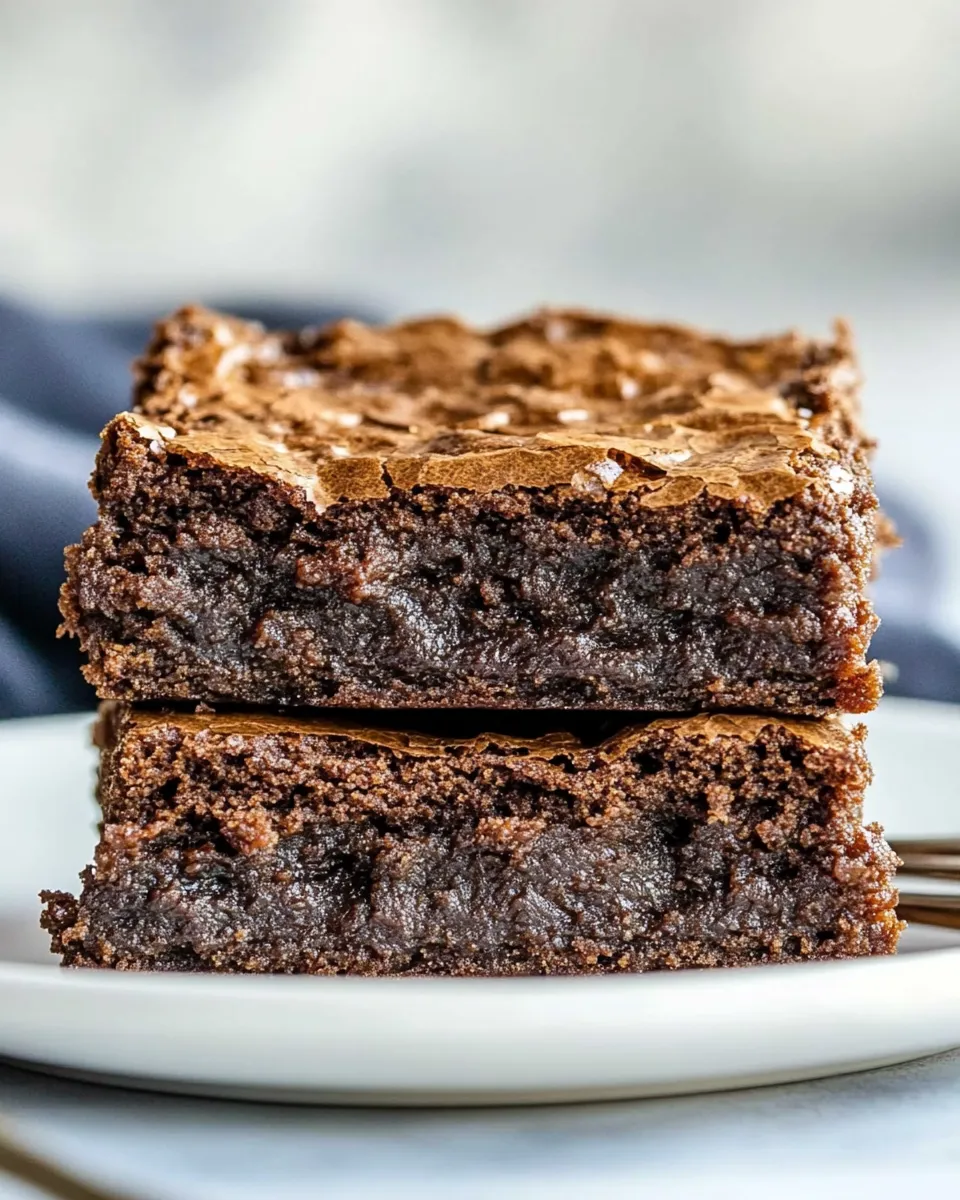
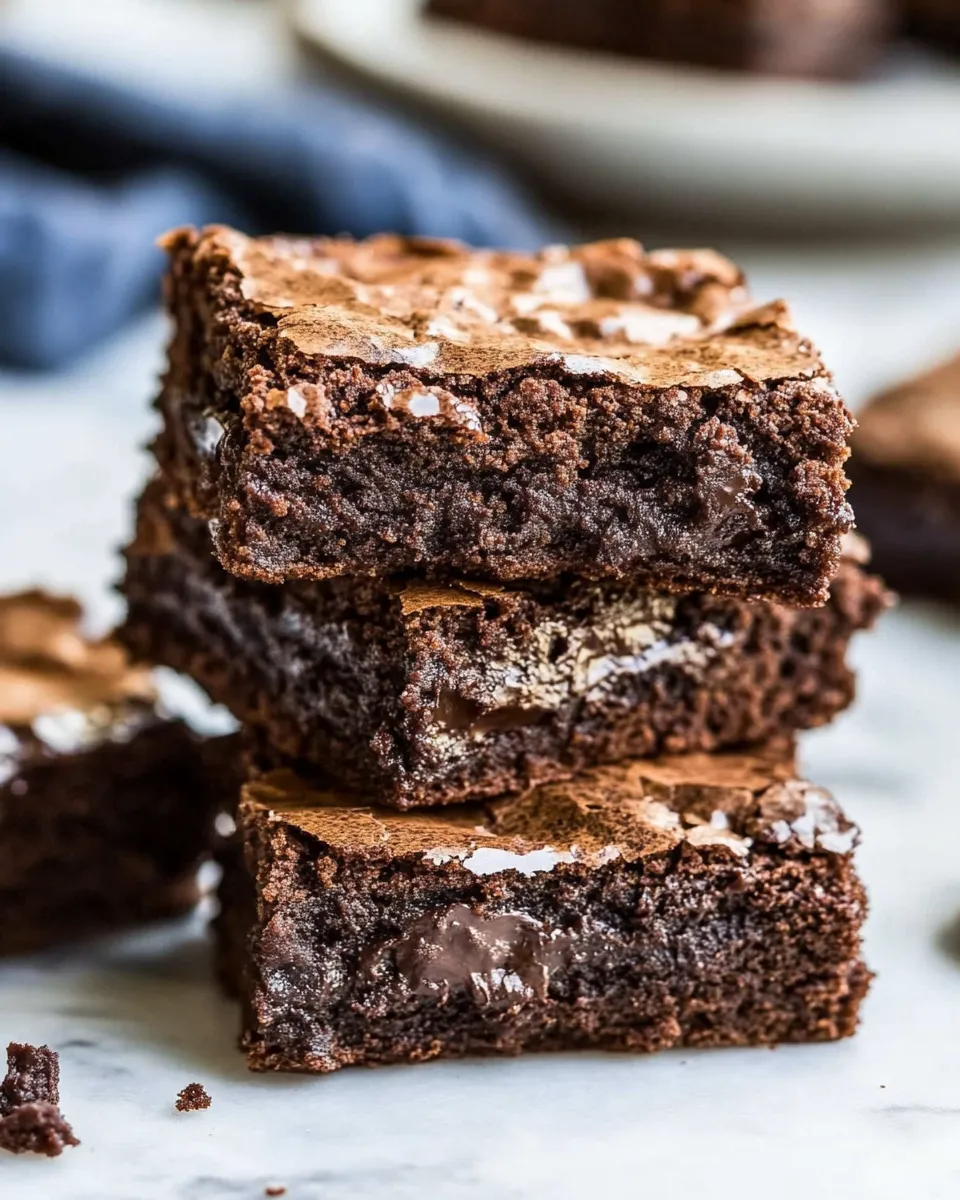
Gluten Free Brownies Recipe
When it comes to dessert, few things can rival the rich, fudgy goodness of brownies. Now, imagine a brownie that is not only decadently delicious but also gluten-free! This Gluten Free Brownies Recipe is a treat for everyone, whether you’re gluten-sensitive or just looking for a delightful dessert that everyone can enjoy. These brownies are packed with chocolate flavor, making them the perfect addition to your dessert rotation. Trust me, once you bake a batch, you’ll be hooked!
Why This Recipe Belongs in Your Rotation
These gluten-free brownies are incredibly easy to make and require simple ingredients that you likely already have in your pantry. They are rich, fudgy, and satisfyingly chewy, making them an ideal dessert for any occasion. Plus, they are perfect for sharing with friends and family, ensuring that no one has to miss out on a delicious brownie treat. Whether it’s a birthday celebration, a cozy night in, or just because you deserve a sweet treat, this recipe is sure to impress!
The Ingredient Lineup
To make these delightful gluten-free brownies, you will need the following ingredients:
- 1 cup gluten free flour (185 grams) – This provides the structure for your brownies without the gluten.
- ½ teaspoon coarse kosher salt – Enhances the flavors and balances the sweetness.
- ½ teaspoon baking powder (3 grams) – Helps the brownies rise slightly, giving them a lovely texture.
- 12 tablespoons unsalted butter (170 grams, cut into 1-inch pieces) – Adds rich flavor and moisture.
- 6 ounces unsweetened chocolate (170 grams, finely chopped) – The star ingredient that brings deep chocolate flavor.
- 2 cups granulated sugar (450 grams) – Sweetens the brownies to perfection.
- 4 large eggs (200 grams) – Provides structure and moisture.
- 1 tablespoon pure vanilla extract (12 grams) – Adds depth of flavor.
- 1 cup semisweet chocolate chips (170 grams) – For extra chocolatey goodness in every bite.
Prep & Cook Tools
Before diving into the baking process, gather the necessary tools:
- Mixing bowls – For combining your ingredients.
- Whisk – To mix the eggs and dry ingredients thoroughly.
- Spatula – For folding in the chocolate chips and ensuring even distribution.
- Baking pan – A 9×13 inch pan works perfectly for this recipe.
- Parchment paper – Helps with easy removal of the brownies from the pan.
- Oven mitts – Safety first when handling hot pans!
How to Prepare Gluten Free Brownies Recipe
Now, let’s get to the fun part: baking these delicious brownies!
Step 1: Preheat Your Oven
Begin by preheating your oven to 350°F (175°C). This ensures that your brownies bake evenly and come out perfectly fudgy.
Step 2: Prepare Your Baking Pan
Line a 9×13 inch baking pan with parchment paper, leaving some overhang on the sides for easy removal later. This step is key to avoiding any sticky situations!
Step 3: Melt the Butter and Chocolate
In a medium saucepan over low heat, combine the unsalted butter and finely chopped unsweetened chocolate. Stir continuously until melted and smooth. Remove from heat and let it cool slightly.
Step 4: Mix the Dry Ingredients
In a mixing bowl, whisk together the gluten-free flour, coarse kosher salt, and baking powder. This step helps to evenly distribute the leavening agent and salt.
Step 5: Combine Wet Ingredients
In a large bowl, combine the melted chocolate mixture with granulated sugar, whisking until well combined. Add in the eggs, one at a time, mixing thoroughly after each addition. Stir in the pure vanilla extract.
Step 6: Fold in the Dry Ingredients
Gradually add the dry ingredient mixture into the wet ingredients, using a spatula to gently fold until just combined. Be careful not to overmix!
Step 7: Add the Chocolate Chips
Fold in the semisweet chocolate chips, ensuring they are evenly distributed throughout the brownie batter.
Step 8: Bake the Brownies
Pour the brownie batter into the prepared baking pan, spreading it evenly. Bake in the preheated oven for 25-30 minutes or until a toothpick inserted into the center comes out with a few moist crumbs. Don’t overbake for that perfect fudgy texture!
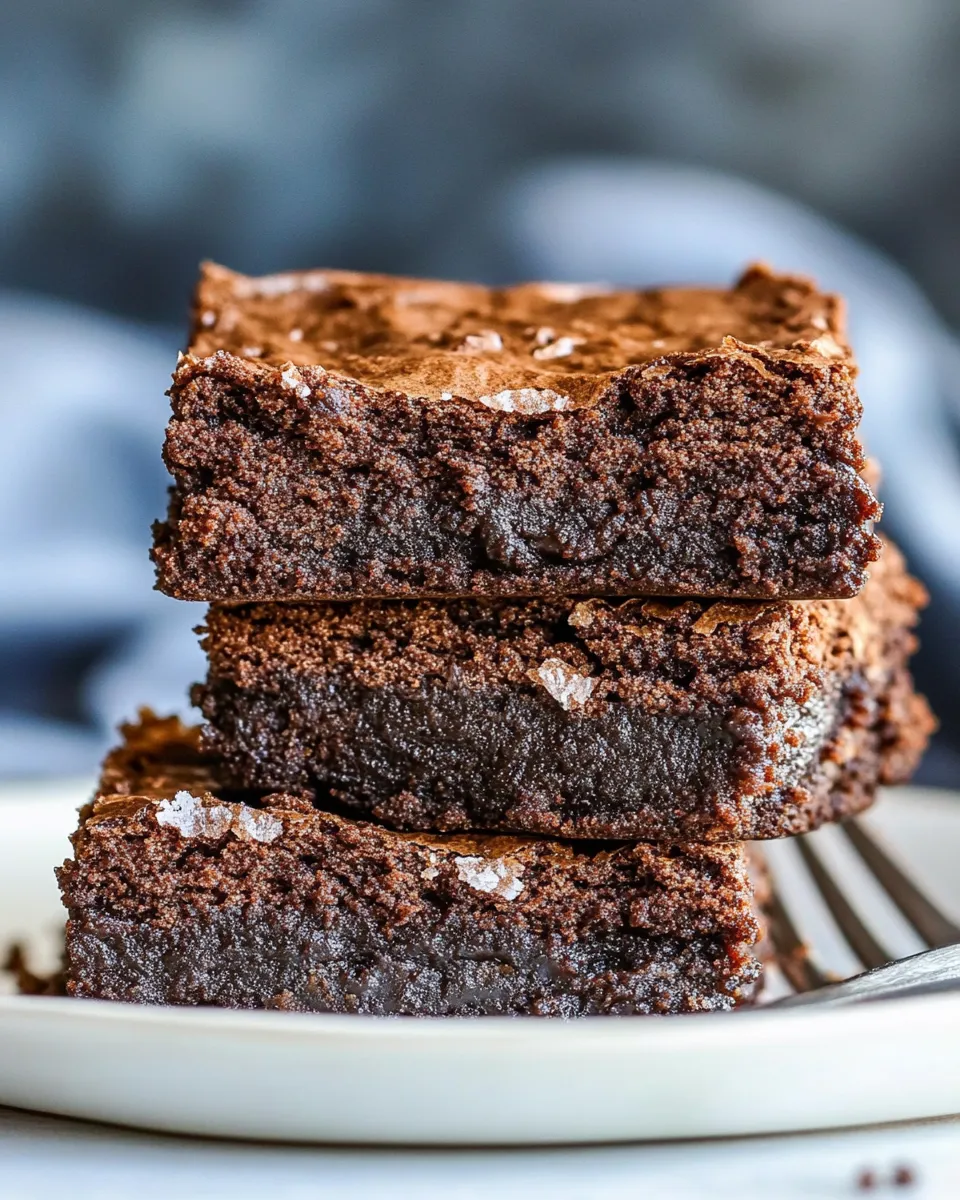
Step 9: Cool and Serve
Once baked, remove the brownies from the oven and allow them to cool in the pan for about 10 minutes. Then, use the parchment paper overhang to lift the brownies out of the pan and transfer them to a wire rack to cool completely. Cut into squares and enjoy!
Make It Fit Your Plan
If you want to customize your gluten-free brownies, consider these variations:
- Nuts: Add chopped walnuts or pecans for a crunchy texture.
- Mint: Incorporate mint extract for a refreshing twist.
- Spices: A pinch of cinnamon or espresso powder can enhance the chocolate flavor.
- Fruit: Try adding chocolate-covered strawberries or raspberries for a fruity touch.
Slip-Ups to Skip
When making these gluten-free brownies, here are some common mistakes to avoid:
- Overmixing the batter – This can lead to dense brownies instead of the desired fudgy texture.
- Using too much gluten-free flour – Measure accurately to ensure the right consistency.
- Not cooling the brownies before cutting – This leads to messy squares and can affect the texture.
- Overbaking – Keep an eye on them to maintain that gooey center!
Meal Prep & Storage Notes
Once you’ve baked a batch of these delicious gluten-free brownies, you’ll want to store them properly:
Keep the brownies in an airtight container at room temperature for up to 3 days. If you need to store them longer, they freeze beautifully! Just wrap them tightly in plastic wrap and place them in a freezer-safe container. They will last for about 2 months in the freezer. When you’re ready to enjoy, simply thaw at room temperature.
Quick Questions
Can I use a different type of gluten-free flour?
Yes, you can use a gluten-free all-purpose flour blend that includes xanthan gum. Just be sure to check if your blend is a 1:1 substitute for regular flour.
Are these brownies suitable for vegans?
To make these brownies vegan, substitute the eggs with flax eggs (1 tablespoon of flaxseed meal mixed with 2.5 tablespoons of water per egg) and use vegan chocolate and butter alternatives.
How can I tell when the brownies are done?
Insert a toothpick into the center of the brownies; it should come out with a few moist crumbs but not wet batter. This indicates that they are perfectly baked.
Can I add frosting to these brownies?
Absolutely! A simple chocolate ganache or cream cheese frosting can elevate these brownies even further. Just let them cool completely before adding any frosting.
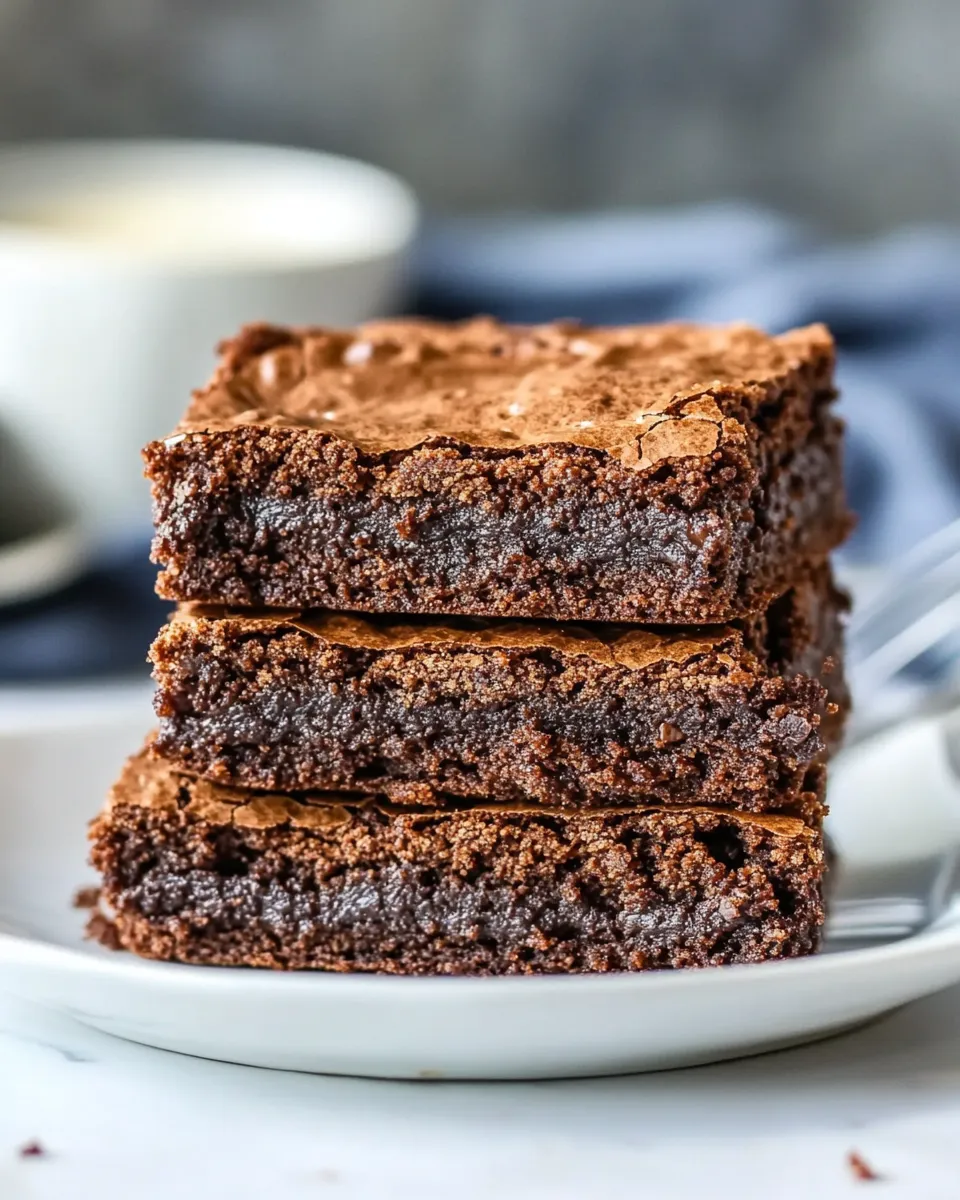
Bring It to the Table
Now that you’ve mastered this gluten-free brownies recipe, it’s time to share the love! Serve these brownies warm with a scoop of vanilla ice cream or dust them with powdered sugar for an elegant touch. They are sure to be a hit at your next gathering, and you may even find yourself making them on repeat.
With their rich chocolate flavor and fudgy texture, these gluten free brownies are bound to become a favorite dessert in your home. Enjoy every bite, and don’t forget to share your baking adventures with friends and family! Happy baking!
Gluten Free Brownies Recipe
Ingredients
Equipment
Method
- Step 1: Preheat your oven to 350°F (175°C).
- Step 2: Line a 9x13 inch baking pan with parchment paper.
- Step 3: In a medium saucepan, melt the butter and unsweetened chocolate over low heat.
- Step 4: In a mixing bowl, whisk together gluten-free flour, coarse kosher salt, and baking powder.
- Step 5: Combine the melted chocolate mixture with granulated sugar, then add eggs and vanilla extract.
- Step 6: Gradually add the dry ingredients to the wet ingredients, folding gently.
- Step 7: Fold in the semisweet chocolate chips.
- Step 8: Pour the batter into the prepared pan and bake for 25-30 minutes.
- Step 9: Allow the brownies to cool before cutting into squares.
Notes
- Store brownies in an airtight container at room temperature for up to 3 days.
- For longer storage, freeze wrapped brownies for up to 2 months.
- Try adding nuts for a crunchy texture!