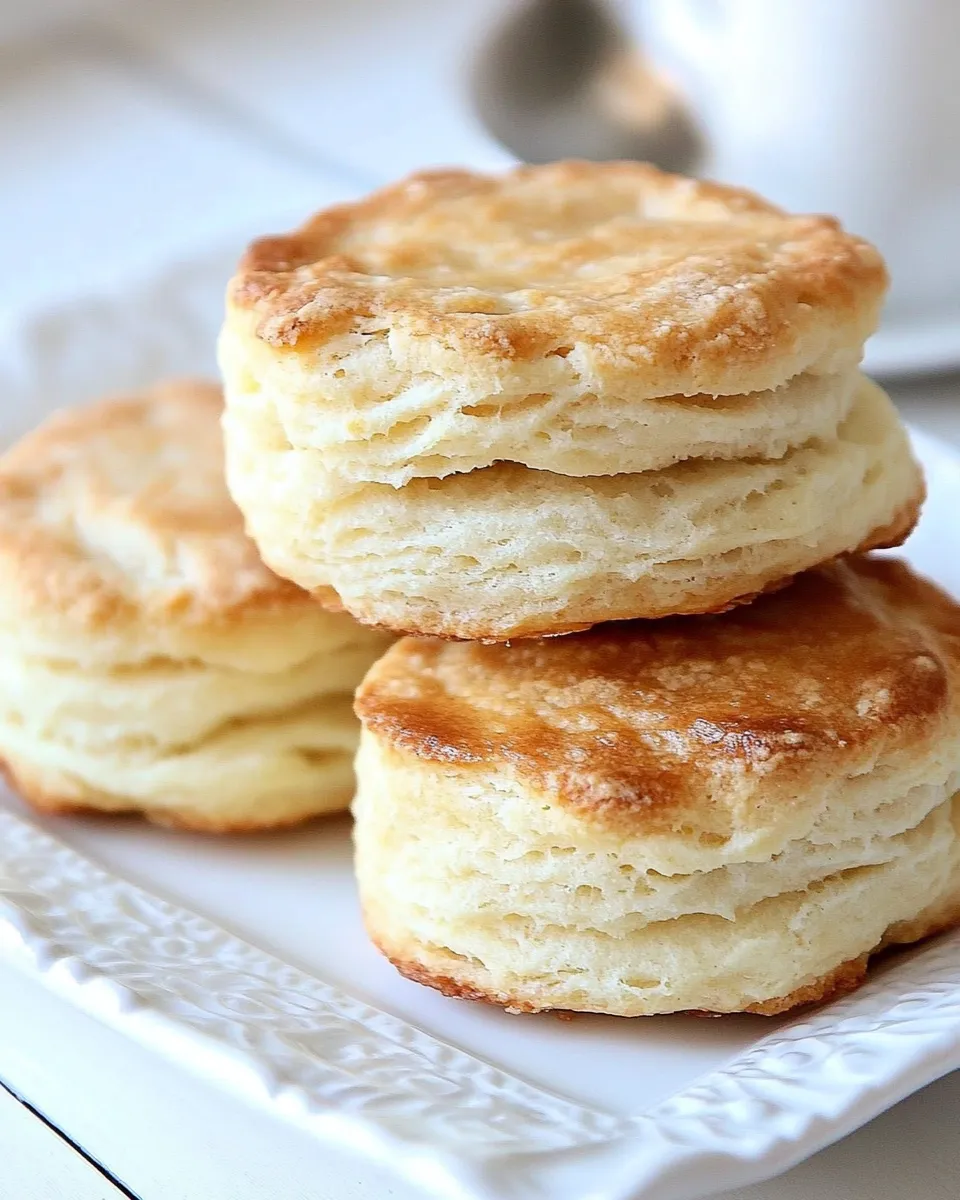
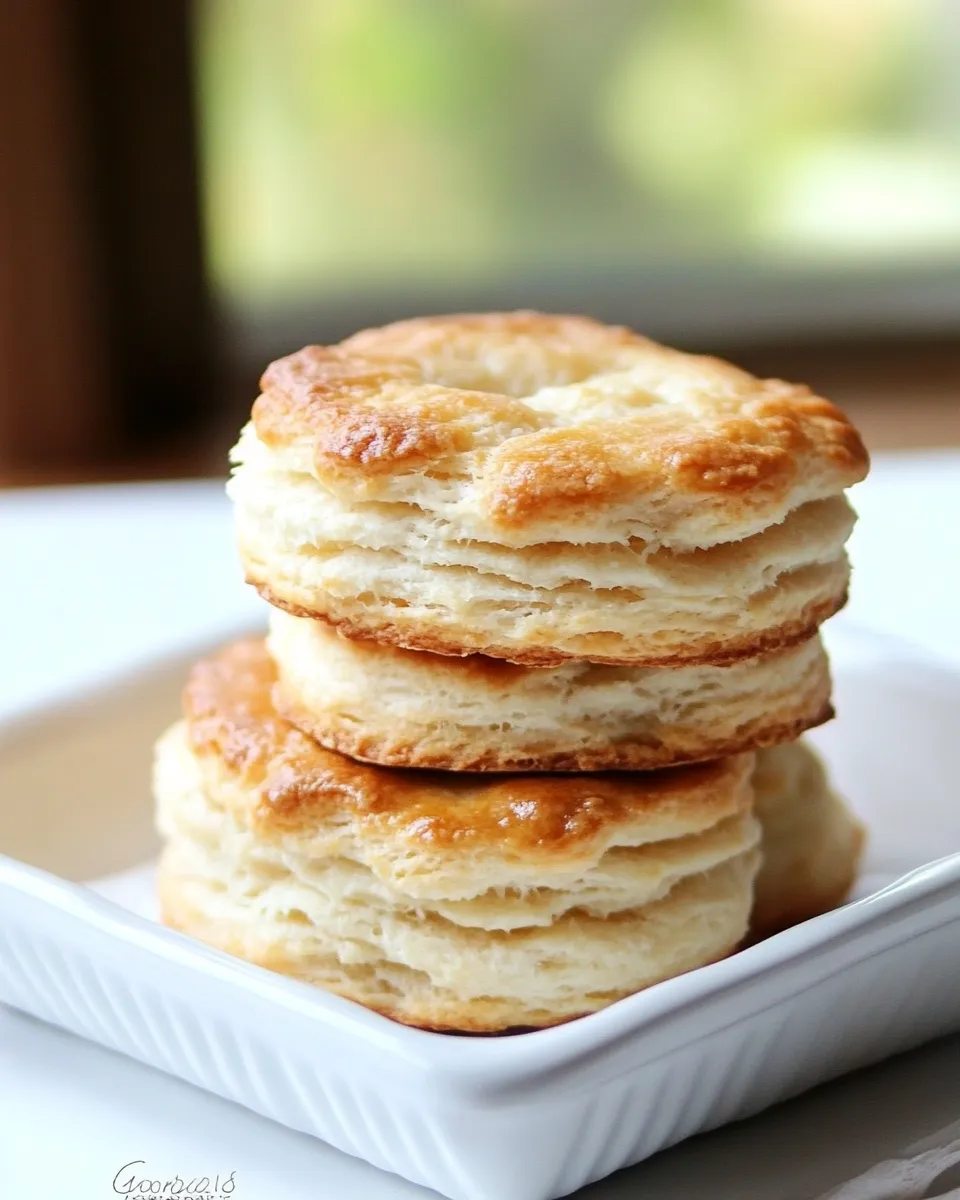
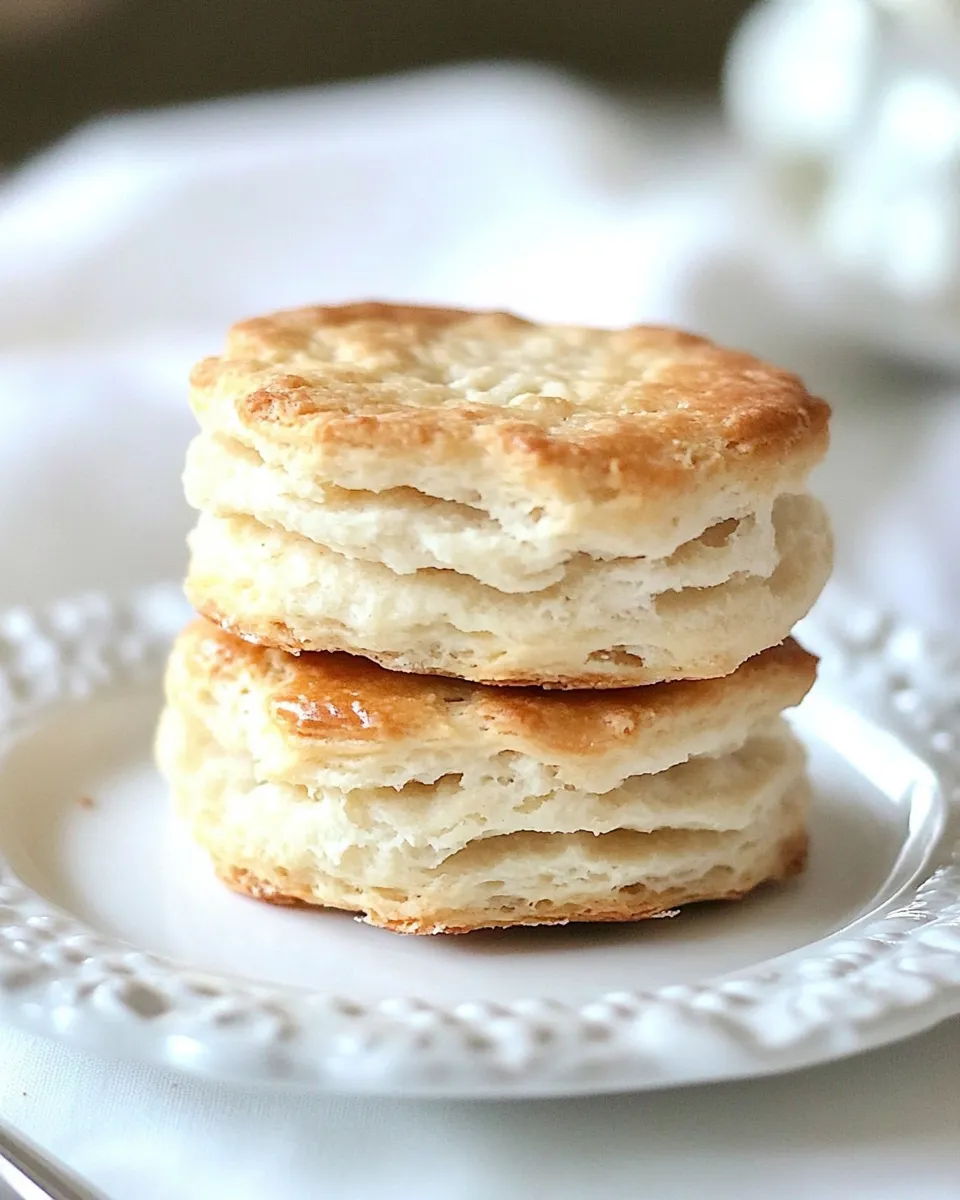
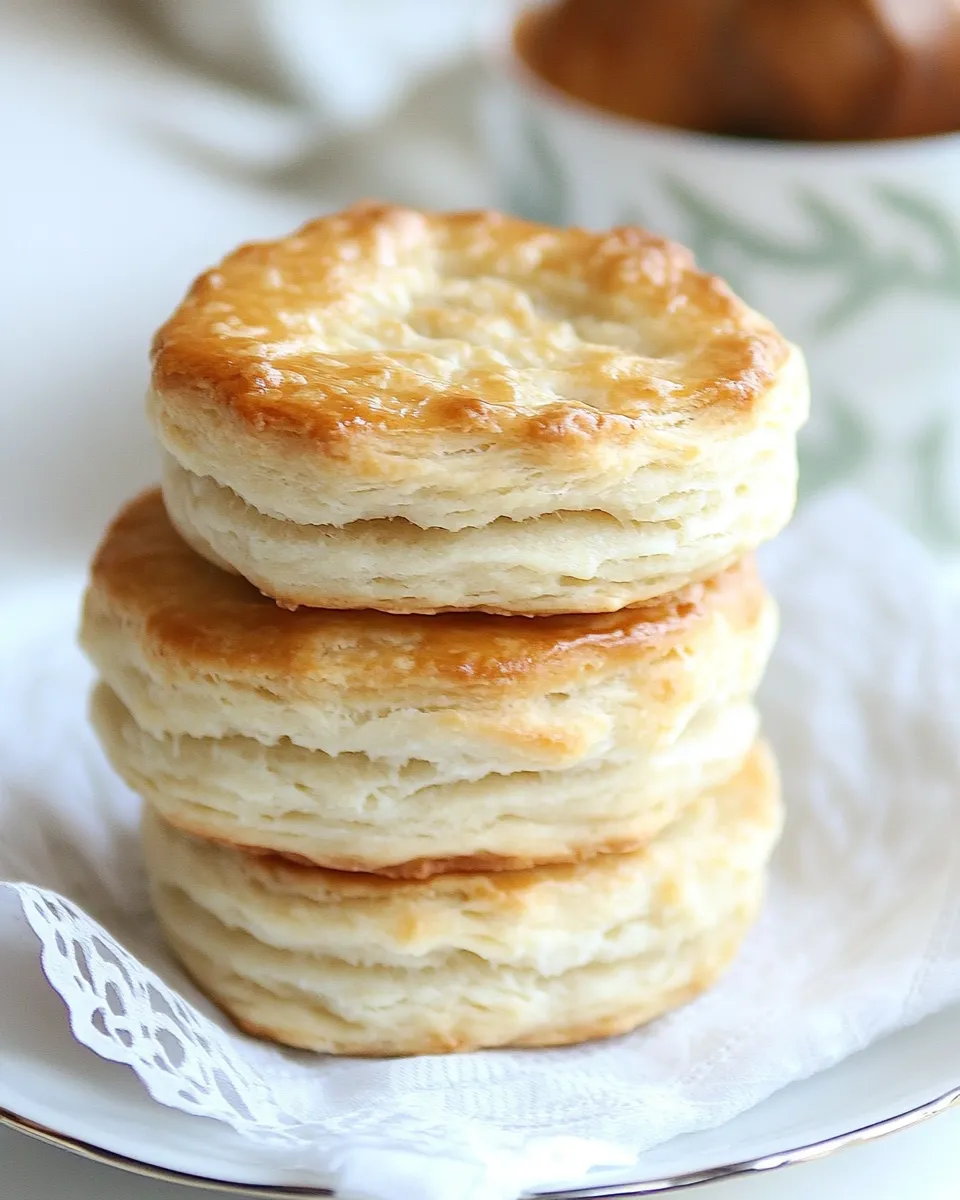
Goat Butter Biscuits
Have you ever experienced the joy of biting into a warm, flaky biscuit fresh from the oven? If you haven’t tried making Goat Butter Biscuits yet, you’re in for a delightful treat. These biscuits are not just any ordinary biscuits; they are made with rich, creamy goat’s-milk butter that adds a unique flavor and a tender crumb to each bite. Perfect for breakfast, brunch, or even as a side dish for dinner, these biscuits will elevate your culinary repertoire. Let’s dive into the details and bring these scrumptious Goat Butter Biscuits to life!
What Sets This Recipe Apart
What makes these Goat Butter Biscuits truly special is the use of goat’s-milk butter, which lends a rich, tangy twist compared to traditional cow’s milk butter. The unique flavor profile enhances the biscuits, making them not only delicious but also memorable. The self-rising flour ensures that they rise beautifully, yielding a buttery, flaky texture that is hard to resist. Pair these biscuits with honey, jam, or even savory spreads, and you will find yourself going back for more.
What We’re Using
To create these delightful biscuits, you’ll need a few simple ingredients that come together harmoniously. Here’s what you’ll need:
- 2 1/4 cups self-rising flour – This is the base of our biscuits, providing structure and lift.
- 4 ounces chilled goat’s-milk butter – Cut into 1/2-inch cubes for easy incorporation.
- 3/4 cup whole milk – Adds moisture and richness to the dough.
- Extra self-rising flour – For dusting and adjusting the dough if needed.
Appliances & Accessories
To make the process smooth and efficient, here are some essential tools you will need:
- Mixing bowl – For combining the dry ingredients and mixing the dough.
- Pastry cutter or fork – Ideal for cutting in the butter.
- Baking sheet – To place your biscuits for baking.
- Parchment paper – Optional, but it helps prevent sticking and makes for easy cleanup.
- Rolling pin – If you prefer rolling out your dough to a specific thickness.
Goat Butter Biscuits: From Prep to Plate
Now that we have everything we need, let’s get started on making these delightful Goat Butter Biscuits!
Step 1: Preheat the Oven
Preheat your oven to 425°F (220°C). A hot oven is crucial for achieving that perfect biscuit rise.
Step 2: Mix the Dry Ingredients
In a large mixing bowl, combine 2 1/4 cups of self-rising flour. Make sure to whisk it well to aerate the flour and break up any clumps.
Step 3: Cut in the Goat’s-Milk Butter
Add the chilled goat’s-milk butter cubes to the flour mixture. Using a pastry cutter or a fork, cut in the butter until the mixture resembles coarse crumbs. This step is essential for creating the flaky texture of the biscuits.
Step 4: Add the Milk
Pour in 3/4 cup of whole milk, and gently stir with a spatula or wooden spoon until the dough just comes together. Be careful not to overmix; a little bit of flour showing is okay.
Step 5: Knead the Dough
Turn the dough out onto a lightly floured surface. Gently knead the dough just a few times, about 5-6 times, until it’s cohesive. If the dough feels too sticky, you can sprinkle a little more flour as needed.
Step 6: Shape the Biscuits
Pat the dough into a rectangle about 1-inch thick. Use a biscuit cutter or a sharp knife to cut out biscuits. Place them on a baking sheet lined with parchment paper, ensuring they’re close but not touching.
Step 7: Bake
Bake the biscuits in your preheated oven for 12-15 minutes, or until they’re golden brown on top. The smell of baking biscuits will fill your kitchen and make it hard to resist!
Step 8: Serve Warm
Once baked, remove them from the oven and let them cool for a few minutes. Serve them warm with your favorite toppings, such as butter, honey, or fruit preserves. Enjoy the delightful flavor of your Goat Butter Biscuits!
Holiday & Seasonal Touches
These Goat Butter Biscuits can be customized to fit any season or holiday! Here are some ideas to add a festive touch:
- Add fresh herbs such as rosemary or thyme for a savory twist.
- Incorporate shredded cheese like cheddar or feta for a cheesy delight.
- Mix in dried fruit such as cranberries or apricots for a sweet variation.
- Serve alongside seasonal spreads like pumpkin butter or spiced apple jam during the fall.
Slip-Ups to Skip
While making Goat Butter Biscuits is straightforward, there are a few common mistakes to avoid:
- Overmixing the dough can lead to tough biscuits. Mix just until combined.
- Using warm butter instead of chilled can affect the texture. Always use cold butter for that flaky quality.
- Not preheating the oven properly may result in undercooked biscuits. Ensure your oven is hot before baking.
- Cutting the biscuits too thin can prevent them from rising properly. Aim for about 1-inch thickness.
How to Store & Reheat
To keep your Goat Butter Biscuits fresh, follow these storage tips:
Store leftover biscuits in an airtight container at room temperature for up to 2 days. If you want them to last longer, you can refrigerate them for up to a week. For freezing, wrap each biscuit in plastic wrap and place them in a freezer bag. They will keep well for up to 3 months.
To reheat, simply place the biscuits in a preheated oven at 350°F (175°C) for about 10 minutes, or until warmed through. Alternatively, you can microwave them for 20-30 seconds, but be aware that this may cause the biscuits to lose a bit of their crispiness.
Goat Butter Biscuits FAQs
Can I substitute regular butter for goat’s-milk butter?
While you can use regular butter, the flavor and texture will differ. Goat’s-milk butter provides a unique taste that enhances the biscuits. If you have dietary restrictions, consider using a plant-based butter as an alternative.
Can I make these biscuits ahead of time?
Yes! You can prepare the dough and refrigerate it for up to 24 hours before baking. Just allow the dough to come to room temperature before cutting and baking.
What can I serve with Goat Butter Biscuits?
These biscuits pair wonderfully with honey, homemade jams, or even savory spreads like cream cheese or herbed butter. They also make a great side for soups and stews.
What if I don’t have self-rising flour?
You can make your own by combining all-purpose flour with baking powder and salt. For every cup of flour, add 1 1/2 teaspoons of baking powder and 1/4 teaspoon of salt.
See You at the Table
As you embark on your culinary adventure with Goat Butter Biscuits, remember that cooking is not only about the end result but also about the joy of creating and sharing. These biscuits are sure to impress your family and friends, making any gathering feel special. Gather around the table, savor each bite, and enjoy the warmth that comes from good food and great company.
Whether you’re having a cozy breakfast or a festive holiday meal, these Goat Butter Biscuits will surely be a hit. Happy baking!
Goat Butter Biscuits
Ingredients
Equipment
Method
- Preheat your oven to 425°F (220°C). A hot oven is crucial for achieving that perfect biscuit rise.
- In a large mixing bowl, combine 2 1/4 cups of self-rising flour. Make sure to whisk it well to aerate the flour and break up any clumps.
- Add the chilled goat's-milk butter cubes to the flour mixture. Using a pastry cutter or a fork, cut in the butter until the mixture resembles coarse crumbs.
- Pour in 3/4 cup of whole milk, and gently stir with a spatula or wooden spoon until the dough just comes together. Be careful not to overmix.
- Turn the dough out onto a lightly floured surface. Gently knead the dough just a few times, about 5-6 times, until it’s cohesive.
- Pat the dough into a rectangle about 1-inch thick. Use a biscuit cutter or a sharp knife to cut out biscuits. Place them on a baking sheet lined with parchment paper.
- Bake the biscuits in your preheated oven for 12-15 minutes, or until they’re golden brown on top.
- Once baked, remove them from the oven and let them cool for a few minutes. Serve them warm with your favorite toppings.
Notes
- Store leftover biscuits in an airtight container at room temperature for up to 2 days.
- For freezing, wrap each biscuit in plastic wrap and place them in a freezer bag.
- To reheat, place the biscuits in a preheated oven at 350°F (175°C) for about 10 minutes.