
Home-made peanut butter cups
There’s something undeniably charming about making your own treats at home, especially when they’re as delightful as home-made peanut butter cups. Rich, creamy, and oh-so-decadent, these treats blend the satisfying crunch of chocolate with the smooth, nutty flavor of peanut butter. Whether you’re indulging yourself or impressing friends at a gathering, this easy recipe is a surefire way to bring joy to any occasion. Let’s dive into the sweet world of home-made peanut butter cups!
Why Cooks Rave About It
There are countless reasons why home-made peanut butter cups have become a beloved staple in kitchens everywhere. First and foremost, the flavor combination of chocolate and peanut butter is a classic that few can resist. The ability to customize these treats according to your taste is another significant advantage. You can adjust the sweetness, experiment with different types of chocolate, or even add a sprinkle of sea salt for that gourmet touch. Plus, making them at home means you control the ingredients, ensuring freshness and quality.
Ingredient Checklist
- 2/3 cup salted creamy peanut butter – This forms the luscious filling, providing that signature peanut buttery goodness.
- 3 tablespoons unsalted butter – Helps to create a smooth texture in the filling.
- 3 tablespoons firmly packed light brown sugar – Adds a touch of sweetness and depth to the peanut butter filling.
- 2/3 cup powdered sugar – Essential for achieving the right sweetness and texture.
- 2 cups dark or milk chocolate – Chopped into quarter-size pieces or use Wilton Candy Melts for a hassle-free option.
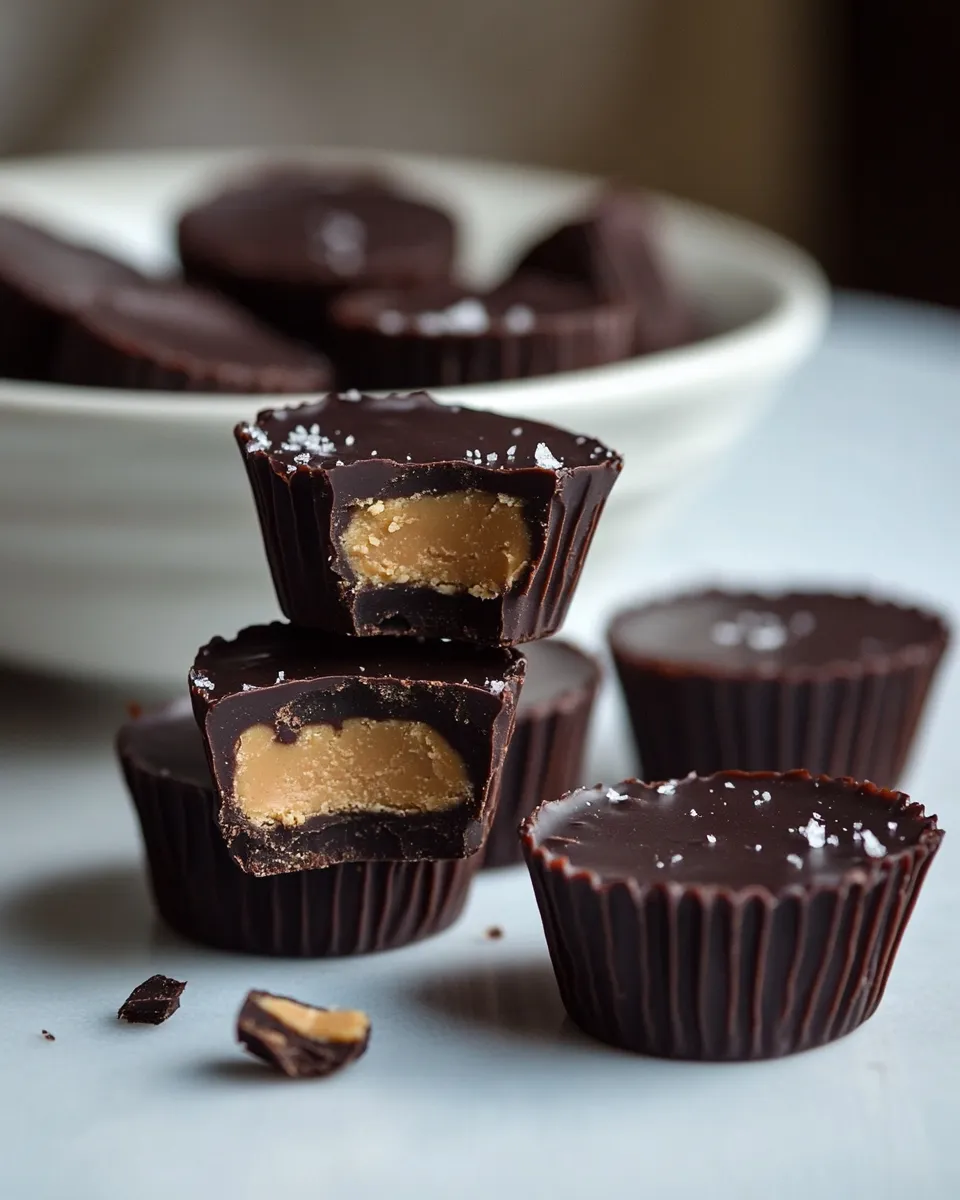
- Sea salt (optional) – A finishing touch to enhance flavors, if desired.
Recommended Tools
- Mixing Bowl – For combining your peanut butter filling ingredients.
- Microwave-Safe Bowl – For melting the chocolate easily and safely.
- Muffin Tin – The perfect mold for shaping your peanut butter cups.
- Parchment Paper – To line the muffin tin for easy removal of the finished cups.
- Whisk or Spoon – For mixing the filling ingredients until smooth.
Stepwise Method: Home-made peanut butter cups
Step 1: Prepare the Muffin Tin
Start by lining a muffin tin with parchment paper liners. This will ensure that your home-made peanut butter cups come out easily once they’re set.
Step 2: Make the Peanut Butter Filling
In a mixing bowl, combine 2/3 cup of salted creamy peanut butter, 3 tablespoons of unsalted butter, 3 tablespoons of firmly packed light brown sugar, and 2/3 cup of powdered sugar. Use a whisk or spoon to mix until the mixture is smooth and creamy. Set aside.
Step 3: Melt the Chocolate
In a microwave-safe bowl, add 2 cups of chopped dark or milk chocolate. Heat in the microwave in 30-second intervals, stirring in between, until fully melted and smooth. If you’re using Wilton Candy Melts, follow the package instructions for melting.
Step 4: Coat the Muffin Tin
Spoon a layer of melted chocolate into the bottom of each muffin liner, just enough to cover the base. Use the back of the spoon to spread it evenly.
Step 5: Add the Peanut Butter Filling
Once the chocolate layer is set (it doesn’t have to be completely hard), add a generous scoop of the peanut butter filling on top of the chocolate, creating a small mound in each cup.
Step 6: Top with More Chocolate
Pour more melted chocolate over the peanut butter filling in each cup, ensuring it’s completely covered. Use a spoon to smooth out the top if needed.
Step 7: Chill to Set
Place the muffin tin in the refrigerator and let the home-made peanut butter cups chill for about 30 minutes, or until the chocolate is firm.
Step 8: Serve and Enjoy!
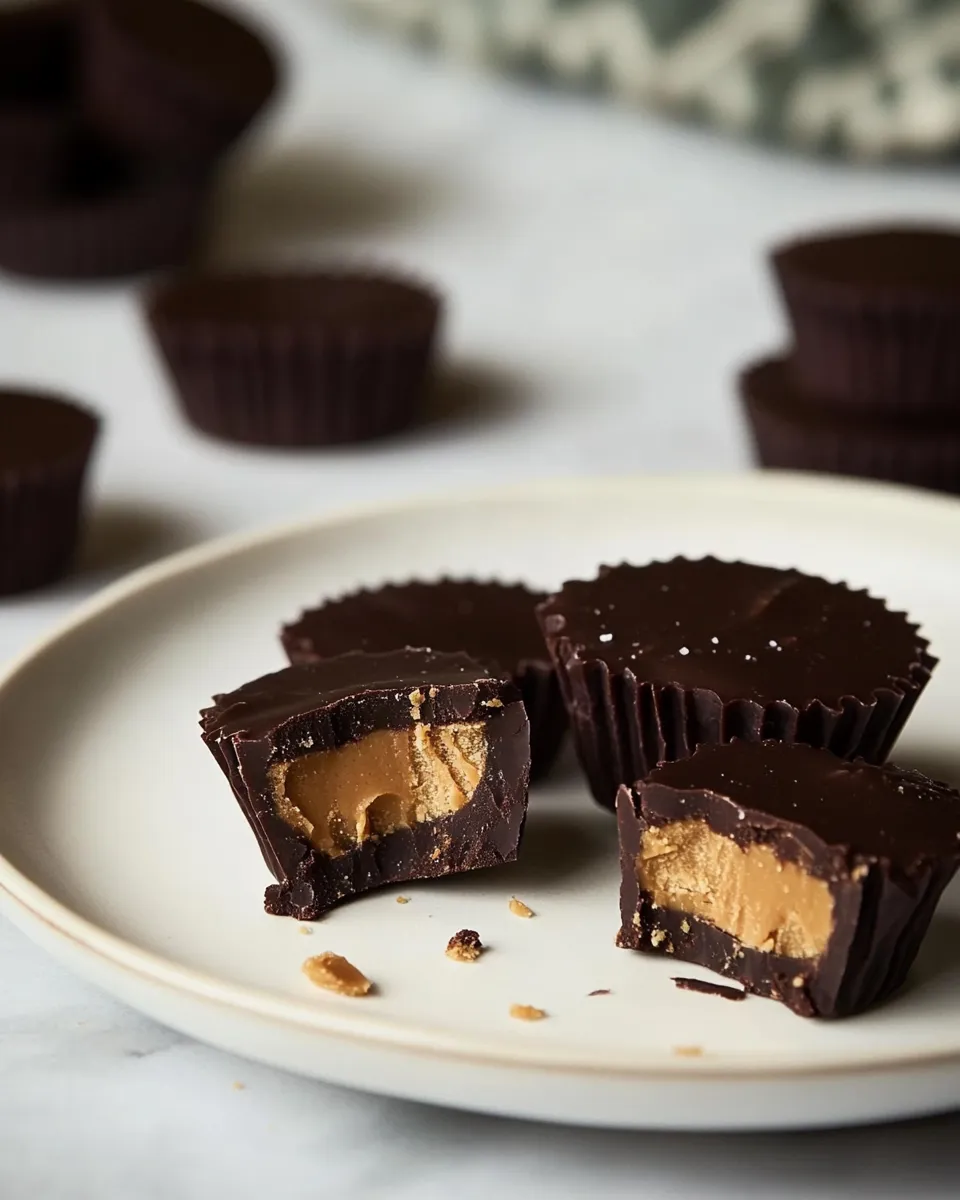
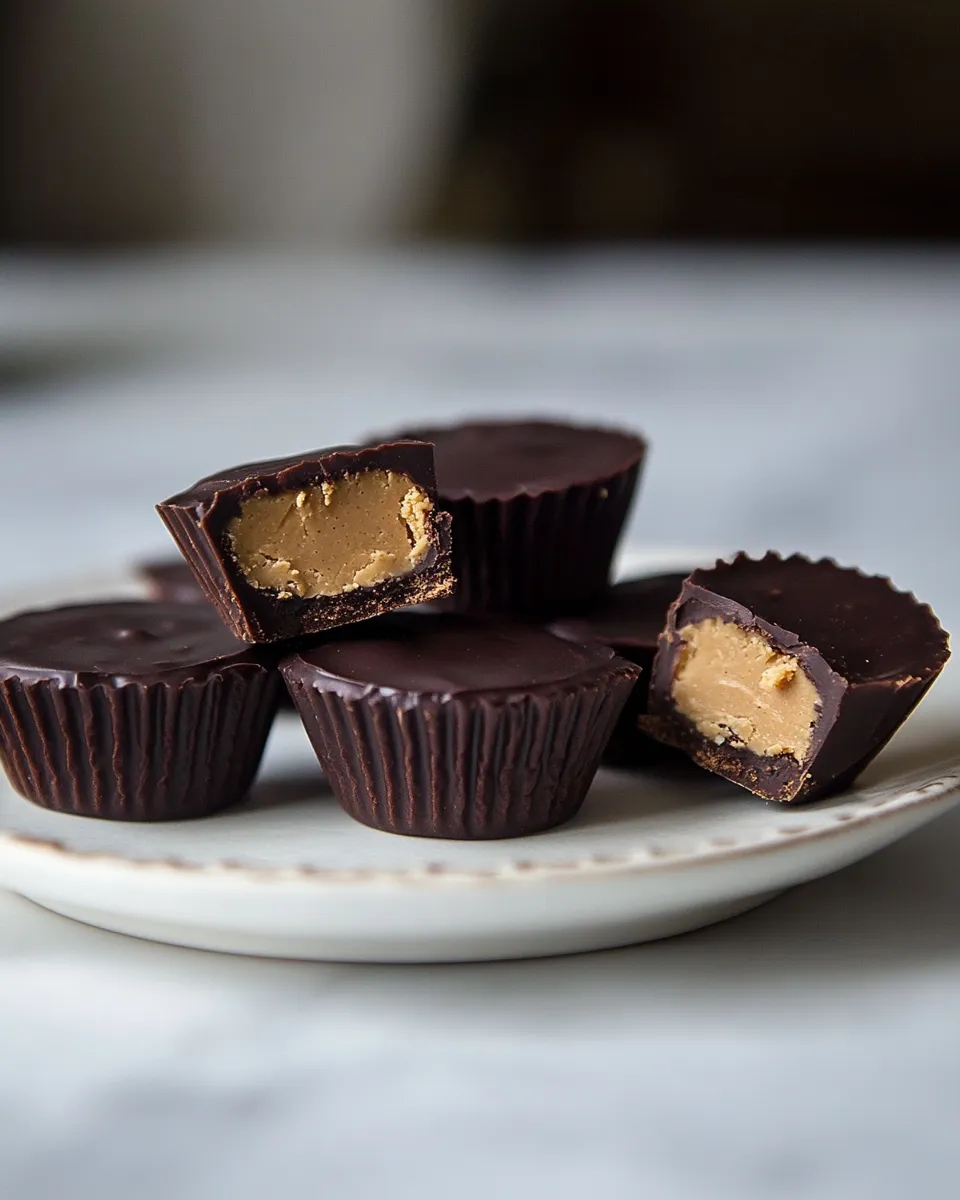
Once set, remove the peanut butter cups from the muffin tin, peel off the liners, and enjoy your delicious creations! Optionally, sprinkle a tiny bit of sea salt on top for that extra flavor kick.
Season-by-Season Upgrades

- Spring: Add a hint of orange zest to the peanut butter filling for a fresh, citrusy twist.
- Summer: Incorporate finely chopped nuts or dried fruit into the filling for added texture and flavor.
- Fall: Mix in a pinch of cinnamon or pumpkin spice for a seasonal touch that evokes cozy autumn vibes.
- Winter: Use peppermint extract in the filling for a festive minty flavor, perfect for holiday gatherings.
Don’t Do This
- Don’t rush the melting process of the chocolate; overheating can cause it to seize.
- Avoid using natural peanut butter that is too runny, as it may not hold the filling well.
- Don’t skip the chilling step; it’s essential for the chocolate to set properly and for clean removal from the liners.
- Don’t overfill the cups with peanut butter; a little goes a long way, and you want a good chocolate-to-peanut-butter ratio!
Freezer-Friendly Notes
These home-made peanut butter cups are incredibly freezer-friendly! After they’ve set, simply place them in an airtight container or a freezer-safe bag. They can be stored in the freezer for up to 3 months. When you’re ready to enjoy them, just pull out a cup and let it thaw for a few minutes at room temperature. They make for a perfect sweet treat that’s ready whenever you are!
Popular Questions
Can I use crunchy peanut butter instead of creamy?
Absolutely! Crunchy peanut butter will add an extra layer of texture to your home-made peanut butter cups, making them even more delightful.
What type of chocolate works best?
Both dark and milk chocolate work beautifully in this recipe. It ultimately depends on your personal preference. Dark chocolate will give a richer flavor, while milk chocolate offers a sweeter taste.
How long do these peanut butter cups last?
When stored in an airtight container in the refrigerator, your home-made peanut butter cups can last up to two weeks. If frozen, they can be enjoyed for three months.
Can I use alternative sweeteners in this recipe?
Yes, you can experiment with alternative sweeteners such as coconut sugar or stevia. Just keep in mind that texture and sweetness levels may vary, so adjustments might be needed.
Final Thoughts
Once you’ve mastered the art of making home-made peanut butter cups, you may never want to buy store-bought ones again. The joy of creating these delectable treats in your own kitchen is unmatched. Not only are they incredibly customizable, but they also provide a wonderful sense of accomplishment. So gather your ingredients, roll up your sleeves, and get ready to indulge in a deliciously satisfying treat that’s sure to put a smile on your face!
Home-made peanut butter cups
Ingredients
Equipment
Method
- Start by lining a muffin tin with parchment paper liners.
- In a mixing bowl, combine salted creamy peanut butter, unsalted butter, light brown sugar, and powdered sugar. Mix until smooth and creamy.
- In a microwave-safe bowl, add chopped dark or milk chocolate. Heat in the microwave in 30-second intervals, stirring until fully melted.
- Spoon a layer of melted chocolate into the bottom of each muffin liner, enough to cover the base.
- Add a generous scoop of the peanut butter filling on top of the chocolate layer.
- Pour more melted chocolate over the peanut butter filling, ensuring it's completely covered.
- Place the muffin tin in the refrigerator and let the cups chill for about 30 minutes, or until the chocolate is firm.
- Once set, remove the peanut butter cups from the muffin tin, peel off the liners, and enjoy!
Notes
- These peanut butter cups are freezer-friendly and can be stored for up to 3 months.
- You can use crunchy peanut butter for added texture.
- Experiment with different types of chocolate to suit your taste.