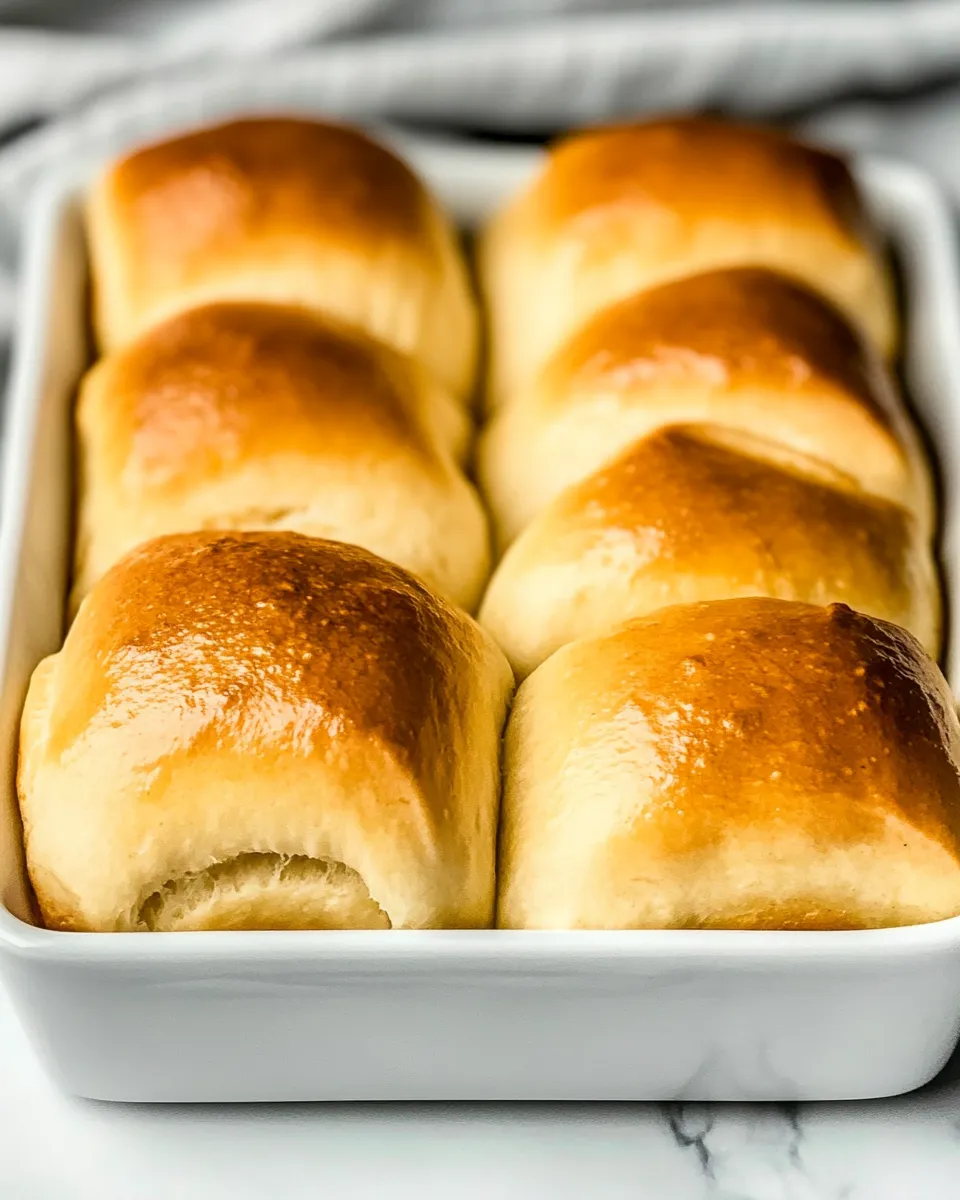
Homemade Dinner Rolls
Homemade dinner rolls are a delightful addition to any meal, bringing warmth and a touch of love to your table. There’s something incredibly satisfying about pulling a tray of golden, fluffy rolls from the oven, their buttery aroma wafting through the house. These rolls can elevate your dinner from ordinary to extraordinary, making them perfect for family gatherings, holiday feasts, or a simple weeknight meal. With just a handful of ingredients and a little patience, you can create these soft, pillowy rolls that everyone will adore.
Why Homemade Dinner Rolls is Worth Your Time
The charm of homemade dinner rolls lies in their ability to transform any occasion into something special. Unlike store-bought varieties that can often be dense and flavorless, homemade rolls are light, fluffy, and bursting with flavor. The process of making these rolls can also be therapeutic; it’s a chance to slow down and enjoy the art of baking. Plus, there’s nothing quite like the satisfaction of serving something made from scratch, filling your home with irresistible scents and creating memories with loved ones around the dinner table.
Ingredient Breakdown
To make the most delectable homemade dinner rolls, you’ll need the following ingredients:
- 1/3 cup warm water (80ml): This will activate the yeast, giving the rolls their rise.
- 2 1/4 teaspoons active dry yeast (7g): The magic ingredient that makes the rolls fluffy.
- 1/3 cup + 1 teaspoon granulated sugar (70g + 1g): Sweetness that balances the flavors and helps with browning.
- 1 1/3 cups milk, warmed (320ml): Adds richness and moisture to the dough.
- 5 tablespoons salted butter, softened (70g): Provides flavor and tenderness.
- 1 large egg: Binds the ingredients together and adds richness.
- 1 1/2 teaspoons salt: Enhances flavor and regulates yeast activity.
- 4 to 4 1/2 cups all-purpose flour (500-570g): The foundation of the rolls, providing structure.
Hardware & Gadgets
Before you start baking, gather these essential tools:
- Mixing bowls: For combining your ingredients.
- Measuring cups and spoons: Accurate measurements are key to successful baking.
- Stand mixer (optional): Makes kneading easier but is not necessary if you’re up for a workout!
- Kitchen towel: To cover the dough while it rises.
- Baking sheet: To place the rolls for baking.
- Cooling rack: To let the rolls cool after baking.
Homemade Dinner Rolls: How It’s Done
Making homemade dinner rolls may seem daunting, but with these straightforward steps, you’ll be a pro in no time!
Step 1: Activate the Yeast
In a small bowl, combine the warm water and 1 teaspoon of sugar. Sprinkle the active dry yeast over the top and let it sit for about 5-10 minutes until it becomes foamy. This indicates that your yeast is active and ready to use.
Step 2: Mix the Wet Ingredients
In a large mixing bowl, combine the warmed milk, softened butter, and the remaining sugar. Allow the butter to melt partially in the warm milk. Once it’s slightly cooled, add the activated yeast mixture and the egg. Whisk everything together until well combined.
Step 3: Incorporate the Dry Ingredients
In another bowl, whisk together 4 cups of all-purpose flour and salt. Gradually add this to the wet mixture, stirring to form a soft dough. If the dough is too sticky, add the remaining flour, a little at a time, until it pulls away from the sides of the bowl.
Step 4: Knead the Dough
Turn the dough onto a floured surface and knead for about 8-10 minutes until it’s smooth and elastic. If you’re using a stand mixer, you can knead it with the dough hook on medium speed for about 5-7 minutes.
Step 5: First Rise
Place the kneaded dough in a greased bowl, cover it with a kitchen towel, and let it rise in a warm, draft-free area until it doubles in size, about 1-2 hours.
Step 6: Shape the Rolls
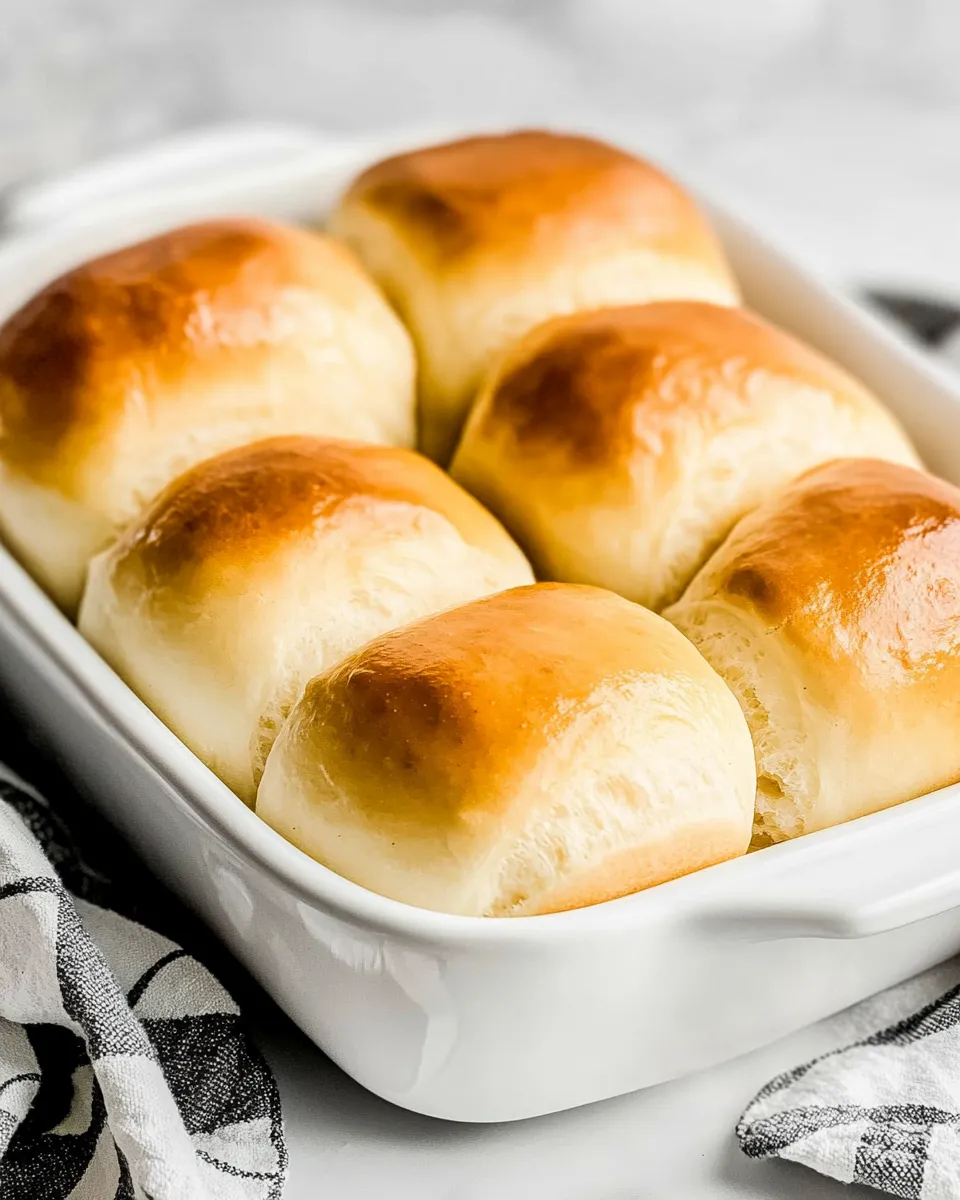
Once the dough has risen, punch it down to release the air. Divide it into 12-15 equal pieces, rolling each piece into a ball. Place the rolls on a greased baking sheet, spacing them slightly apart.
Step 7: Second Rise
Cover the shaped rolls with the kitchen towel again and let them rise for another 30-45 minutes, or until they’re puffy.
Step 8: Preheat the Oven
While the rolls are rising, preheat your oven to 350°F (175°C). This ensures that the rolls bake evenly and develop a beautiful golden crust.
Step 9: Bake the Rolls
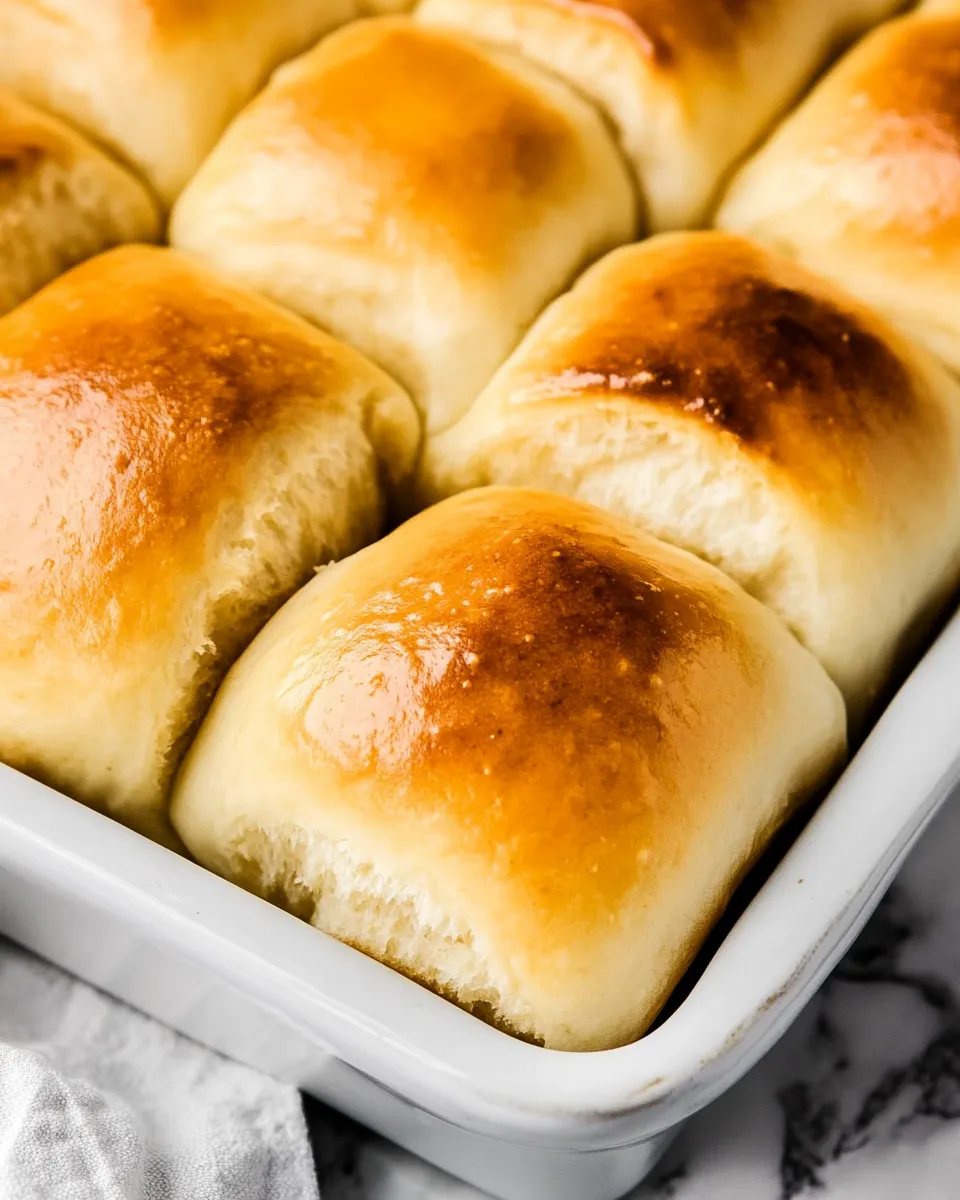
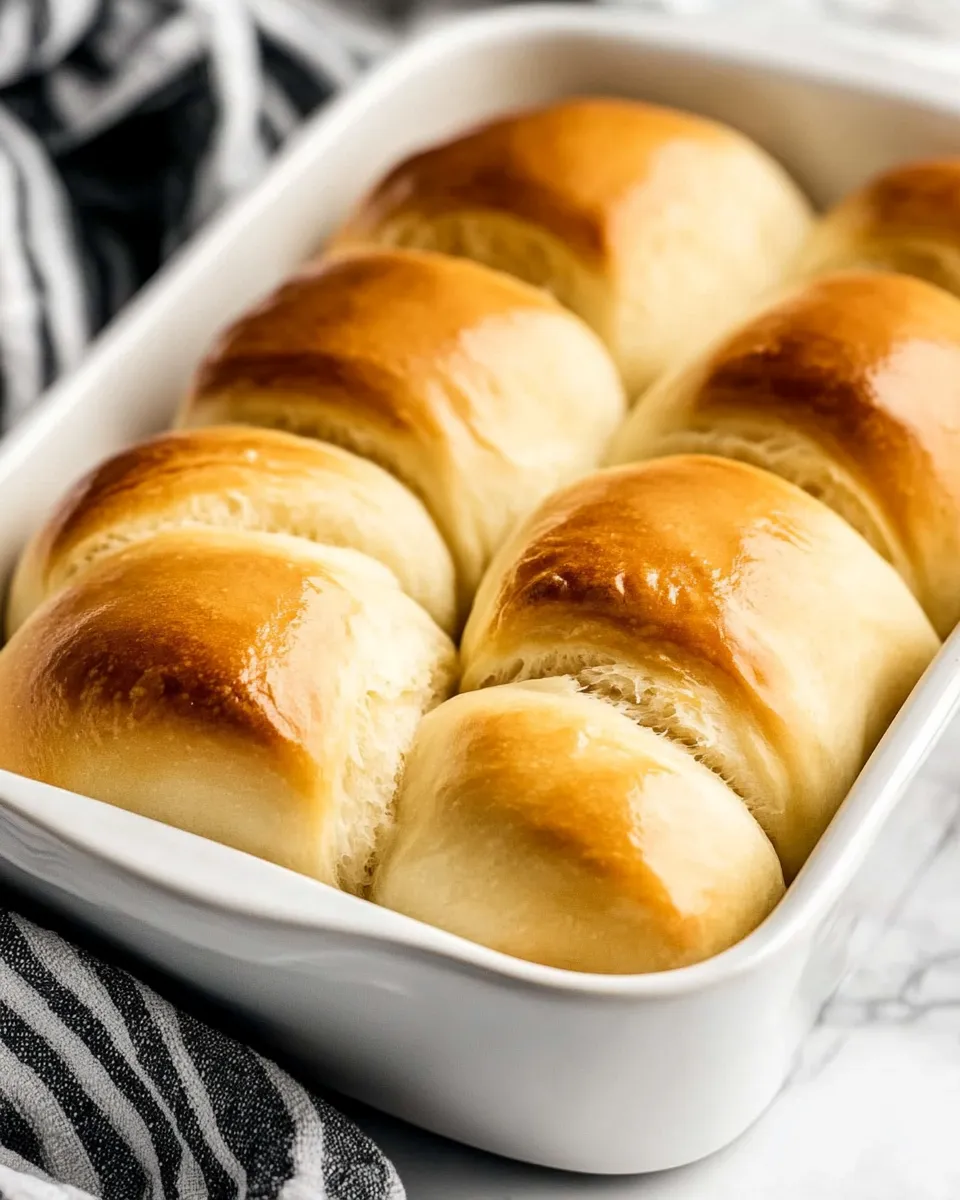
Once the rolls have risen, bake them in the preheated oven for 20-25 minutes until they’re golden brown. You can brush the tops with melted butter halfway through baking for extra flavor.
Step 10: Cool and Serve
Remove the rolls from the oven and let them cool on a wire rack. Serve warm, and enjoy the fruits of your labor!
Make It Year-Round
Homemade dinner rolls are versatile and can be enjoyed throughout the year. Here are some ideas to incorporate them into your meals:
- Holiday feasts: Perfect alongside your Thanksgiving turkey or Christmas ham.
- Weeknight dinners: Pair them with soups, stews, or salads for a comforting meal.
- Picnics: Pack them for a delightful addition to your outdoor adventures.
- Breakfast: Use them for mini sandwiches or with butter and jam for a sweet start to your day.
Slip-Ups to Skip
Even the best bakers sometimes make mistakes. Here are a few common slip-ups to avoid:
- Not checking the yeast: Always ensure your yeast is fresh and activated before using it.
- Over-kneading the dough: This can lead to tough rolls. Knead just until smooth and elastic.
- Skipping the second rise: Don’t rush this step; it’s crucial for fluffy rolls.
- Not measuring ingredients accurately: Baking is a science, so precise measurements are essential.
Meal Prep & Storage Notes
If you want to save some time, here are some meal prep and storage tips:
You can prepare the dough in advance and refrigerate it for up to 24 hours before the first rise. Just let it come to room temperature before proceeding with the shaping and second rise.
- Freezing: After shaping the rolls, you can freeze them before the second rise. Let them thaw in the refrigerator overnight, then allow them to rise and bake as directed.
- Storing: Keep baked rolls in an airtight container at room temperature for up to 3 days. For longer storage, freeze them in a zip-top bag.
FAQ
Can I use whole wheat flour instead of all-purpose flour?
Yes, you can substitute whole wheat flour, but keep in mind that the rolls may be denser. You might want to use a mix of all-purpose and whole wheat flour for a lighter texture.
How can I tell if my rolls are done baking?
The rolls should be golden brown on top, and when you tap the bottom, they should sound hollow. An internal temperature of around 190°F (88°C) indicates they’re fully baked.
Can I add herbs or cheese to the rolls?
Absolutely! Feel free to mix in your favorite herbs, garlic powder, or shredded cheese to the dough for extra flavor.
What should I do if my dough doesn’t rise?
If your dough fails to rise, it may be due to inactive yeast or a too-cool environment. Ensure your yeast is fresh, and try placing the dough in a warmer area to encourage rising.
Bring It Home
Homemade dinner rolls are not just a side dish; they are a heartfelt expression of love and care that can enhance any meal. With a bit of practice and patience, you’ll master the art of making these fluffy rolls that everyone will rave about. So, roll up your sleeves, gather your ingredients, and create something beautiful in your kitchen today. After all, nothing brings people together quite like the smell of fresh-baked bread. Enjoy your homemade dinner rolls, and watch how they bring smiles to the faces of your family and friends!
Homemade Dinner Rolls
Ingredients
Equipment
Method
- In a small bowl, combine the warm water and 1 teaspoon of sugar. Sprinkle the active dry yeast over the top and let it sit for about 5-10 minutes until it becomes foamy.
- In a large mixing bowl, combine the warmed milk, softened butter, and the remaining sugar. Allow the butter to melt partially in the warm milk. Once it’s slightly cooled, add the activated yeast mixture and the egg. Whisk everything together until well combined.
- In another bowl, whisk together 4 cups of all-purpose flour and salt. Gradually add this to the wet mixture, stirring to form a soft dough. If the dough is too sticky, add the remaining flour, a little at a time, until it pulls away from the sides of the bowl.
- Turn the dough onto a floured surface and knead for about 8-10 minutes until it's smooth and elastic.
- Place the kneaded dough in a greased bowl, cover it with a kitchen towel, and let it rise in a warm, draft-free area until it doubles in size, about 1-2 hours.
- Once the dough has risen, punch it down to release the air. Divide it into 12-15 equal pieces, rolling each piece into a ball. Place the rolls on a greased baking sheet, spacing them slightly apart.
- Cover the shaped rolls with the kitchen towel again and let them rise for another 30-45 minutes, or until they're puffy.
- While the rolls are rising, preheat your oven to 350°F (175°C).
- Once the rolls have risen, bake them in the preheated oven for 20-25 minutes until they're golden brown.
- Remove the rolls from the oven and let them cool on a wire rack. Serve warm, and enjoy!
Notes
- For fluffier rolls, ensure your yeast is fresh and activated before use.
- Don't skip the second rise; it's essential for light rolls!
- Store baked rolls in an airtight container at room temperature for up to 3 days.