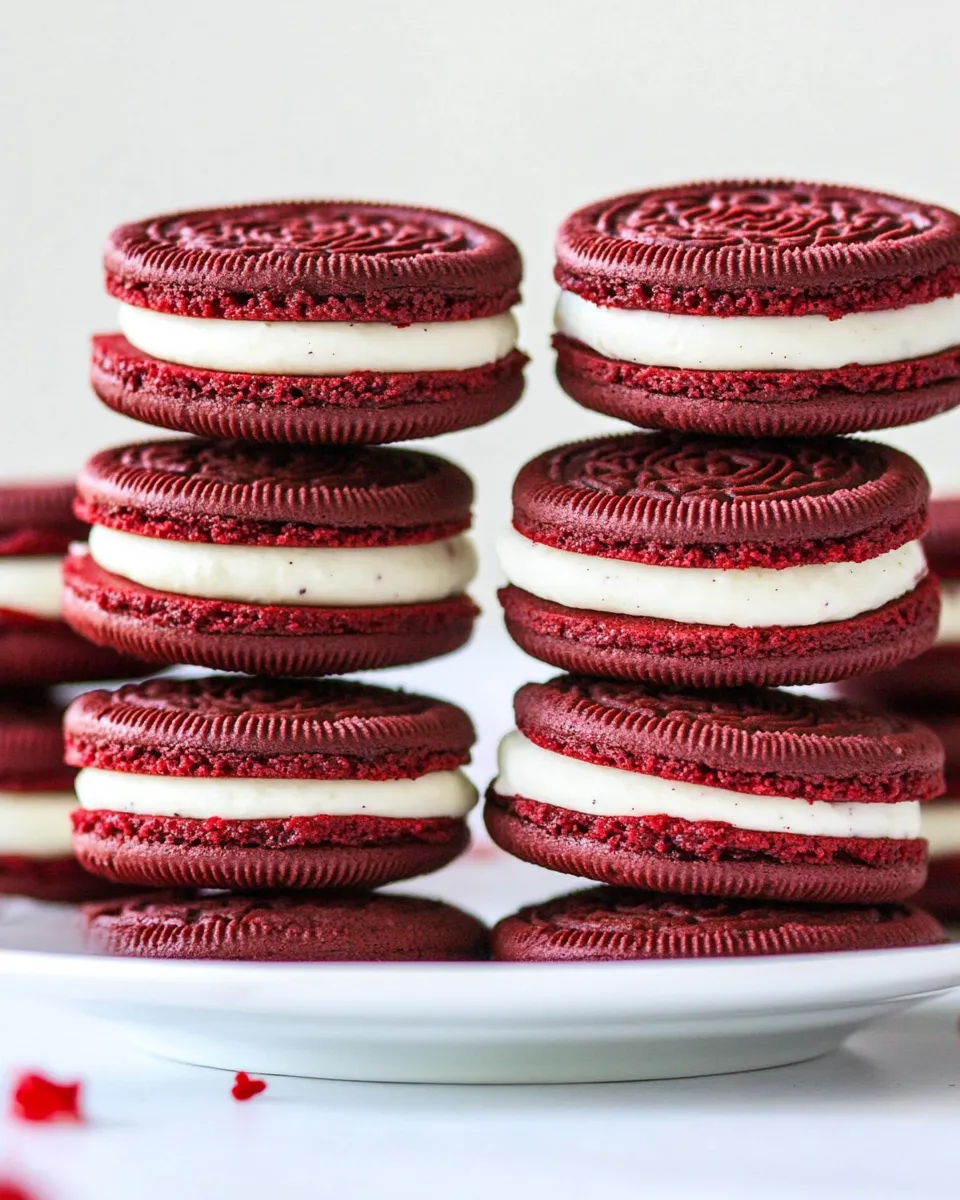
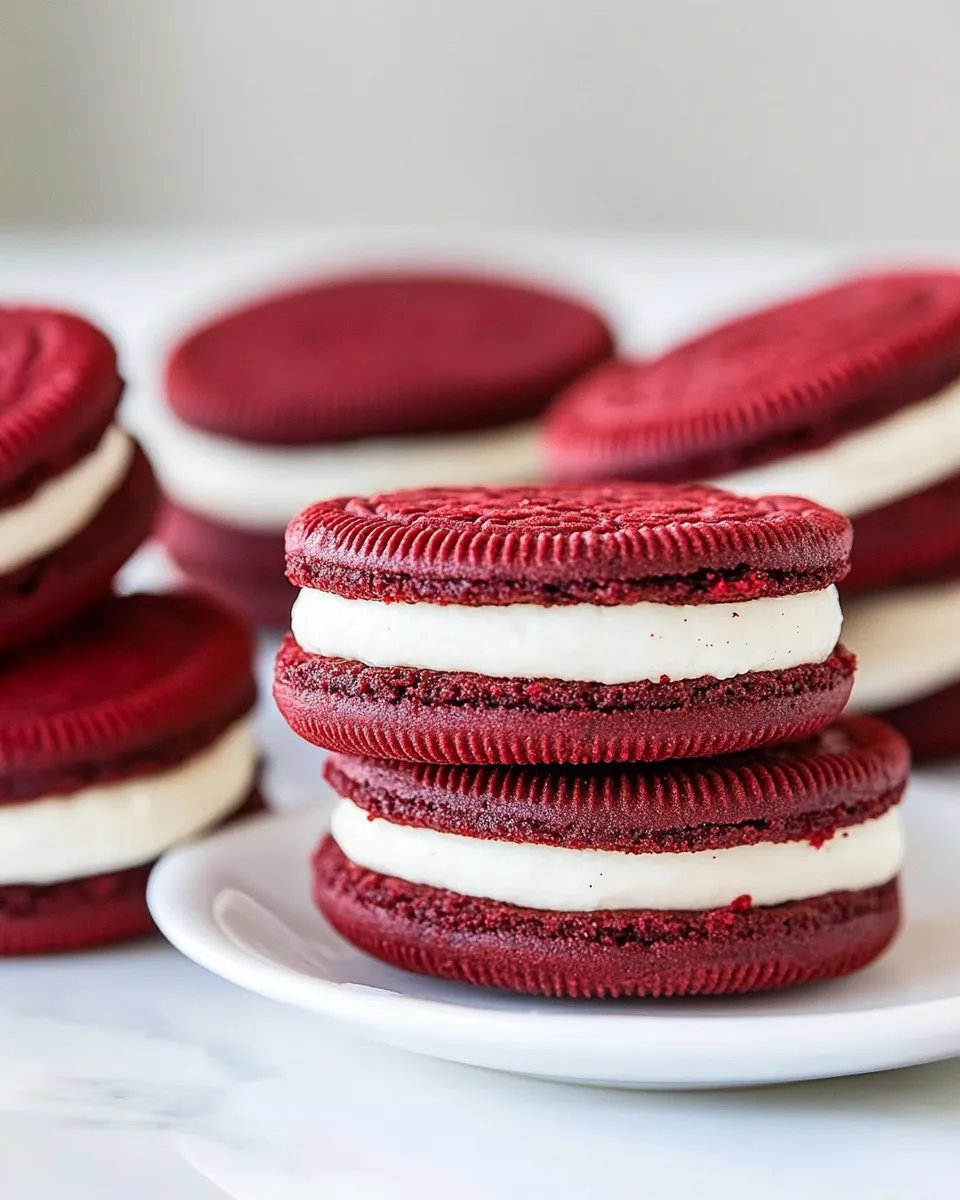
Homemade Red Velvet Oreos
There’s something magical about homemade treats, especially when they combine two beloved desserts into one delightful cookie. If you’ve ever craved the rich, velvety taste of red velvet cake and the classic crunch of an Oreo, then you’re in for a real treat. These Homemade Red Velvet Oreos are not only visually stunning with their vibrant hue, but they also boast a creamy filling that perfectly complements the soft, cocoa-infused cookies. Whether you’re baking for a special occasion or simply treating yourself, these cookies are sure to impress.
What Makes This Recipe Special
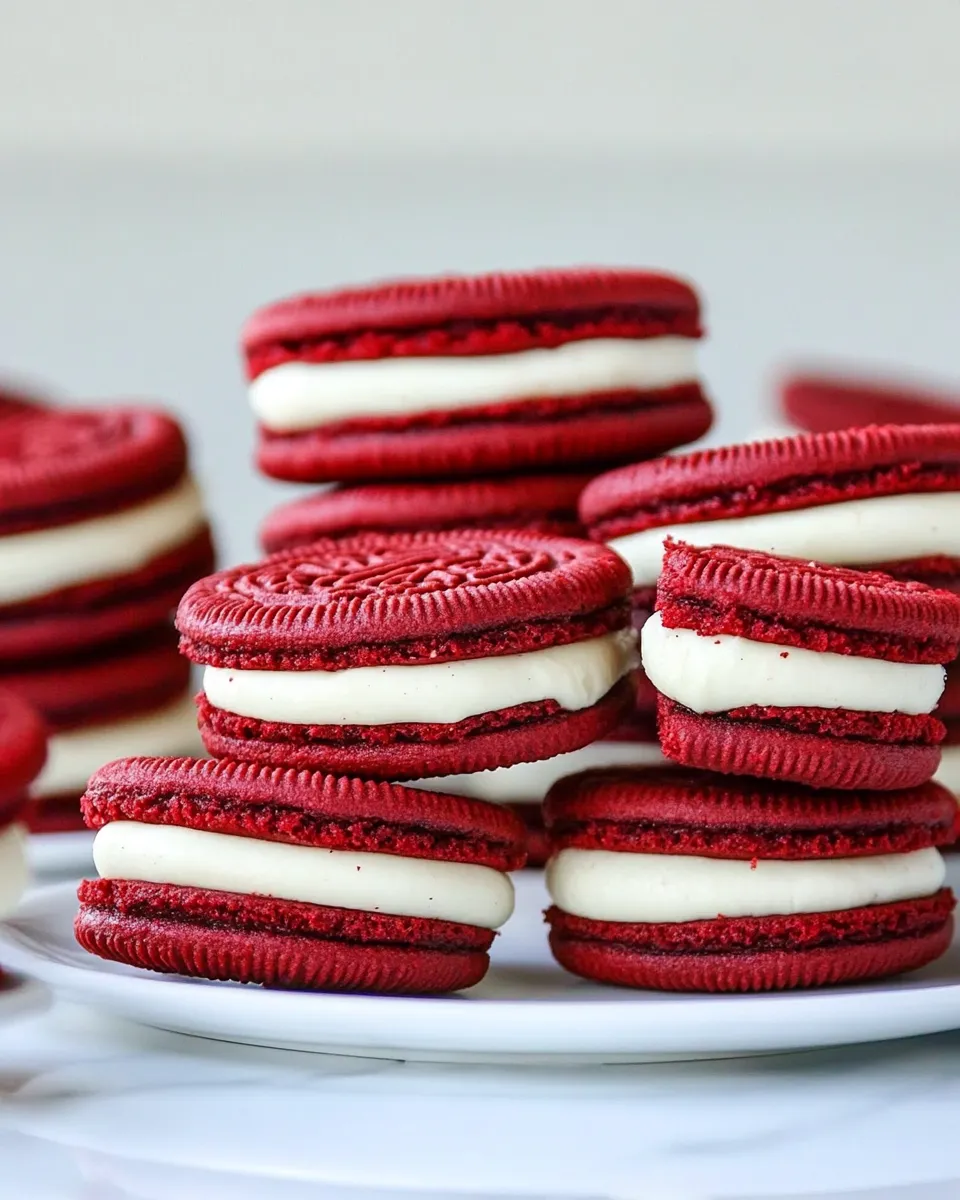
This recipe stands out because it takes the classic flavors of red velvet cake and transforms them into a fun, sandwich cookie. With a soft, slightly chewy texture and a rich cocoa flavor, these Homemade Red Velvet Oreos bring a unique twist to your traditional cookie. The addition of cream filling made from powdered sugar and butter creates a sweet, indulgent treat that is perfect for any occasion. Plus, the vibrant red color makes them an eye-catching addition to any dessert platter!
Shopping List
- 1 1/2 cups all-purpose flour
- 2 tablespoons unsweetened cocoa powder
- 1 teaspoon baking soda
- 1/4 teaspoon baking powder
- 1/4 teaspoon salt
- 1 cup granulated sugar
- 1/2 cup unsalted butter, softened
- 1 large egg
- 1 tablespoon liquid red food coloring
- 2 cups powdered sugar
- 1/2 cup vegetable shortening
- 1/2 cup unsalted butter, softened
- 1 tablespoon hot water
- 1/2 teaspoon vanilla extract
Equipment at a Glance
- Mixing Bowls: For combining ingredients.
- Electric Mixer: To cream the butter and sugar effectively.
- Baking Sheets: For placing the cookies while baking.
- Parchment Paper: To line the baking sheets for easy cleanup.
- Cookie Cutter or Round Cookie Cutter: To shape your cookies.
- Cooling Rack: To let your cookies cool down properly after baking.
Homemade Red Velvet Oreos — Do This Next
Step 1: Prepare the Dough
In a large mixing bowl, combine 1 1/2 cups all-purpose flour, 2 tablespoons unsweetened cocoa powder, 1 teaspoon baking soda, 1/4 teaspoon baking powder, and 1/4 teaspoon salt. Whisk these dry ingredients together until well mixed.
Step 2: Cream the Butter and Sugar
In another bowl, use an electric mixer to cream together 1 cup granulated sugar and 1/2 cup softened unsalted butter until light and fluffy. This should take about 2-3 minutes.
Step 3: Add Egg and Food Coloring
Add 1 large egg and 1 tablespoon of liquid red food coloring to the creamed mixture. Beat until well combined, ensuring the mixture is fully incorporated.
Step 4: Combine Wet and Dry Ingredients
Gradually add the dry ingredients to the butter mixture, mixing until just combined. Be careful not to overmix the dough.
Step 5: Chill the Dough
Cover the dough with plastic wrap and chill it in the refrigerator for at least 30 minutes. This will help the cookies hold their shape while baking.
Step 6: Preheat the Oven
Preheat your oven to 350°F (175°C). Line your baking sheets with parchment paper to prevent sticking.
Step 7: Shape the Cookies
Once the dough is chilled, scoop tablespoon-sized portions and roll them into balls. Place them on the prepared baking sheets, spaced about 2 inches apart. Press them down slightly to flatten.
Step 8: Bake
Bake the cookies in the preheated oven for 8-10 minutes. They should look set but still soft in the center. Remove them from the oven and let them cool on the baking sheets for 5 minutes before transferring them to a cooling rack.
Step 9: Make the Filling
In a mixing bowl, combine 2 cups powdered sugar, 1/2 cup vegetable shortening, and 1/2 cup softened unsalted butter. Mix with an electric mixer until smooth. Add 1 tablespoon of hot water and 1/2 teaspoon of vanilla extract, blending until creamy.
Step 10: Assemble the Cookies
Once the cookies are completely cooled, spread a generous amount of the filling on the flat side of one cookie, then top it with another cookie, flat side down. Press gently to sandwich them together.
No-Store Runs Needed
- All-purpose flour: A baking staple in any kitchen.
- Cocoa powder: Perfect for adding richness to your cookies.
- Baking soda and baking powder: Essential leavening agents.
- Salt: Enhances the sweetness of the cookies.
- Granulated sugar: For sweetness and structure.
- Unsalted butter: Always a must for baking.
- Egg: Provides richness and moisture.
- Vegetable shortening: Helps achieve that creamy filling.
- Powdered sugar: For the sweet and smooth filling.
- Liquid red food coloring: The star of your red velvet cookies.
- Vanilla extract: Adds depth to the flavor.
Don’t Do This
- Don’t skip chilling the dough. This step is crucial for the cookies to maintain their shape and texture.
- Don’t overmix the dough. You want the ingredients to be just combined for the best texture.
- Don’t forget to let the cookies cool completely before adding the filling. This prevents the filling from melting or running.
- Don’t rush the baking time. Keep an eye on your cookies to avoid overbaking.
Cooling, Storing & Rewarming
To cool your cookies, place them on a wire rack for at least 30 minutes after baking. This allows air to circulate and prevents them from becoming soggy. Store your Homemade Red Velvet Oreos in an airtight container at room temperature for up to a week. If you want to enjoy them warm, pop them in the microwave for a few seconds, and they’ll be just as delightful as when they came out of the oven!
Homemade Red Velvet Oreos Q&A
Can I use cake flour instead of all-purpose flour?
While you can use cake flour, it may result in a softer texture. All-purpose flour gives the cookies their desired structure.
What can I use instead of vegetable shortening?
If you prefer to avoid shortening, you can substitute it with additional unsalted butter, but this may slightly alter the texture of the filling.
Can I freeze these cookies?
Absolutely! You can freeze the cookies before assembling them. Just make sure to place them in an airtight container, and they’ll last for up to three months.
How do I make these cookies gluten-free?
You can substitute the all-purpose flour with a gluten-free flour blend. Make sure it’s a blend that includes xanthan gum for the best results.
Time to Try It
Now that you have the recipe and tips for crafting your very own Homemade Red Velvet Oreos, it’s time to get baking! These cookies are perfect for any celebration or just a sweet treat to brighten your day. So roll up your sleeves, gather your ingredients, and dive into the delightful world of red velvet cookies. You won’t regret it!

Homemade Red Velvet Oreos
Ingredients
Equipment
Method
- In a large mixing bowl, combine 1 1/2 cups all-purpose flour, 2 tablespoons unsweetened cocoa powder, 1 teaspoon baking soda, 1/4 teaspoon baking powder, and 1/4 teaspoon salt. Whisk these dry ingredients together until well mixed.
- In another bowl, use an electric mixer to cream together 1 cup granulated sugar and 1/2 cup softened unsalted butter until light and fluffy. This should take about 2-3 minutes.
- Add 1 large egg and 1 tablespoon of liquid red food coloring to the creamed mixture. Beat until well combined, ensuring the mixture is fully incorporated.
- Gradually add the dry ingredients to the butter mixture, mixing until just combined. Be careful not to overmix the dough.
- Cover the dough with plastic wrap and chill it in the refrigerator for at least 30 minutes. This will help the cookies hold their shape while baking.
- Preheat your oven to 350°F (175°C). Line your baking sheets with parchment paper to prevent sticking.
- Once the dough is chilled, scoop tablespoon-sized portions and roll them into balls. Place them on the prepared baking sheets, spaced about 2 inches apart. Press them down slightly to flatten.
- Bake the cookies in the preheated oven for 8-10 minutes. They should look set but still soft in the center. Remove them from the oven and let them cool on the baking sheets for 5 minutes before transferring them to a cooling rack.
- In a mixing bowl, combine 2 cups powdered sugar, 1/2 cup vegetable shortening, and 1/2 cup softened unsalted butter. Mix with an electric mixer until smooth. Add 1 tablespoon of hot water and 1/2 teaspoon of vanilla extract, blending until creamy.
- Once the cookies are completely cooled, spread a generous amount of the filling on the flat side of one cookie, then top it with another cookie, flat side down. Press gently to sandwich them together.
Notes
- Chill the dough to maintain cookie shape.
- Don’t overmix; just combine the ingredients.
- Let cookies cool completely before adding filling.
- Store in an airtight container for up to a week.
- Freeze before assembly for longer storage.