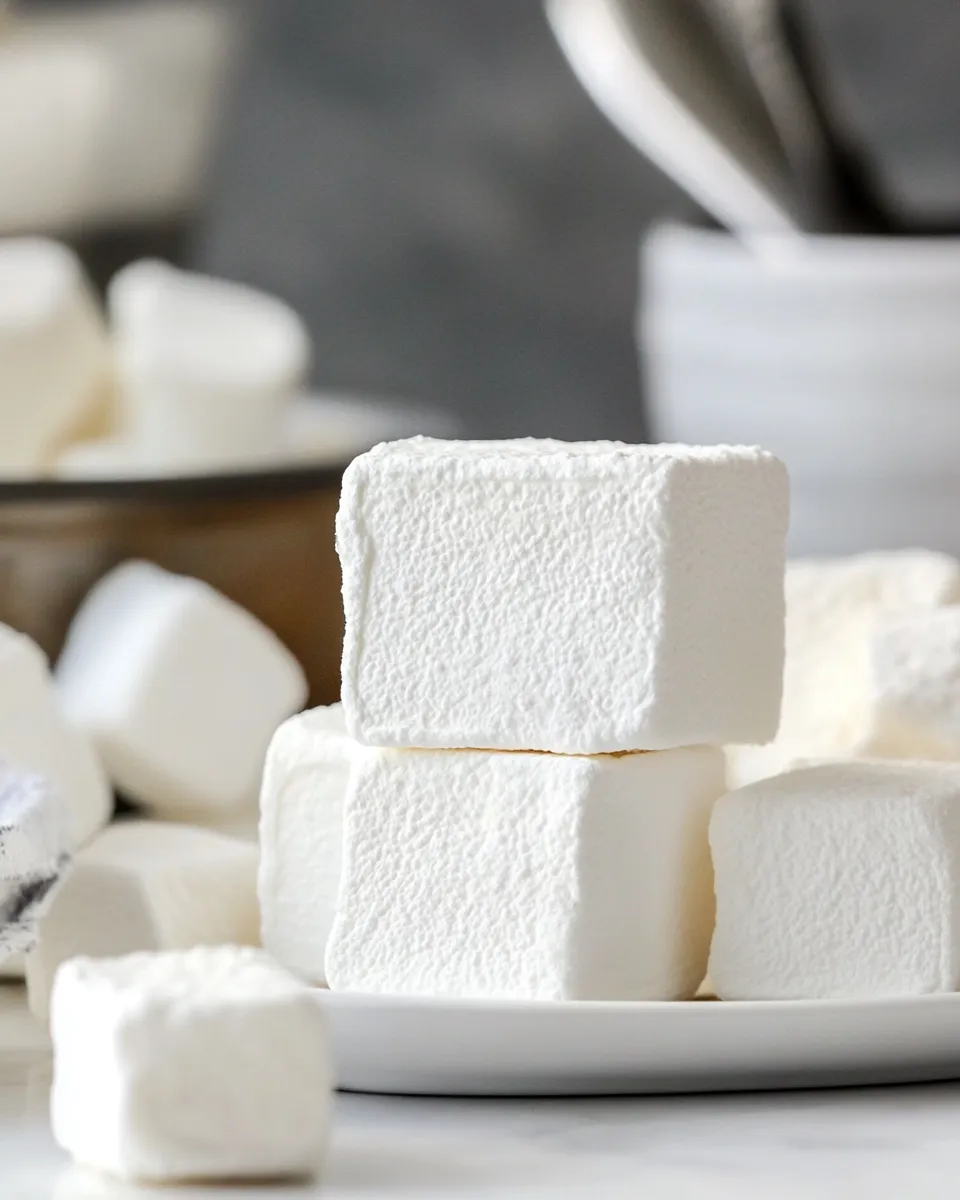
Marshmallows
Marshmallows are the sweet, fluffy treats that bring nostalgia with every bite. Whether you’re making s’mores by the campfire, topping your hot chocolate, or just enjoying them straight from the bag, there’s something undeniably delightful about these pillowy confections. While store-bought marshmallows are readily available, making them at home allows you to control the ingredients and create a truly unique experience. Plus, the process of making marshmallows is as fun as it is rewarding. Let’s dive into the world of homemade marshmallows and discover why they deserve a spot in your kitchen.
Reasons to Love Marshmallows
There are countless reasons to adore marshmallows. Here are just a few:
- Versatile: They can be used in a variety of recipes, from desserts to savory dishes.
- Customizable: You can easily add flavors, colors, and textures to create your perfect marshmallow.
- Fun to Make: The process of whipping the mixture to fluffy perfection is mesmerizing and enjoyable.
- Great for Gifts: Homemade marshmallows make a sweet and personal gift that friends and family will love.
- Perfect for All Ages: Marshmallows are a timeless treat that appeals to both kids and adults alike.
Gather These Ingredients
To make the fluffiest marshmallows, gather the following ingredients:
- 1 cup water, divided: This is essential for dissolving the gelatin and creating the syrup.
- 3 envelopes (0.25 ounce each) unflavored gelatin: Found next to the Jell-O in the grocery store; it gives marshmallows their structure.
- 1 cup granulated sugar: This sweetener is the base of your marshmallow mixture.
- 1 cup light corn syrup: This adds sweetness and helps maintain the marshmallow’s texture.
- 1 pinch of kosher salt: A touch of salt balances the sweetness and enhances flavor.
- 2 teaspoons pure vanilla extract: This adds a rich, aromatic flavor to your marshmallows.
- 1 cup powdered sugar, for dusting: This prevents the marshmallows from sticking together and creates a beautiful finish.
Toolbox for This Recipe
Before you start, make sure you have these tools on hand:
- Stand Mixer or Hand Mixer: You’ll need this to whip the marshmallow mixture until fluffy.
- Large Saucepan: For heating the sugar and corn syrup mixture.
- Whisk: Essential for mixing the gelatin and water.
- 9×13-inch Baking Pan: This will hold your marshmallow mixture while it sets.
- Parchment Paper: Helps to line the baking pan, making it easy to remove the marshmallows once set.
- Rubber Spatula: Perfect for scraping the marshmallow mixture into the pan.
Marshmallows Cooking Guide
Follow these simple steps to create your homemade marshmallows:
Step 1: Prepare the Pan
Begin by lining a 9×13-inch baking pan with parchment paper. Lightly dust the paper with powdered sugar to prevent sticking.
Step 2: Bloom the Gelatin
In a small bowl, combine ½ cup of water with the unflavored gelatin. Allow it to sit for about 10 minutes to bloom and soften.
Step 3: Cook the Sugar Mixture
In a large saucepan, combine the remaining ½ cup of water, granulated sugar, corn syrup, and kosher salt. Cook over medium heat, stirring until the sugar dissolves. Bring the mixture to a boil without stirring and let it cook until it reaches 240°F (soft-ball stage) on a candy thermometer.
Step 4: Combine Gelatin and Syrup
Once the sugar mixture reaches the correct temperature, remove it from the heat. Carefully add the bloomed gelatin mixture to the hot syrup, whisking until fully dissolved.
Step 5: Whip the Mixture
Transfer the syrup mixture to the bowl of a stand mixer (or use a hand mixer) fitted with a whisk attachment. Whip on high speed for about 10-15 minutes until the mixture is thick, glossy, and fluffy. Add in the vanilla extract during the last minute of mixing.
Step 6: Spread into the Pan
Using a rubber spatula, carefully spread the marshmallow mixture into the prepared pan, smoothing the top as needed. Dust the top with powdered sugar.
Step 7: Let It Set
Allow the marshmallows to set at room temperature for at least 4 hours or overnight until firm.
Step 8: Cut and Dust
Once set, lift the marshmallow slab out of the pan using the parchment paper. Dust a clean surface with powdered sugar and cut the marshmallows into squares. Toss them in powdered sugar to coat all sides.
Substitutions by Category
If you’re looking to modify this recipe, here are some substitutions you can consider:
- Sweeteners: You can substitute granulated sugar with coconut sugar or maple syrup, though this may affect the texture.
- Flavorings: Instead of vanilla, try almond extract, peppermint extract, or even flavored oils for a unique twist.
- Gelatin Alternatives: For a vegetarian option, use agar-agar or carrageenan, but note that the texture may vary.
- Coloring: Add food coloring to the mixture for a fun and colorful treat, especially for special occasions.
Watch Outs & How to Fix
Making marshmallows is generally straightforward, but here are some common pitfalls to watch out for:
- Temperature Control: Make sure your sugar mixture reaches 240°F. Too low, and the marshmallows won’t set; too high, and they can become hard.
- Overmixing: While you want to whip the mixture until fluffy, overmixing can lead to a grainy texture. Stop once it reaches the desired thickness.
- Sticking: If your marshmallows stick to the pan or each other, make sure you dust them generously with powdered sugar and ensure they are fully set before cutting.
- Flavoring Issues: If your marshmallows taste too strong or too weak, adjust the amount of extract to your liking next time.
Storing, Freezing & Reheating
To keep your marshmallows fresh and delicious, follow these tips:
- Storing: Keep marshmallows in an airtight container at room temperature for up to 2 weeks.
- Freezing: You can freeze marshmallows for up to 3 months. Just make sure they are well-coated in powdered sugar to prevent sticking.
- Reheating: If you want to revive slightly stale marshmallows, microwave them for a few seconds to soften them up again.
Your Top Questions
Can I make flavored marshmallows?
Absolutely! You can add various flavor extracts or even pureed fruits to the mixture before whipping for a unique twist.
Why did my marshmallows turn out grainy?
Graininess often occurs from overmixing or not fully dissolving the sugar. Ensure you whip just until fluffy and allow the sugar to dissolve completely before mixing in the gelatin.
Can I use a different type of sugar?
Yes, you can substitute granulated sugar with alternatives like coconut sugar or honey, but keep in mind that the texture and flavor may change.
How do I prevent my marshmallows from sticking together?
Make sure to dust your marshmallows generously with powdered sugar and store them in an airtight container to minimize sticking.
Bring It to the Table
There’s nothing quite like the joy of biting into a homemade marshmallow. The soft, spongy texture and sweet flavor can elevate any dessert. Whether you’re roasting them over a campfire or adding them to your favorite recipes, homemade marshmallows are sure to impress. Share them with friends or keep them all for yourself—either way, you won’t regret the time spent making these delightful treats.
Creating marshmallows at home is a rewarding experience that combines simple ingredients with a bit of culinary magic. So roll up your sleeves, gather your supplies, and get ready to enjoy the fluffy goodness of homemade marshmallows. Happy cooking!
Marshmallows
Ingredients
Equipment
Method
- Step 1: Prepare the Pan - Line a 9x13-inch baking pan with parchment paper and dust with powdered sugar.
- Step 2: Bloom the Gelatin - Combine ½ cup of water with the unflavored gelatin and let sit for about 10 minutes.
- Step 3: Cook the Sugar Mixture - In a large saucepan, combine the remaining water, granulated sugar, corn syrup, and kosher salt. Cook over medium heat until the sugar dissolves, then boil until it reaches 240°F.
- Step 4: Combine Gelatin and Syrup - Remove the sugar mixture from heat and whisk in the bloomed gelatin until dissolved.
- Step 5: Whip the Mixture - Transfer to a stand mixer and whip on high speed for 10-15 minutes until thick and glossy. Add vanilla in the last minute.
- Step 6: Spread into the Pan - Spread the mixture into the prepared pan and dust the top with powdered sugar.
- Step 7: Let It Set - Allow marshmallows to set for at least 4 hours or overnight until firm.
- Step 8: Cut and Dust - Lift the marshmallow slab out, cut into squares, and toss in powdered sugar to coat.
Notes
- Store in an airtight container at room temperature for up to 2 weeks.
- Freeze for up to 3 months, well-coated in powdered sugar.
- Microwave slightly stale marshmallows for a few seconds to soften.