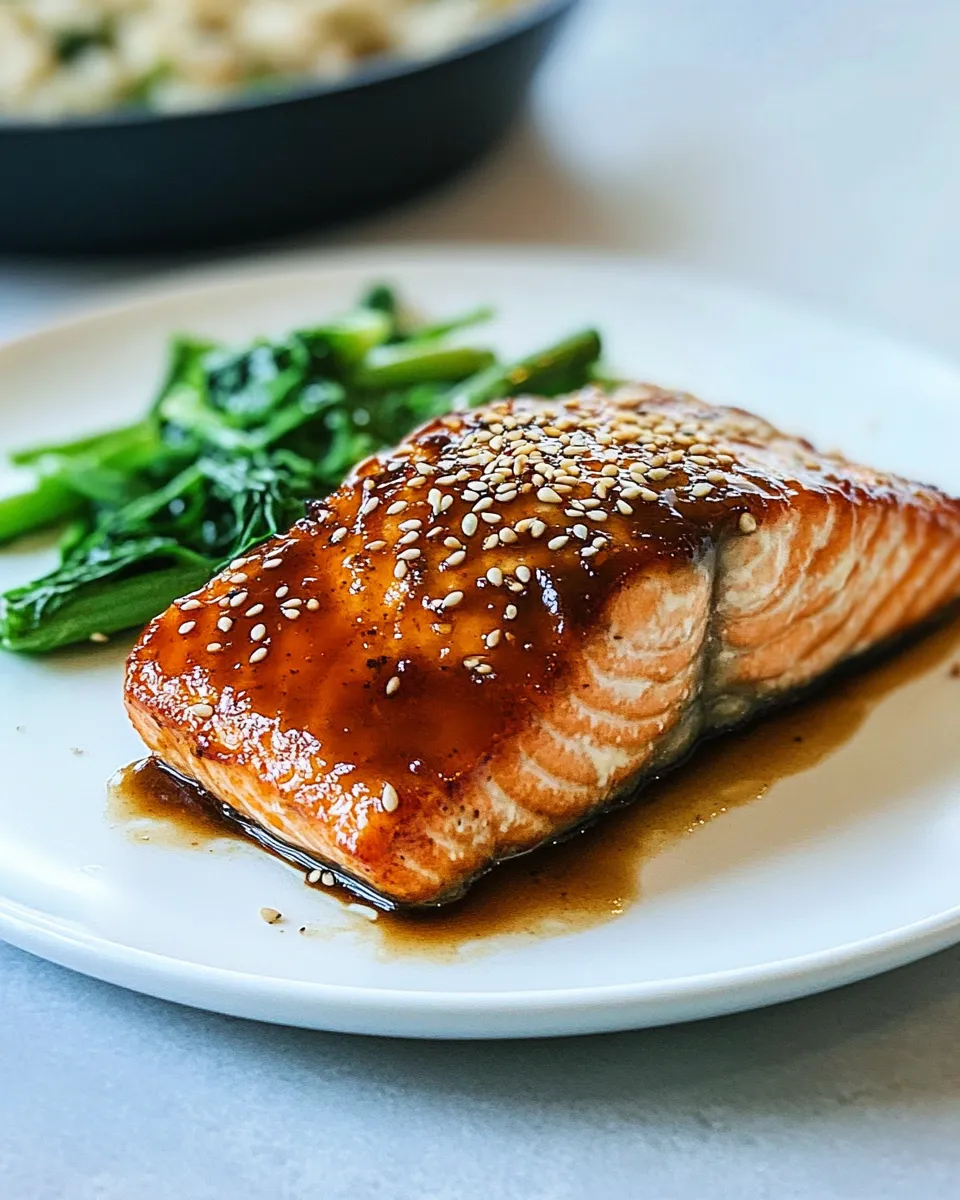
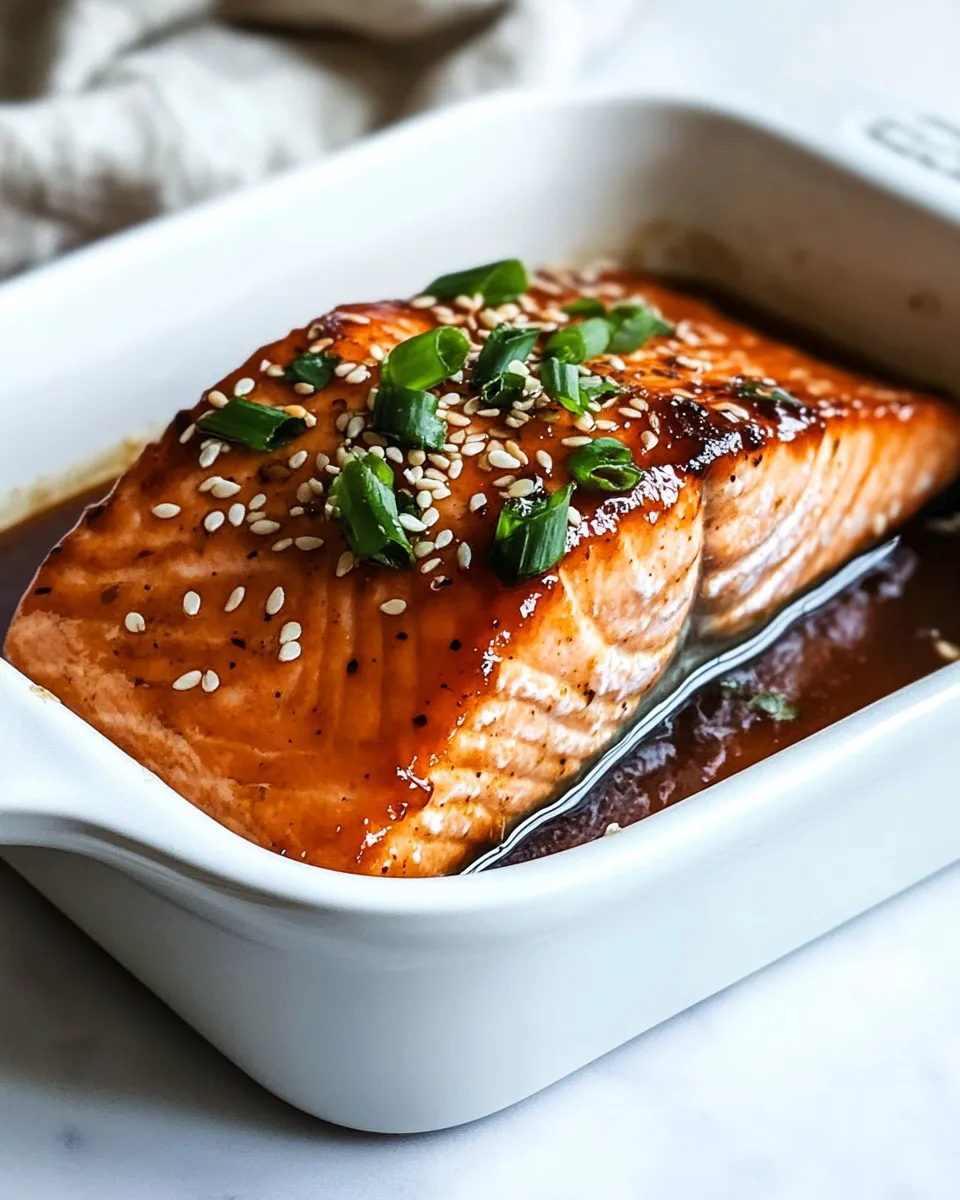
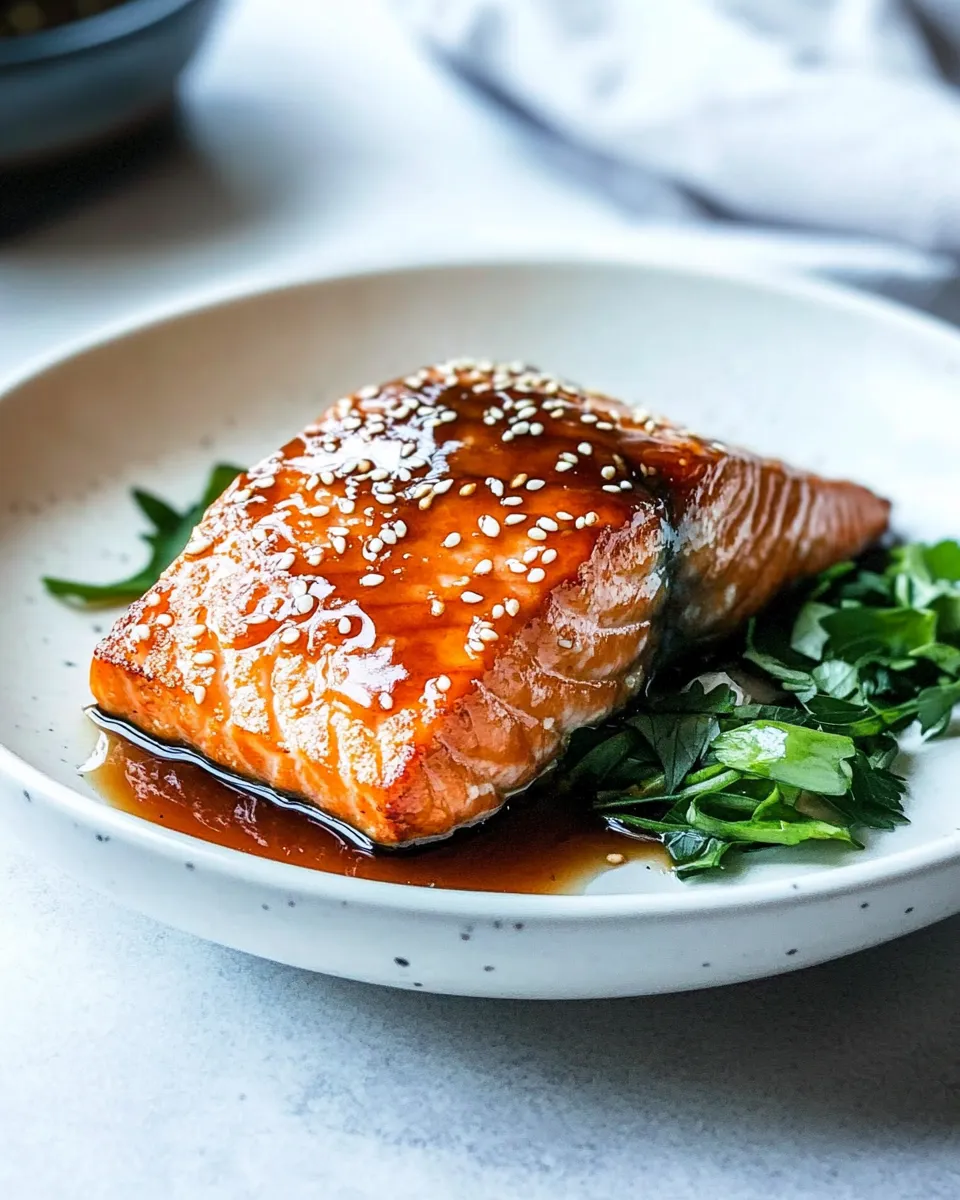
Miso-Glazed Salmon
Miso-glazed salmon is a delightful dish that combines the rich, umami flavors of miso with the tender, flaky texture of salmon. This recipe is perfect for weeknight dinners or special occasions. The glaze is not only quick to prepare but also infuses the fish with a savory sweetness that tantalizes the taste buds. Let’s dive into the world of miso-glazed salmon and discover why it’s a favorite among home cooks.
Why Cooks Rave About It
Miso-glazed salmon is often praised for its simplicity and depth of flavor. The miso paste adds a complex taste that pairs beautifully with the natural richness of salmon. This dish is not only delicious but also healthy, packed with omega-3 fatty acids. The balance of sweet, salty, and spicy from the glaze makes every bite memorable. Whether served with rice, vegetables, or a fresh salad, this dish is sure to impress family and friends alike.
What You’ll Need
- 1 tablespoon white miso
- 1 tablespoon hot water
- 2 tablespoons coconut aminos or soy sauce
- 2 teaspoons honey
- 1 teaspoon sriracha
- 1 teaspoon fresh ginger, minced
- 4 fillets Atlantic salmon, 4 ounces each
Equipment & Tools
- Bowl – For mixing the miso glaze.
- Whisk – To combine the ingredients smoothly.
- Baking sheet – To cook the salmon in the oven.
- Parchment paper – For easy cleanup and to prevent sticking.
- Spoon or brush – To apply the glaze on the salmon.
Miso-Glazed Salmon Made Stepwise
Step 1: Prepare the Miso Glaze
In a bowl, combine 1 tablespoon of white miso with 1 tablespoon of hot water. Whisk until smooth and creamy. Then, add 2 tablespoons of coconut aminos (or soy sauce), 2 teaspoons of honey, 1 teaspoon of sriracha, and 1 teaspoon of minced fresh ginger. Mix well until all ingredients are fully incorporated.
Step 2: Preheat the Oven
Preheat your oven to 400°F (200°C). This high temperature will help caramelize the glaze on the salmon, creating a beautiful crust.
Step 3: Prepare the Salmon
Line a baking sheet with parchment paper. Place the salmon fillets on the sheet, skin side down. Pat them dry with a paper towel to remove any excess moisture, which helps the glaze adhere better.
Step 4: Apply the Miso Glaze
Using a spoon or a brush, generously coat the top of each salmon fillet with the miso glaze. Ensure each piece is evenly covered for maximum flavor.
Step 5: Bake the Salmon
Place the baking sheet in the preheated oven and bake for 12-15 minutes, or until the salmon flakes easily with a fork. The cooking time may vary depending on the thickness of the fillets, so keep an eye on them.
Step 6: Serve and Enjoy
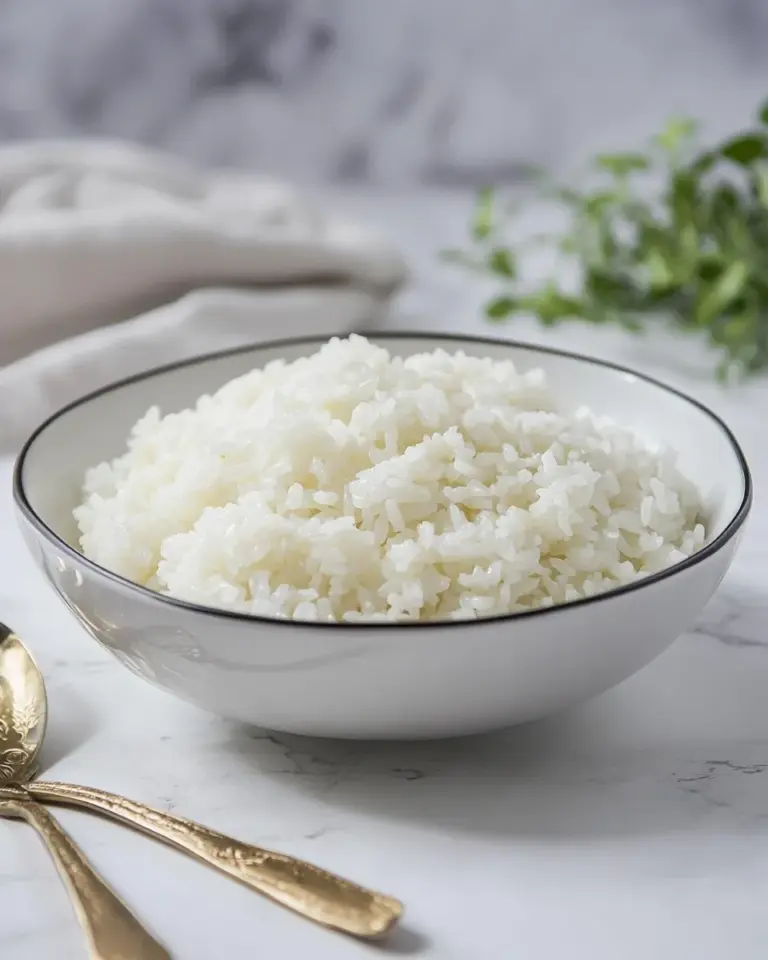
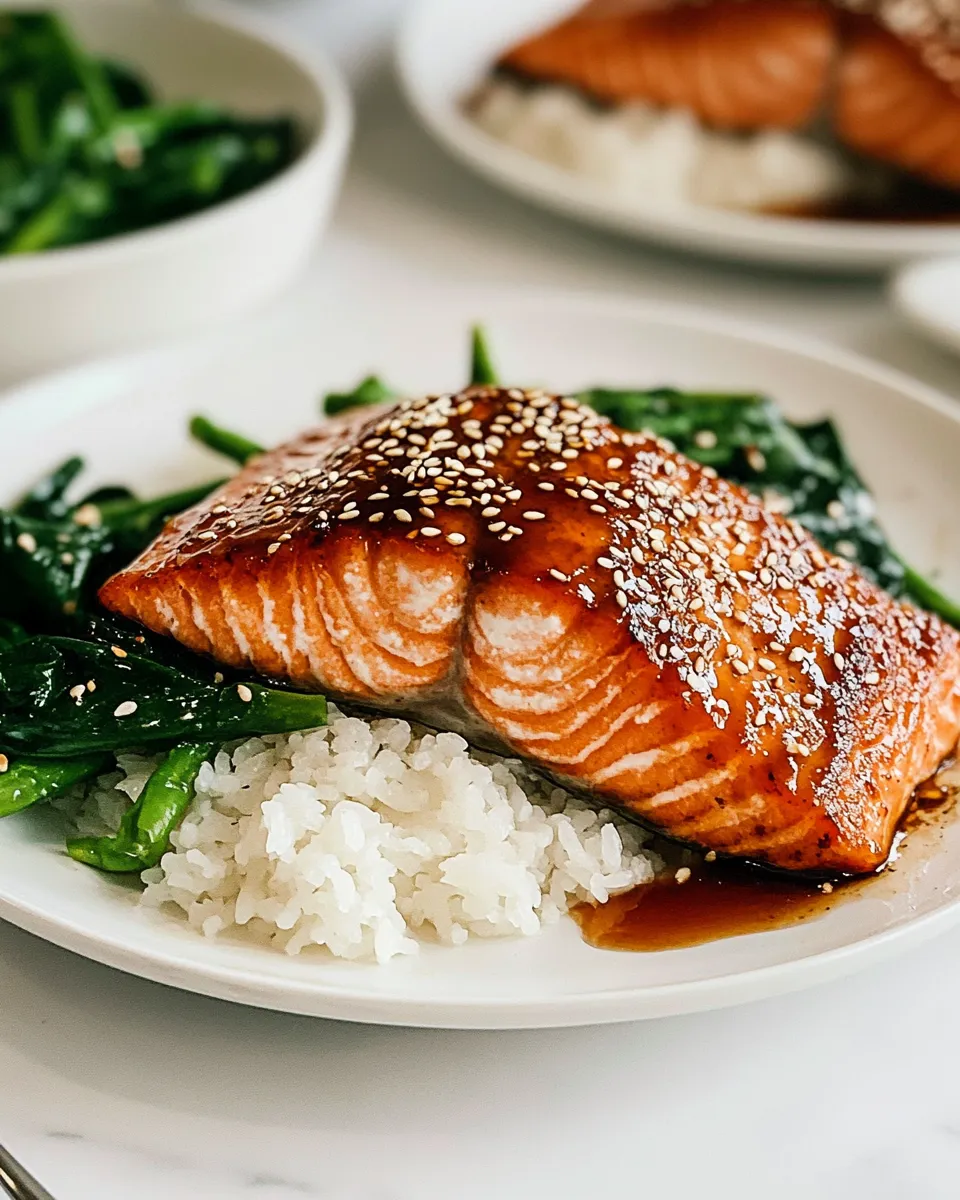
Once the salmon is cooked, remove it from the oven and let it rest for a couple of minutes. Serve hot, garnished with chopped green onions or sesame seeds if desired. Pair it with steamed rice and sautéed vegetables for a complete meal.
Budget & Availability Swaps
- White Miso – If unavailable, use yellow miso or even tahini for a different flavor profile.
- Coconut Aminos – Soy sauce is a great substitute if you prefer a stronger flavor.
- Honey – Maple syrup can be used for a vegan alternative.
- Sriracha – Feel free to use any hot sauce you enjoy, or omit it for a milder glaze.
Mistakes That Ruin Miso-Glazed Salmon
To ensure your miso-glazed salmon turns out perfectly, avoid these common pitfalls:
- Not drying the salmon: Moisture can prevent the glaze from adhering properly.
- Overcooking the salmon: Keep an eye on the cooking time to prevent dryness.
- Using too much glaze: While flavorful, an overwhelming amount can overpower the dish.
- Skipping the resting time: Letting the salmon sit briefly after baking allows the juices to redistribute.
Storage & Reheat Guide
If you have leftovers, store them in an airtight container in the refrigerator for up to 3 days. When reheating, place the salmon in a preheated oven at 350°F (175°C) for about 10 minutes, or until warmed through. You can also microwave it, but be cautious not to overheat, as this can dry out the fish.
Popular Questions
Can I use other types of fish for this recipe?
Absolutely! While salmon is a popular choice due to its rich flavor, you can also use trout, mackerel, or even firm white fish like cod or halibut.
Is miso-glazed salmon healthy?
Yes! Salmon is a great source of omega-3 fatty acids and protein, while the miso adds beneficial probiotics. The glaze is also relatively low in calories, especially when compared to other sauces.
Can I make the glaze ahead of time?
Yes, you can prepare the miso glaze in advance and store it in the refrigerator for up to a week. Just give it a good stir before using it on the salmon.
What should I serve with miso-glazed salmon?
This dish pairs beautifully with steamed rice, quinoa, or a fresh green salad. You can also serve it with sautéed vegetables, such as bok choy, broccoli, or snap peas, to round out your meal.
Wrap-Up
Miso-glazed salmon is a flavorful and easy dish that elevates any dinner table. With a few simple ingredients and straightforward steps, you can create a restaurant-quality meal in the comfort of your home. The combination of sweet, salty, and spicy elements makes this dish a true delight. Whether you’re cooking for yourself or entertaining guests, this miso-glazed salmon will surely impress.
The rich umami flavor of the miso, paired with the succulent salmon, creates a dish that is both satisfying and nutritious. With the added health benefits of salmon, this recipe becomes not just a treat for your taste buds but also a great addition to a balanced diet. So, roll up your sleeves, gather your ingredients, and get ready to enjoy this delicious miso-glazed salmon. It might just become your new favorite weeknight dinner!
Miso-Glazed Salmon
Ingredients
Equipment
Method
- In a bowl, combine 1 tablespoon of white miso with 1 tablespoon of hot water. Whisk until smooth and creamy. Then, add 2 tablespoons of coconut aminos (or soy sauce), 2 teaspoons of honey, 1 teaspoon of sriracha, and 1 teaspoon of minced fresh ginger. Mix well until all ingredients are fully incorporated.
- Preheat your oven to 400°F (200°C). This high temperature will help caramelize the glaze on the salmon, creating a beautiful crust.
- Line a baking sheet with parchment paper. Place the salmon fillets on the sheet, skin side down. Pat them dry with a paper towel to remove any excess moisture, which helps the glaze adhere better.
- Using a spoon or a brush, generously coat the top of each salmon fillet with the miso glaze. Ensure each piece is evenly covered for maximum flavor.
- Place the baking sheet in the preheated oven and bake for 12-15 minutes, or until the salmon flakes easily with a fork. The cooking time may vary depending on the thickness of the fillets, so keep an eye on them.
- Once the salmon is cooked, remove it from the oven and let it rest for a couple of minutes. Serve hot, garnished with chopped green onions or sesame seeds if desired. Pair it with steamed rice and sautéed vegetables for a complete meal.
Notes
- For a different flavor, substitute white miso with yellow miso or tahini.
- Use soy sauce instead of coconut aminos for a stronger flavor.
- Maple syrup can be used in place of honey for a vegan option.
- Keep an eye on the salmon while baking to avoid overcooking.
- Store leftovers in an airtight container for up to 3 days.