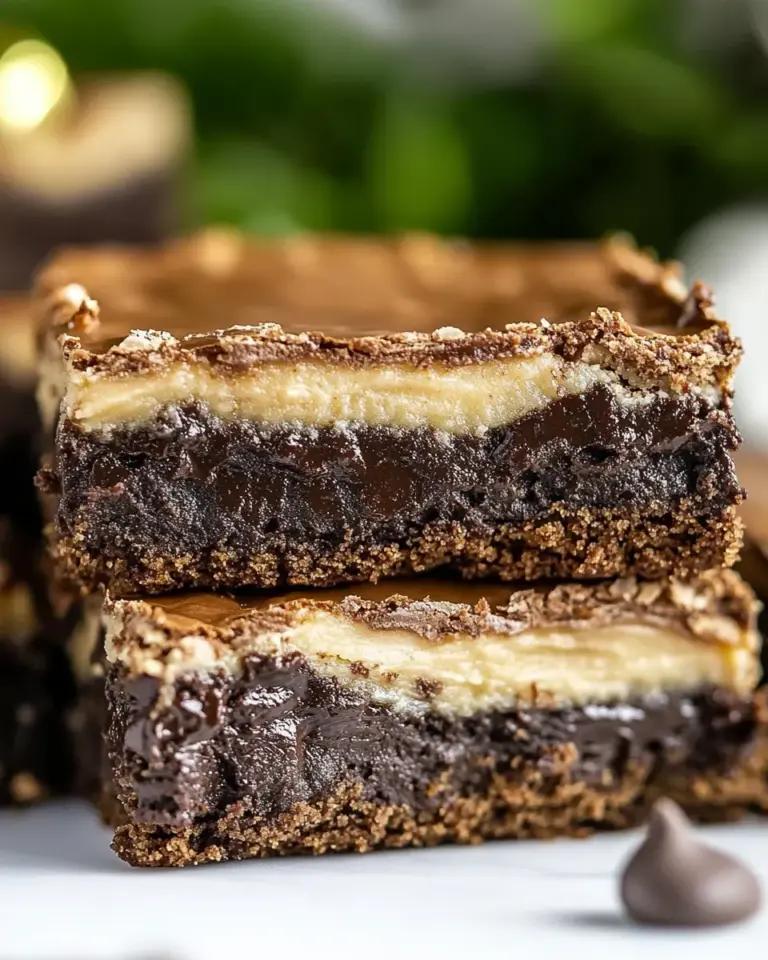
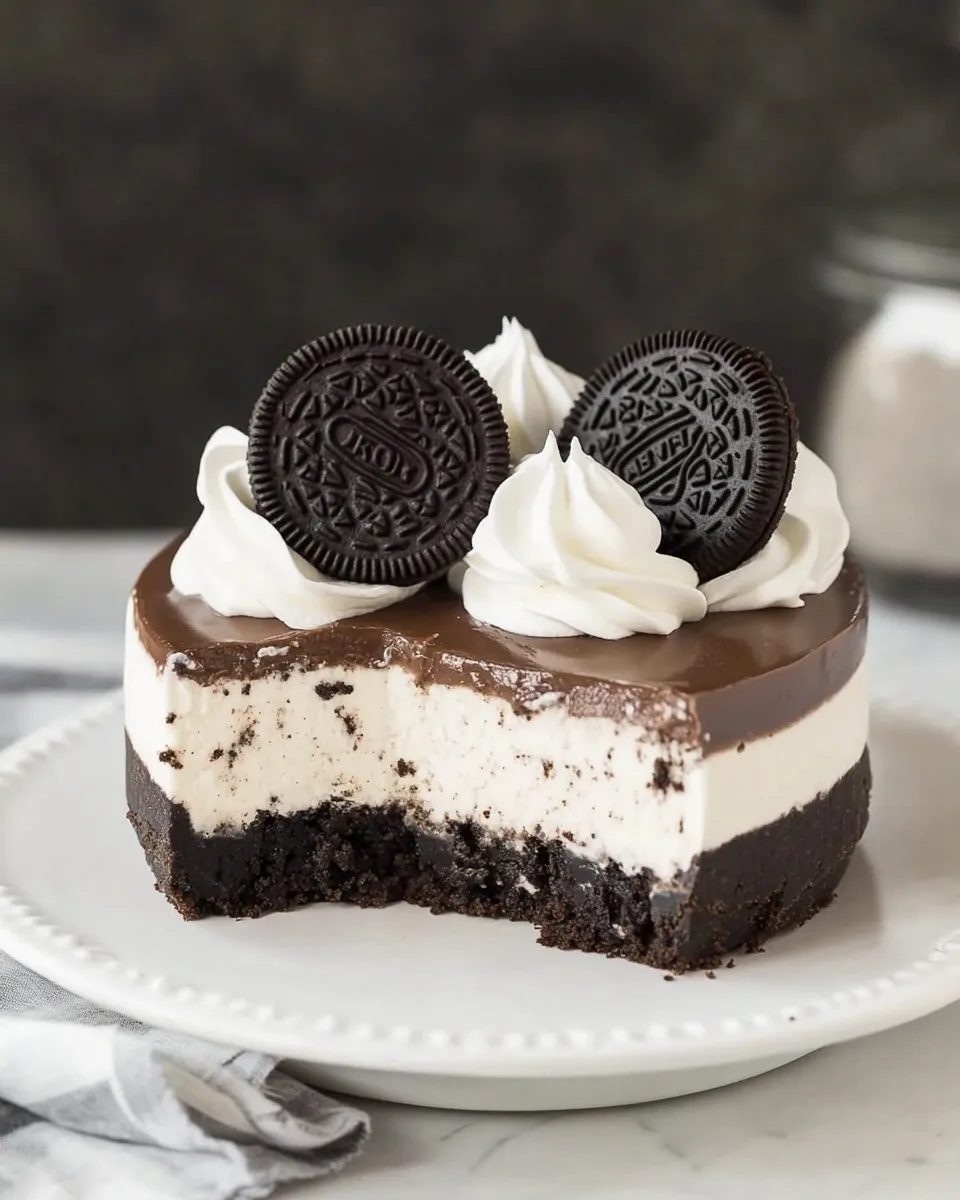
No-Bake Oreo Cheesecake
There’s something incredibly satisfying about a dessert that takes minimal effort but delivers maximum flavor. Enter the No-Bake Oreo Cheesecake, a delightful treat that combines the rich creaminess of cheesecake with the beloved crunch of Oreos. This no-bake version is perfect for warm days when you want something sweet without turning on the oven. With just a handful of ingredients and a little patience while it sets, you can whip up this show-stopping dessert that’s sure to impress friends and family alike. Let’s dive into the details of how to create this delicious No-Bake Oreo Cheesecake.
Why You’ll Love This Recipe
This No-Bake Oreo Cheesecake is a game-changer for dessert lovers. Here’s why you’ll adore it:
– Effortless Preparation: No baking means no fussing with oven temperatures or timing. Just mix, layer, and chill.
– Irresistible Flavor: The combination of creamy cheesecake and crunchy Oreo cookies creates a delightful contrast that will make your taste buds sing.
– Perfect for Any Occasion: Whether it’s a birthday celebration, a summer barbecue, or just a Tuesday night treat, this cheesecake fits the bill.
– Customizable: Feel free to add toppings like whipped cream, chocolate drizzle, or extra crushed Oreos for an added flair.
What to Buy
To make this No-Bake Oreo Cheesecake, here’s a list of ingredients you’ll need:
- 14 ounces Oreos – The star of the show, providing flavor and texture.
- 8 tablespoons salted butter – Adds richness to the crust.
- 16 ounces cream cheese – Ensure it’s softened for easy mixing.
- 1 cup powdered sugar – For sweetness without the grainy texture.
- 1 teaspoon vanilla extract – A hint of flavor that elevates the cheesecake.
- 1 cup heavy whipping cream – For that light and airy texture.
Gear Checklist
Before you start, gather the following equipment:
- Food Processor – For crushing the Oreos into fine crumbs.
- Mixing Bowls – Use various sizes to keep things organized.
- Electric Mixer – A hand mixer or stand mixer works well for whipping the cream.
- Springform Pan – Ideal for easy removal of the cheesecake.
- Spatula – For mixing and spreading the cheesecake mixture.
No-Bake Oreo Cheesecake in Steps

Step 1: Prepare the Crust
Start by crushing the 14 ounces of Oreos in your food processor until they resemble fine crumbs. You can also place them in a zip-top bag and crush them with a rolling pin if you don’t have a food processor. Once you have your crumbs, transfer them to a mixing bowl and add the 8 tablespoons of melted salted butter. Mix until the crumbs are well coated and the mixture resembles wet sand.
Step 2: Form the Crust
Press the Oreo crumb mixture firmly into the bottom of your springform pan. Use the back of a measuring cup or your fingers to pack it tightly. Place the pan in the refrigerator while you prepare the cheesecake filling, allowing the crust to set.
Step 3: Make the Cheesecake Filling
In a large mixing bowl, beat the 16 ounces of softened cream cheese with an electric mixer on medium speed until smooth and creamy. Gradually add in the 1 cup of powdered sugar and continue mixing until well combined. Add the 1 teaspoon of vanilla extract, mixing until incorporated.
Step 4: Whip the Cream
In a separate bowl, whip the 1 cup of heavy whipping cream until stiff peaks form. This will give your cheesecake its light and airy texture. Gently fold the whipped cream into the cream cheese mixture using a spatula. Be careful not to deflate the whipped cream; you want it to stay fluffy.
Step 5: Combine and Layer
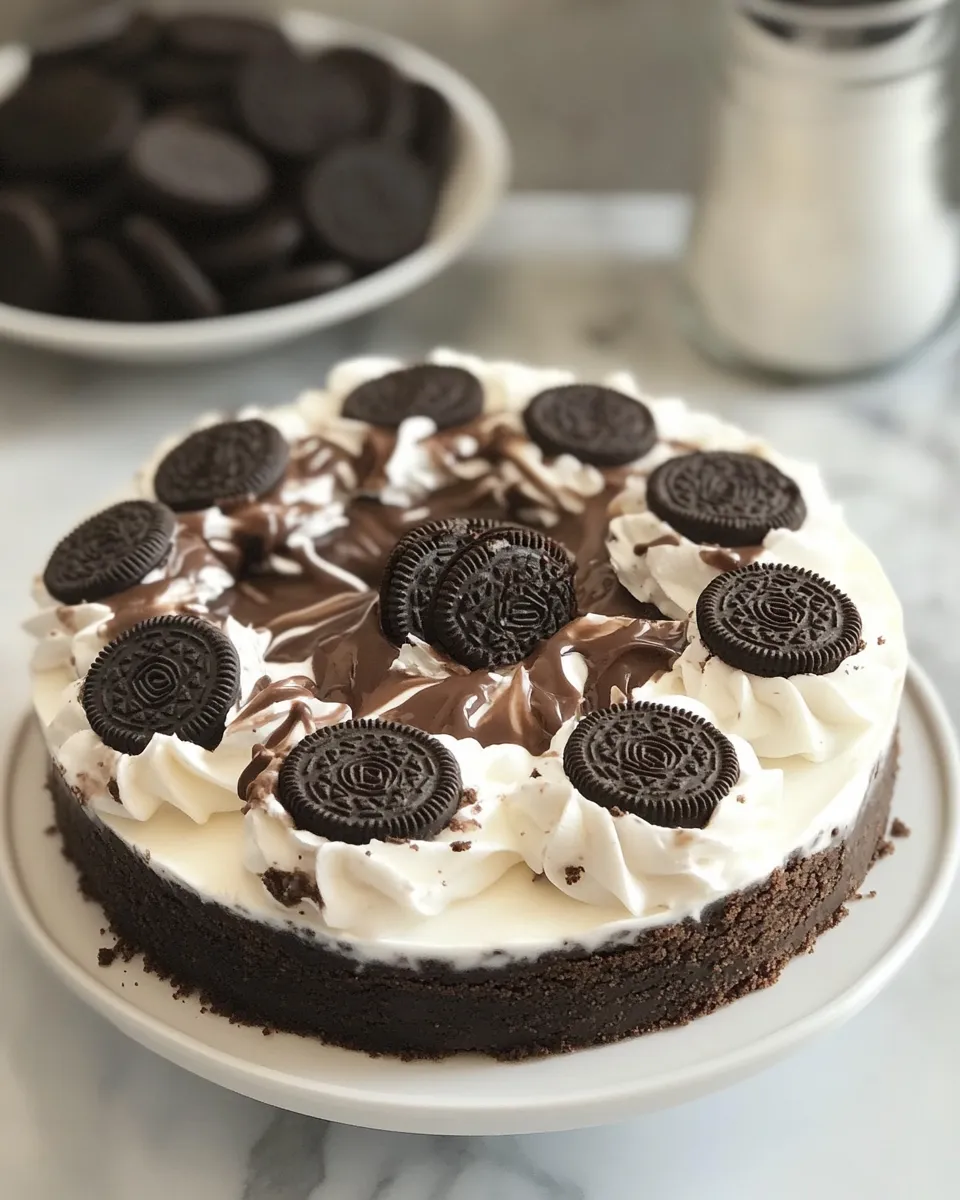
Once the whipped cream is fully incorporated, pour the cheesecake filling over the prepared Oreo crust in the springform pan. Use a spatula to smooth the top, ensuring an even layer. For a decorative touch, you can reserve a few crushed Oreos to sprinkle on top.
Step 6: Chill
Cover the cheesecake with plastic wrap and refrigerate for at least 4 hours, or overnight if you can wait. This allows the cheesecake to firm up and makes it easier to slice.
Step 7: Serve
Once chilled, carefully remove the sides of the springform pan. Slice the No-Bake Oreo Cheesecake into wedges and serve. You can top each slice with whipped cream and extra Oreo crumbs for a stunning presentation.
Quick Replacement Ideas
If you don’t have certain ingredients on hand, here are some quick replacements:
- Gluten-Free Oreos – Substitute regular Oreos with gluten-free versions for a gluten-free cheesecake.
- Unsalted Butter – You can use unsalted butter and add a pinch of salt if you prefer.
- Low-Fat Cream Cheese – For a lighter version, use low-fat cream cheese.
- Non-Dairy Cream Cheese – Use a plant-based cream cheese for a dairy-free option.
Things That Go Wrong
Here are some common pitfalls and how to avoid them:
- Crust Not Sticking – Make sure to use enough butter and pack the crust tightly.
- Cheesecake Too Soft – Ensure you chill the cheesecake for the recommended time before slicing.
- Overmixing the Cream – Be cautious when folding in the whipped cream; overmixing can cause it to deflate.
- Difficulty Removing from Pan – Run a knife around the edge of the pan before releasing the sides for easier removal.
Make-Ahead & Storage
This No-Bake Oreo Cheesecake is perfect for making ahead of time. Here are some tips:
- Make-Ahead: You can prepare the cheesecake up to two days in advance. Just keep it covered in the refrigerator.
- Storage: Store any leftovers in an airtight container in the fridge for up to 5 days.
- Freezing: You can freeze the cheesecake for up to 2 months. Thaw it overnight in the refrigerator before serving.
No-Bake Oreo Cheesecake FAQs
Can I use different cookies for the crust?
Absolutely! While Oreos are classic, you can experiment with other cookies like chocolate wafers or graham crackers for a unique flavor.
How can I make this cheesecake more chocolatey?
Add some melted chocolate to the cheesecake filling or drizzle chocolate sauce on top before serving for an extra chocolatey kick!
Is there a way to make this cheesecake lighter?
Yes! Use reduced-fat cream cheese and light whipped topping to cut down on calories while still enjoying the delicious flavors.
Can I add toppings to the cheesecake?
Definitely! Whipped cream, chocolate ganache, or additional crushed Oreos make fantastic toppings for your cheesecake.
Before You Go
With its creamy texture and delightful crunch, this No-Bake Oreo Cheesecake is sure to become a go-to dessert in your recipe collection. It’s easy to make, can be prepared in advance, and is a guaranteed crowd-pleaser. So grab your Oreos and get ready to impress! This dessert is not only a treat for your palate but also a feast for the eyes. Enjoy every delicious bite!
No-Bake Oreo Cheesecake
Ingredients
Equipment
Method
- Start by crushing the 14 ounces of Oreos in your food processor until they resemble fine crumbs. You can also place them in a zip-top bag and crush them with a rolling pin if you don’t have a food processor. Once you have your crumbs, transfer them to a mixing bowl and add the 8 tablespoons of melted salted butter. Mix until the crumbs are well coated and the mixture resembles wet sand.
- Press the Oreo crumb mixture firmly into the bottom of your springform pan. Use the back of a measuring cup or your fingers to pack it tightly. Place the pan in the refrigerator while you prepare the cheesecake filling, allowing the crust to set.
- In a large mixing bowl, beat the 16 ounces of softened cream cheese with an electric mixer on medium speed until smooth and creamy. Gradually add in the 1 cup of powdered sugar and continue mixing until well combined. Add the 1 teaspoon of vanilla extract, mixing until incorporated.
- In a separate bowl, whip the 1 cup of heavy whipping cream until stiff peaks form. This will give your cheesecake its light and airy texture. Gently fold the whipped cream into the cream cheese mixture using a spatula. Be careful not to deflate the whipped cream; you want it to stay fluffy.
- Once the whipped cream is fully incorporated, pour the cheesecake filling over the prepared Oreo crust in the springform pan. Use a spatula to smooth the top, ensuring an even layer. For a decorative touch, you can reserve a few crushed Oreos to sprinkle on top.
- Cover the cheesecake with plastic wrap and refrigerate for at least 4 hours, or overnight if you can wait. This allows the cheesecake to firm up and makes it easier to slice.
- Once chilled, carefully remove the sides of the springform pan. Slice the No-Bake Oreo Cheesecake into wedges and serve. You can top each slice with whipped cream and extra Oreo crumbs for a stunning presentation.
Notes
- For a gluten-free option, use gluten-free Oreos.
- Store leftovers in an airtight container in the fridge for up to 5 days.
- You can freeze the cheesecake for up to 2 months; thaw overnight in the refrigerator before serving.