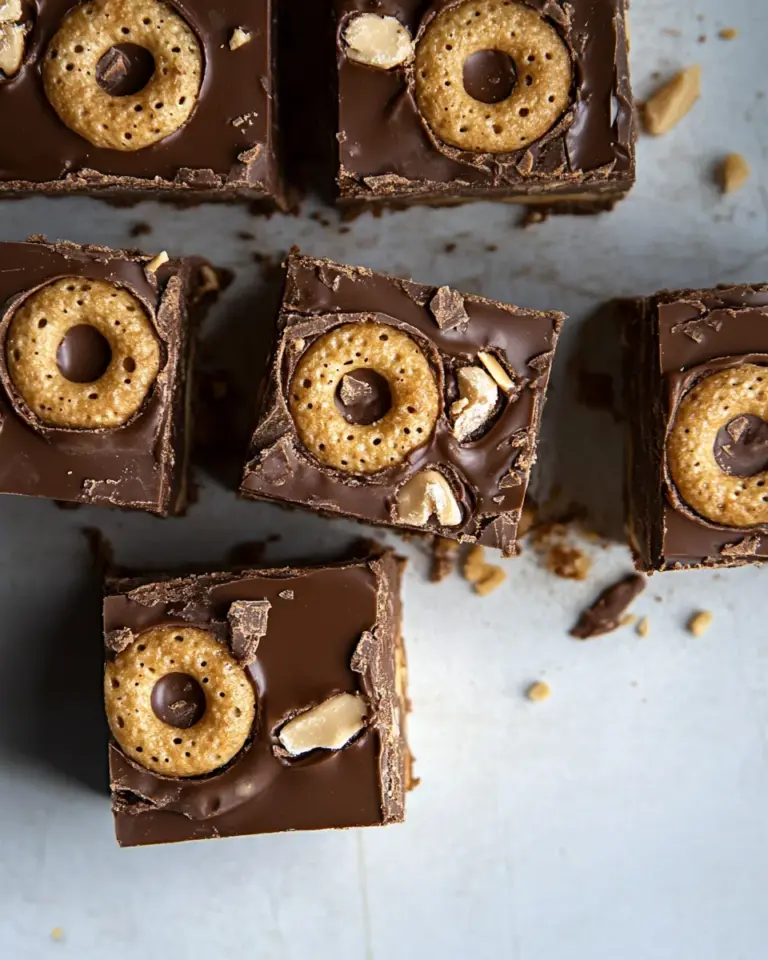
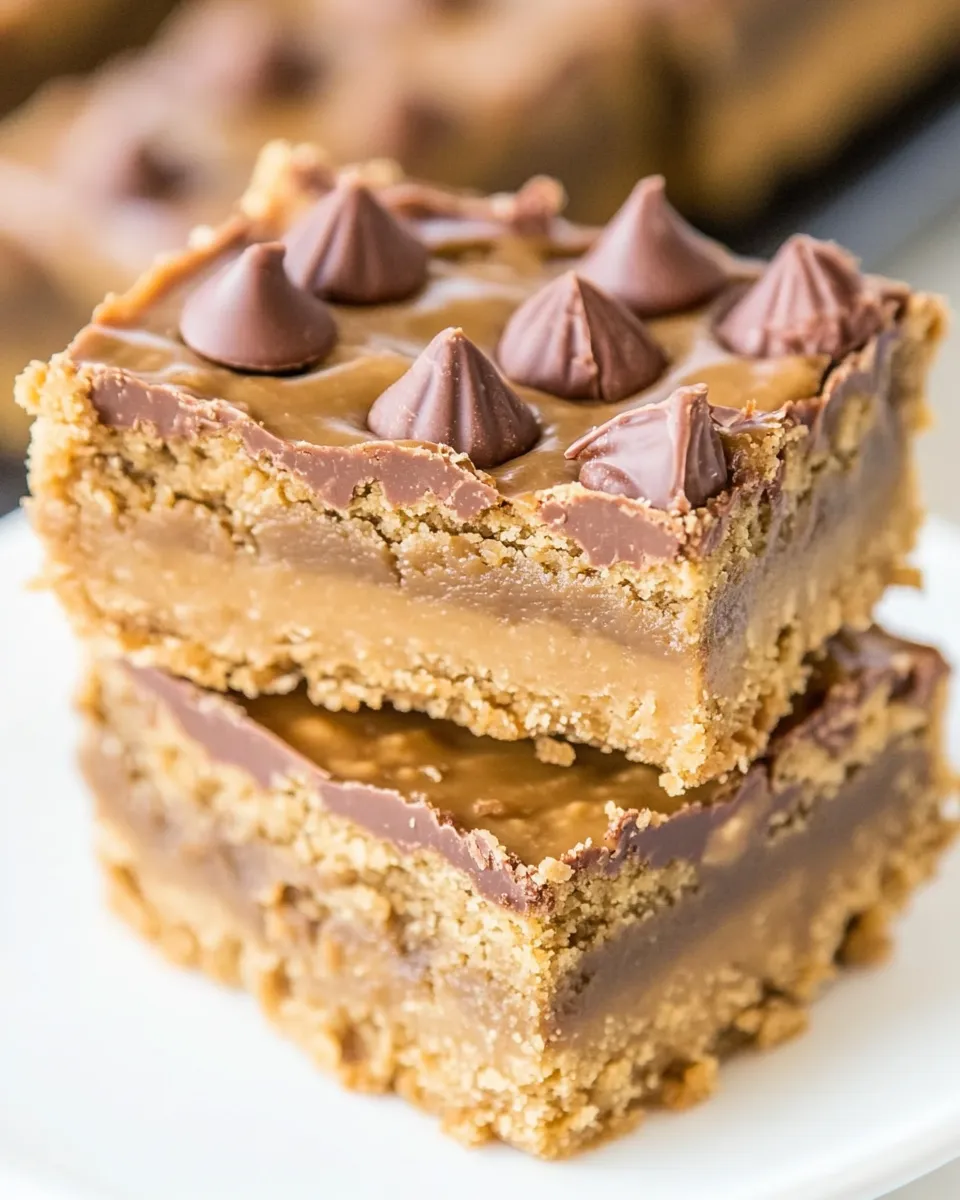
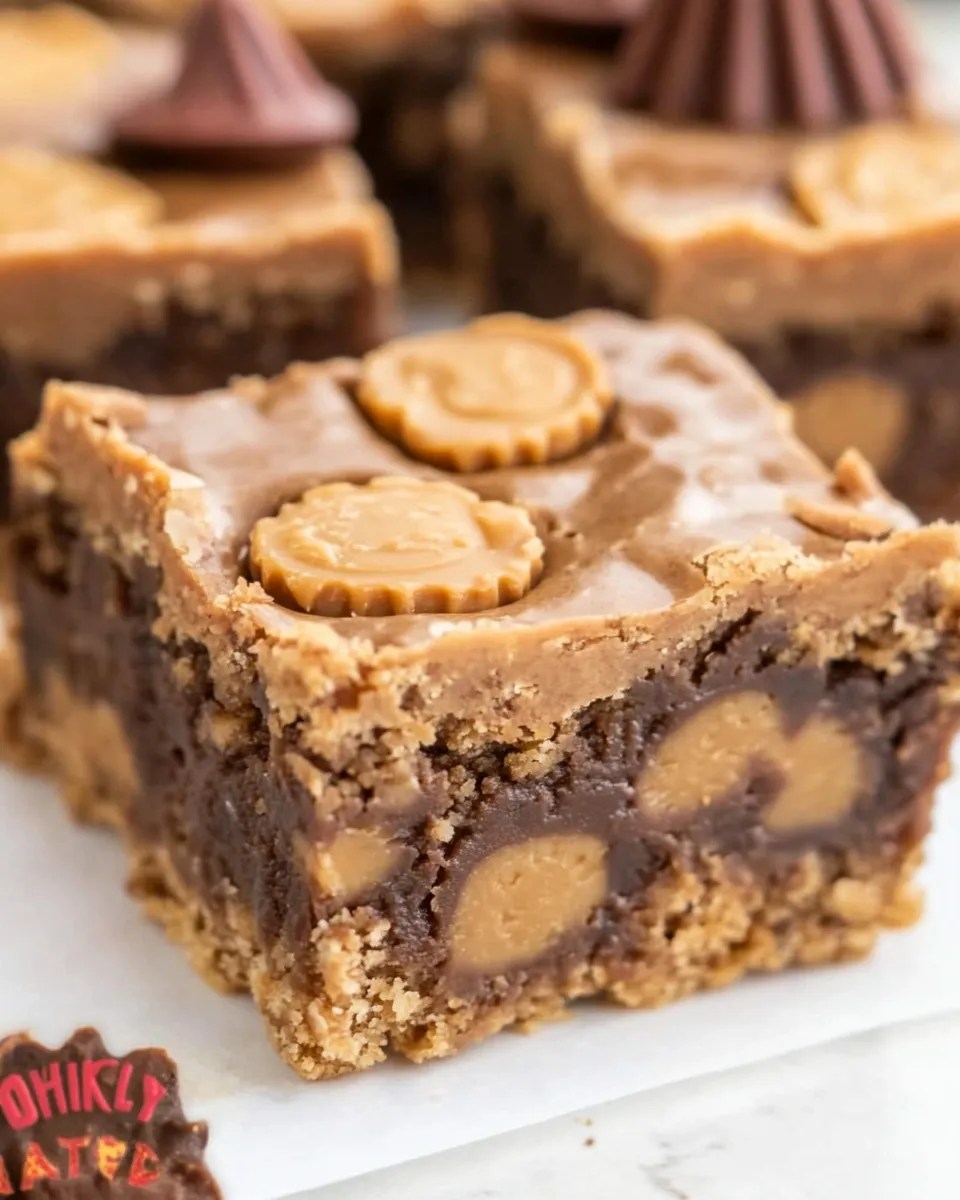
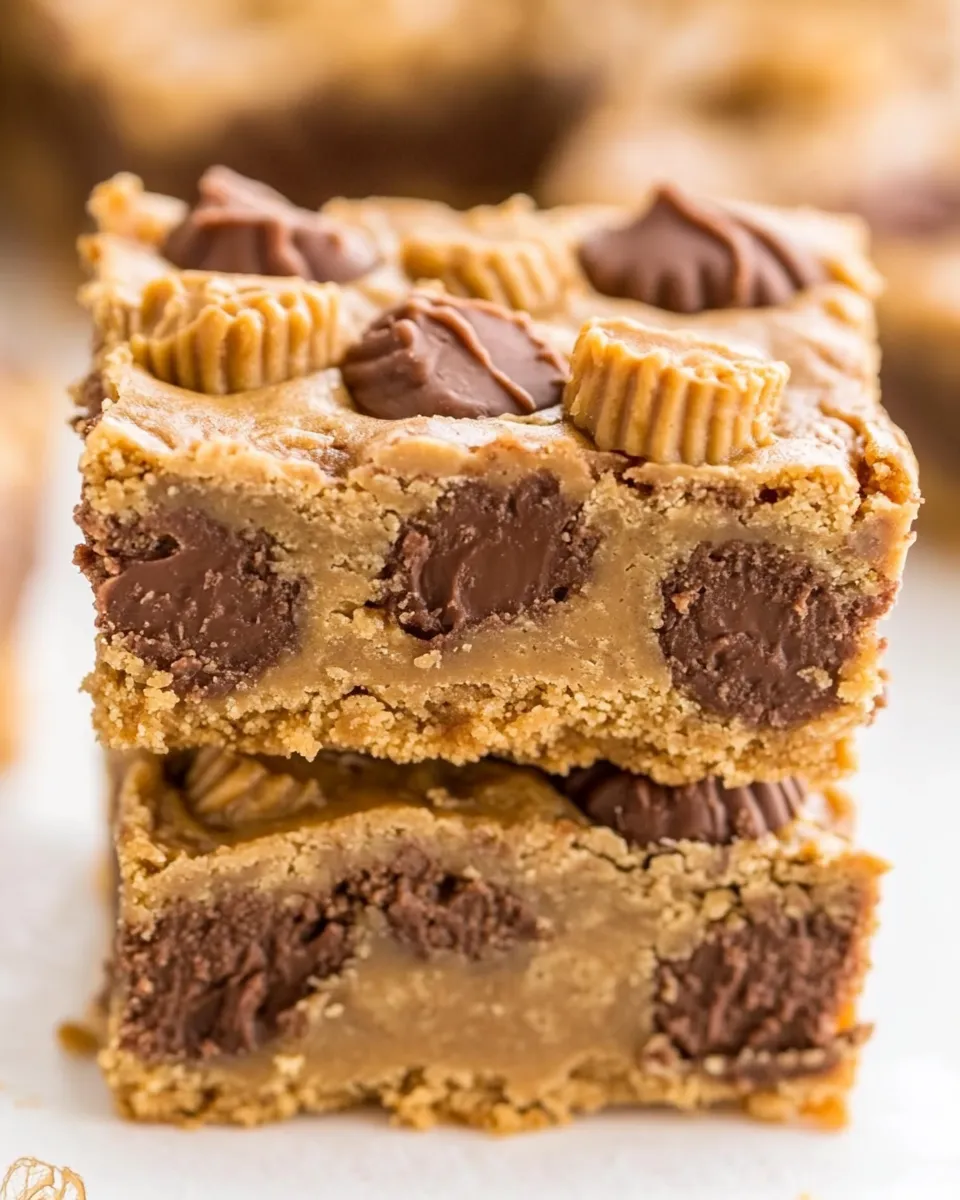
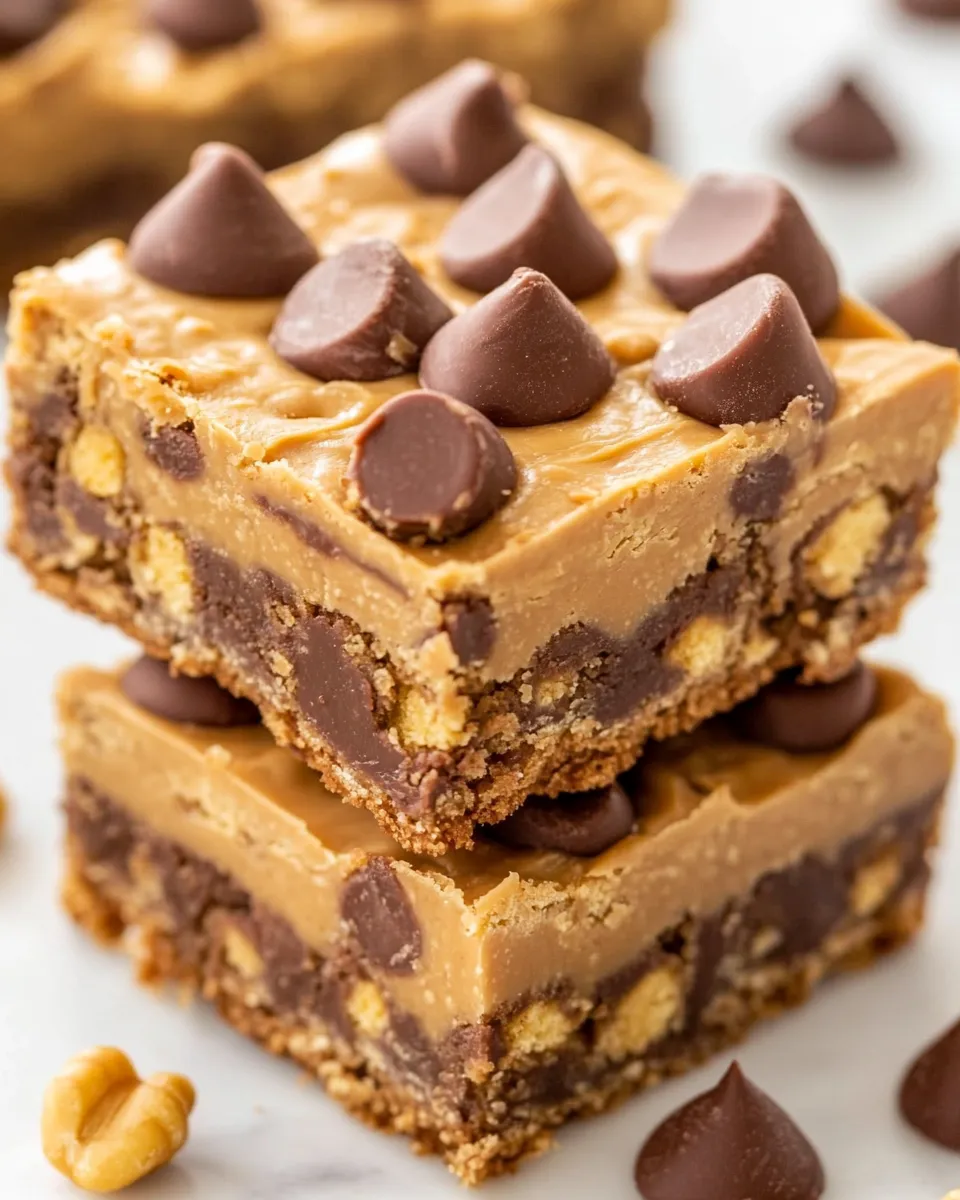
Peanut Butter Cup Peanut Butter Bars
If you’re looking for a delightful treat that combines the rich, creamy flavor of peanut butter with the sweetness of chocolate, then you’ve stumbled upon the perfect recipe! These Peanut Butter Cup Peanut Butter Bars are a dream come true for any dessert lover. With a gooey texture, a hint of saltiness, and the crunch of peanut butter cups throughout, they are sure to become a family favorite. Whether you’re baking for a special occasion or just because, these bars will satisfy your sweet tooth and leave your friends and family begging for more!
Reasons to Love Peanut Butter Cup Peanut Butter Bars
There are countless reasons to adore these bars. Here are just a few:
- Irresistible Flavor: The combination of peanut butter and chocolate creates a rich, decadent flavor profile that is hard to resist.
- Easy to Make: With simple ingredients and straightforward instructions, you can whip these up in no time!
- Perfect for Sharing: Cut them into squares and bring them to gatherings, or pack them in lunchboxes for a sweet treat.
- Customizable: Feel free to add your favorite nuts or swap out the chocolate chips for white chocolate or butterscotch for a different twist.
What We’re Using
To create your Peanut Butter Cup Peanut Butter Bars, you’ll need the following ingredients:
- 1 cup unsalted butter – Use one stick, melted for a rich base.
- 1 heaping cup peanut butter – Jif or Skippy works best; avoid natural peanut butter as it can be too oily.
- 1 large egg – This helps bind the ingredients together.
- 1 cup light brown sugar – Packed for sweetness and moisture.
- 1 tablespoon vanilla extract – Adds warmth and depth to the flavor.
- 1 cup all-purpose flour – The backbone of the bars, giving them structure.
- 1 cup semi-sweet chocolate chips – Plus more for sprinkling on top for an extra chocolatey finish.
- About 16 miniature peanut butter cups – Unwrapped; these will be the stars of your bars!
Equipment Breakdown
Before you get started, gather the following equipment:
- Large Mixing Bowl: For combining the wet and dry ingredients.
- Whisk: To mix the ingredients smoothly.
- 9×13-inch Baking Dish: Ideal for baking the bars evenly.
- Parchment Paper: For easy removal and cleanup.
- Spatula: To spread the batter evenly in the baking dish.
How to Prepare Peanut Butter Cup Peanut Butter Bars
Now, let’s dive into the step-by-step process of making these delightful bars!
Step 1: Preheat the Oven
Preheat your oven to 350°F (175°C). This ensures that your bars bake evenly and thoroughly.
Step 2: Prepare the Baking Dish
Line your 9×13-inch baking dish with parchment paper, allowing some overhang on the sides. This will make it easier to lift the bars out after baking.
Step 3: Mix Wet Ingredients
In a large mixing bowl, whisk together the melted unsalted butter and heaping cup of peanut butter until smooth. Add in the large egg, light brown sugar, and vanilla extract. Mix until well combined and creamy.
Step 4: Combine Dry Ingredients
In a separate bowl, whisk together the all-purpose flour and the semi-sweet chocolate chips. Slowly add this mixture to your wet ingredients, stirring until just combined.
Step 5: Fold in Peanut Butter Cups
Gently fold in the unwrapped miniature peanut butter cups, being careful not to break them too much. You want nice chunks throughout your batter.
Step 6: Spread and Bake
Pour the batter into the prepared baking dish and spread it out evenly with a spatula. Sprinkle additional chocolate chips on top if desired. Bake in the preheated oven for 25-30 minutes, or until the edges are golden and a toothpick inserted in the center comes out with a few moist crumbs.
Step 7: Cool and Cut
Allow the bars to cool in the baking dish for about 15 minutes. Then, using the parchment overhang, lift the bars out and place them on a wire rack to cool completely. Once cooled, cut into squares and enjoy!
In-Season Flavor Ideas
While these Peanut Butter Cup Peanut Butter Bars are delicious as is, you can get creative with seasonal flavors. Here are some ideas to inspire you:
- Autumn Spice: Add a teaspoon of cinnamon and a pinch of nutmeg for a warm, fall-inspired flavor.
- Mint Chocolate: Swap out some chocolate chips for mint chocolate chips for a refreshing twist.
- Nutty Crunch: Stir in chopped nuts like pecans or walnuts for added texture.
- Sea Salt Caramel: Drizzle caramel sauce on top and sprinkle with sea salt before serving.
Pro Tips & Notes
- For best results, let the bars cool completely before cutting; this helps them set up nicely.
- Don’t skimp on the chocolate chips—more is always better!
- For a richer flavor, try using dark chocolate chips instead of semi-sweet.
- Store leftover bars in an airtight container at room temperature for up to a week.
Leftovers & Meal Prep
If you happen to have leftovers (which is unlikely!), these bars store beautifully. Here are some tips for meal prep:
- Wrap individual bars in plastic wrap or store them in a resealable bag for easy grab-and-go snacks.
- They can also be frozen for longer storage. Simply wrap tightly and store in the freezer for up to three months. Thaw at room temperature when ready to enjoy.
- Consider making a double batch to ensure you have enough to share or to keep on hand for those sweet cravings!
FAQ
Can I use a different type of nut butter?
Yes! You can substitute any nut butter you like, such as almond butter or cashew butter, though the flavor will change slightly.
What can I use instead of chocolate chips?
Feel free to use white chocolate chips, butterscotch chips, or even peanut butter chips for a different flavor profile.
Can I make these bars gluten-free?
Absolutely! Just substitute the all-purpose flour with a gluten-free flour blend, and you’re good to go.
How do I know when the bars are done baking?
They should be golden around the edges and a toothpick inserted in the center should come out with a few moist crumbs. Avoid overbaking to keep them chewy!
In Closing
These Peanut Butter Cup Peanut Butter Bars are a delightful fusion of textures and flavors, perfect for any occasion. From their creamy peanut butter base to the surprise of miniature peanut butter cups, each bite is pure bliss. Whether you’re indulging yourself or sharing with friends, these bars are sure to impress. So roll up your sleeves, gather your ingredients, and let the baking begin!
With their delectable taste and easy preparation, you’ll find yourself making these bars again and again. Enjoy every gooey, chocolatey bite of your Peanut Butter Cup Peanut Butter Bars!
Peanut Butter Cup Peanut Butter Bars
Ingredients
Equipment
Method
- Preheat your oven to 350°F (175°C).
- Line your 9x13-inch baking dish with parchment paper.
- In a large mixing bowl, whisk together the melted unsalted butter and peanut butter until smooth. Add the egg, light brown sugar, and vanilla extract. Mix until creamy.
- In a separate bowl, whisk together the all-purpose flour and semi-sweet chocolate chips. Slowly add this mixture to the wet ingredients, stirring until just combined.
- Gently fold in the unwrapped miniature peanut butter cups.
- Pour the batter into the prepared baking dish and spread it out evenly. Sprinkle additional chocolate chips on top if desired. Bake for 25-30 minutes, or until the edges are golden.
- Allow the bars to cool in the baking dish for about 15 minutes. Lift the bars out using the parchment overhang, place them on a wire rack to cool completely, then cut into squares.
Notes
- Let the bars cool completely before cutting for the best texture.
- More chocolate chips make everything better!
- Dark chocolate chips can enhance the flavor.
- Store leftovers in an airtight container for up to a week.