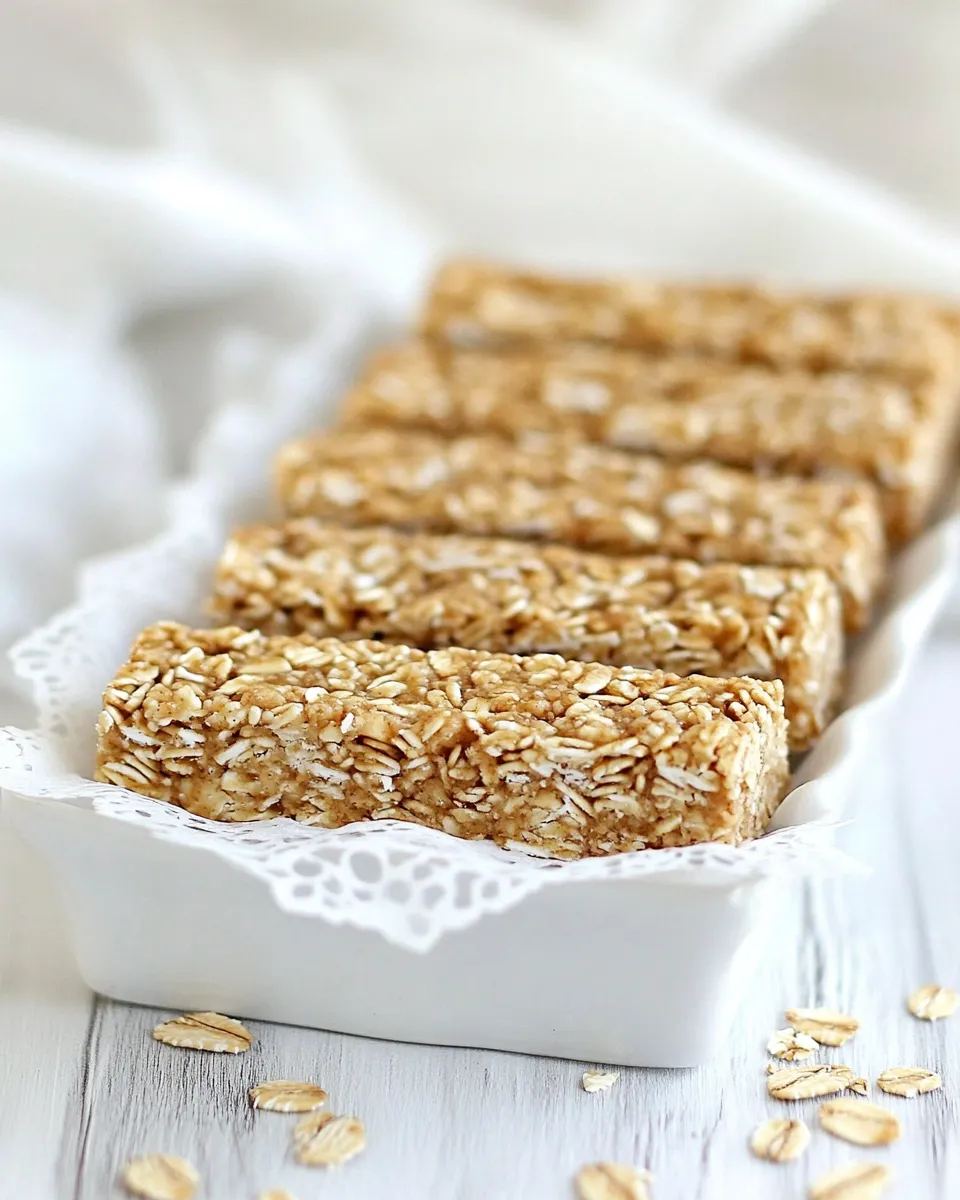
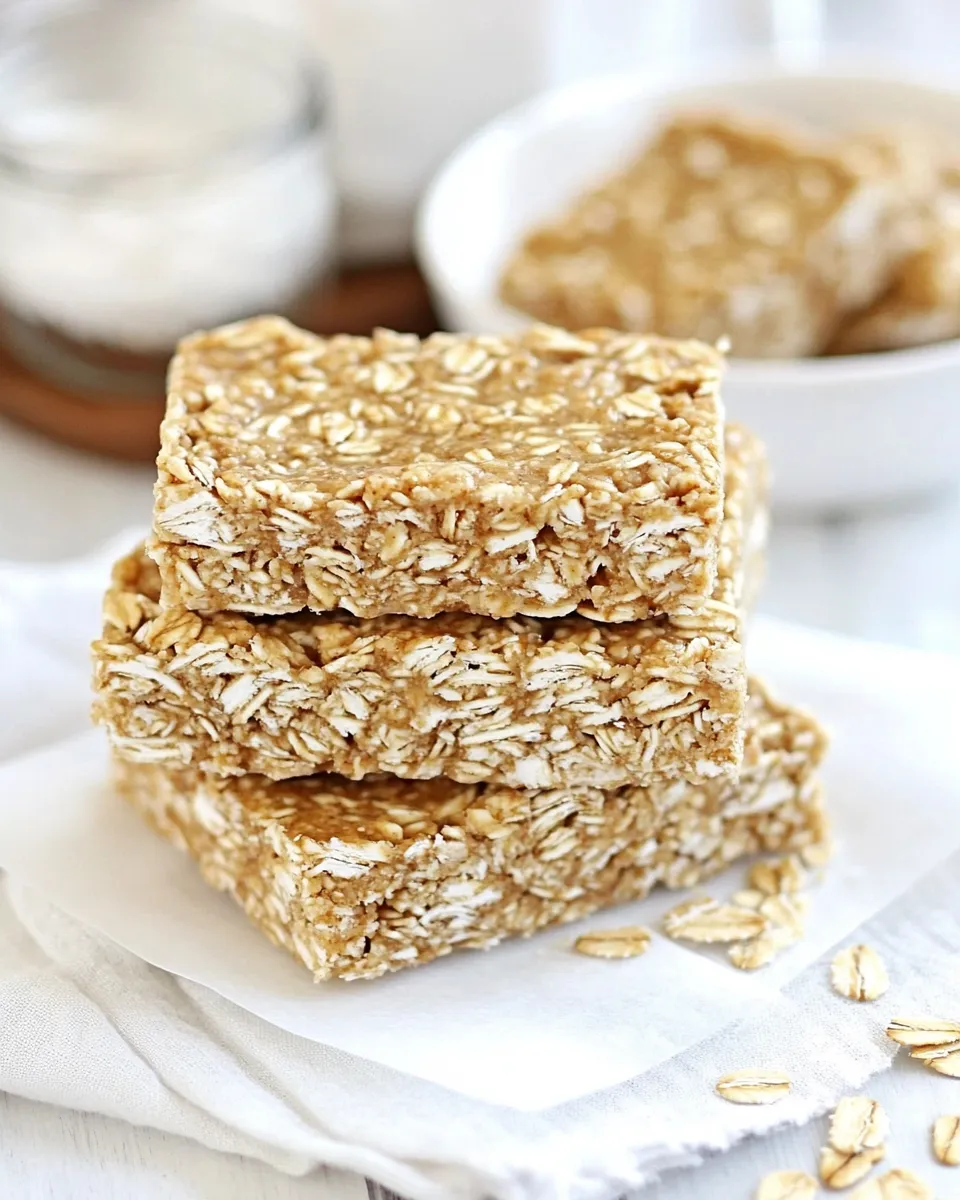
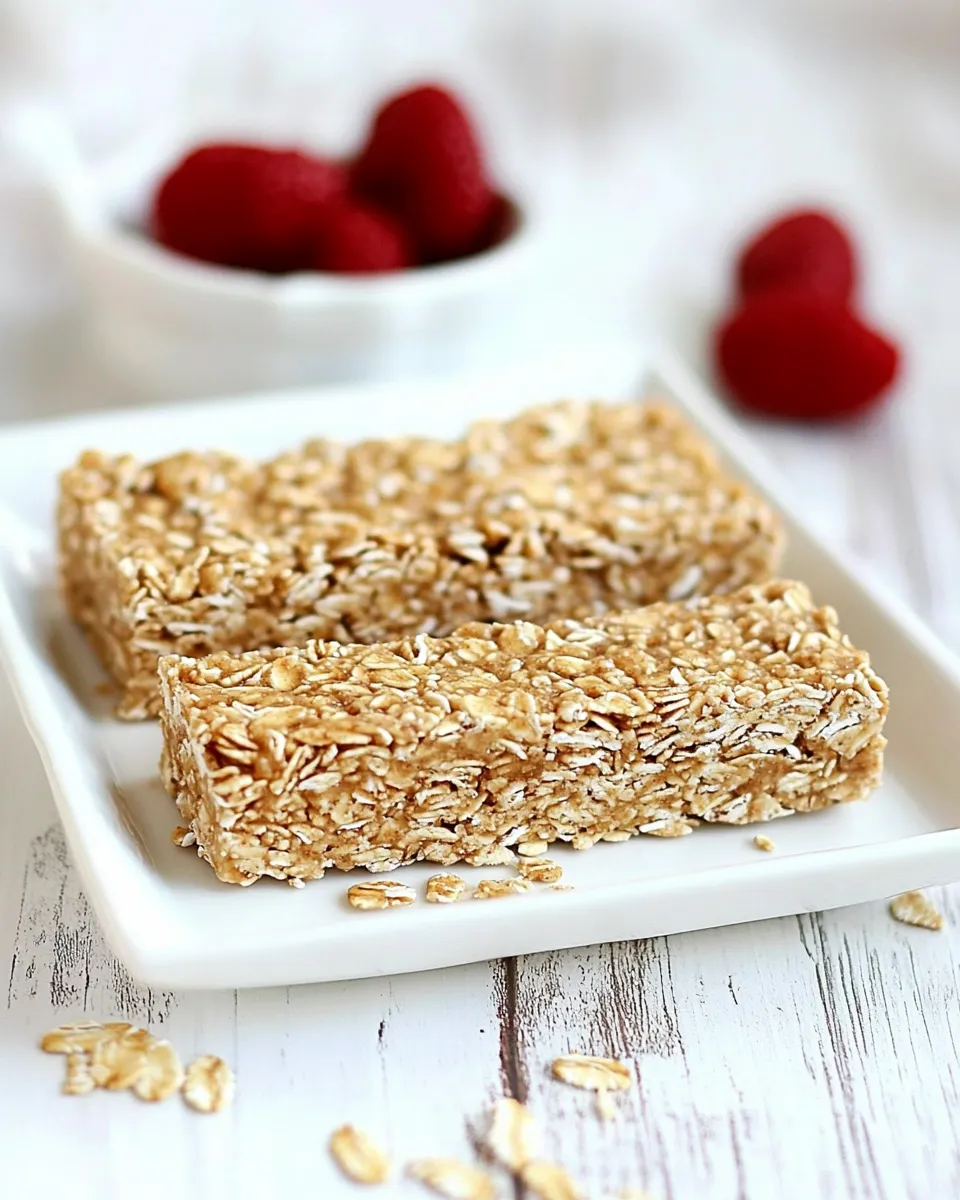
Peanut Butter Honey No Bake Granola Bars
Are you on the lookout for a quick, delicious, and nutritious snack that you can whip up in no time? Look no further! These Peanut Butter Honey No Bake Granola Bars are the perfect solution for busy mornings, after-school snacks, or even a post-workout treat. Packed with wholesome ingredients, these bars are not only easy to make but also customizable to fit your taste preferences. With the rich flavor of creamy peanut butter and the natural sweetness of honey, these bars are sure to become a staple in your home. Let’s dive into the details of how to create this delightful snack!
What Makes This Recipe Special
What sets these Peanut Butter Honey No Bake Granola Bars apart is their simplicity and versatility. Unlike traditional granola bars that require baking, this no-bake version allows you to enjoy a wholesome treat without turning on the oven. The combination of old-fashioned rolled oats, creamy peanut butter, and honey creates a chewy texture that is irresistible. Plus, the optional mix-ins like mini chocolate chips or chia seeds allow you to tailor each batch to your liking, making them a fun and creative treat for everyone in the family.
Ingredient Checklist
To make these delicious Peanut Butter Honey No Bake Granola Bars, you will need the following ingredients:
- 2 2/3 cups old fashioned rolled oats
- 3/4 cup creamy peanut butter
- Generous 1/2 cup honey
- Generous pinch of salt
- Optional mix-ins: mini chocolate chips, raisins, chia seeds (see note)
Each ingredient plays a crucial role in creating the perfect balance of flavor and texture, ensuring that every bite is satisfying and delicious.
Equipment Breakdown
Before we get started, gather the following equipment to make your granola bars:
- Large mixing bowl – for combining ingredients.
- Spatula or wooden spoon – for mixing everything together.
- 9×9-inch baking dish – to shape and set your bars.
- Parchment paper – for easy removal of the bars.
Having the right tools on hand will make the process smooth and enjoyable!
Make Peanut Butter Honey No Bake Granola Bars: A Simple Method

Now, let’s get into the step-by-step process of making these Peanut Butter Honey No Bake Granola Bars.
Step 1: Prepare Your Baking Dish
Begin by lining your 9×9-inch baking dish with parchment paper. This will make it easier to lift the bars out later. Leave some overhang on the sides so you can easily pull them out once they are set.
Step 2: Mix the Dry Ingredients
In a large mixing bowl, combine the old fashioned rolled oats and a generous pinch of salt. Stir them together until they are well mixed. If you are using any optional mix-ins like chia seeds or raisins, add them in at this stage.
Step 3: Combine Wet Ingredients
In a separate bowl, mix together the creamy peanut butter and honey until smooth and well combined. You can microwave the mixture for about 20-30 seconds if you find it too thick; this will make it easier to stir.
Step 4: Combine Wet and Dry Ingredients
Pour the peanut butter and honey mixture over the dry ingredients. Using a spatula or wooden spoon, stir everything together until the oats are evenly coated. Make sure there are no dry patches, as this will ensure that your bars hold together well.
Step 5: Press the Mixture into the Baking Dish
Transfer the oat mixture into your prepared baking dish. Using your hands or the back of a spatula, press the mixture down firmly and evenly. The more compact it is, the better the bars will hold together.
Step 6: Chill and Set
Once your mixture is pressed into the dish, place it in the refrigerator for at least 2 hours to set. If you’re in a hurry, you can speed up the process by placing it in the freezer for about 30 minutes.
Step 7: Cut and Serve
After the mixture has set, remove it from the baking dish using the parchment overhang. Place it on a cutting board and cut it into bars or squares, depending on your preference. Store any leftovers in an airtight container for future snacking!
Fit It to Your Goals
These Peanut Butter Honey No Bake Granola Bars are incredibly versatile. Here are some ways you can customize them to fit your dietary goals:
- For a protein boost, add in some protein powder to the mixture.
- Swap out the peanut butter for almond butter or sunflower seed butter for a different flavor.
- Use agave syrup or maple syrup in place of honey for a vegan-friendly option.
- Incorporate your favorite nuts or seeds to enhance the nutritional profile.
Feel free to get creative and make these bars uniquely yours!
What Not to Do
While making these Peanut Butter Honey No Bake Granola Bars is straightforward, there are a few pitfalls to avoid:
- Don’t skip the chilling time. This step is crucial for the bars to hold their shape.
- Be careful not to overmix your ingredients; you want everything combined without crushing the oats too much.
- Don’t use instant oats. They will not provide the same texture and chewiness as old fashioned rolled oats.
- Avoid using too much honey or peanut butter; the ratios are key to achieving the right consistency.
By following these tips, you’ll ensure your bars turn out perfect on the first try!
Make-Ahead & Storage
These Peanut Butter Honey No Bake Granola Bars are perfect for meal prep. You can make a large batch ahead of time and store them for later. Here’s how:
- Store the bars in an airtight container in the refrigerator for up to 2 weeks.
- For longer storage, wrap individual bars in plastic wrap and freeze for up to 3 months.
- Thaw frozen bars in the refrigerator overnight before enjoying.
Having these bars on hand will make snacking a breeze!
Your Top Questions
Can I use quick oats instead of rolled oats?
It’s best to stick with old fashioned rolled oats for this recipe. Quick oats will yield a different texture and may not hold together as well.
Can I make these bars vegan?
Absolutely! Simply replace honey with agave syrup or maple syrup, and you’ll have a delicious vegan alternative.
What can I use instead of peanut butter?
You can substitute peanut butter with almond butter, sunflower seed butter, or any nut butter of your choice for a different flavor profile.
How can I make these bars more indulgent?
If you want to add a little indulgence, consider folding in some mini chocolate chips or drizzling melted chocolate on top before slicing.
The Last Word
In a world where healthy snacks can sometimes feel like a chore to prepare, these Peanut Butter Honey No Bake Granola Bars truly shine. They are quick, easy to make, and provide a satisfying crunch with every bite. Whether you’re heading out the door, looking for a midday pick-me-up, or planning a family outing, these bars are the perfect companion. Plus, with the ability to customize them to fit your taste and dietary needs, you’ll never get bored. So gather your ingredients, roll up your sleeves, and enjoy the delightful process of making these wholesome granola bars. You’ll be glad you did!
Peanut Butter Honey No Bake Granola Bars
Ingredients
Equipment
Method
- Begin by lining your 9x9-inch baking dish with parchment paper. This will make it easier to lift the bars out later. Leave some overhang on the sides so you can easily pull them out once they are set.
- In a large mixing bowl, combine the old fashioned rolled oats and a generous pinch of salt. Stir them together until they are well mixed. If you are using any optional mix-ins like chia seeds or raisins, add them in at this stage.
- In a separate bowl, mix together the creamy peanut butter and honey until smooth and well combined. You can microwave the mixture for about 20-30 seconds if you find it too thick; this will make it easier to stir.
- Pour the peanut butter and honey mixture over the dry ingredients. Using a spatula or wooden spoon, stir everything together until the oats are evenly coated. Make sure there are no dry patches, as this will ensure that your bars hold together well.
- Transfer the oat mixture into your prepared baking dish. Using your hands or the back of a spatula, press the mixture down firmly and evenly. The more compact it is, the better the bars will hold together.
- Once your mixture is pressed into the dish, place it in the refrigerator for at least 2 hours to set. If you're in a hurry, you can speed up the process by placing it in the freezer for about 30 minutes.
- After the mixture has set, remove it from the baking dish using the parchment overhang. Place it on a cutting board and cut it into bars or squares, depending on your preference. Store any leftovers in an airtight container for future snacking!
Notes
- Don’t skip the chilling time; it’s crucial for the bars to hold their shape.
- For a protein boost, add some protein powder to the mixture.
- Store the bars in an airtight container in the refrigerator for up to 2 weeks.