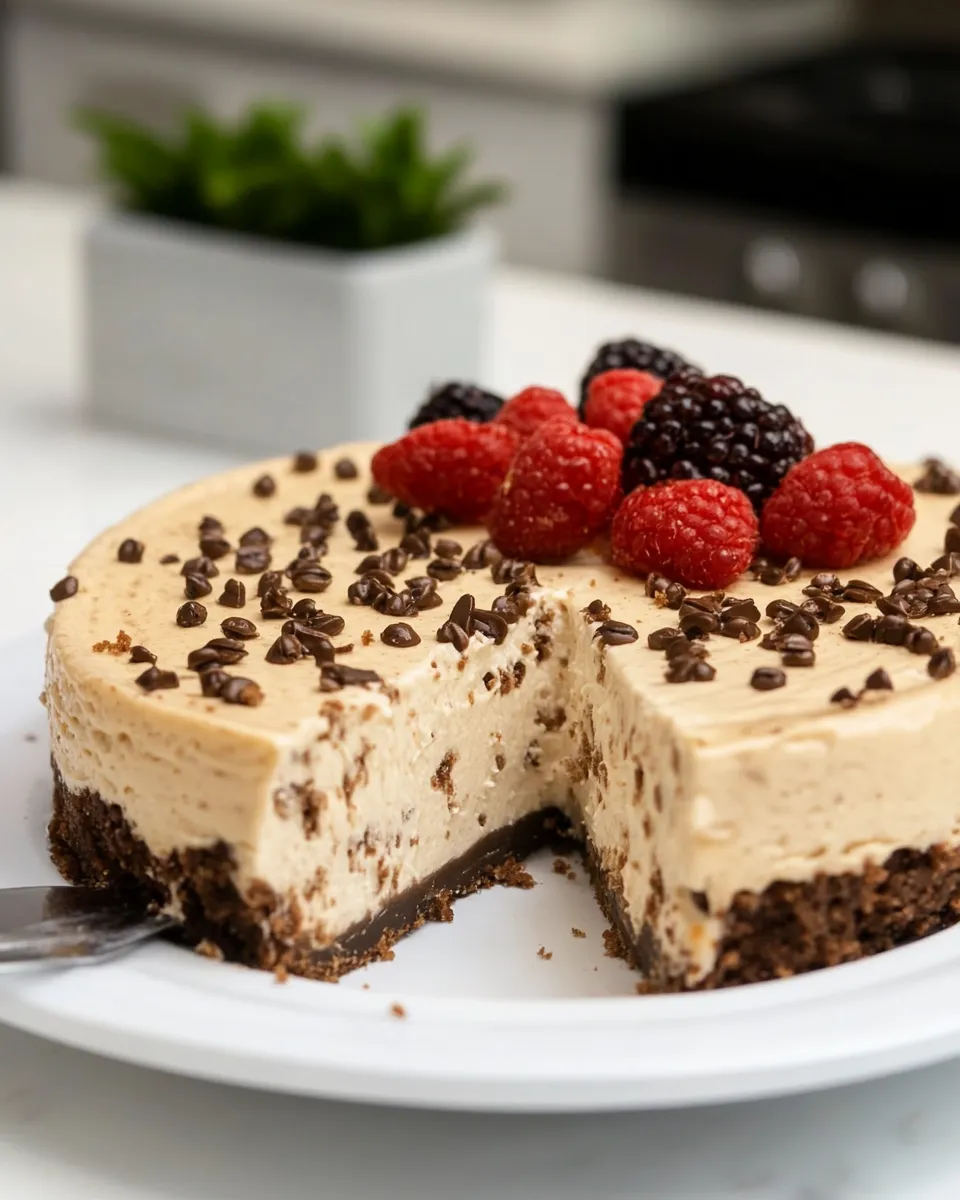
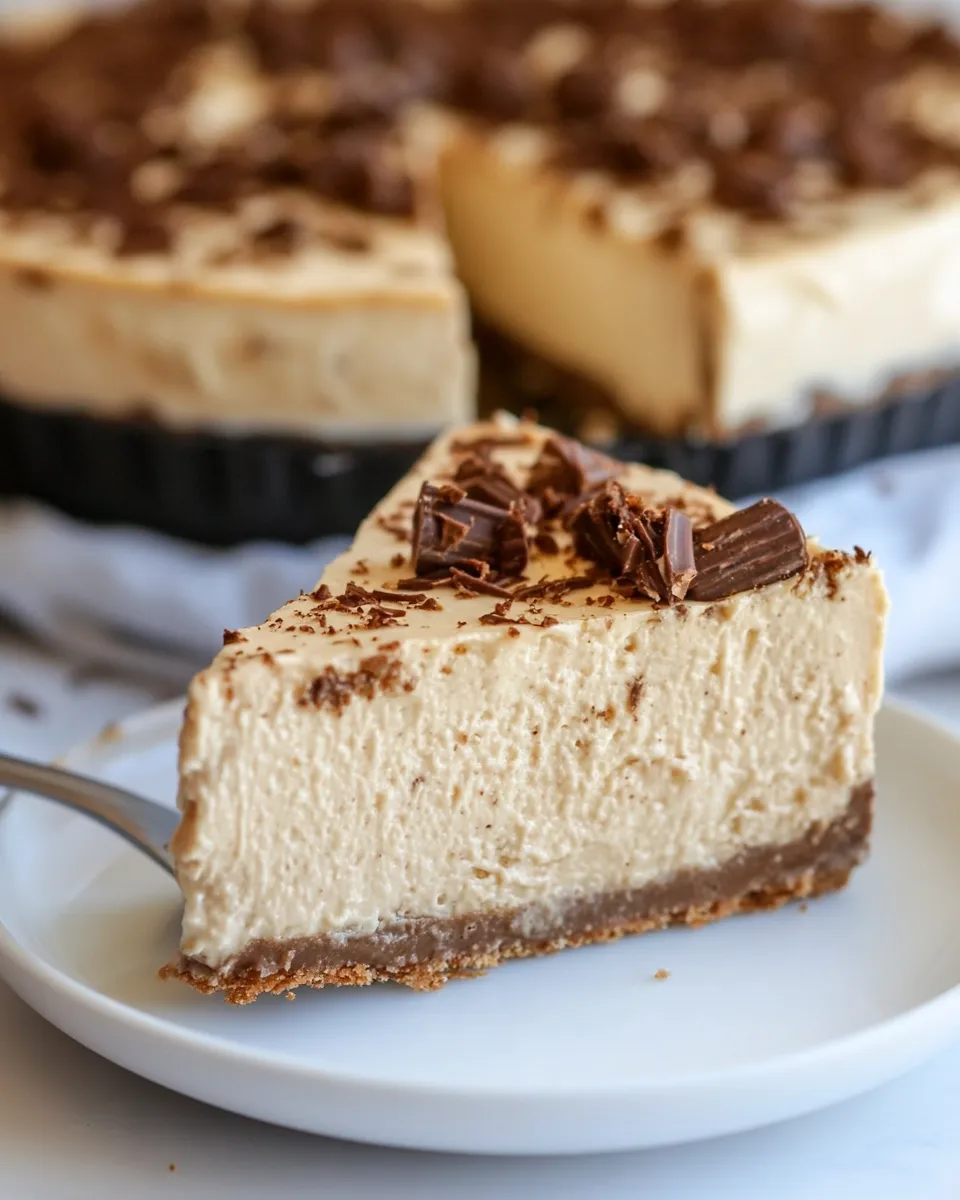
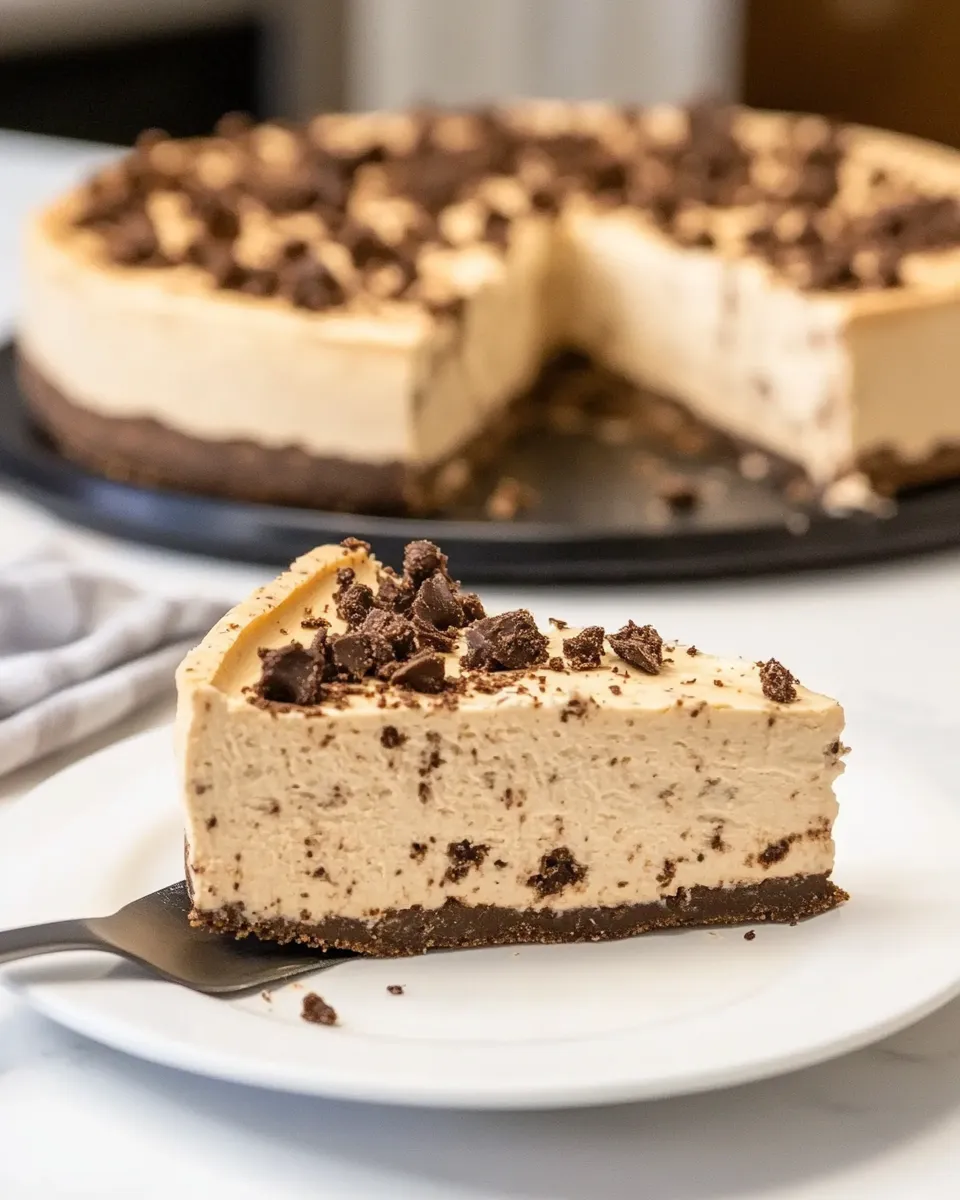
Protein Cheesecake
If you’re searching for a delicious, guilt-free treat that satisfies your sweet tooth while providing a healthy dose of protein, look no further. This Protein Cheesecake is the ultimate dessert that combines creamy richness with wholesome ingredients, making it a perfect choice for anyone looking to indulge without compromising on nutrition. Whether you’re a fitness enthusiast or simply someone who loves a good cheesecake, this recipe is bound to become a favorite. Let’s dive into the delightful world of Protein Cheesecake!
The Upside of Protein Cheesecake
Protein Cheesecake isn’t just a dessert; it’s a multi-functional treat that can serve various roles in your diet. Packed with protein from Greek yogurt and cream cheese or its vegan counterpart, this cheesecake offers a delicious way to meet your protein goals. It’s also a fantastic option for meal prep, as it can be made ahead of time and enjoyed throughout the week. Plus, with a customizable crust and endless flavor variations, you can create a cheesecake that suits your taste and dietary preferences.
Ingredient Checklist
To whip up this delectable Protein Cheesecake, gather the following ingredients:
- 24 oz cream cheese or vegan cream cheese
- 2 cups Greek yogurt or dairy-free alternative
- 1/2 cup protein powder (your choice of flavor)
- 2/3 cup sweetener of choice (like honey, maple syrup, or a sugar substitute)
- 2 1/2 tsp pure vanilla extract
For the crust, you can choose from several options such as:
- Graham cracker crumbs
- Almond flour for a low-carb option
- Oreo crumbs for a chocolatey twist
- Nut-based crust for a gluten-free alternative
Must-Have Equipment
Before you start baking, make sure you have the following equipment on hand:
- 9-inch springform pan for easy removal
- Mixing bowls for combining ingredients
- Electric mixer or whisk to achieve a smooth batter
- Measuring cups and spoons for accuracy
- Spatula for scraping down the sides of the bowl
- Oven for baking
Cook Protein Cheesecake Like This
Ready to create your Protein Cheesecake? Follow these simple steps:
Step 1: Preheat the Oven
Preheat your oven to 325°F (163°C) to ensure it’s at the right temperature when you’re ready to bake.
Step 2: Prepare the Crust
If you’re using a crust, combine your chosen crust ingredients in a bowl, mixing them until well combined. Press the mixture firmly into the bottom of your springform pan. Bake the crust for about 10 minutes, then remove it from the oven and let it cool.
Step 3: Mix the Filling
In a large mixing bowl, beat the cream cheese or vegan cream cheese with an electric mixer until smooth and creamy. Add the Greek yogurt and mix until well combined.
Step 4: Add the Protein Powder
Incorporate the protein powder into the cream cheese mixture, ensuring there are no lumps. Add the sweetener and vanilla extract, mixing thoroughly until the filling is smooth and creamy.
Step 5: Pour the Filling
Pour the cheesecake filling over the cooled crust in the springform pan, spreading it evenly with a spatula.
Step 6: Bake the Cheesecake
Bake the cheesecake in the preheated oven for about 40-50 minutes, or until the center is set but still slightly jiggly. Turn off the oven and leave the cheesecake inside for an additional hour to cool gradually.
Step 7: Chill and Serve
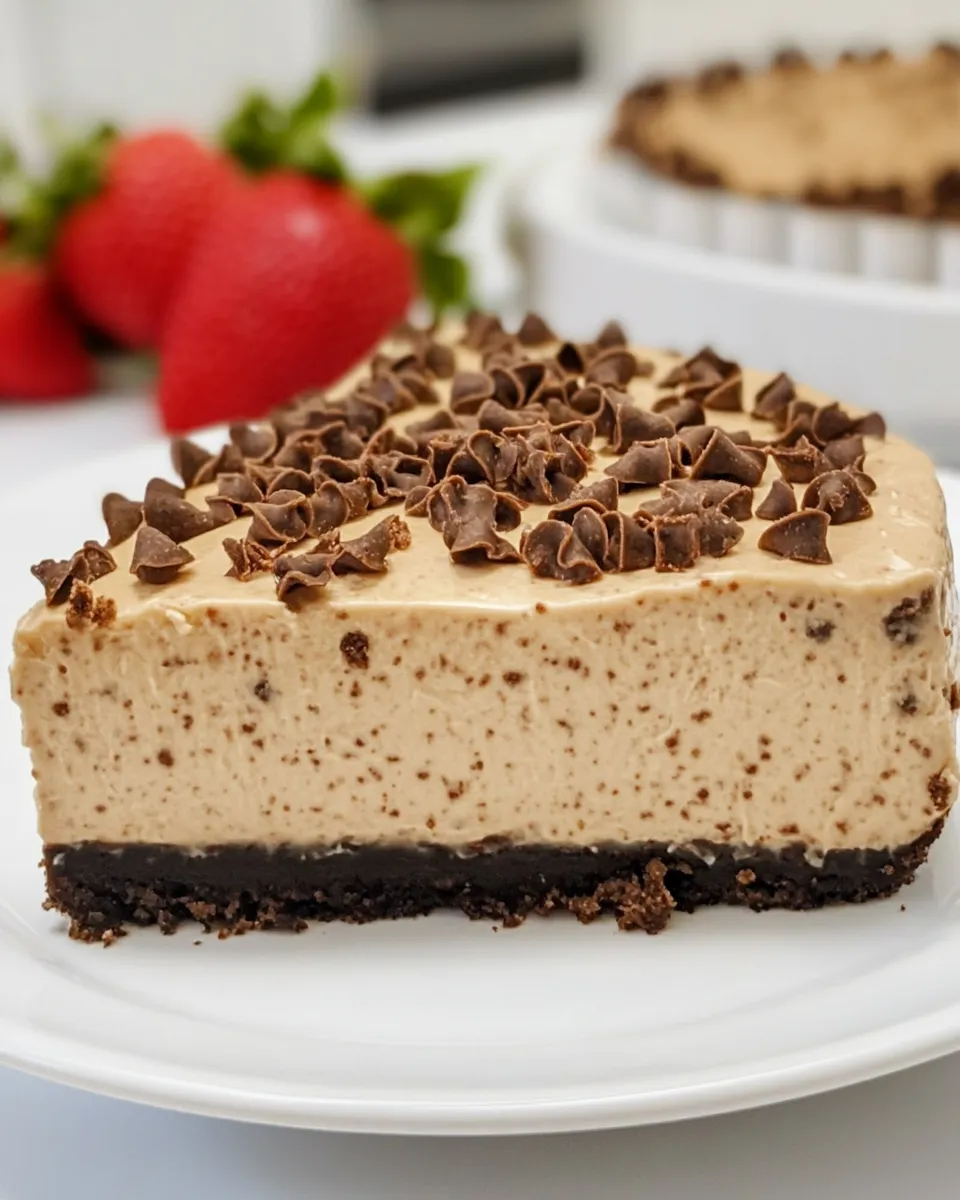
Once cooled, refrigerate the cheesecake for at least 4 hours, or overnight for the best texture. When ready to serve, carefully remove the sides of the springform pan and slice the cheesecake into pieces. Enjoy it plain or with your favorite toppings!
Variations by Season
One of the best things about Protein Cheesecake is its versatility. Here are some seasonal variations to try:
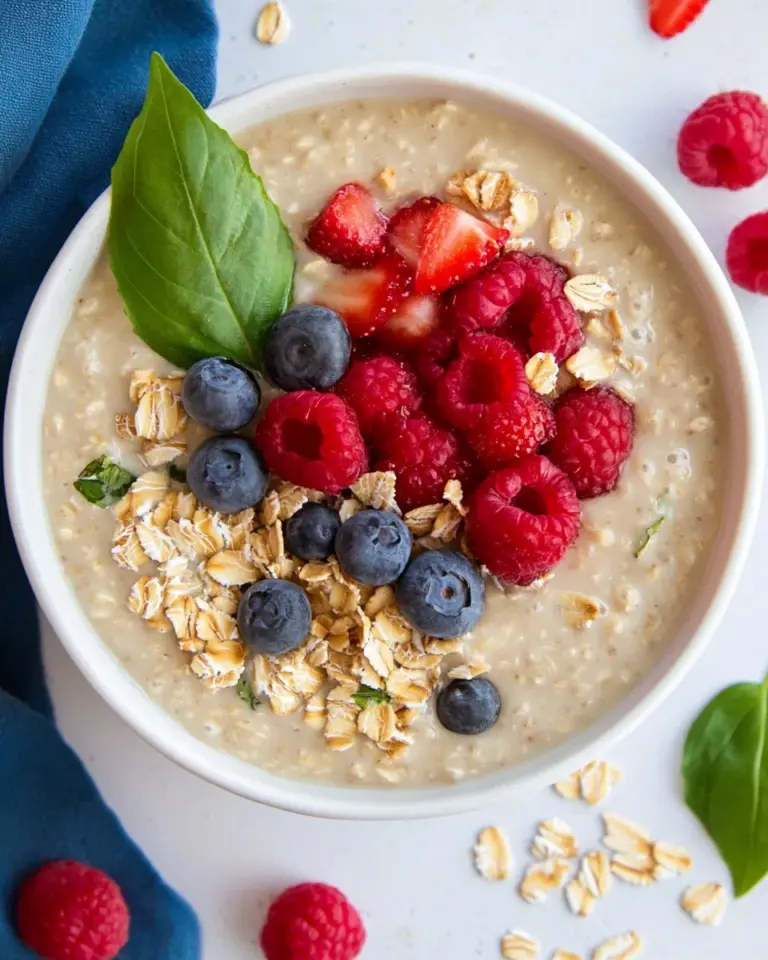
- Spring: Add fresh berries like strawberries or blueberries on top for a refreshing touch.
- Summer: Incorporate lemon zest and juice for a zesty, light flavor.
- Fall: Mix in pumpkin puree and warm spices like cinnamon and nutmeg for a seasonal twist.
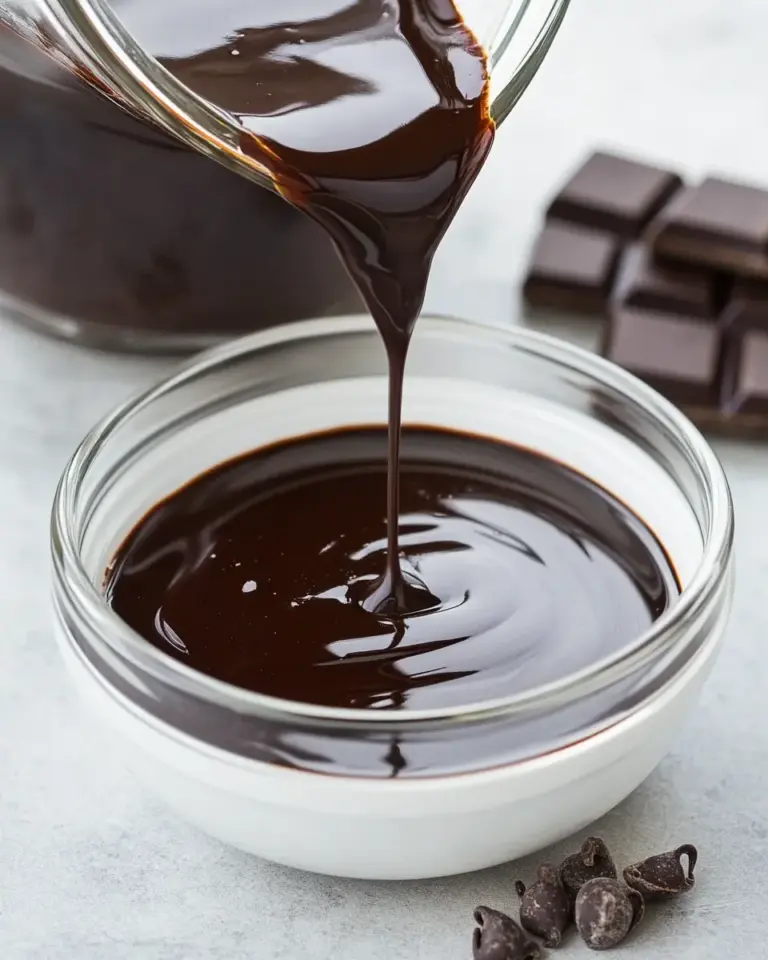
- Winter: Top with crushed peppermint candies or drizzle with dark chocolate for a festive flair.
Easy-to-Miss Gotchas
When making Protein Cheesecake, there are a few common pitfalls to avoid:
- Don’t overmix the batter, as this can introduce too much air, leading to cracks in the cheesecake.
- Ensure all ingredients are at room temperature before mixing for a smoother texture.
- Allow the cheesecake to cool gradually in the oven to prevent sudden temperature changes that can cause cracks.
- Be patient while refrigerating; the longer it chills, the better the flavors meld together.
Prep Ahead & Store
Protein Cheesecake is perfect for meal prep. Here are some tips on how to prepare ahead and store it:
If you want to make this cheesecake in advance, it can be stored in the refrigerator for up to 5 days. Just cover it tightly with plastic wrap or foil to keep it fresh. If you’d like to enjoy it for longer, you can freeze individual slices for up to 3 months. Just make sure to wrap each slice well and place it in an airtight container before freezing. When you’re ready to enjoy, simply thaw in the refrigerator overnight.
Protein Cheesecake Q&A
Can I use a different type of protein powder?
Absolutely! You can use whey, casein, or plant-based protein powder. Just keep in mind that flavors may vary slightly depending on the type of protein powder you choose.
Can I make this cheesecake without a crust?
Yes! If you prefer a crustless cheesecake, simply pour the filling into the springform pan and skip the crust steps. It will still be delicious!
How can I make this cheesecake lower in calories?
To reduce calories, opt for low-fat cream cheese, Greek yogurt, and a sugar-free sweetener. You can also experiment with reducing the amount of sweetener to your taste preference.
What are some topping ideas for Protein Cheesecake?
You can top your cheesecake with fresh fruits, a drizzle of nut butter, sugar-free chocolate sauce, or a sprinkle of crushed nuts for added texture and flavor.
Final Thoughts
Protein Cheesecake is not only a delicious dessert but also a smart way to incorporate more protein into your diet. With its creamy texture and rich flavor, it satisfies cravings without the guilt. Plus, it’s so easy to customize based on your preferences or the seasons. Whether enjoyed as a post-workout treat or a sweet indulgence after dinner, this cheesecake is sure to impress friends and family alike.
Indulging in a slice of Protein Cheesecake is a delightful way to nourish your body while treating your taste buds. So, gather your ingredients, follow the steps, and prepare to enjoy a cheesecake that’s as good for you as it is for your palate!
Protein Cheesecake
Ingredients
Equipment
Method
- Step 1: Preheat your oven to 325°F (163°C) to ensure it’s at the right temperature when you’re ready to bake.
- Step 2: If you're using a crust, combine your chosen crust ingredients in a bowl, mixing them until well combined. Press the mixture firmly into the bottom of your springform pan. Bake the crust for about 10 minutes, then remove it from the oven and let it cool.
- Step 3: In a large mixing bowl, beat the cream cheese or vegan cream cheese with an electric mixer until smooth and creamy. Add the Greek yogurt and mix until well combined.
- Step 4: Incorporate the protein powder into the cream cheese mixture, ensuring there are no lumps. Add the sweetener and vanilla extract, mixing thoroughly until the filling is smooth and creamy.
- Step 5: Pour the cheesecake filling over the cooled crust in the springform pan, spreading it evenly with a spatula.
- Step 6: Bake the cheesecake in the preheated oven for about 40-50 minutes, or until the center is set but still slightly jiggly. Turn off the oven and leave the cheesecake inside for an additional hour to cool gradually.
- Step 7: Once cooled, refrigerate the cheesecake for at least 4 hours, or overnight for the best texture. When ready to serve, carefully remove the sides of the springform pan and slice the cheesecake into pieces. Enjoy it plain or with your favorite toppings!
Notes
- Store in the refrigerator for up to 5 days, covered tightly.
- Freeze individual slices for up to 3 months, wrapped well.
- Allow cheesecake to chill overnight for the best texture.