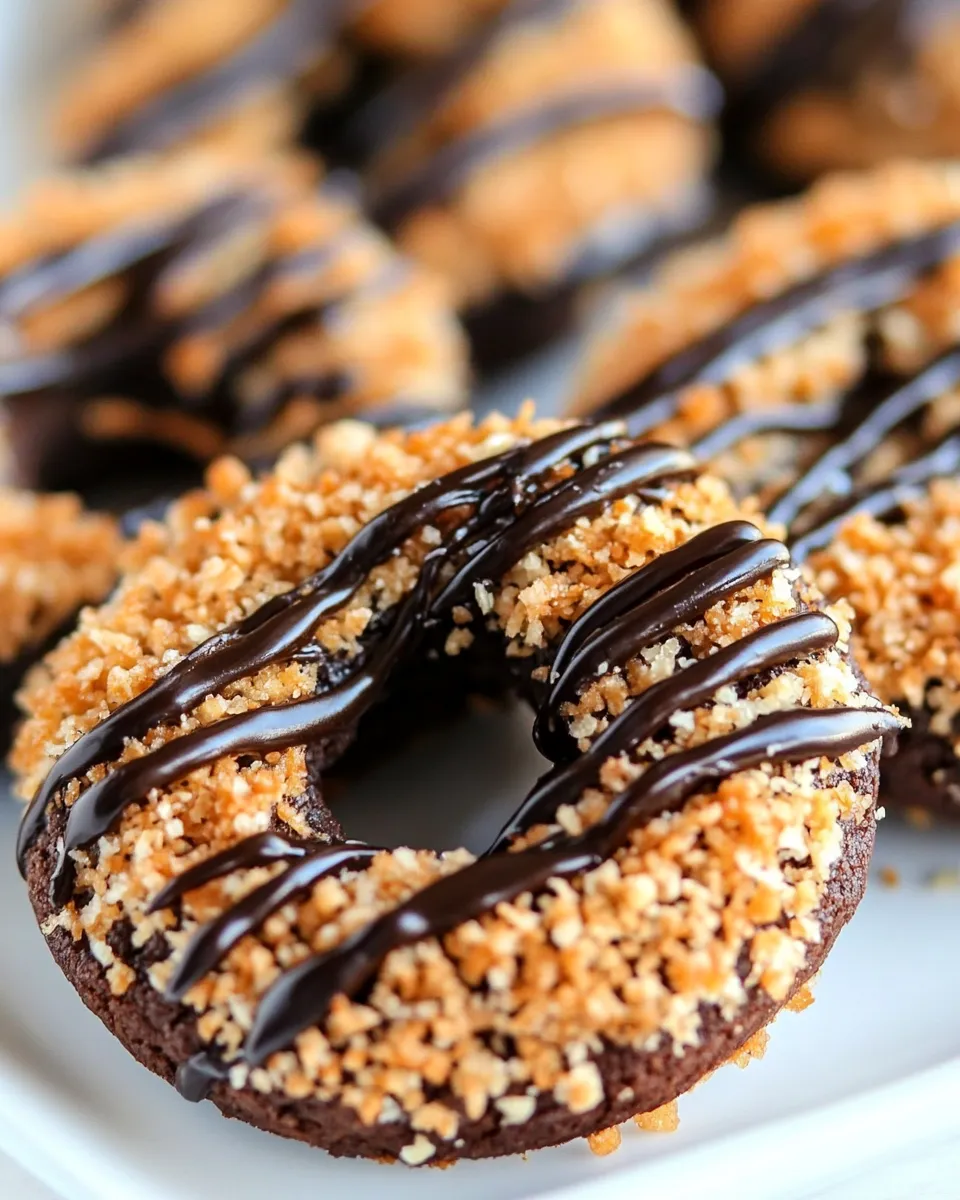
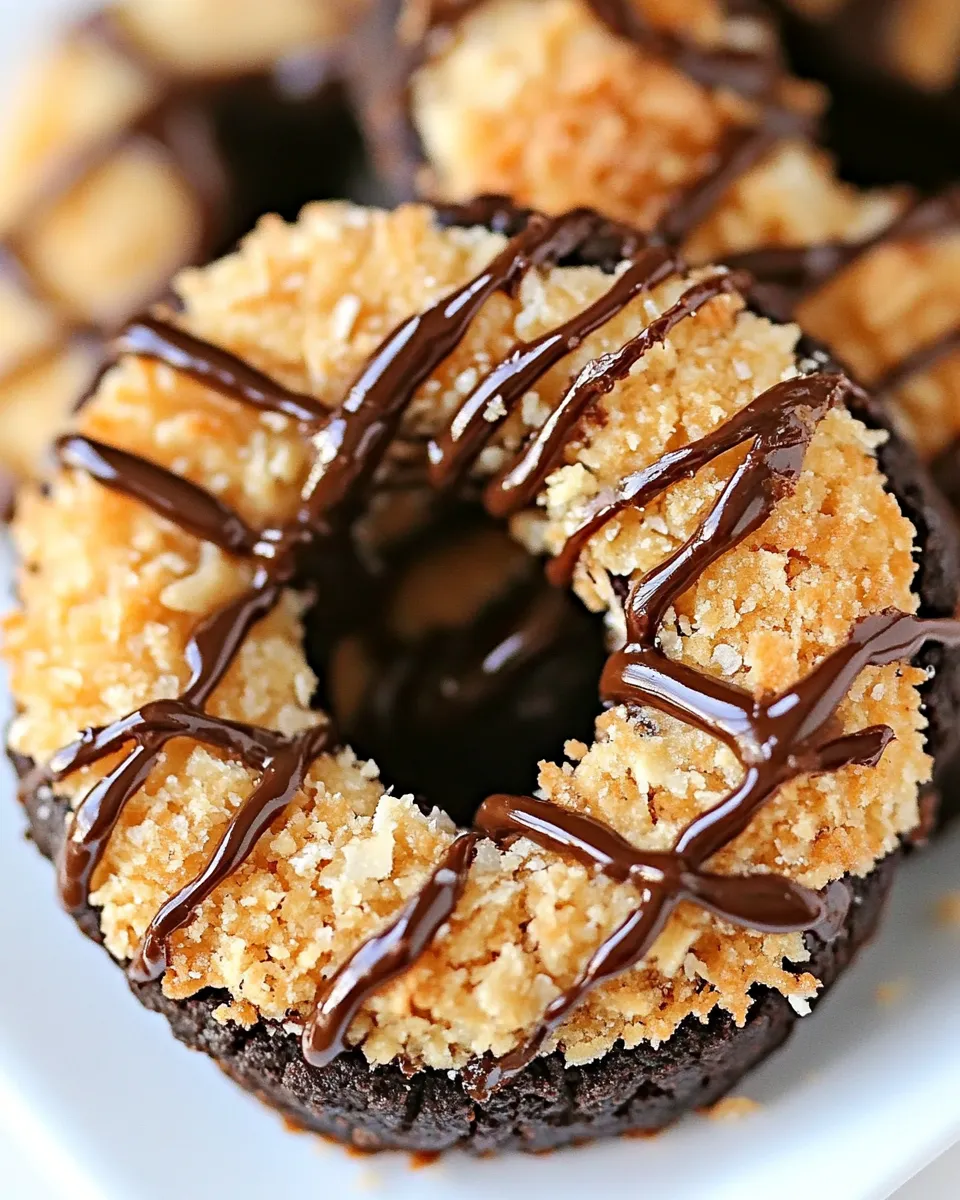
Samoas Cookies or Caramel deLites Recipe
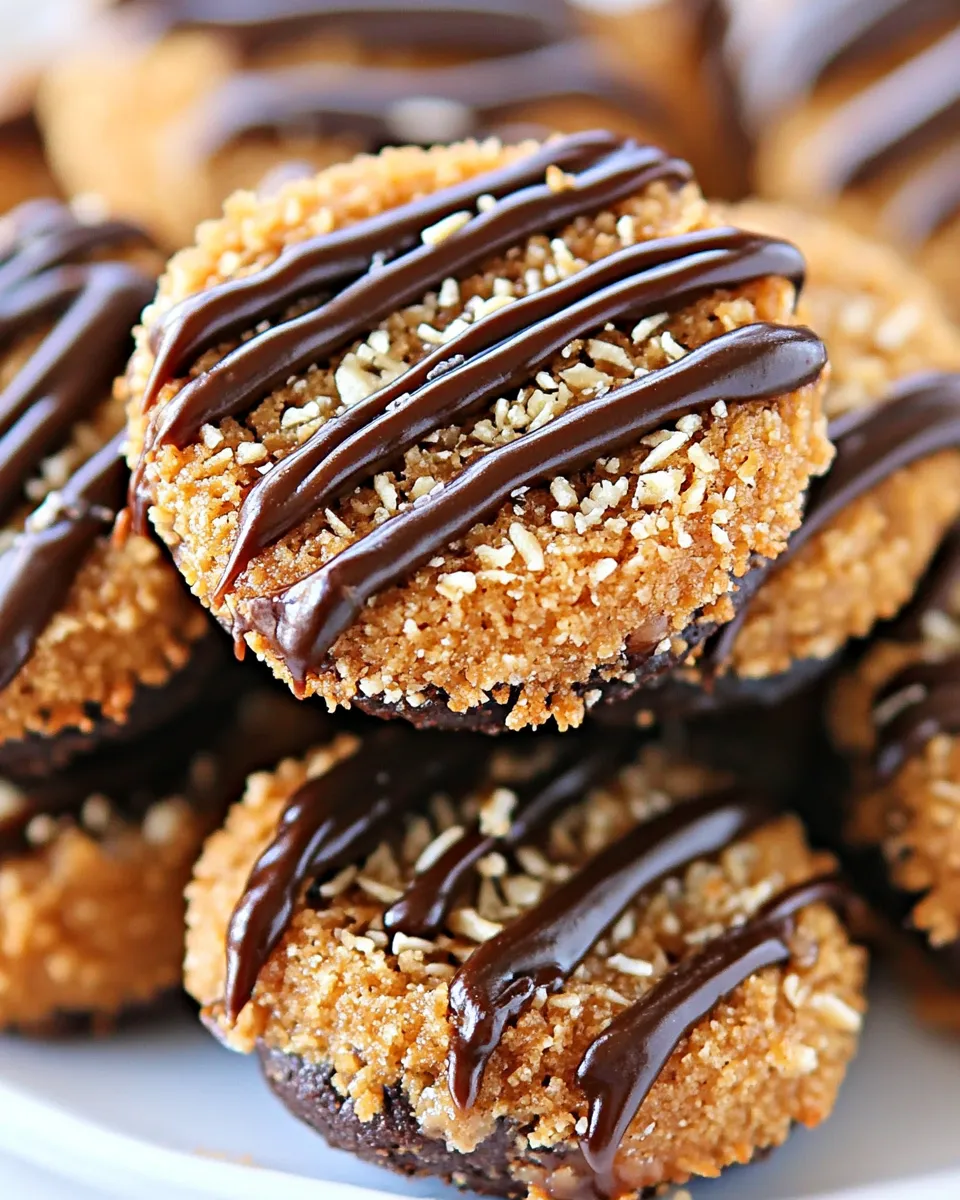
Samoas cookies, also known as Caramel deLites, are a decadent treat that combines a buttery cookie base, rich caramel, crunchy toasted coconut, and a luscious chocolate coating. Whether you’re a fan of Girl Scout cookies or simply love baking, this recipe will surely delight your taste buds and impress your friends and family. With a combination of simple ingredients, you can create these irresistible cookies right in your own kitchen. Let’s dive into the world of these beloved cookies and make some magic happen!
Why It’s Crowd-Pleasing
Samoas cookies are a nostalgic favorite for many, often evoking memories of childhood and the excitement of cookie season. The combination of textures and flavors—from the crunchy cookie base to the chewy caramel and crispy coconut—is nothing short of amazing. The chocolate coating adds an indulgent finish that makes these cookies truly irresistible. Perfect for gatherings, bake sales, or simply as a sweet treat at home, they are sure to be a hit with everyone who tries them!
The Essentials
- 1 cup unsalted butter at room temperature – This creates a rich, tender cookie.
- 1/2 cup granulated sugar – For just the right amount of sweetness.
- 2 cups all-purpose flour – The base of our cookie dough.
- 1/4 teaspoon baking powder – Helps the cookies rise slightly.
- 1/2 teaspoon salt – Balances the sweetness.
- 2 tablespoons milk – Adds moisture to the dough.
- 1/2 teaspoon vanilla extract – A classic flavor enhancer.
- 3 cups shredded sweetened coconut – For that iconic coconut topping.
- 20 ounces caramel sauce – The star of the show, providing chewiness and flavor.
- 4 tablespoons milk – To soften the caramel.
- 12 ounces dark chocolate or milk chocolate – For coating the cookies, choose your favorite!
Prep & Cook Tools
- Mixing bowls – For combining ingredients.
- Measuring cups and spoons – Accuracy is key in baking.
- Spatula – For mixing and spreading.
- Baking sheets – To bake the cookies evenly.
- Parchment paper – To prevent sticking and for easy cleanup.
- Double boiler or microwave-safe bowl – For melting chocolate.
Samoas Cookies or Caramel deLites Recipe: How It’s Done
Step 1: Prepare the Cookie Dough
In a large mixing bowl, cream together the unsalted butter and granulated sugar until light and fluffy. This should take about 3-4 minutes with an electric mixer.
Step 2: Combine Dry Ingredients
In a separate bowl, whisk together the all-purpose flour, baking powder, and salt. Gradually add the flour mixture to the butter and sugar mixture, mixing until just combined.
Step 3: Add Milk and Vanilla
Pour in the milk and vanilla extract, mixing until the dough comes together. If the dough is too crumbly, add a little more milk, one teaspoon at a time.
Step 4: Shape the Cookies
Preheat your oven to 350°F (175°C). Line baking sheets with parchment paper. Scoop out dough using a tablespoon and roll it into balls. Place them on the baking sheet and flatten them slightly. Use a small round object or your thumb to make a hole in the center of each cookie.
Step 5: Bake the Cookies
Bake in the preheated oven for about 10-12 minutes, or until the edges are lightly golden. Allow them to cool on the baking sheet for 5 minutes before transferring to a wire rack to cool completely.
Step 6: Toast the Coconut
While the cookies cool, spread the shredded coconut on a baking sheet and toast it in the oven at 350°F (175°C) for about 5-7 minutes, stirring halfway through. Watch closely to avoid burning!
Step 7: Prepare the Caramel
In a small saucepan over low heat, combine the caramel sauce and 4 tablespoons of milk. Stir until smooth and heated through, making it easier to spread over the cookies.
Step 8: Assemble the Cookies
Once the cookies are cool, spread a generous layer of the caramel mixture on top of each cookie, then sprinkle the toasted coconut over the caramel, gently pressing down to adhere.
Step 9: Melt the Chocolate
Using a double boiler or microwave, melt the chocolate until smooth. If using a microwave, heat in 30-second intervals, stirring in between to prevent burning.
Step 10: Coat the Cookies
Dip the bottom of each cookie into the melted chocolate, then place them back on the parchment paper. Drizzle additional melted chocolate over the tops for that classic Samoas look.
Step 11: Set and Enjoy
Allow the chocolate to set completely before serving. You can speed up this process by placing them in the refrigerator for about 30 minutes.
What to Use Instead
- Butter – For a dairy-free version, use a plant-based butter substitute.
- Granulated sugar – Coconut sugar can be used for a healthier alternative.
- Coconut – If you prefer, you can use unsweetened shredded coconut and add your own sweetener to taste.
- Chocolate – Use dairy-free chocolate chips if you’re avoiding dairy.
Author’s Commentary
The delightful blend of flavors in Samoas cookies makes them a favorite of mine! I love how customizable this recipe can be, allowing you to swap out ingredients based on your preferences or dietary needs. The satisfaction of biting into a homemade Samoas cookie, fresh from the oven, is unbeatable. Plus, your family and friends will be so impressed when you share these with them!
Keep It Fresh: Storage Guide
To store your Samoas cookies, keep them in an airtight container at room temperature for up to one week. If you want to keep them longer, you can freeze them for up to three months. Just make sure to separate layers with parchment paper to prevent sticking. When you’re ready to enjoy them, simply let them thaw at room temperature!
Reader Questions
Can I use a different type of chocolate?
Absolutely! You can use milk chocolate, dark chocolate, or even white chocolate, depending on your personal preference.
What if I don’t have unsalted butter?
You can use salted butter, but you may want to reduce the added salt in the recipe to maintain a balanced flavor.
Can I make these cookies vegan?
Yes! Use a plant-based butter substitute and dairy-free chocolate to create a vegan version of these delicious cookies.
How do I know when the cookies are done baking?
The edges should be lightly golden brown, and the cookies will appear set. They will continue to firm up as they cool on the baking sheet.
Ready, Set, Cook
With this Samoas Cookies or Caramel deLites recipe, you’re well on your way to creating a beloved treat that will have everyone asking for seconds. The combination of buttery cookies, gooey caramel, crunchy coconut, and rich chocolate is simply irresistible. So gather your ingredients, roll up your sleeves, and let’s bake some cookies! You won’t regret it!

Samoas Cookies or Caramel deLites Recipe
Ingredients
Equipment
Method
- Cream together the unsalted butter and granulated sugar until light and fluffy, about 3-4 minutes.
- In a separate bowl, whisk together the all-purpose flour, baking powder, and salt. Gradually add to the butter and sugar mixture, mixing until just combined.
- Add milk and vanilla extract, mixing until the dough comes together. If too crumbly, add more milk, one teaspoon at a time.
- Preheat oven to 350°F (175°C). Line baking sheets with parchment paper. Scoop dough using a tablespoon, roll into balls, flatten slightly, and make a hole in the center.
- Bake for about 10-12 minutes, or until edges are lightly golden. Cool on the baking sheet for 5 minutes before transferring to a wire rack.
- Toast shredded coconut on a baking sheet at 350°F (175°C) for 5-7 minutes, stirring halfway through.
- In a small saucepan over low heat, combine caramel sauce and 4 tablespoons of milk. Stir until smooth and heated through.
- Spread a layer of caramel on each cookie, sprinkle with toasted coconut, gently pressing down to adhere.
- Melt chocolate using a double boiler or microwave until smooth, stirring regularly.
- Dip the bottom of each cookie in melted chocolate, then drizzle more chocolate over the tops.
- Allow chocolate to set completely before serving, or refrigerate for about 30 minutes to speed up the process.
Notes
- Store cookies in an airtight container at room temperature for up to one week.
- For longer storage, freeze cookies for up to three months.
- Separate layers with parchment paper to prevent sticking when freezing.