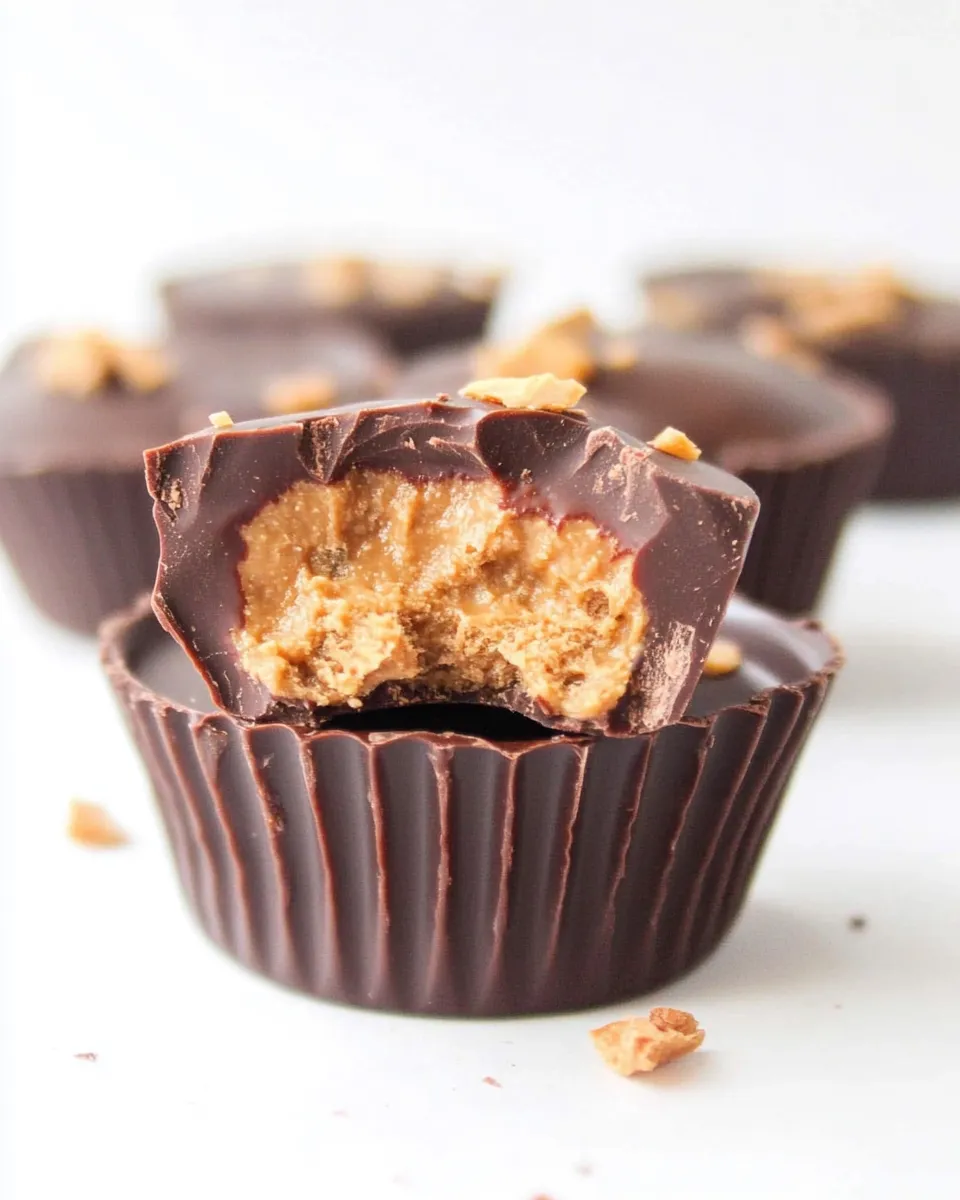
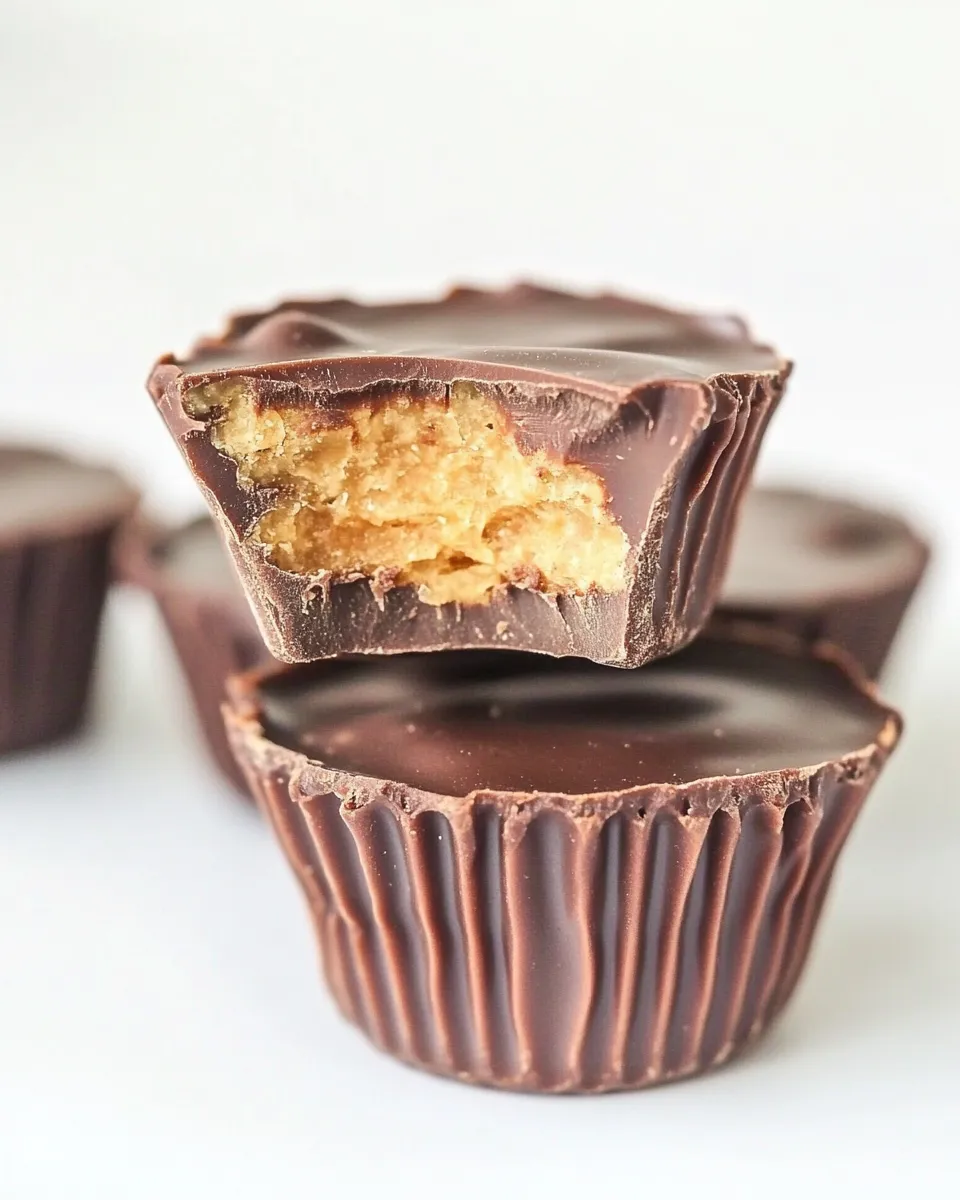
Special K-Bar Chocolate Cups
If you’re on the lookout for a delicious and satisfying treat, look no further than these Special K-Bar Chocolate Cups. They combine the delightful crunch of corn flakes with the irresistible richness of chocolate and peanut butter, making them a perfect snack or dessert. Whether you’re hosting a gathering or just looking to satisfy your sweet tooth, these chocolate cups are simple to make and even easier to enjoy.
What Makes This Recipe Special
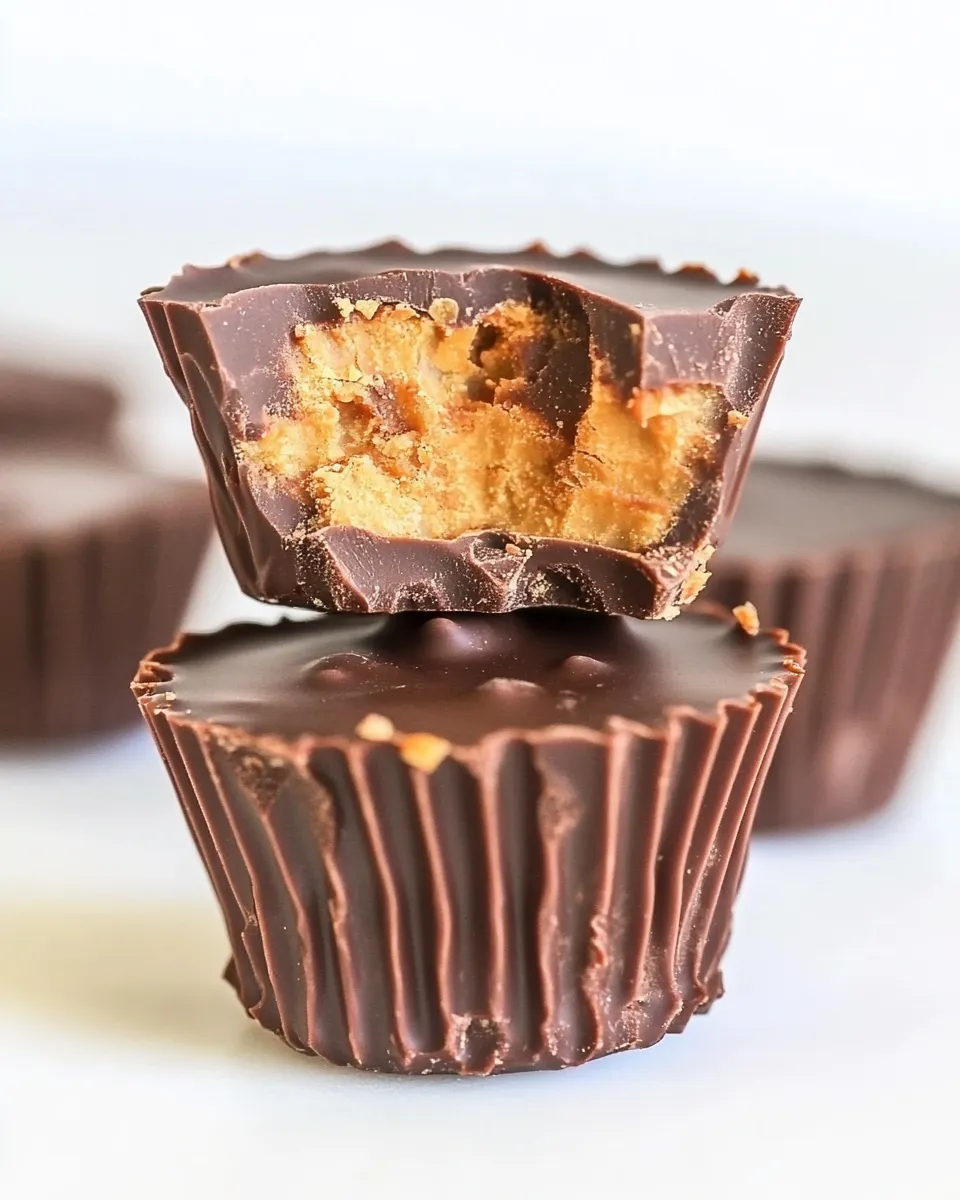
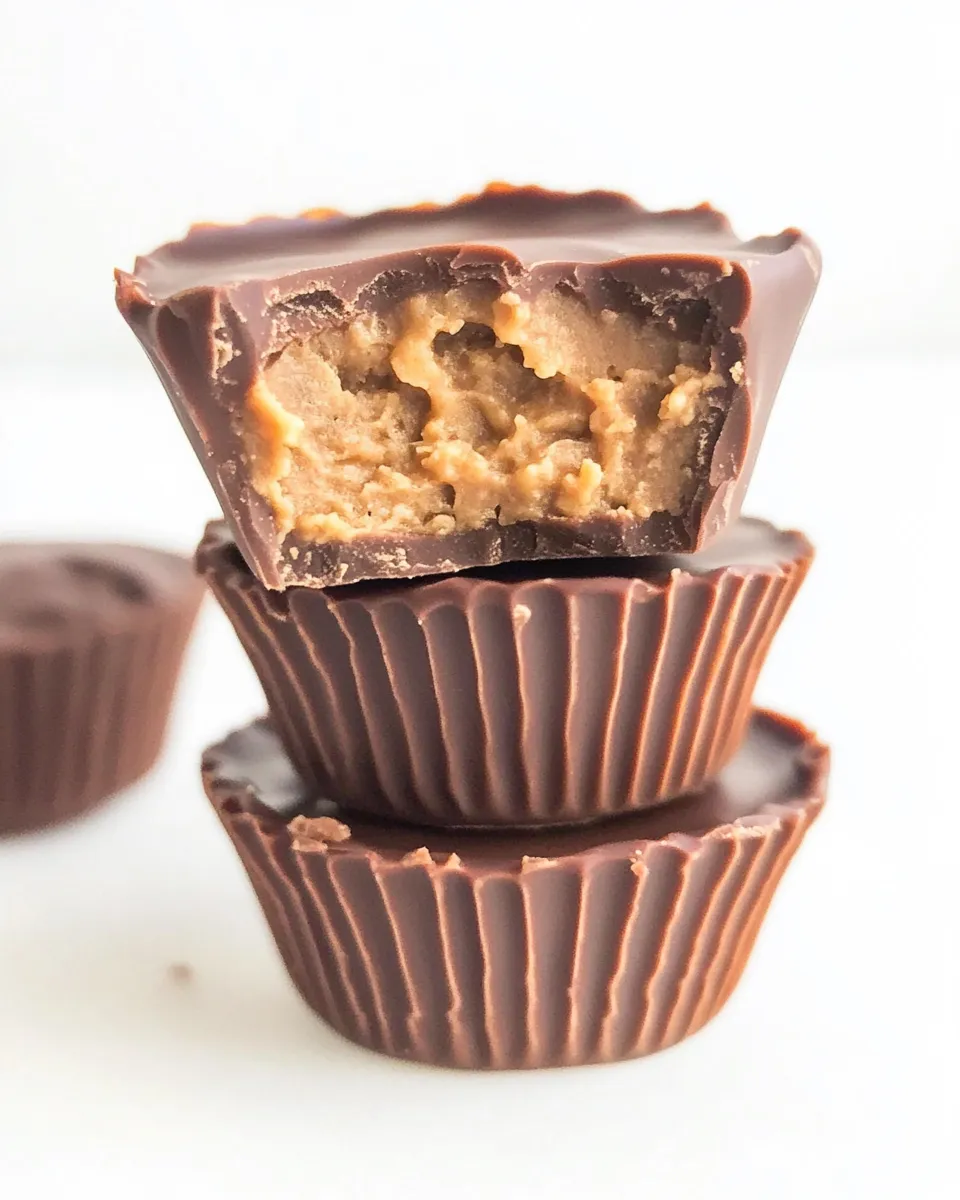
The beauty of Special K-Bar Chocolate Cups lies in their texture and flavor profile. The crispy corn flakes provide a satisfying crunch, while the creamy peanut butter adds richness and depth. Coating everything in semi-sweet chocolate not only enhances the flavor but also creates a beautiful finish. Plus, they are incredibly versatile and can be enjoyed by everyone, regardless of dietary restrictions when you opt for gluten-free corn flakes.
What You’ll Gather
- 2 1/4 cups corn flakes (gluten-free if desired)
- 1/2 cup Karo syrup
- 1/2 cup peanut butter (avoid oily varieties)
- 1/4 cup sugar
- 3 cups semi-sweet chocolate chips (divided)
Before You Start: Equipment
- Mixing bowl: For combining your ingredients.
- Double boiler or microwave-safe bowl: For melting chocolate.
- Silicone muffin cups or cupcake liners: To shape your chocolate cups.
- Spoon or spatula: For mixing and scooping.
Special K-Bar Chocolate Cups: How It’s Done
Step 1: Prepare Your Ingredients
Start by gathering all your ingredients on the counter. This ensures you have everything you need and makes the process smoother. If you’re using gluten-free corn flakes, ensure they are verified gluten-free.
Step 2: Combine Syrup, Peanut Butter, and Sugar
In a medium mixing bowl, combine the Karo syrup, peanut butter, and sugar. Stir these ingredients together until they are well mixed and smooth. This mixture will serve as the binding agent for your corn flakes.
Step 3: Incorporate the Corn Flakes
Gently fold the corn flakes into the peanut butter mixture. Be careful not to crush the flakes; you want to keep that delightful crunch. Ensure that all the flakes are evenly coated with the mixture.
Step 4: Melt the Chocolate
In a double boiler or microwave-safe bowl, melt 2 cups of semi-sweet chocolate chips. If using the microwave, heat in 30-second intervals, stirring in between until smooth.
Step 5: Form the Chocolate Cups
Line your muffin tin with silicone muffin cups or cupcake liners. Spoon a small amount of melted chocolate into each cup, coating the bottom and sides. This will create a shell for your treats.
Step 6: Add the Corn Flake Mixture
Take the corn flake mixture and press it gently into the chocolate-coated cups, filling them about three-quarters full.
Step 7: Seal with More Chocolate
Drizzle the remaining melted chocolate over the filled cups, ensuring they are completely sealed. This will create a delicious top layer that brings everything together.
Step 8: Chill to Set
Place the muffin tin in the refrigerator for about 30 minutes or until the chocolate is firm. Once set, gently remove the cups from the liners.
Fresh Takes Through the Year
- Seasonal Flavors: Experiment with adding crushed peppermint candies for a festive touch during the holidays.
- Nut Variations: Substitute almond butter or sunflower seed butter for a different nutty flavor.
- Mix-Ins: Add dried fruits or mini marshmallows for added texture and flavor.
- Chocolate Variations: Use dark chocolate or white chocolate for a twist on the classic flavor.
Chef’s Rationale
Creating Special K-Bar Chocolate Cups is not just about satisfying a sweet tooth; it’s also about the joy of baking and sharing. This recipe is easy to follow, making it perfect for novice bakers or those looking to whip up a quick snack. The combination of textures and flavors ensures that every bite is a delightful experience. Plus, the ability to customize these cups means you can cater to any taste preference, making them a versatile treat for any occasion.
Make-Ahead & Storage
These Special K-Bar Chocolate Cups can be made ahead of time and stored in an airtight container in the refrigerator for up to a week. They are perfect for meal prep or as a quick snack on busy days. If you want to extend their shelf life, you can also freeze them. Just make sure to separate layers with parchment paper to prevent sticking.
Popular Questions
Can I use different types of chocolate?
Absolutely! Feel free to experiment with milk chocolate, dark chocolate, or even white chocolate. Each will provide a unique flavor profile to your Special K-Bar Chocolate Cups.
Is there a substitute for Karo syrup?
If you prefer not to use Karo syrup, you can substitute it with honey or agave syrup for a different sweetness and flavor.
Can I make these vegan?
Yes! Use a plant-based peanut butter and substitute the chocolate chips with dairy-free chocolate chips. Make sure all your ingredients are vegan-friendly.
How can I make these Special K-Bar Chocolate Cups healthier?
To create a healthier version, consider using natural sweeteners like maple syrup or coconut sugar, and add in some nuts or seeds for extra nutrition.
Save & Share
If you enjoyed making these Special K-Bar Chocolate Cups, don’t forget to share your creation with friends and family! Spread the joy by sharing this recipe on social media, or even better, whip up a batch and treat your loved ones.
These Special K-Bar Chocolate Cups are not only a treat for the taste buds but also a delightful way to show you care. Happy baking!
Special K-Bar Chocolate Cups
Ingredients
Equipment
Method
- Start by gathering all your ingredients on the counter. This ensures you have everything you need and makes the process smoother.
- In a medium mixing bowl, combine the Karo syrup, peanut butter, and sugar. Stir these ingredients together until they are well mixed and smooth.
- Gently fold the corn flakes into the peanut butter mixture. Be careful not to crush the flakes; you want to keep that delightful crunch.
- In a double boiler or microwave-safe bowl, melt 2 cups of semi-sweet chocolate chips. If using the microwave, heat in 30-second intervals, stirring in between until smooth.
- Line your muffin tin with silicone muffin cups or cupcake liners. Spoon a small amount of melted chocolate into each cup, coating the bottom and sides.
- Take the corn flake mixture and press it gently into the chocolate-coated cups, filling them about three-quarters full.
- Drizzle the remaining melted chocolate over the filled cups, ensuring they are completely sealed.
- Place the muffin tin in the refrigerator for about 30 minutes or until the chocolate is firm. Once set, gently remove the cups from the liners.
Notes
- For a festive twist, add crushed peppermint candies during the holidays.
- Try almond butter or sunflower seed butter for different flavors.
- Mix in dried fruits or mini marshmallows for extra texture.