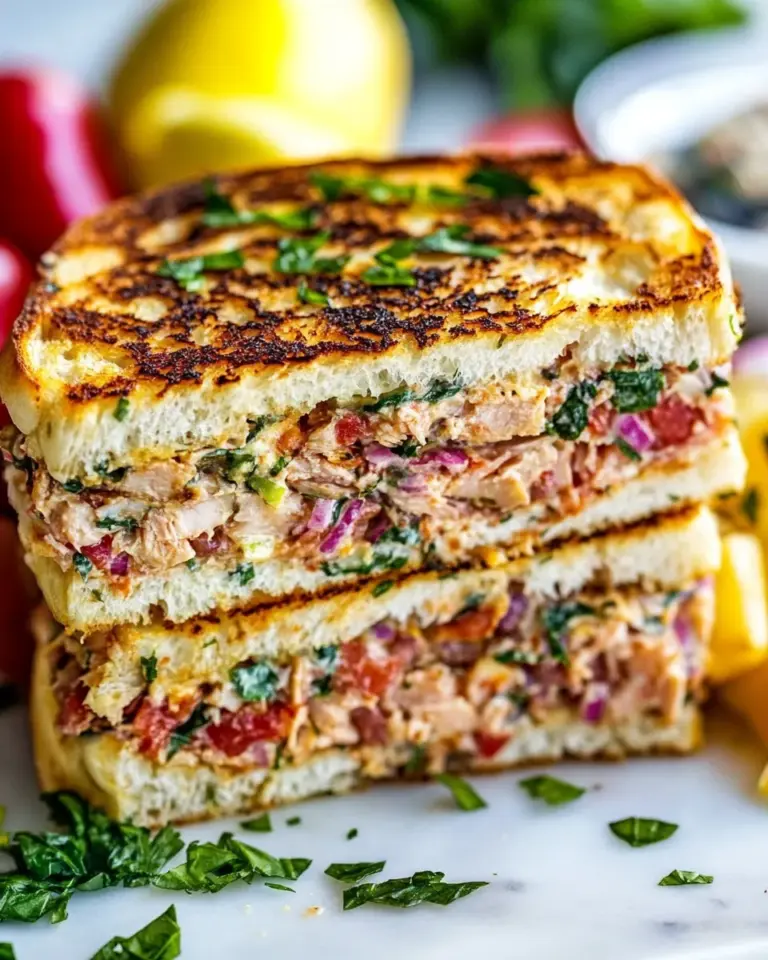
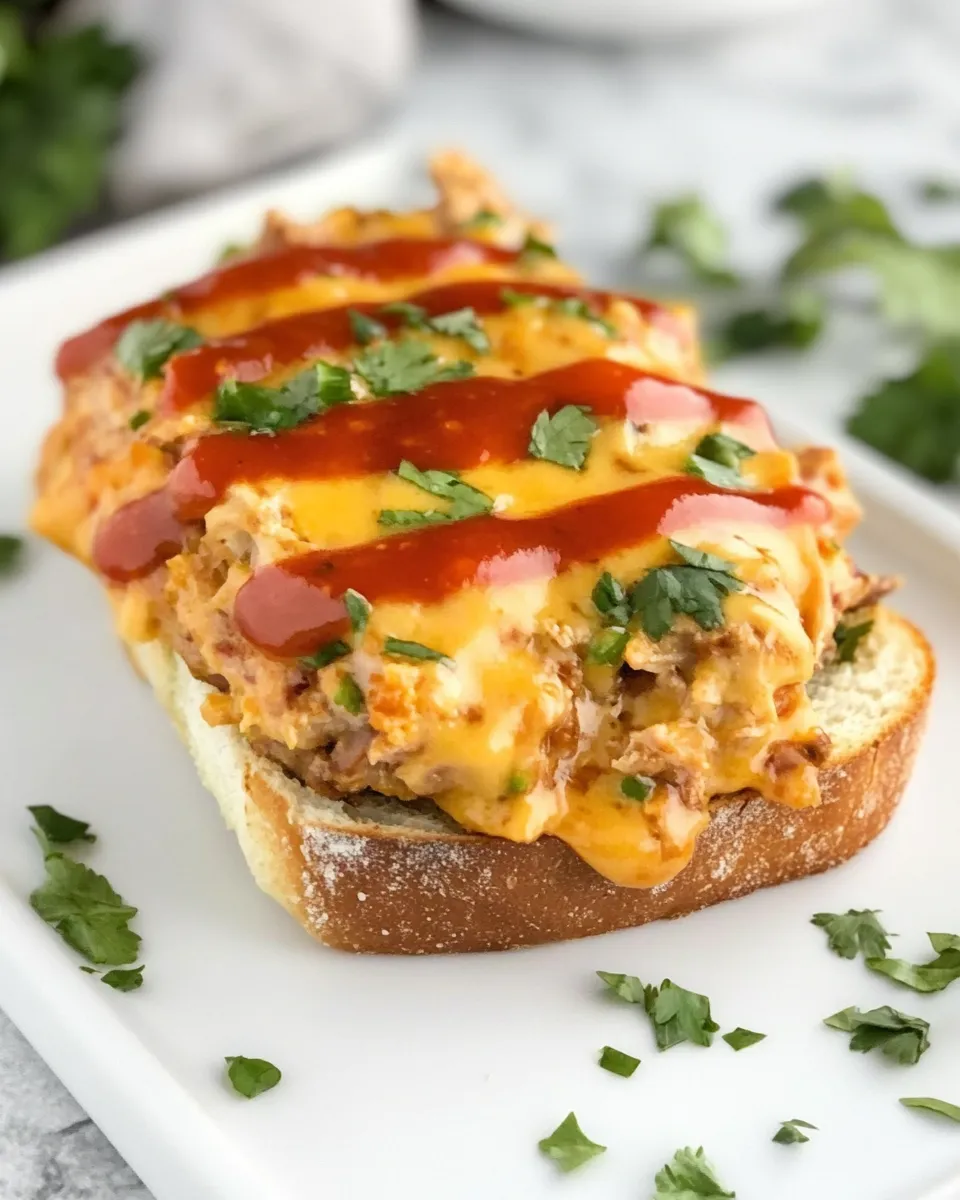
Sriracha Tuna Melt
If you’re on the hunt for a quick, satisfying meal that packs a punch of flavor, look no further than the Sriracha Tuna Melt. This delightful dish combines the classic comfort of a tuna melt with a spicy twist, thanks to the addition of Sriracha. Perfect for lunch, dinner, or even a late-night snack, this recipe is sure to become a favorite in your household. Whether enjoyed as a standalone meal or paired with a crisp side salad, the Sriracha Tuna Melt is both delicious and easy to prepare. Let’s dive into the details of making this scrumptious dish!
Why It Works Every Time
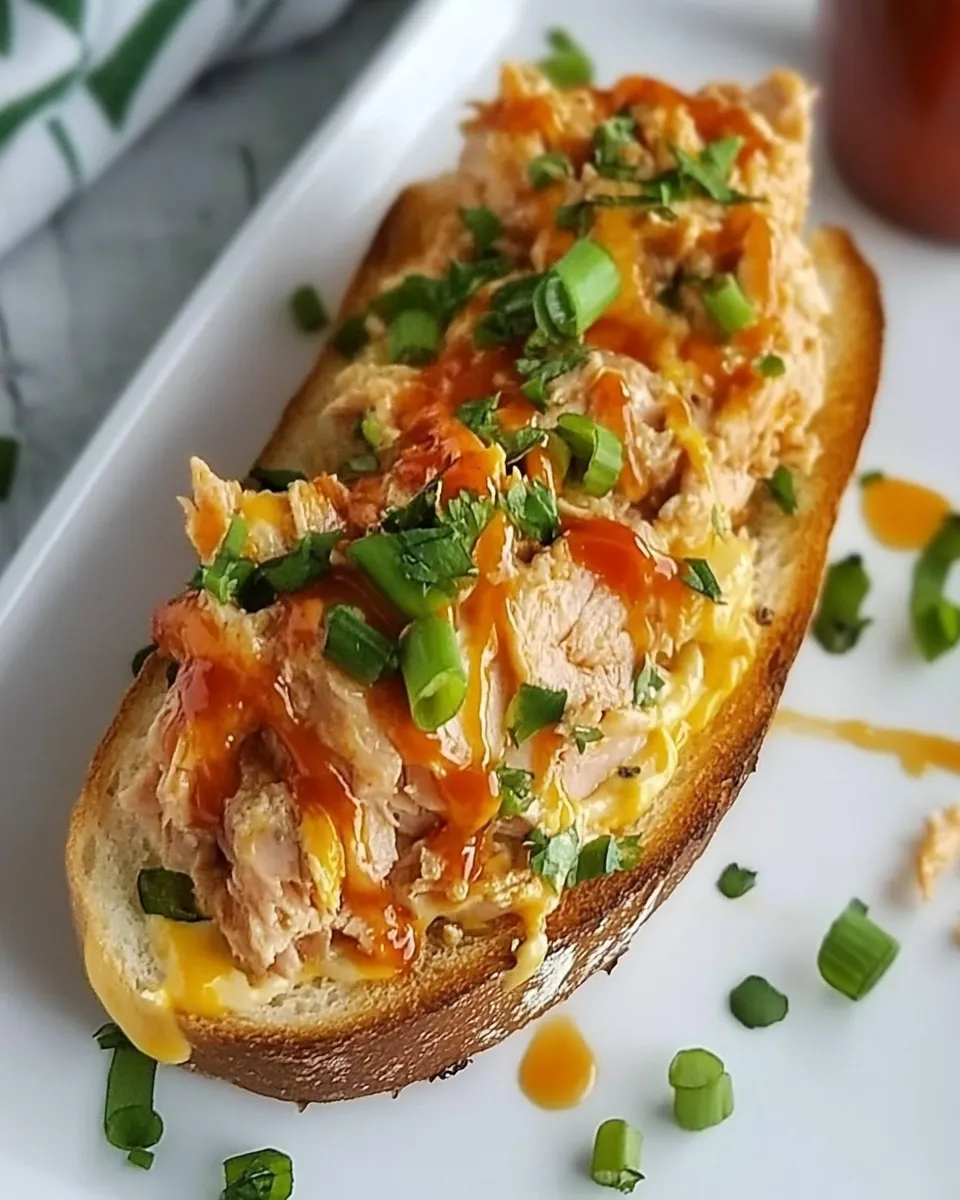
The Sriracha Tuna Melt is a delightful balance of creamy and spicy flavors, perfectly complemented by the melty cheese and crispy bread. The combination of tuna, mayonnaise, and Sriracha creates a rich, savory filling that never disappoints. Using high-quality canned tuna, like Chicken of the Sea Solid White Tuna, ensures a flaky texture that holds up beautifully under the heat. Plus, the toasty bread adds a satisfying crunch that contrasts perfectly with the creamy goodness inside. You can customize the heat level with as much or as little Sriracha as you desire, making this dish versatile for all palates.
Ingredient Notes
- 4 slices bread: Choose your favorite type, such as sourdough, whole grain, or gluten-free.
- 2 tablespoons softened butter: This is for spreading on the bread before toasting, ensuring a golden, crispy finish.
- 15-ounce can Chicken of the Sea Solid White Tuna: Drained well, this tuna provides a rich, meaty texture.
- 3 tablespoons mayonnaise: Adds creaminess and helps bind the ingredients together.
- 1 tablespoon Sriracha: For that spicy kick! Adjust to taste.
- 2 teaspoons pickle relish: Brings a hint of sweetness and tang to the filling.
- ½ teaspoon black pepper: Freshly ground for the best flavor.
- ½ teaspoon kosher salt: Optional, depending on your taste preference.
- 1 cup shredded sharp or medium cheddar: The star of the show that melts beautifully!
- Chopped fresh cilantro: Optional garnish for a fresh touch.
Essential Tools for Success
- Non-stick skillet: Ideal for creating a perfectly crispy melt without sticking.
- Spatula: For flipping the sandwiches with ease.
- Mixing bowl: To combine all the filling ingredients smoothly.
- Can opener: To easily open your can of tuna.
From Start to Finish: Sriracha Tuna Melt
Step 1: Prepare the Filling
In a mixing bowl, combine the drained tuna, mayonnaise, Sriracha, pickle relish, black pepper, and kosher salt (if using). Mix well until all the ingredients are evenly incorporated. Taste and adjust the seasoning or Sriracha if needed.
Step 2: Assemble the Sandwiches
Spread softened butter on one side of each slice of bread. On the unbuttered side of two slices, generously pile on the tuna mixture. Top each with a hefty sprinkle of shredded cheddar cheese. Place the remaining slices of bread on top, buttered side facing out.
Step 3: Toast in the Skillet
Heat a non-stick skillet over medium heat. Once hot, carefully place the sandwiches in the skillet. Cook for about 3-4 minutes until the bottom is golden brown and crisp.
Step 4: Flip and Melt
Using a spatula, flip the sandwiches over and cook for an additional 3-4 minutes until the second side is also golden brown and the cheese is melted. If needed, cover the skillet with a lid to help the cheese melt thoroughly.
Step 5: Serve and Enjoy
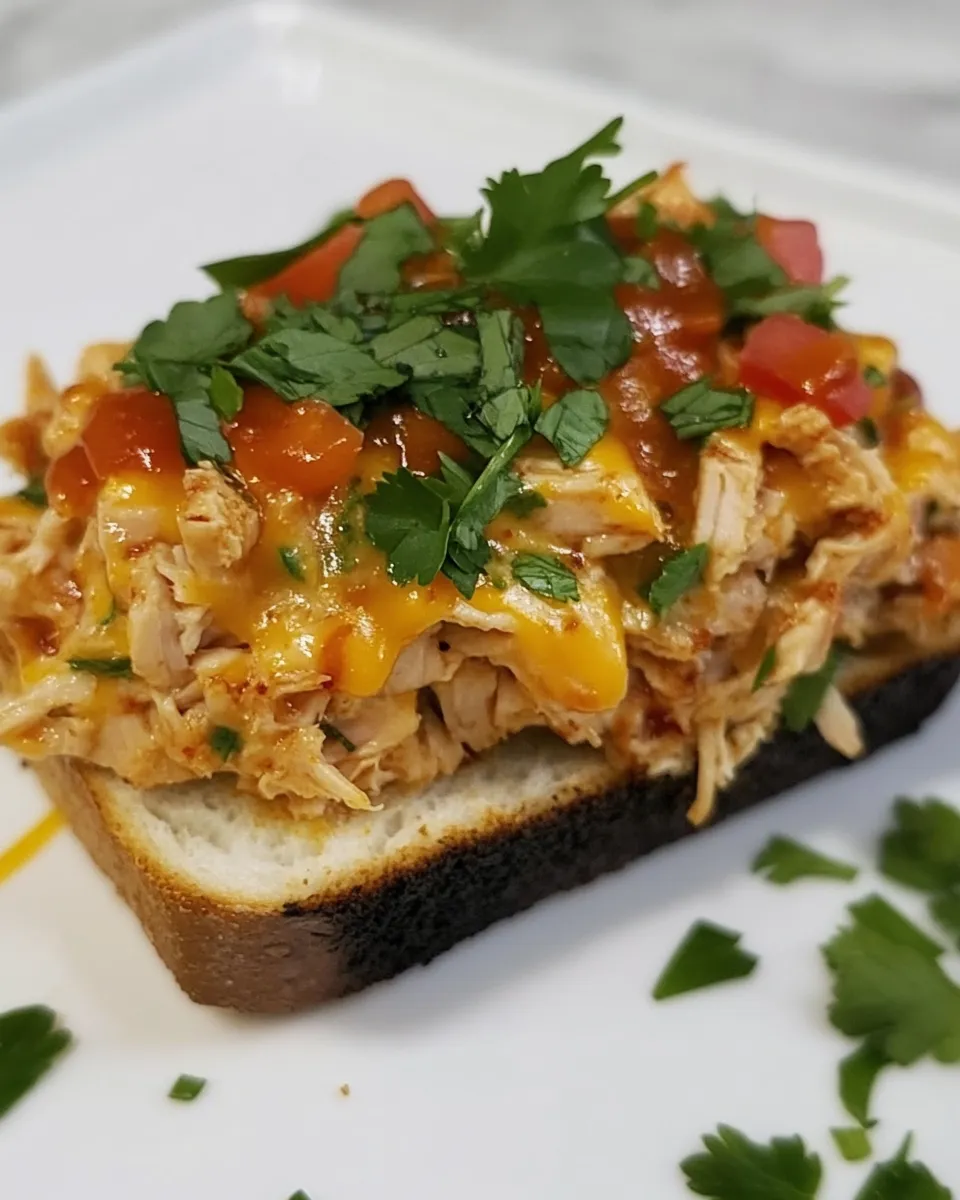
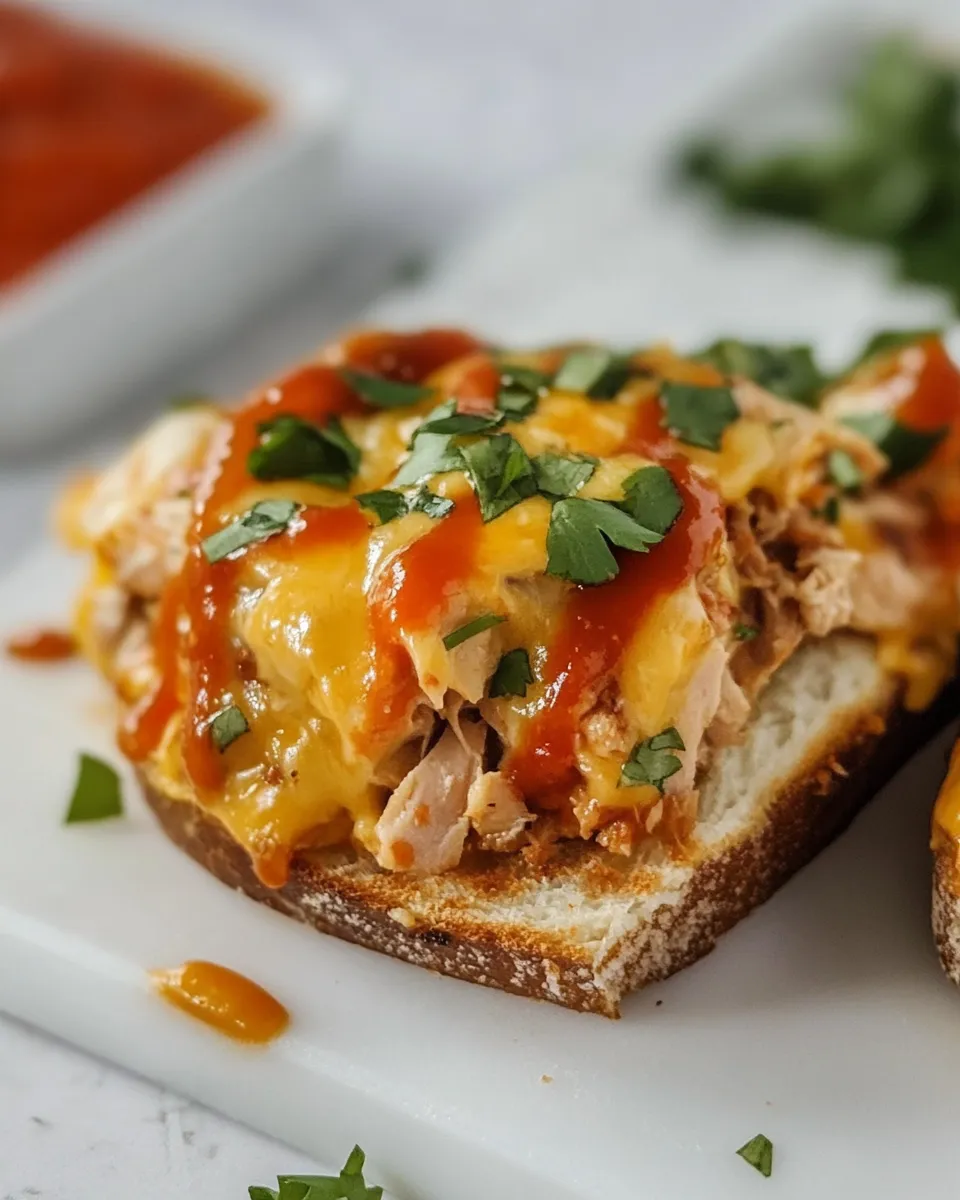
Once both sides are perfectly toasted and the cheese is gooey, remove the sandwiches from the skillet. Drizzle a little extra Sriracha on top if you like, sprinkle with chopped cilantro for a fresh touch, slice in half, and serve immediately. Enjoy the warm, melty goodness!
Ingredient Swaps & Substitutions
- Bread: Use gluten-free bread or wraps if you prefer.
- Mayonnaise: Substitute with Greek yogurt for a lighter option.
- Sriracha: Try a different hot sauce or chili paste if you want to explore other flavors.
- Cheese: Swap cheddar for provolone, mozzarella, or pepper jack for a different taste experience.
Frequent Missteps to Avoid
- Don’t skip draining the tuna well; excess liquid can make the filling soggy.
- Be careful not to overcook the sandwiches; they should be golden brown, not burnt.
- Adjust the Sriracha gradually; it’s easier to add more spice than to take it away!
- Don’t rush the melting process; if the cheese isn’t melting, cover the skillet briefly.
Leftovers & Meal Prep
The Sriracha Tuna Melt is best enjoyed fresh, but you can certainly prepare the filling in advance. Store it in an airtight container in the refrigerator for up to 3 days. When you’re ready to enjoy, simply assemble the sandwiches and toast them in the skillet. You can also toast extra slices of bread and keep them on hand for a quick meal any time!
Popular Questions
Can I use fresh tuna instead of canned tuna?
Absolutely! Fresh tuna can be cooked and flaked, making for a delicious alternative. Just make sure to season it well and cook it thoroughly.
How spicy is the Sriracha Tuna Melt?
The spice level can be adjusted by varying the amount of Sriracha you use. For those sensitive to heat, start with less and add more to taste.
Can I make this recipe vegetarian?
Yes! You can substitute the tuna with chickpeas or a plant-based tuna alternative for a vegetarian version that still satisfies.
What can I serve with a Sriracha Tuna Melt?
Pair it with a side salad, sweet potato fries, or a bowl of soup for a complete meal. Pickles also make a great crunchy side!
Bring It to the Table
The Sriracha Tuna Melt is not just a meal; it’s an experience! The combination of flavors and textures is sure to impress anyone at your table. Whether you’re enjoying it solo or sharing it with friends, this dish invites conversation and satisfaction in every bite. So gather your ingredients, fire up your skillet, and get ready to indulge in a melt that will have everyone coming back for seconds. Happy cooking!
Sriracha Tuna Melt
Ingredients
Equipment
Method
- In a mixing bowl, combine the drained tuna, mayonnaise, Sriracha, pickle relish, black pepper, and kosher salt (if using). Mix well until all the ingredients are evenly incorporated.
- Spread softened butter on one side of each slice of bread. On the unbuttered side of two slices, generously pile on the tuna mixture. Top each with a hefty sprinkle of shredded cheddar cheese. Place the remaining slices of bread on top, buttered side facing out.
- Heat a non-stick skillet over medium heat. Once hot, carefully place the sandwiches in the skillet. Cook for about 3-4 minutes until the bottom is golden brown and crisp.
- Using a spatula, flip the sandwiches over and cook for an additional 3-4 minutes until the second side is also golden brown and the cheese is melted.
- Once both sides are perfectly toasted and the cheese is gooey, remove the sandwiches from the skillet. Drizzle a little extra Sriracha on top if you like, sprinkle with chopped cilantro, slice in half, and serve immediately.
Notes
- For a lighter option, substitute mayonnaise with Greek yogurt.
- Use gluten-free bread or wraps if desired.
- Store filling in an airtight container in the refrigerator for up to 3 days.