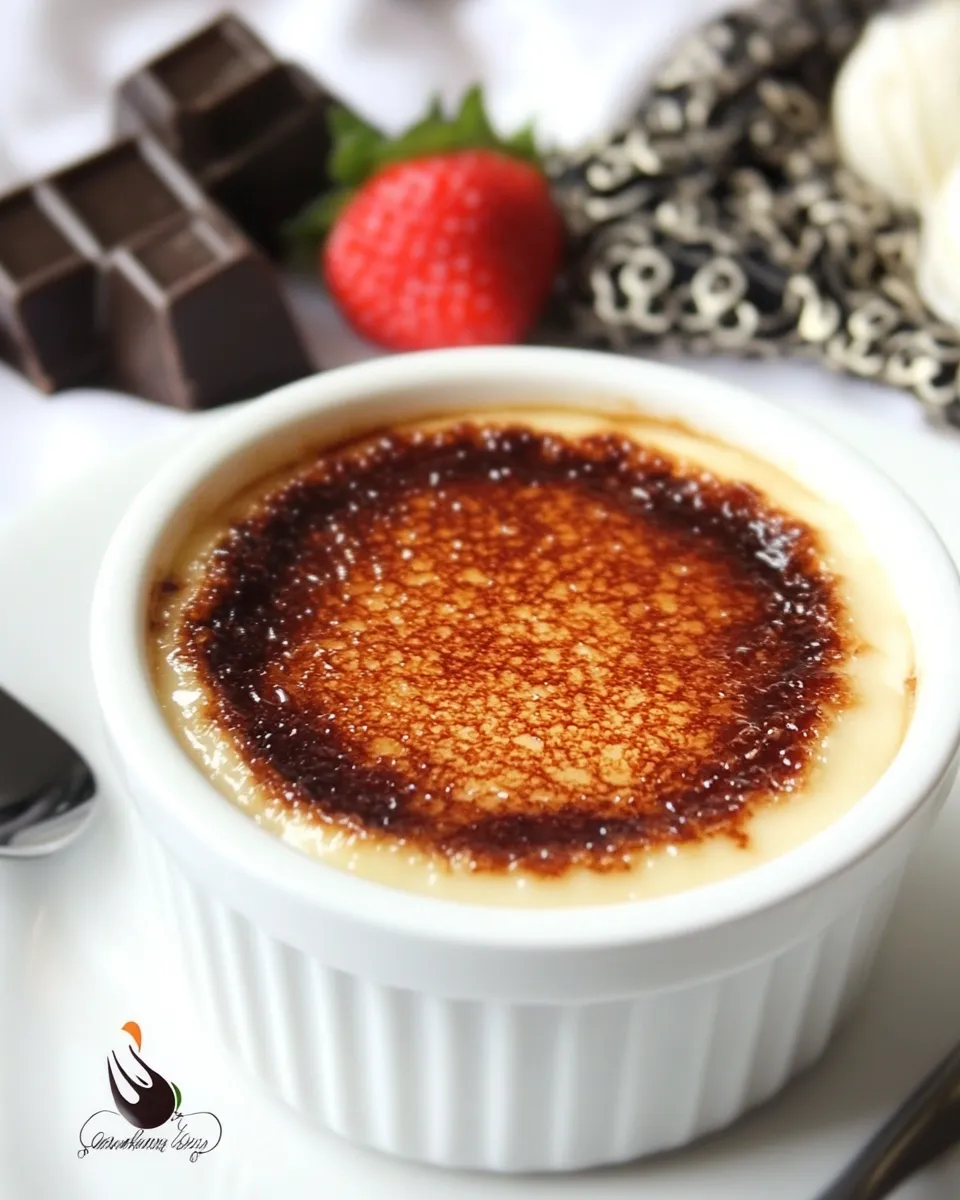
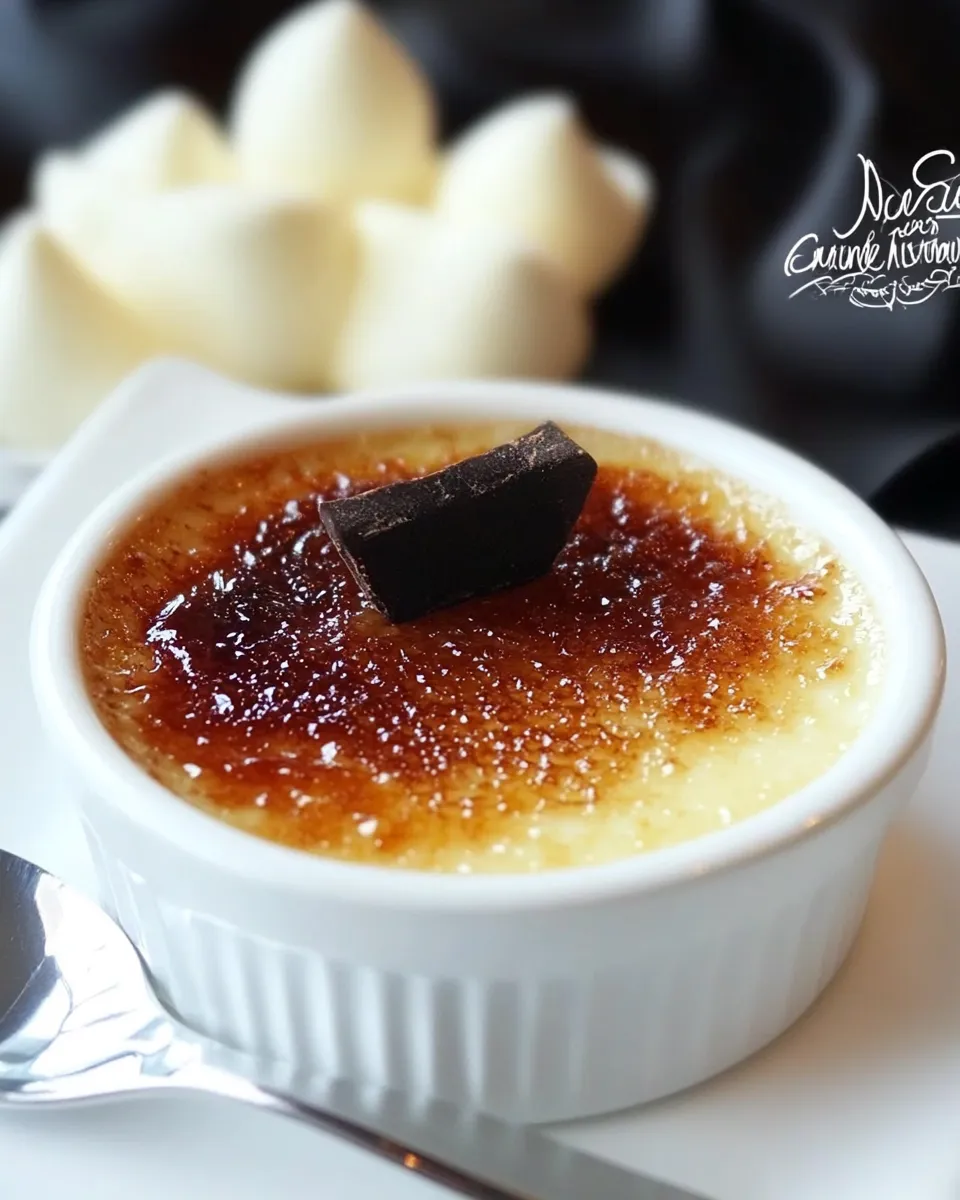
White Chocolate Crme Brulee
Crème brûlée is a classic French dessert that never fails to impress. Its silky-smooth custard base combined with a crisp caramelized sugar topping creates a delightful contrast of textures that captivates the palate. Today, we’re elevating this iconic treat with the rich and creamy flavor of white chocolate. The result? A decadent dessert that feels luxurious yet is surprisingly simple to prepare. Let’s dive into the world of White Chocolate Crème Brulee and see why it has become a favorite among dessert lovers everywhere.
Why Cooks Rave About It
This White Chocolate Crème Brulee is a showstopper for any gathering or special occasion. Cooks rave about its creamy texture and the delicate sweetness of white chocolate, which adds depth without overpowering the classic vanilla notes. The beauty of this dessert lies not only in its taste but also in the presentation. A perfectly caramelized sugar crust, crackled open with a spoon, reveals a luscious custard beneath. It’s a delightful experience that brings joy with each bite. Plus, it’s a versatile dessert that can be customized with various flavors, making it a staple for both novice and experienced cooks.
What We’re Using
- 5 large egg yolks: The base of our custard, providing richness and a velvety texture.
- 1/2 cup sugar, divided: Sweetness for the custard and additional sugar for caramelizing the top.
- 2 cups whipping cream: The creamy foundation that makes this dessert so indulgent.
- 3 ounces white chocolate, imported finely chopped: For that exquisite and creamy flavor that defines our crème brûlée.
- 1/4 teaspoon vanilla extract: A hint of vanilla enhances the overall flavor, making it even more aromatic.
- 2 tablespoons sugar: To create that signature caramelized topping.
Prep & Cook Tools
- Ramekins: Individual serving dishes for the crème brûlée; choose a size that holds about 6 ounces.
- Mixing bowl: For combining the egg yolks and sugar.
- Whisk: To incorporate the ingredients smoothly without lumps.
- Double boiler or heatproof bowl: To melt the white chocolate gently.
- Kitchen torch: For caramelizing the sugar on top; alternatively, you can use an oven broiler.
- Strainer: To ensure a smooth custard by removing any egg bits.
Stepwise Method: White Chocolate Crème Brulee
Step 1: Preheat the Oven
Start by preheating your oven to 325°F (160°C). This temperature will ensure that the custards cook gently and evenly.
Step 2: Melt the White Chocolate
In a double boiler or heatproof bowl set over simmering water, melt the finely chopped white chocolate. Stir occasionally until smooth. Remove from heat and allow it to cool slightly.
Step 3: Prepare the Custard Base
In a mixing bowl, whisk together the 5 large egg yolks and 1/4 cup of sugar until the mixture is pale and slightly thickened. This will help create a rich custard texture.
Step 4: Heat the Cream
In a saucepan, heat the 2 cups of whipping cream over medium heat until just simmering. Remove from heat and gradually pour the hot cream into the egg mixture while whisking continuously. This technique prevents the eggs from curdling.
Step 5: Combine with White Chocolate
Add the melted white chocolate and 1/4 teaspoon of vanilla extract to the custard mixture. Whisk until fully combined and smooth.
Step 6: Strain the Mixture
To ensure a silky custard, pour the mixture through a fine-mesh strainer into another bowl, discarding any solid bits.
Step 7: Fill the Ramekins
Divide the custard evenly among the ramekins, filling them to about three-quarters full.
Step 8: Bake in a Water Bath
Place the ramekins in a large baking dish and carefully pour hot water into the dish around the ramekins until it reaches halfway up the sides. This water bath ensures even cooking and prevents the custard from curdling.
Step 9: Bake
Bake in the preheated oven for 30 to 35 minutes, or until the custards are set around the edges but still slightly jiggly in the center. They will firm up as they cool.
Step 10: Cool and Chill
Remove the ramekins from the water bath and allow them to cool to room temperature. Once cooled, refrigerate for at least 2 hours, or overnight for best results.
Step 11: Caramelize the Sugar
When ready to serve, sprinkle 1 tablespoon of sugar evenly over each custard. Using a kitchen torch, carefully caramelize the sugar until it forms a golden crust. If you don’t have a torch, place the ramekins under the broiler for a few minutes, watching closely to avoid burning.
Step 12: Serve and Enjoy
Let the crème brûlée sit for a minute to allow the sugar crust to harden. Then, dig in with a spoon and enjoy the heavenly combination of creamy custard and crispy caramel.
Year-Round Variations

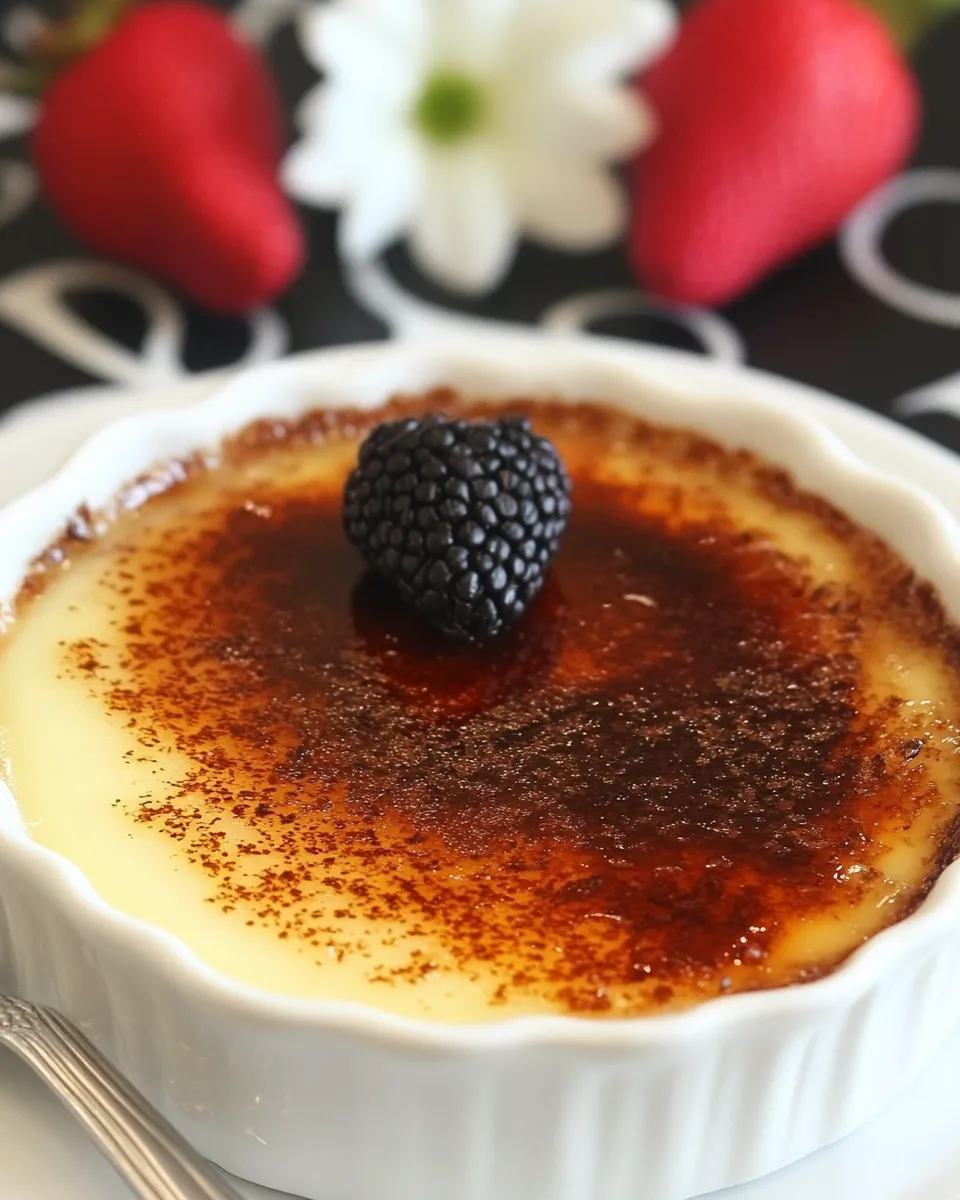
- Berry Delight: Add a layer of fresh berries on top of the custard before caramelizing the sugar for a fruity twist.
- Citrus Zest: Incorporate some lemon or orange zest into the custard for a refreshing citrus flavor.
- Mint Infusion: Infuse the cream with fresh mint leaves before combining with the egg yolks for a minty freshness.
- Nutty Crunch: Top with crushed nuts like pistachios or almonds for added texture and flavor.
Behind-the-Scenes Notes
This White Chocolate Crème Brulee is not only a feast for the taste buds but also a treat for the eyes. The delicate process of creating the caramelized sugar crust can be a fun experience, and with a little practice, you’ll master the technique in no time. Don’t be discouraged if your first attempt doesn’t turn out perfect; every kitchen experiment is a step toward culinary mastery. Remember to keep an eye on the sugar while caramelizing, as it can go from perfect to burnt in a matter of seconds.
Meal Prep & Storage Notes
These crème brûlées can be made ahead of time, making them perfect for entertaining. Store the uncaramelized custards in the refrigerator for up to 3 days. Just before serving, add the sugar topping and caramelize. If you have leftovers, they can be kept in the fridge for up to 2 days, but the sugar crust is best made fresh for optimal crunch.
Your Top Questions
Can I use milk instead of whipping cream?
While you can use milk, it will result in a lighter, less creamy texture. Whipping cream provides the richness that makes crème brûlée so indulgent.
What if I don’t have a kitchen torch?
You can use a broiler instead. Just place the ramekins under the broiler for a few minutes, keeping a close eye on them to prevent burning.
Can I make this dessert dairy-free?
Yes! Substitute the whipping cream with a dairy-free cream alternative, such as coconut cream or almond cream, and ensure that the white chocolate used is dairy-free.
How can I tell when the custard is done baking?
The custard is done when the edges are set, and the center still has a slight jiggle. It will firm up as it cools in the refrigerator.
Ready to Cook?
With its creamy custard and crispy top, this White Chocolate Crème Brulee is bound to become a beloved dessert in your repertoire. Perfect for any occasion, from intimate dinners to festive gatherings, this treat promises to leave a lasting impression. Gather your ingredients, follow the steps, and prepare to indulge in a delightful culinary experience. Enjoy every bite of this exquisite dessert!
White Chocolate Crme Brulee
Ingredients
Equipment
Method
- 1. Preheat the oven to 325°F (160°C).
- 2. Melt the white chocolate in a double boiler or heatproof bowl set over simmering water. Stir until smooth and let cool slightly.
- 3. In a mixing bowl, whisk together the egg yolks and 1/4 cup of sugar until pale and slightly thickened.
- 4. Heat the whipping cream in a saucepan over medium heat until just simmering. Gradually pour into the egg mixture while whisking continuously.
- 5. Add the melted white chocolate and vanilla extract to the custard mixture, whisking until combined.
- 6. Strain the mixture through a fine-mesh strainer into another bowl.
- 7. Divide the custard among the ramekins, filling them to about three-quarters full.
- 8. Place the ramekins in a large baking dish and pour hot water around them until it reaches halfway up the sides.
- 9. Bake for 30 to 35 minutes, until set around the edges but slightly jiggly in the center.
- 10. Cool to room temperature, then refrigerate for at least 2 hours or overnight.
- 11. Sprinkle sugar over each custard and caramelize with a kitchen torch or under the broiler.
- 12. Let sit for a minute before serving and enjoy!
Notes
- Chill the custards overnight for the best texture.
- Use fresh berries for a colorful topping before caramelizing.
- Try different flavored extracts for unique variations.