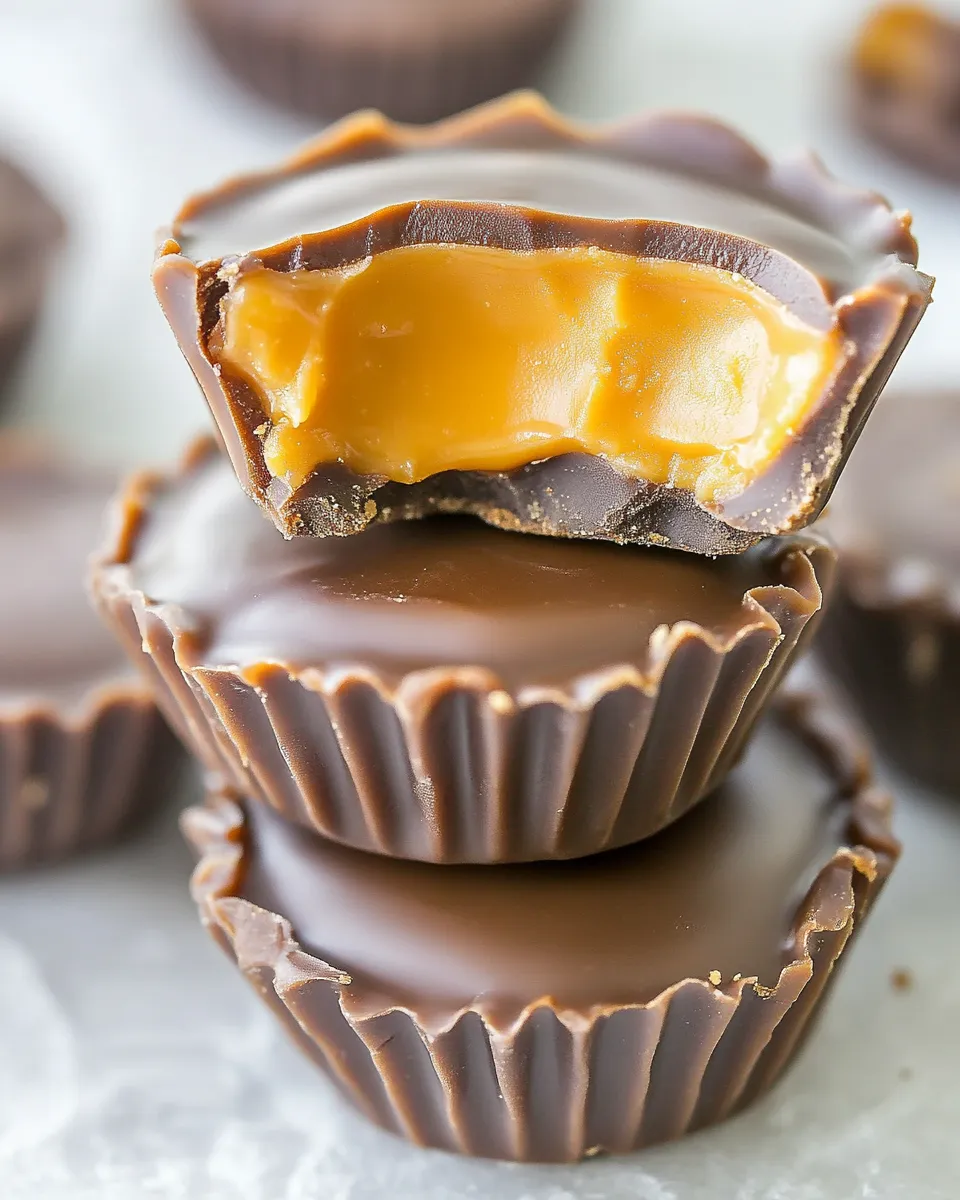
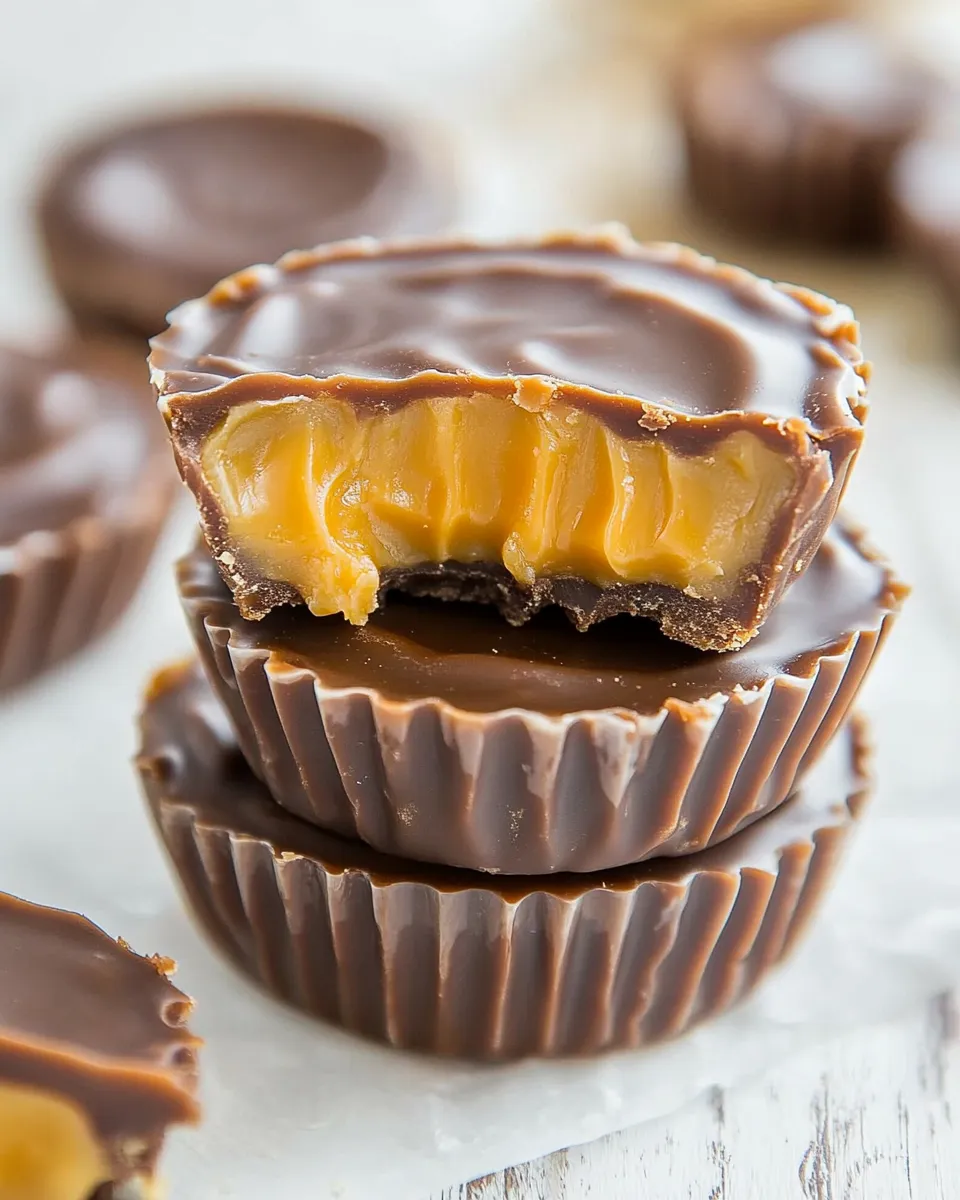
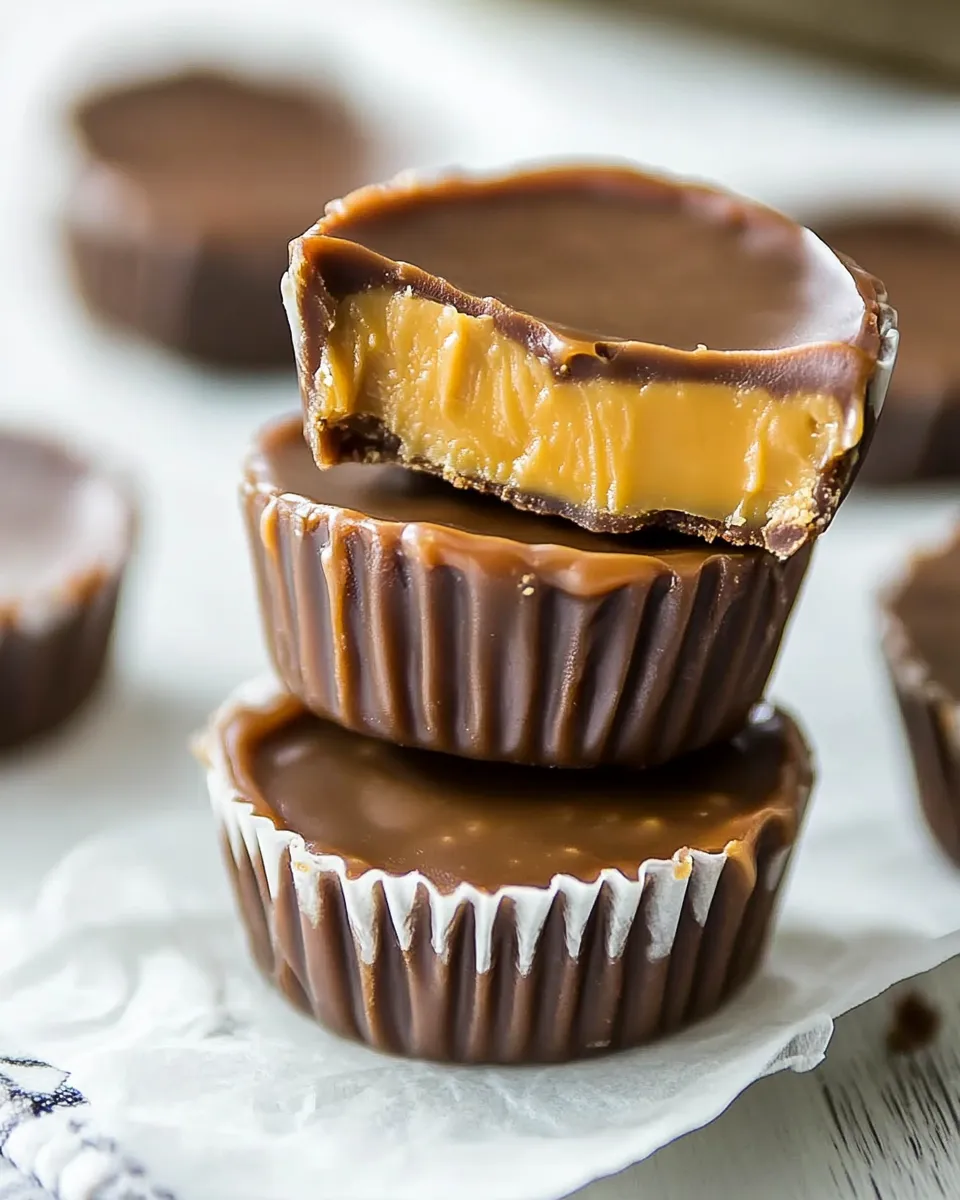
Caramel Peanut Butter Cups
If you are a fan of sweet and salty combinations, then you’re in for a real treat with these Caramel Peanut Butter Cups! Imagine biting into a rich chocolate shell that gives way to a creamy peanut butter center, all topped with a luscious layer of gooey caramel. These homemade delights are not only easy to whip up but also incredibly satisfying to eat. Perfect for sharing or keeping all to yourself, these treats will have everyone asking for seconds. Let’s dive into the deliciousness!
Why I Love This Recipe
There’s something so nostalgic about peanut butter cups. They remind me of childhood treats, but this version takes it to a whole new level. The combination of chocolate, peanut butter, and caramel creates a flavor explosion that is hard to resist. Plus, making them at home means you can control the ingredients and customize them to your liking. Whether you’re serving them at a party or enjoying them as a late-night snack, these Caramel Peanut Butter Cups are always a hit.
What You’ll Gather
- 25 caramels (about 7 ounces, unwrapped) – Choose a brand like Kraft for a smooth melt.
- 2 1/2 tablespoons heavy whipping cream – This helps to create a silky caramel sauce.
- 16 ounces chocolate – You can use baking chocolate or candy melts like Candiquik for a convenient option.
- 1/2 cup peanut butter – Creamy or crunchy will do, just avoid natural varieties.
- 2 tablespoons butter – Softened for easy mixing with the peanut butter.
- 1/2 cup powdered sugar – Adds sweetness and helps with the texture of the filling.
- 2 tablespoons brown sugar – Provides a deeper flavor to the peanut butter mixture.
Recommended Tools
- Microwave-safe bowl – For melting chocolate and caramels.
- Silicone muffin liners – They make removing the cups so much easier.
- Whisk – For mixing the peanut butter filling smoothly.
- Spoon or spatula – For scooping and spreading the mixtures.
- Refrigerator – To chill the cups and help them set properly.
Caramel Peanut Butter Cups: From Prep to Plate

Step 1: Prepare the Chocolate
Start by melting your chocolate. Place the chocolate in a microwave-safe bowl and heat it in 30-second intervals, stirring in between, until it’s completely melted and smooth. Be careful not to overheat it.
Step 2: Create the Chocolate Shells
Using a spoon, pour a small amount of melted chocolate into each silicone muffin liner. Use the back of the spoon to spread the chocolate up the sides, creating a shell. Make sure to leave a little chocolate for the top. Place the liners in the freezer for about 10-15 minutes to set.
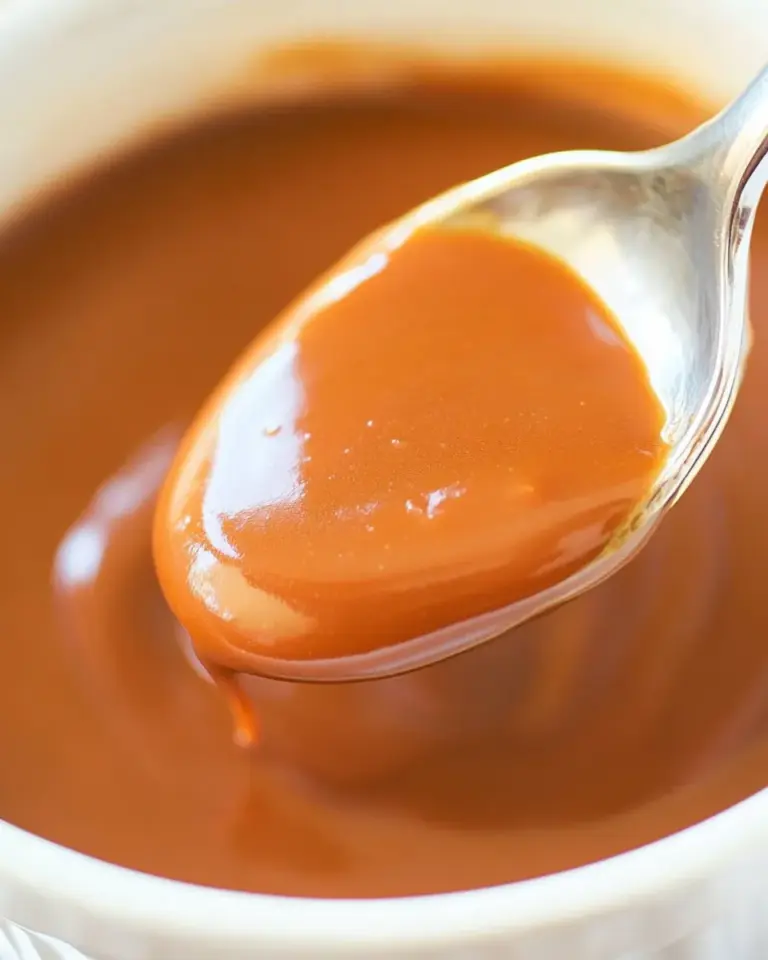
Step 3: Make the Caramel
In a separate microwave-safe bowl, combine the unwrapped caramels and heavy whipping cream. Heat in the microwave in 30-second intervals, stirring until the mixture is completely smooth. This is your luscious caramel layer.
Step 4: Prepare the Peanut Butter Filling
In a mixing bowl, combine the peanut butter, softened butter, powdered sugar, and brown sugar. Use a whisk to mix until everything is fully incorporated and smooth.
Step 5: Assemble the Cups
Once the chocolate shells have set, remove them from the freezer. Add a spoonful of the peanut butter mixture into each chocolate shell, smoothing it out with the back of the spoon. Next, drizzle a layer of your warm caramel over the peanut butter. Finish with a final layer of the remaining melted chocolate, sealing everything in.
Step 6: Chill and Set
Return the assembled cups to the freezer and let them chill for another 30 minutes to an hour until everything is set. This will ensure a perfect bite every time!
Step 7: Enjoy!
Once set, gently peel the silicone liners away from the cups. Serve them up on a plate or store them in an airtight container for later. Enjoy your homemade Caramel Peanut Butter Cups!
Fresh Takes Through the Year
- Holiday Spice – Add a sprinkle of cinnamon to the peanut butter mixture for a warm holiday flavor.
- Nutty Crunch – Mix in some crushed pretzels or toffee bits for an added crunch and flavor contrast.
- Minty Fresh – Incorporate a few drops of peppermint extract into the chocolate for a refreshing twist.
- Dark Chocolate Delight – Swap out milk chocolate for dark chocolate for a more sophisticated taste.
What Could Go Wrong
As with any recipe, there are a few things that could potentially go wrong when making Caramel Peanut Butter Cups:
- Chocolate Seizing – If you overheat the chocolate, it may seize up and become grainy. Always heat in small intervals.
- Caramel Hardening – If you let the caramel cool too much before pouring it over the peanut butter, it can harden and become difficult to spread.
- Peanut Butter Mixture Too Runny – Make sure to use regular peanut butter for the best consistency; natural peanut butter may not hold up well.
- Uneven Layers – Be careful to evenly distribute the layers of chocolate, peanut butter, and caramel for a balanced treat.
Save It for Later
If you find yourself with leftover Caramel Peanut Butter Cups (though I doubt you will), store them in an airtight container in the refrigerator. They will keep well for up to a week. For longer storage, you can freeze them! Just make sure to separate layers with parchment paper so they don’t stick together.
Frequently Asked Questions
Can I use natural peanut butter in this recipe?
It’s best to avoid natural peanut butter as it has a different consistency and may not hold up as well in the filling. Stick with regular creamy or crunchy peanut butter for the best results.
What type of chocolate should I use?
You can use either baking chocolate or candy melts like Candiquik. Both options melt beautifully and will create a delicious shell for your cups.
How can I make these cups vegan?
To make vegan Caramel Peanut Butter Cups, substitute the heavy cream with coconut cream, use dairy-free chocolate, and find a vegan caramel recipe or brand that suits your needs.
Can I add other fillings to these cups?
Absolutely! Feel free to add crushed nuts, cookies, or even a layer of jelly for a fun twist. The possibilities are endless!
Before You Go
As you gather your ingredients and tools to make these delightful Caramel Peanut Butter Cups, remember that the joy of baking lies not just in the finished product but also in the process. Whether you’re whipping these up for a special occasion or simply indulging yourself, have fun and let your creativity shine. These treats are bound to bring smiles and satisfaction, making them a perfect addition to any dessert table. Happy baking!
Caramel Peanut Butter Cups
Ingredients
Equipment
Method
- Start by melting your chocolate. Place the chocolate in a microwave-safe bowl and heat it in 30-second intervals, stirring in between, until it’s completely melted and smooth. Be careful not to overheat it.
- Using a spoon, pour a small amount of melted chocolate into each silicone muffin liner. Use the back of the spoon to spread the chocolate up the sides, creating a shell. Make sure to leave a little chocolate for the top. Place the liners in the freezer for about 10-15 minutes to set.
- In a separate microwave-safe bowl, combine the unwrapped caramels and heavy whipping cream. Heat in the microwave in 30-second intervals, stirring until the mixture is completely smooth. This is your luscious caramel layer.
- In a mixing bowl, combine the peanut butter, softened butter, powdered sugar, and brown sugar. Use a whisk to mix until everything is fully incorporated and smooth.
- Once the chocolate shells have set, remove them from the freezer. Add a spoonful of the peanut butter mixture into each chocolate shell, smoothing it out with the back of the spoon. Next, drizzle a layer of your warm caramel over the peanut butter. Finish with a final layer of the remaining melted chocolate, sealing everything in.
- Return the assembled cups to the freezer and let them chill for another 30 minutes to an hour until everything is set. This will ensure a perfect bite every time!
- Once set, gently peel the silicone liners away from the cups. Serve them up on a plate or store them in an airtight container for later. Enjoy your homemade Caramel Peanut Butter Cups!
Notes
- Store leftover cups in an airtight container in the refrigerator for up to a week.
- For longer storage, freeze them separated by parchment paper to prevent sticking.
- Feel free to customize with different chocolates or fillings for a unique twist!