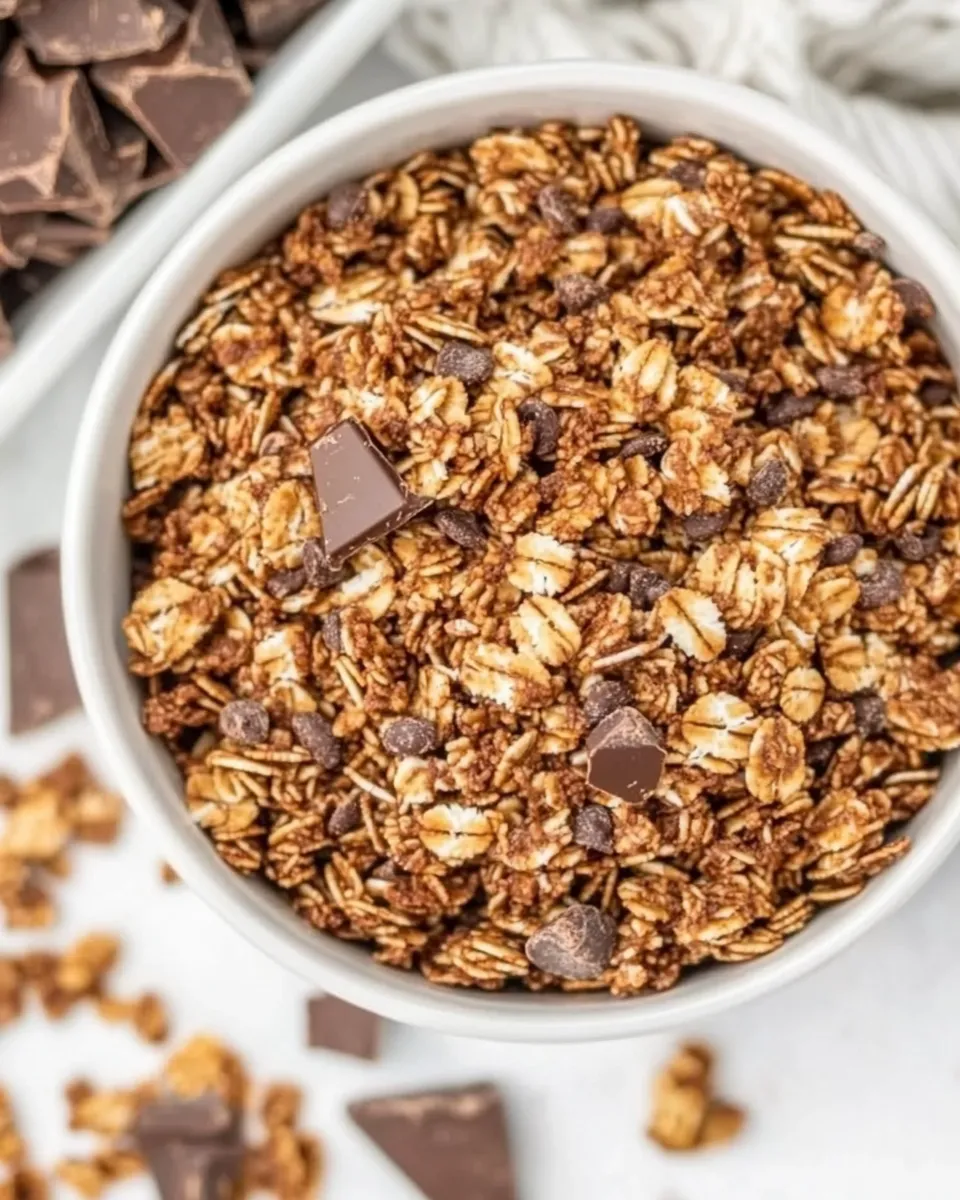
Chocolate Granola
There’s something incredibly satisfying about making your own chocolate granola at home. This recipe is not only simple but also customizable, allowing you to enjoy a delicious and nutritious breakfast or snack without any of the preservatives or additives you might find in store-bought versions. With the rich taste of cocoa, the crunch of nuts, and the sweetness of maple syrup, this chocolate granola will quickly become a staple in your kitchen. Let’s dive into why this recipe works, what you’ll need, and how to make it perfectly!
Why This Recipe Works

This chocolate granola recipe strikes the perfect balance between health and flavor. The combination of oats, nuts, and seeds provides a hearty base packed with fiber and protein, while cocoa powder adds a delightful chocolate flavor without excessive sweetness. The use of natural sweeteners like maple syrup and coconut sugar ensures that you’re not just loading up on refined sugars. Plus, the addition of dark chocolate chunks at the end gives you that melty, indulgent finish that makes every bite irresistible.
Your Shopping Guide
Before you start cooking, make sure you have the following ingredients on hand:
- 2 1/2 cups old-fashioned oats – Certified gluten-free if necessary.
- 1/2 cup almonds – Chopped for a nice crunch.
- 1/2 cup walnuts – Chopped to add richness.
- 1/3 cup cocoa powder – Unsweetened for the best flavor.
- 1 tablespoon chia seeds – For added nutrition and crunch.
- 1/4 teaspoon kosher salt – To enhance the flavors.
- 1/2 cup date sugar, coconut sugar, or light brown sugar – For sweetness.
- 1/3 cup maple syrup – Natural sweetener that adds moisture.
- 1/4 cup melted coconut oil – For healthy fats and to help bind everything together.
- 1 teaspoon vanilla extract – For a hint of warmth.
- 3.5 oz dark chocolate – Chopped into chunks or use 1/2 cup semisweet chocolate chips.
Toolbox for This Recipe
To make this chocolate granola, you’ll need a few essential tools:
- Large mixing bowl – For combining all your ingredients.
- Baking sheet – To spread out the granola for baking.
- Spatula or wooden spoon – For mixing and spreading.
- Oven – Set to the right temperature for toasting.
- Storage container – To keep your granola fresh.
Directions: Chocolate Granola
Step 1: Preheat Your Oven
Start by preheating your oven to 350°F (175°C). This ensures that your granola will bake evenly and become perfectly crispy.
Step 2: Mix the Dry Ingredients
In a large mixing bowl, combine the old-fashioned oats, chopped almonds, chopped walnuts, cocoa powder, chia seeds, and kosher salt. Mix these ingredients well to ensure that the cocoa powder is evenly distributed throughout the oats and nuts.
Step 3: Add the Wet Ingredients
In a separate bowl, whisk together the maple syrup, melted coconut oil, and vanilla extract. Pour this mixture over the dry ingredients and stir until everything is well coated. This is where the magic happens; the wet ingredients will help bind the granola together.
Step 4: Spread on a Baking Sheet
Line a baking sheet with parchment paper for easy cleanup. Spread the granola mixture evenly over the baking sheet, pressing it down slightly to help it clump together during baking.
Step 5: Bake
Place the baking sheet in the preheated oven and bake for about 20-25 minutes, stirring halfway through to ensure even toasting. Keep an eye on it during the last few minutes to prevent burning. You want it to be golden brown and fragrant.
Step 6: Add Chocolate
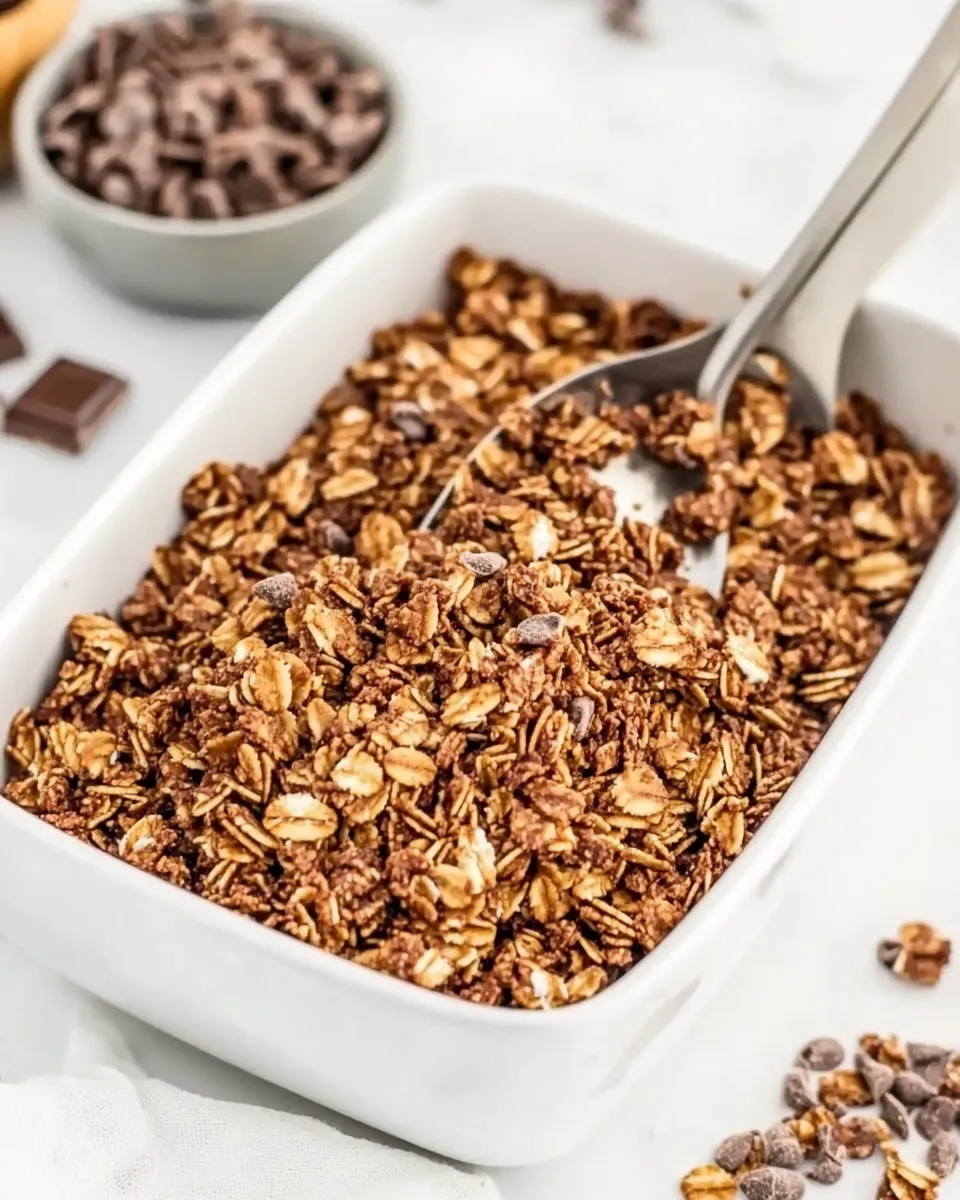
Once the granola is out of the oven and still warm, sprinkle the chopped dark chocolate or semisweet chocolate chips over the top. The heat from the granola will melt the chocolate slightly, creating delicious chocolatey pockets.
Step 7: Cool and Store
Allow the granola to cool completely on the baking sheet. Once cooled, break it into clusters and transfer it to an airtight storage container. Your chocolate granola is now ready to be enjoyed!
Dietary Customizations
This chocolate granola recipe is versatile and can easily be adapted to fit various dietary needs:
- Nut-Free: Omit the almonds and walnuts or replace them with seeds like pumpkin or sunflower seeds.
- Vegan: This recipe is already vegan-friendly, thanks to the use of maple syrup and coconut oil.
- Low-Sugar: Reduce the amount of sugar and use unsweetened cocoa powder for a less sweet version.
- Gluten-Free: Ensure that you use certified gluten-free oats.
Avoid These Traps
When making chocolate granola, there are a few common pitfalls to avoid:
- Overbaking: Keep an eye on your granola as it bakes. It can go from perfectly toasted to burnt in a matter of minutes.
- Skipping the Salt: Don’t skip the salt! A little salt enhances the sweetness and brings out the chocolate flavor.
- Not Mixing Thoroughly: Make sure all the dry ingredients are well mixed before adding the wet ingredients to ensure even distribution of flavors.
- Storing While Warm: Let the granola cool completely before storing to prevent it from becoming soggy.
Storage & Reheat Guide
Proper storage is key to keeping your chocolate granola fresh and crunchy:
Your homemade chocolate granola can be stored in an airtight container at room temperature for up to two weeks. For longer storage, consider keeping it in the fridge, where it can last for up to a month. If you prefer to enjoy it warm, you can reheat it in the oven at a low temperature for a few minutes to restore some crunchiness.
Quick Q&A
Can I use quick oats instead of old-fashioned oats?
While you can use quick oats, they will result in a different texture. Old-fashioned oats provide a heartier crunch that’s ideal for granola.
Can I substitute the maple syrup for something else?
Yes! You can use agave nectar or honey if you prefer, but keep in mind that honey is not vegan.
Is this granola suitable for breakfast?
Absolutely! This chocolate granola makes a fantastic breakfast when paired with yogurt or milk, or it can be enjoyed on its own as a healthy snack.
How can I make this chocolate granola more chocolatey?
For an extra chocolatey flavor, you can increase the amount of cocoa powder or add more chocolate chunks after baking.
Time to Try It
Now that you have all the information you need, it’s time to get into the kitchen and whip up your own batch of chocolate granola. With its rich flavor and satisfying crunch, this recipe is sure to please everyone in your household. Whether you enjoy it as a breakfast option, a midday snack, or a topping for your favorite desserts, you’ll love the versatility and deliciousness of homemade chocolate granola. So grab your ingredients, put on your apron, and start baking!
Chocolate Granola
Ingredients
Equipment
Method
- Step 1: Preheat Your Oven - Start by preheating your oven to 350°F (175°C). This ensures that your granola will bake evenly and become perfectly crispy.
- Step 2: Mix the Dry Ingredients - In a large mixing bowl, combine the old-fashioned oats, chopped almonds, chopped walnuts, cocoa powder, chia seeds, and kosher salt. Mix these ingredients well to ensure that the cocoa powder is evenly distributed throughout the oats and nuts.
- Step 3: Add the Wet Ingredients - In a separate bowl, whisk together the maple syrup, melted coconut oil, and vanilla extract. Pour this mixture over the dry ingredients and stir until everything is well coated.
- Step 4: Spread on a Baking Sheet - Line a baking sheet with parchment paper for easy cleanup. Spread the granola mixture evenly over the baking sheet, pressing it down slightly to help it clump together during baking.
- Step 5: Bake - Place the baking sheet in the preheated oven and bake for about 20-25 minutes, stirring halfway through to ensure even toasting. Keep an eye on it during the last few minutes to prevent burning.
- Step 6: Add Chocolate - Once the granola is out of the oven and still warm, sprinkle the chopped dark chocolate or semisweet chocolate chips over the top.
- Step 7: Cool and Store - Allow the granola to cool completely on the baking sheet. Once cooled, break it into clusters and transfer it to an airtight storage container.
Notes
- Store granola in an airtight container to maintain crispiness.
- Feel free to adjust the nuts and seeds based on your preferences.
- Try adding dried fruits for extra flavor and texture.