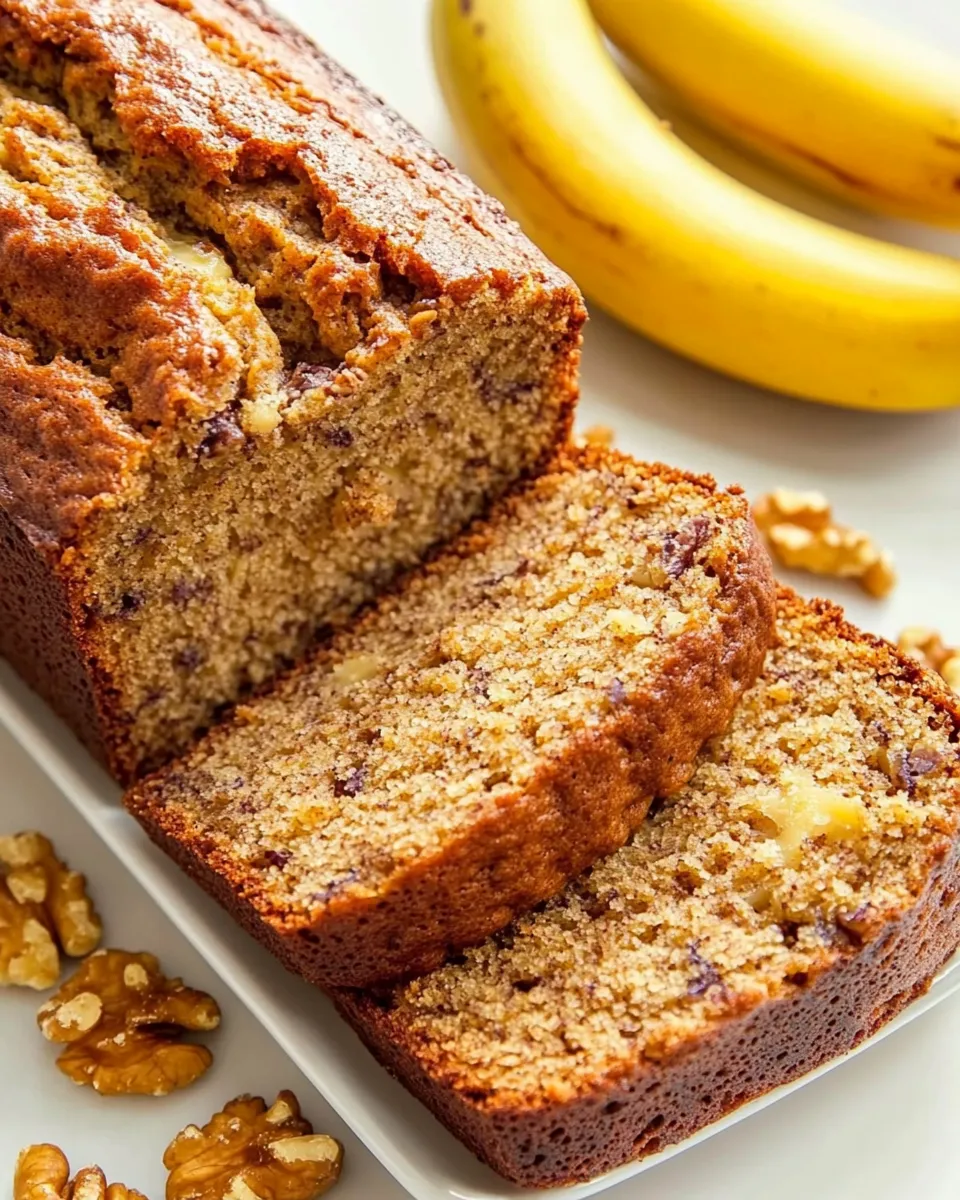
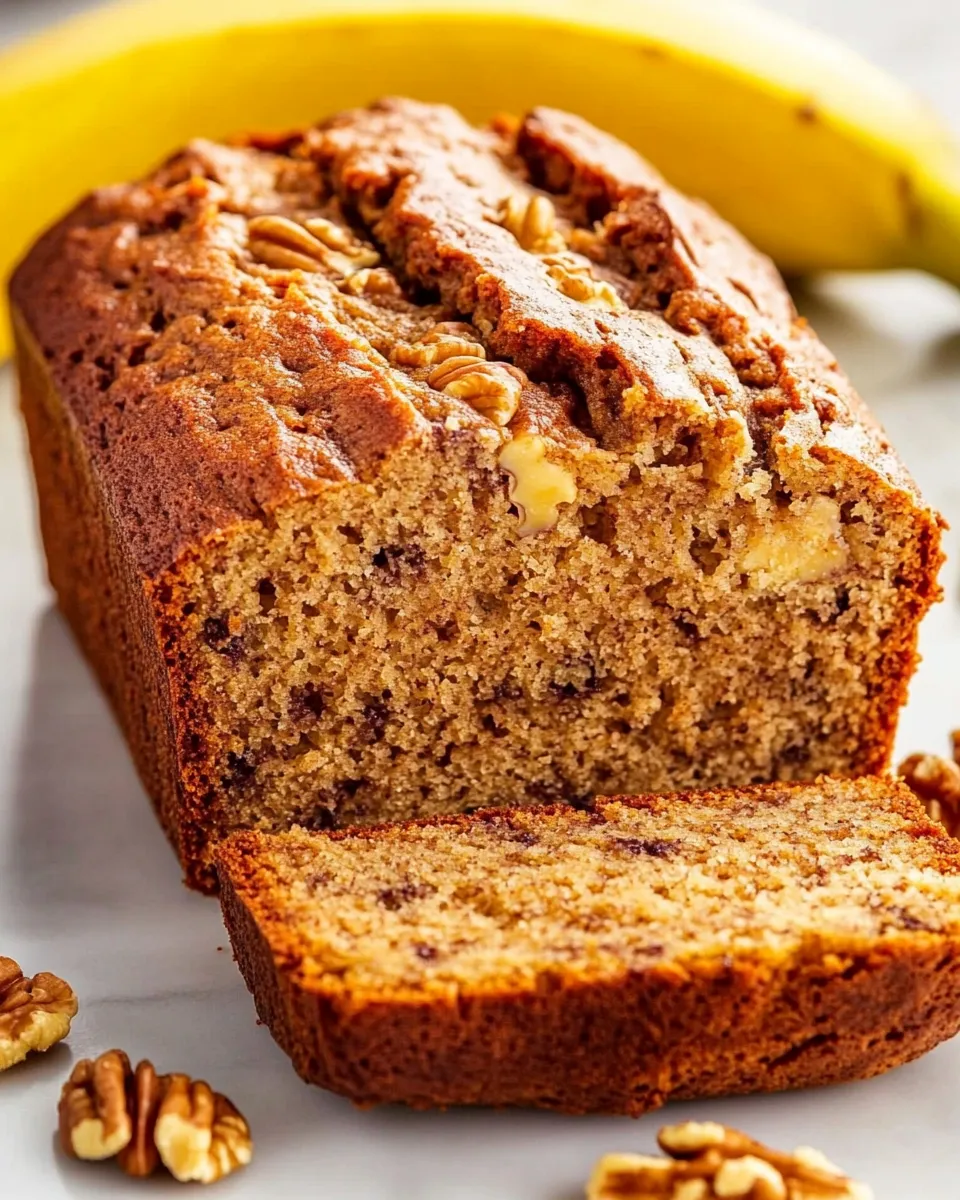
Banana Bread with Walnut Recipe
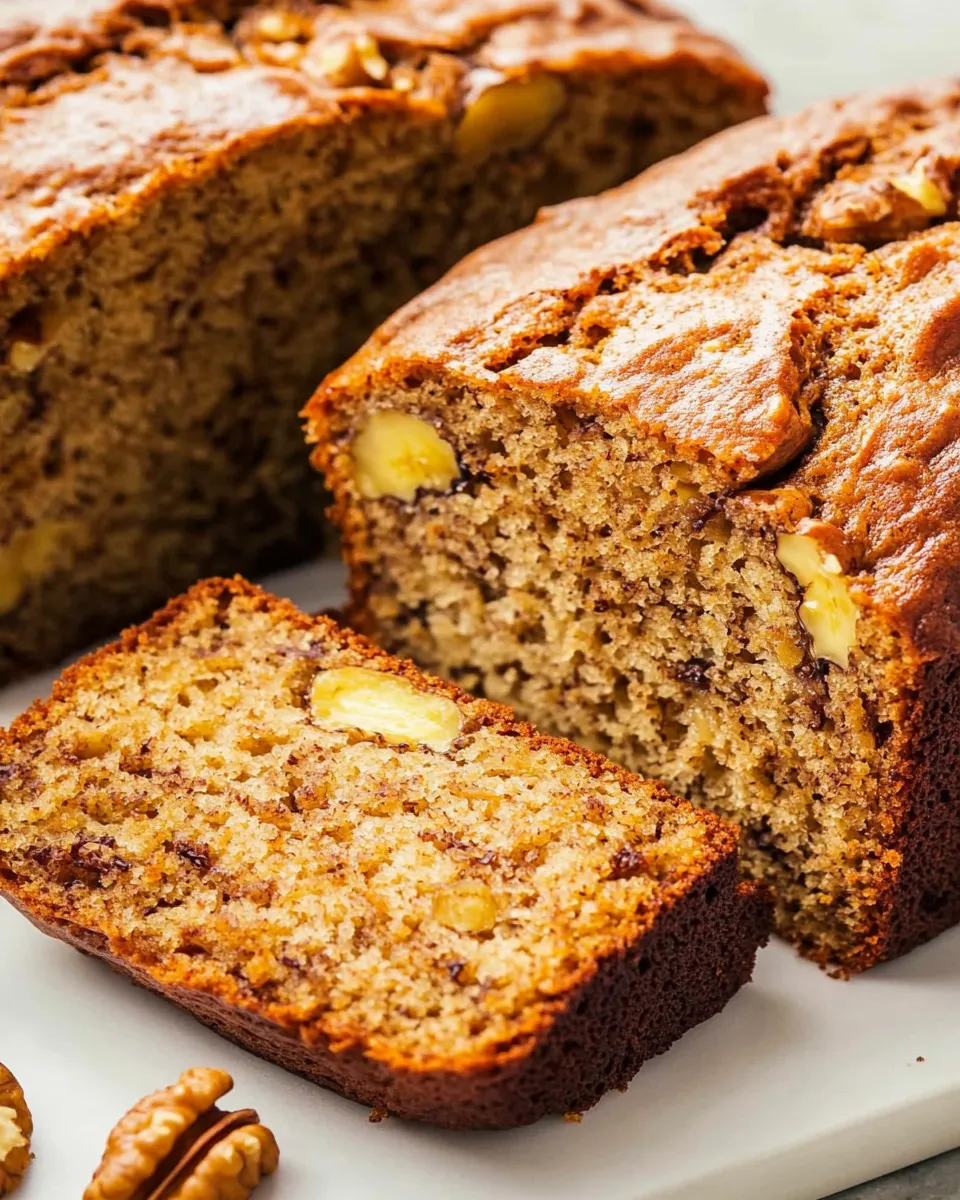
There’s something undeniably comforting about a warm slice of banana bread, especially when it’s studded with crunchy walnuts. This Banana Bread with Walnut Recipe is not only easy to make but also delivers a deliciously moist texture and a rich flavor that will have your friends and family asking for seconds. Whether you have a few overripe bananas sitting on your counter or you just crave a cozy baking project, this recipe is here to bring joy to your kitchen.
Why It Deserves a Spot
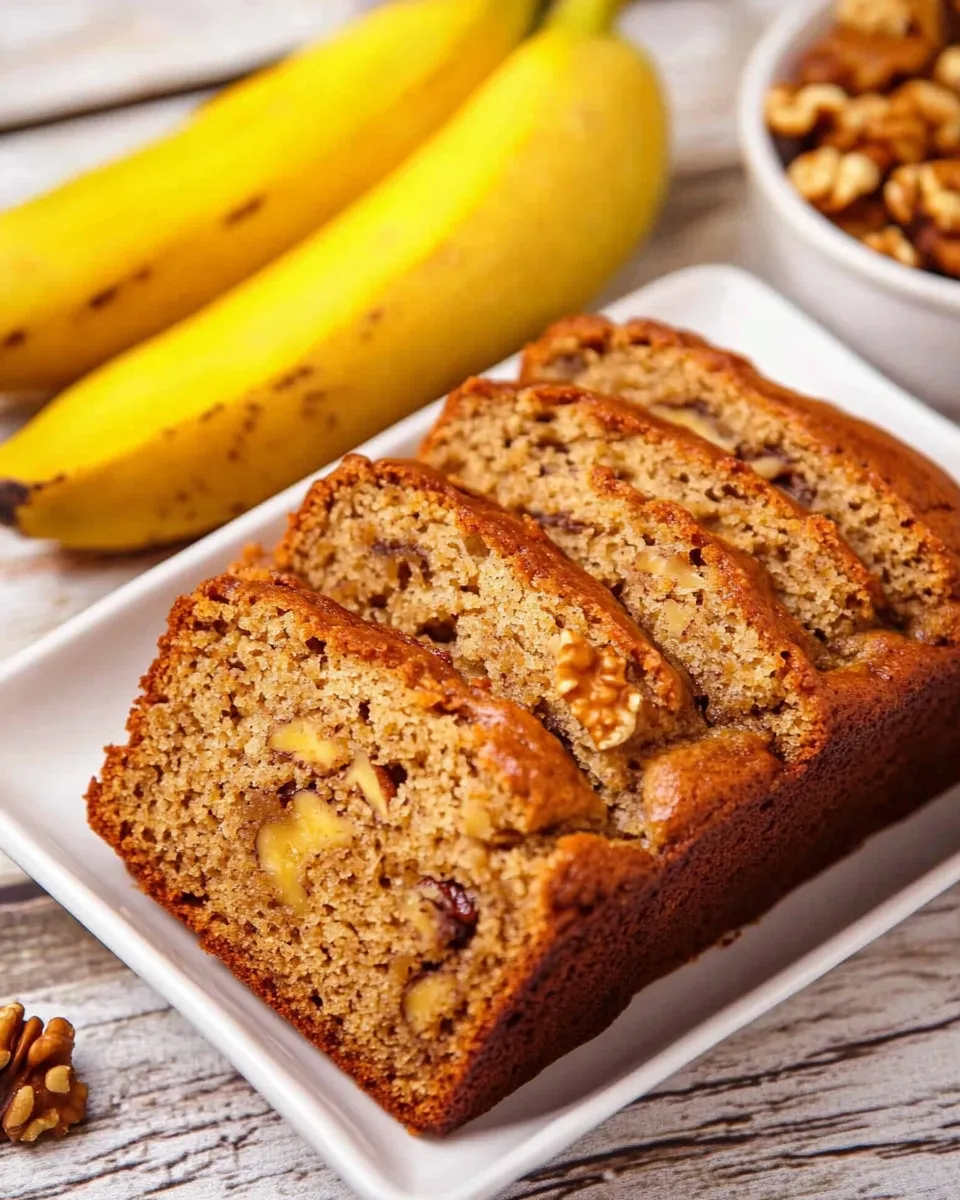
Banana bread is a timeless classic that has found its place in homes around the world. It’s perfect for breakfast, an afternoon snack, or even dessert. The combination of ripe bananas and walnuts adds a delightful sweetness and crunch that elevates the bread from ordinary to extraordinary. Plus, it’s a fantastic way to use up those brown bananas that might otherwise go to waste. This recipe is simple enough for novice bakers while still being satisfying for seasoned pros.
Ingredient Notes
- All-Purpose Flour: Provides the structure for the bread. You can use whole wheat flour for a healthier twist.
- Baking Soda: Helps the bread rise and gives it a light texture.
- Kosher Salt: Enhances the flavors. If you’re using table salt, reduce the amount slightly.
- Butter: Adds richness and moisture. Ensure it’s softened for easy mixing.
- Brown Sugar: Contributes to the sweetness and gives a deeper flavor compared to white sugar.
- Eggs: Bind the ingredients together and add moisture.
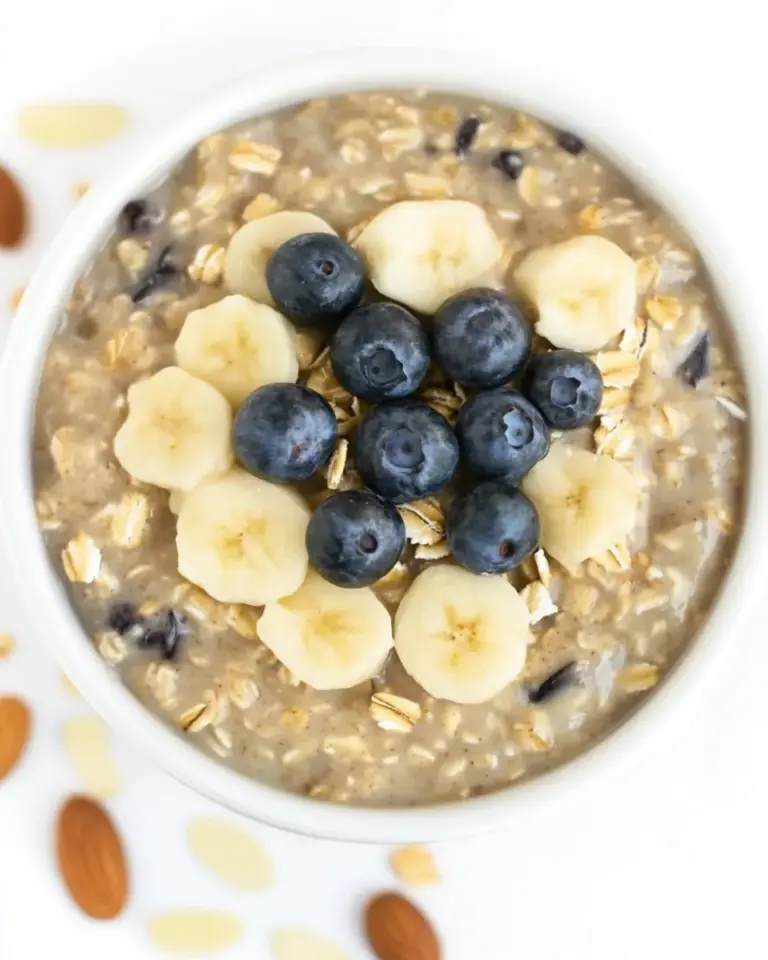
- Overripe Bananas: The star of the show! The riper the bananas, the sweeter the bread will be.
- Walnuts: Provide a delightful crunch and nutty flavor. Feel free to substitute with pecans if preferred.
Equipment Breakdown
- Mixing Bowl: For combining your wet and dry ingredients.
- Measuring Cups and Spoons: To ensure accurate measurements for consistent results.
- Loaf Pan: A standard 9×5 inch loaf pan works best for this recipe.
- Spatula or Wooden Spoon: For mixing the batter without overworking it.
- Oven: Preheated to the right temperature for baking.
Method: Banana Bread with Walnut Recipe
Step 1: Preheat Your Oven
Preheat your oven to 350°F (175°C). This ensures that your bread starts baking at the right temperature for optimal rise and texture.
Step 2: Prepare the Loaf Pan
Grease your loaf pan with a little butter or non-stick spray to prevent the bread from sticking. You can also line it with parchment paper for easy removal.
Step 3: Mix Dry Ingredients
In a large mixing bowl, whisk together 2 cups of all-purpose flour, 1 teaspoon of baking soda, and 1/2 teaspoon of kosher salt. Set this mixture aside.
Step 4: Cream Butter and Sugar
In another bowl, beat together 1/2 cup of softened butter and 3/4 cup of brown sugar until the mixture is light and fluffy. This process incorporates air into the batter, helping the bread rise.
Step 5: Add Eggs and Bananas
Add 2 beaten eggs to the butter and sugar mixture, mixing until well combined. Then, fold in 2 1/2 cups of mashed overripe bananas. The bananas should be very ripe, with plenty of brown spots for maximum sweetness.
Step 6: Combine Wet and Dry Ingredients
Gradually add the dry ingredients to the wet mixture, stirring just until combined. Be careful not to overmix; a few lumps are okay.
Step 7: Fold in Walnuts
Gently fold in 1/2 cup of chopped walnuts, ensuring they are evenly distributed throughout the batter.
Step 8: Bake
Pour the batter into the prepared loaf pan, smoothing the top with a spatula. Bake for 60-70 minutes, or until a toothpick inserted into the center comes out clean. If the top browns too quickly, tent it with aluminum foil.
Step 9: Cool
Once baked, remove the bread from the oven and let it cool in the pan for about 10 minutes before transferring it to a wire rack to cool completely.
Smart Substitutions
- For a dairy-free option, substitute the butter with coconut oil or a dairy-free butter alternative.
- Use maple syrup or honey instead of brown sugar for a different flavor profile.
- Swap walnuts for pecans, almonds, or even chocolate chips for a twist.
- Replace half of the all-purpose flour with whole wheat flour for added nutrition.
What Not to Do
- Don’t skip the step of creaming the butter and sugar; it’s essential for a light texture.
- Avoid overmixing the batter, as this can lead to a dense loaf.
- Don’t use bananas that aren’t ripe; they won’t provide the same sweetness and flavor.
- Resist the urge to open the oven door too early, as this can cause the bread to collapse.
Keep-It-Fresh Plan
To keep your Banana Bread with Walnut Recipe fresh, store it in an airtight container at room temperature for up to 3 days. For longer storage, wrap it tightly in plastic wrap and place it in the refrigerator for up to a week or freeze it for up to 3 months. To enjoy later, simply thaw at room temperature or warm it up in the microwave for a few seconds.
Common Questions
Can I use frozen bananas for this recipe?
Absolutely! Frozen bananas work great in banana bread. Just make sure to thaw them completely and drain any excess liquid before mashing.
What can I do if my banana bread is too dense?
If your banana bread turns out dense, it may be due to overmixing the batter or using too many bananas. Ensure you’re measuring correctly and mixing just until combined.
Can I add other ingredients to the batter?
Yes! Feel free to add ingredients like chocolate chips, dried fruit, or spices like cinnamon and nutmeg for extra flavor.
How can I tell when my banana bread is done baking?
Your banana bread is done when a toothpick inserted into the center comes out clean or with a few moist crumbs. If it’s still wet, give it a few more minutes in the oven.
Save & Share
This Banana Bread with Walnut Recipe is one you’ll want to share with friends and family. Tag your baking adventures on social media with your favorite photos, and don’t forget to share this recipe with fellow banana bread lovers. It’s perfect for gatherings, brunches, or just a cozy evening at home.
There you have it—a delightful Banana Bread with Walnut Recipe that combines simple ingredients with a dash of love. The next time you find yourself with overripe bananas, you’ll know just what to do! Happy baking!
Banana Bread with Walnut Recipe
Ingredients
Equipment
Method
- Preheat your oven to 350°F (175°C).
- Grease your loaf pan with butter or non-stick spray.
- In a large mixing bowl, whisk together the flour, baking soda, and salt. Set aside.
- In another bowl, beat the softened butter and brown sugar until light and fluffy.
- Add the beaten eggs to the butter and sugar mixture, mixing until well combined. Fold in the mashed bananas.
- Gradually add the dry ingredients to the wet mixture, stirring just until combined.
- Gently fold in the chopped walnuts.
- Pour the batter into the prepared loaf pan and smooth the top.
- Bake for 60-70 minutes, or until a toothpick comes out clean.
- Let the bread cool in the pan for 10 minutes before transferring to a wire rack.
Notes
- Store the bread in an airtight container at room temperature for up to 3 days.
- For longer storage, wrap tightly and refrigerate for up to a week or freeze for up to 3 months.
- Thaw at room temperature or warm in the microwave before serving.