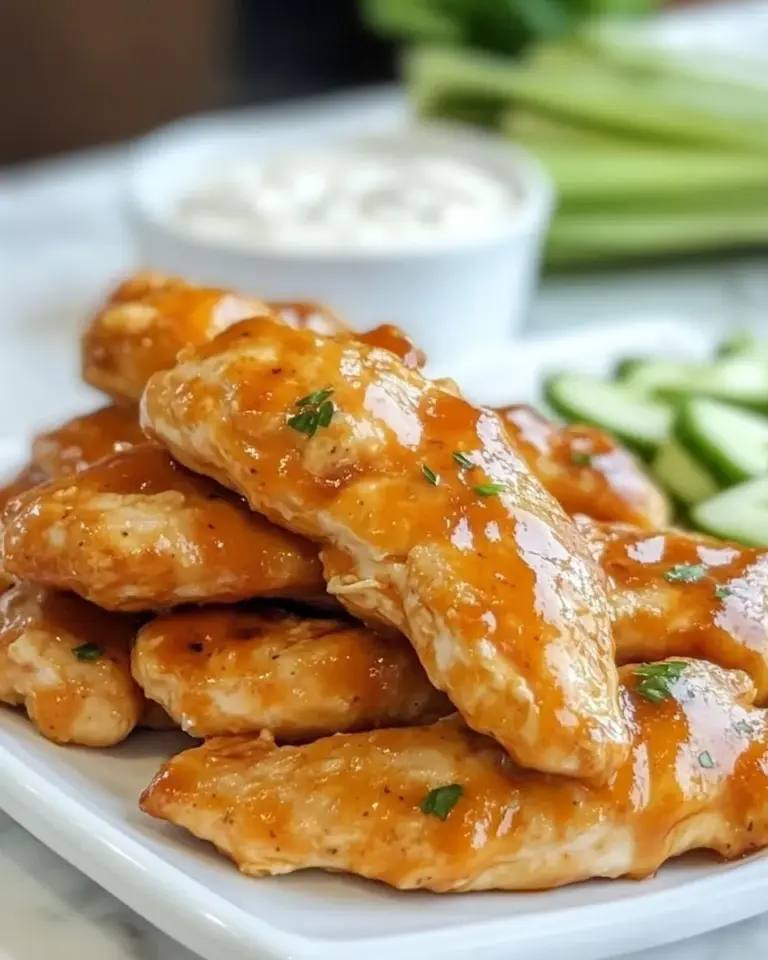
Garlic Chicken Wings
There’s something undeniably irresistible about garlic chicken wings. They’re the perfect combination of crispy, tender, and bursting with flavor. Whether you’re hosting a game day party, a casual get-together, or just indulging in a late-night snack, these wings are sure to be a hit. With a delightful garlic and herb glaze, they’re not only easy to make but also packed with flavor that keeps everyone coming back for more.
Why It’s Crowd-Pleasing
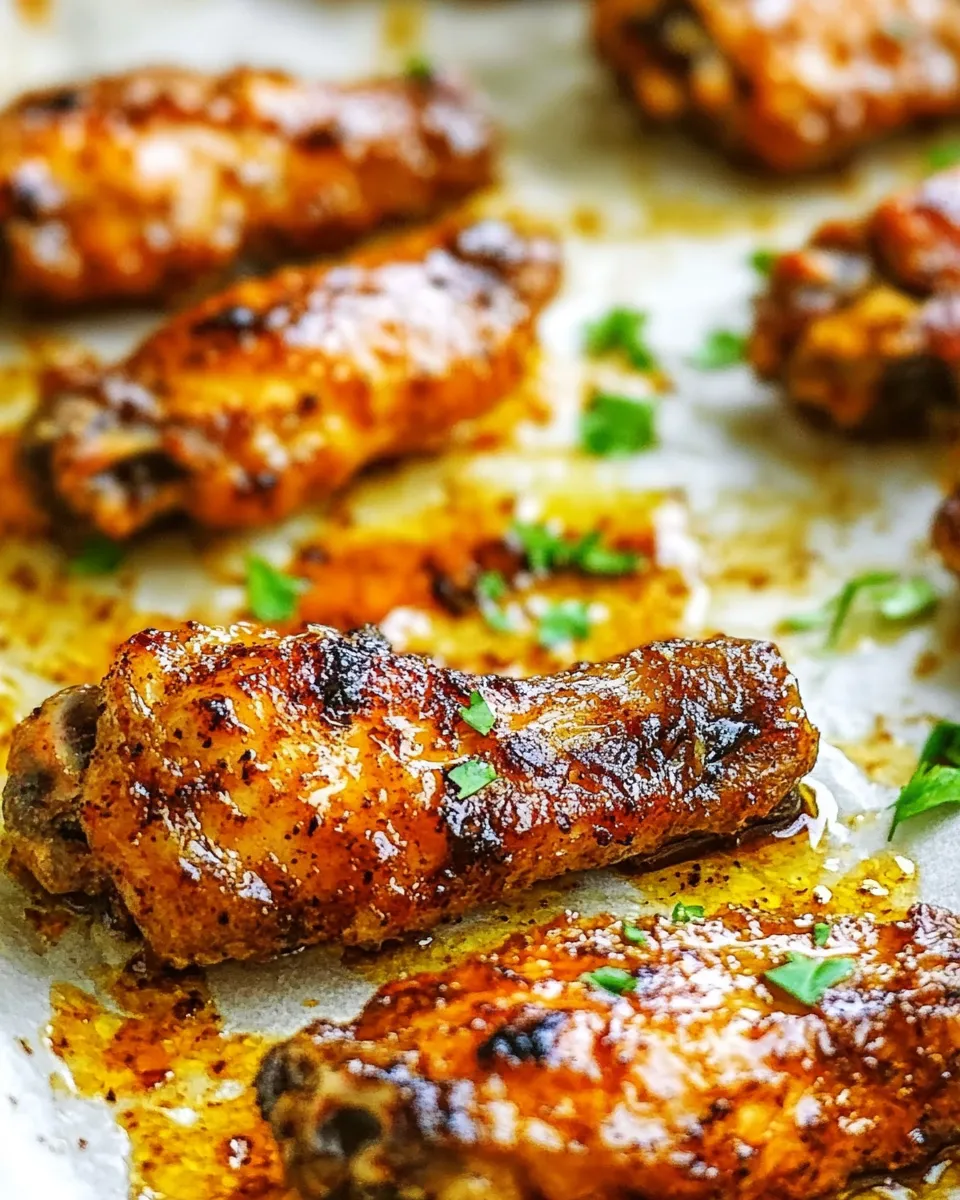
Garlic chicken wings are a quintessential crowd-pleaser for many reasons. First, they cater to a variety of taste preferences with their savory notes and subtle sweetness. The garlic flavor is robust but not overpowering, making them suitable for both garlic lovers and those who are just garlic-curious. Crispy on the outside and juicy on the inside, these wings are perfect for dipping into your favorite sauce or enjoying as they are. Plus, they’re incredibly versatile; you can serve them as an appetizer, main dish, or even as part of a buffet spread.
Gather These Ingredients
To whip up a delicious batch of garlic chicken wings, you’ll need the following ingredients:
- 1 pound bone-in, skin-on chicken wing portions
- 2 tablespoons vegetable oil
- 2 teaspoons herbes de Provence
- 1 teaspoon roasted garlic powder
- 1 teaspoon kosher salt
- 2 tablespoons unsalted butter (1/4 stick)
- 2 garlic cloves (minced)
- 1 teaspoon herbes de Provence
- 1/2 cup mild honey (such as clover or wildflower)
- Chopped fresh herbs (such as parsley, basil, rosemary, chives)
Prep & Cook Tools
Before you dive into cooking, gather these essential tools:
- Large Bowl – For marinating the chicken wings.
- Baking Sheet – To roast the wings in the oven.
- Parchment Paper – To line the baking sheet for easy cleanup.
- Measuring Cups and Spoons – For accurate ingredient measurements.
- Whisk – To mix the glaze ingredients evenly.
- Basting Brush – For applying the glaze to the wings.
- Knife and Cutting Board – For chopping fresh herbs and mincing garlic.
Stepwise Method: Garlic Chicken Wings
Follow these simple steps to create mouthwatering garlic chicken wings:
Step 1: Preheat the Oven
First, preheat your oven to 425°F (220°C). This high temperature will help achieve that coveted crispy outer layer.
Step 2: Prepare the Chicken Wings
In a large bowl, combine the chicken wings with the vegetable oil, 2 teaspoons of herbes de Provence, roasted garlic powder, and kosher salt. Toss the wings until they are evenly coated.
Step 3: Arrange on Baking Sheet
Line a baking sheet with parchment paper for easy cleanup. Place the seasoned chicken wings in a single layer on the baking sheet, ensuring they aren’t overcrowded to allow for even cooking.
Step 4: Bake the Wings
Bake the wings in the preheated oven for 25-30 minutes, flipping them halfway through. They should be golden brown and crispy when done.
Step 5: Make the Garlic Glaze
While the wings are baking, melt the unsalted butter in a small saucepan over medium heat. Add the minced garlic and sauté until fragrant, about 1-2 minutes. Remove from heat and stir in the honey and 1 teaspoon of herbes de Provence until well combined.
Step 6: Glaze the Wings
Once the chicken wings are done baking, remove them from the oven. Brush the garlic glaze generously over the wings, ensuring each one gets a good coating.
Step 7: Final Bake
Return the glazed wings to the oven and bake for an additional 5-10 minutes to allow the glaze to caramelize slightly.
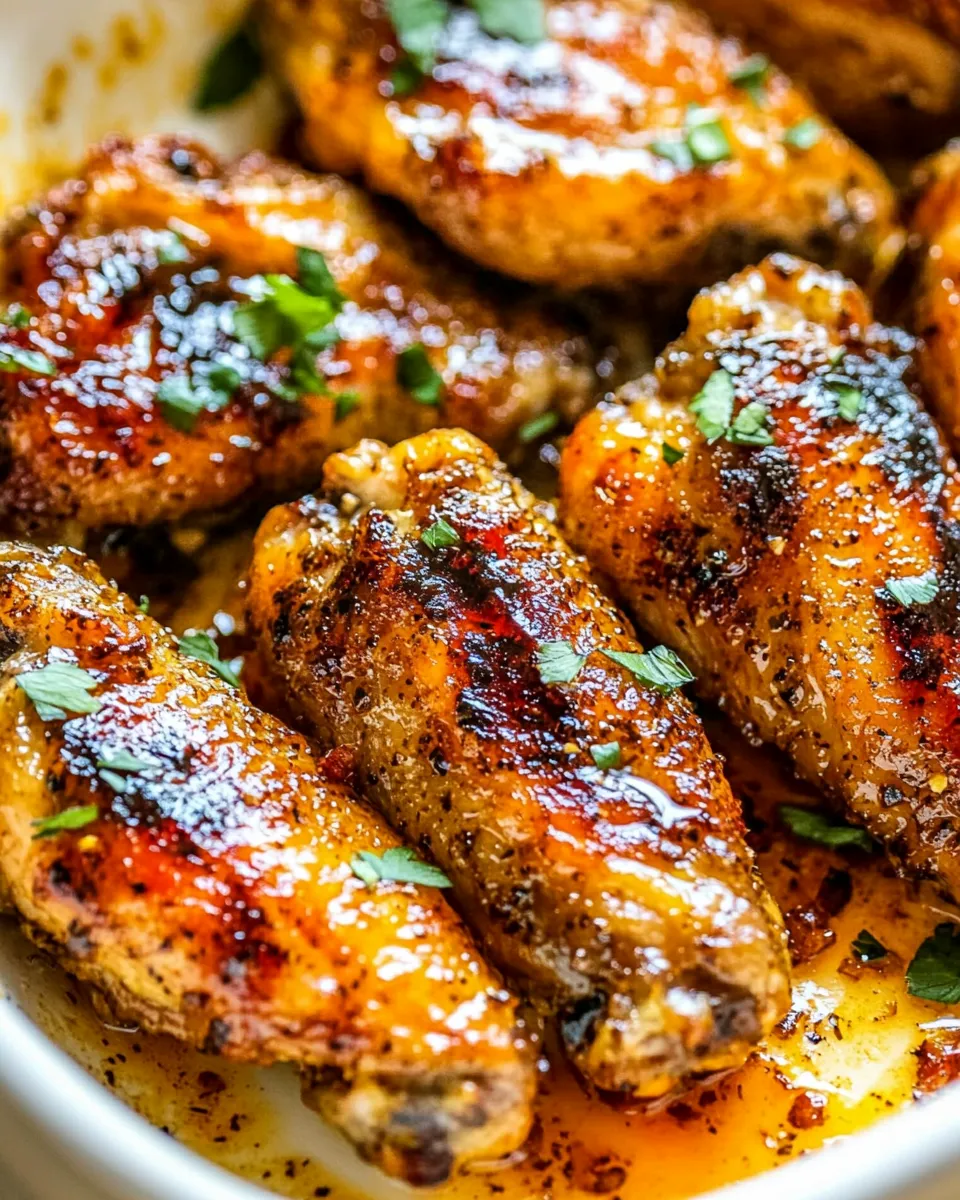
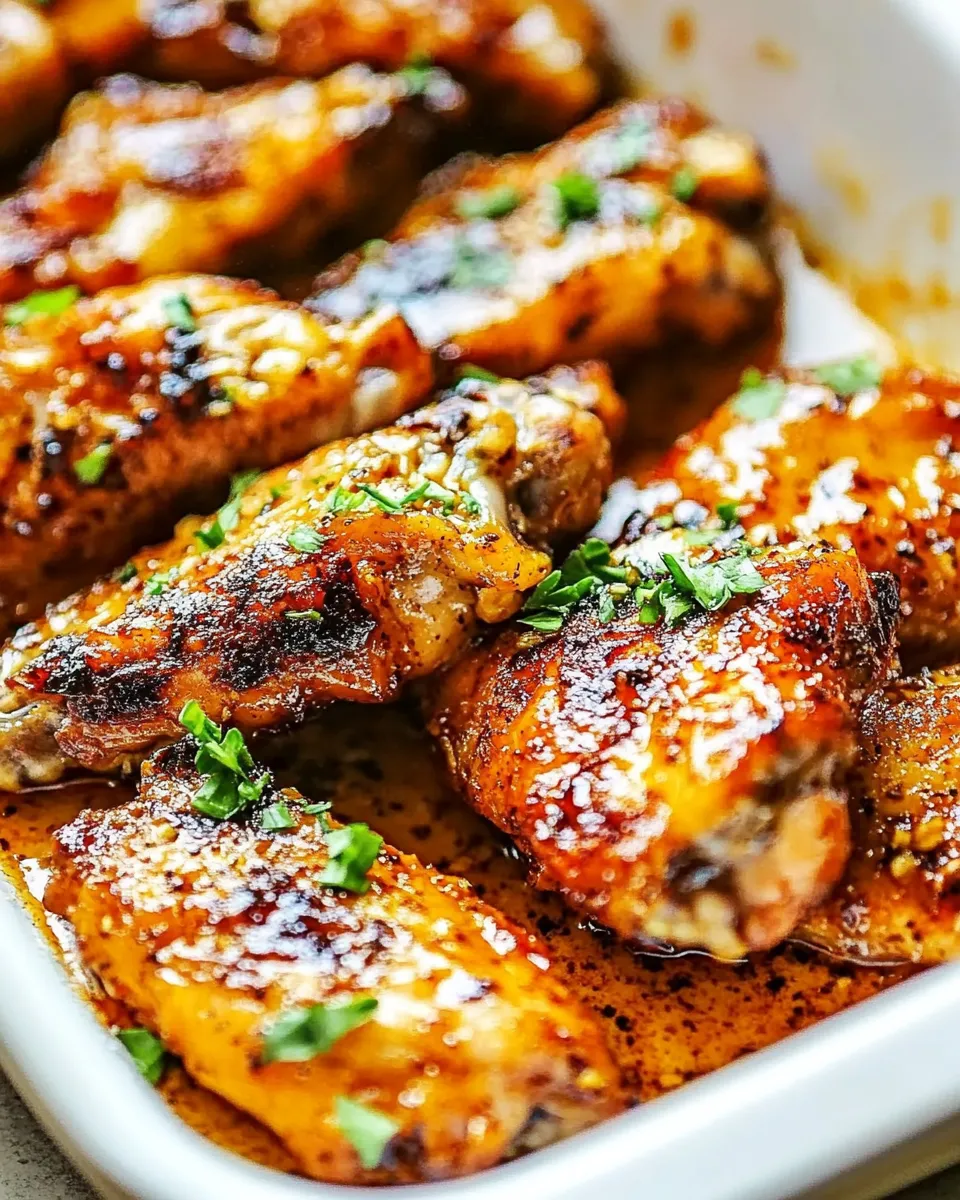
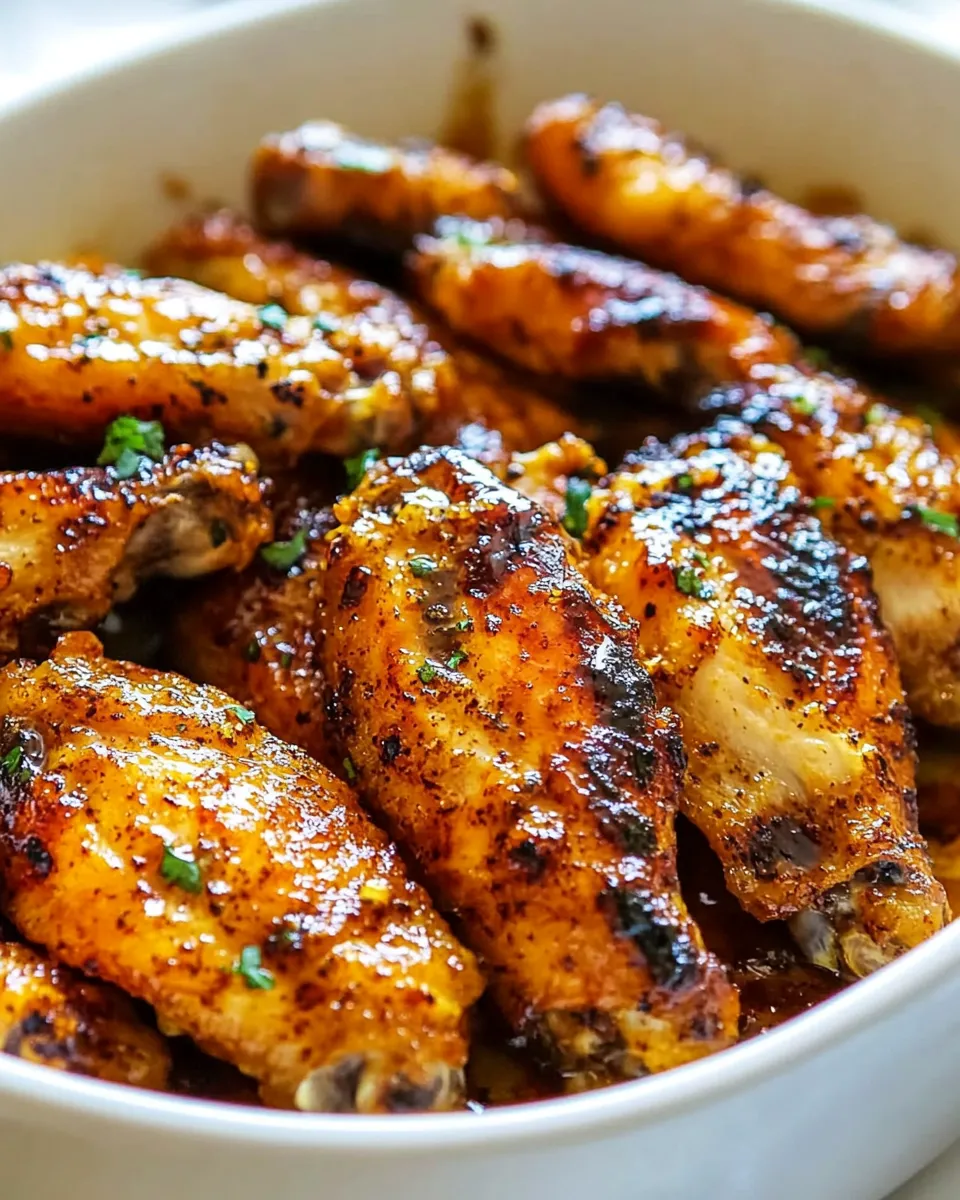
Step 8: Garnish and Serve
Remove the wings from the oven and let them cool for a few minutes. Sprinkle with chopped fresh herbs before serving. Enjoy your garlic chicken wings with your favorite dipping sauce or on their own!
Smart Substitutions
If you’re looking to switch things up, consider these substitutions:
- Chicken Thighs – Use bone-in, skin-on chicken thighs for a richer flavor.
- Olive Oil – Swap vegetable oil for olive oil for a Mediterranean twist.
- Fresh Garlic – If you prefer a stronger garlic kick, use fresh minced garlic instead of garlic powder.
- Maple Syrup – Replace honey with maple syrup for a different sweetness profile.
- Spices – Experiment with different herbs like Italian seasoning or a touch of cayenne for heat.
Missteps & Fixes
Even the best cooks can make mistakes! Here are a few common pitfalls and how to fix them:
If your wings are not crispy:
- Ensure they are spread out on the baking sheet. Overcrowding can lead to steaming rather than baking.
- Check your oven temperature; an oven thermometer can help confirm if it’s accurate.
If the glaze is too thick:
- Add a tablespoon of warm water to loosen it up.
- Gently reheat it on the stove while stirring.
If the wings are undercooked:
- Return them to the oven for an additional 5-10 minutes, checking for an internal temperature of 165°F (75°C).
Storing Tips & Timelines
To ensure your garlic chicken wings remain delicious for later enjoyment, follow these storage tips:
Allow the wings to cool completely before storing them. Place them in an airtight container and refrigerate for up to 3 days. For longer storage, freeze them in a single layer on a baking sheet before transferring to a freezer-safe bag, where they can last for up to 3 months.
When ready to reheat, bake from frozen at 400°F (200°C) for 25-30 minutes or until heated through. You can also microwave them, but baking will help retain their crispiness.
Common Qs About Garlic Chicken Wings
Can I make these wings in an air fryer?
Absolutely! Preheat your air fryer to 400°F (200°C) and cook the wings for 25-30 minutes, flipping halfway through. This method will yield crispy wings without needing to turn on the oven.
What dipping sauces go well with garlic chicken wings?
Garlic chicken wings pair wonderfully with ranch dressing, blue cheese dip, or a spicy sriracha sauce to add an extra kick.
Can I use frozen chicken wings for this recipe?
Yes, you can use frozen chicken wings. Just ensure to thaw them completely before marinating and cooking for even seasoning and optimal cooking time.
How can I make these wings spicier?
Add cayenne pepper or red pepper flakes to the seasoning mix before baking. You can also toss the wings in a spicy sauce after glazing them.
The Last Word
Garlic chicken wings are a delightful treat that can easily become a staple in your cooking repertoire. Their combination of savory garlic, fragrant herbs, and a hint of sweetness from honey creates a flavor profile that is simply irresistible. Perfect for sharing, or just enjoying all by yourself, these wings are sure to impress anyone who takes a bite.
Now that you have this easy-to-follow recipe, it’s your turn to bring these tantalizing garlic chicken wings to your kitchen. Each batch is guaranteed to be a hit, so roll up your sleeves, gather your ingredients, and let the aroma of garlic and herbs fill your home. Happy cooking!
Garlic Chicken Wings
Ingredients
Equipment
Method
- Step 1: Preheat your oven to 425°F (220°C) to achieve a crispy outer layer.
- Step 2: In a large bowl, combine the chicken wings with vegetable oil, 2 teaspoons of herbes de Provence, roasted garlic powder, and kosher salt. Toss until evenly coated.
- Step 3: Line a baking sheet with parchment paper. Place the seasoned chicken wings in a single layer on the baking sheet.
- Step 4: Bake wings for 25-30 minutes, flipping halfway through, until golden brown and crispy.
- Step 5: Melt unsalted butter in a saucepan over medium heat. Add minced garlic and sauté until fragrant, about 1-2 minutes. Stir in honey and 1 teaspoon of herbes de Provence.
- Step 6: Brush the garlic glaze generously over the wings once they are done baking.
- Step 7: Return glazed wings to the oven and bake for an additional 5-10 minutes for the glaze to caramelize.
- Step 8: Let wings cool for a few minutes, then garnish with chopped fresh herbs before serving.
Notes
- For extra crispiness, ensure wings are not overcrowded on the baking sheet.
- Use fresh garlic for a stronger flavor instead of garlic powder.
- Store cooled wings in an airtight container in the fridge for up to 3 days.