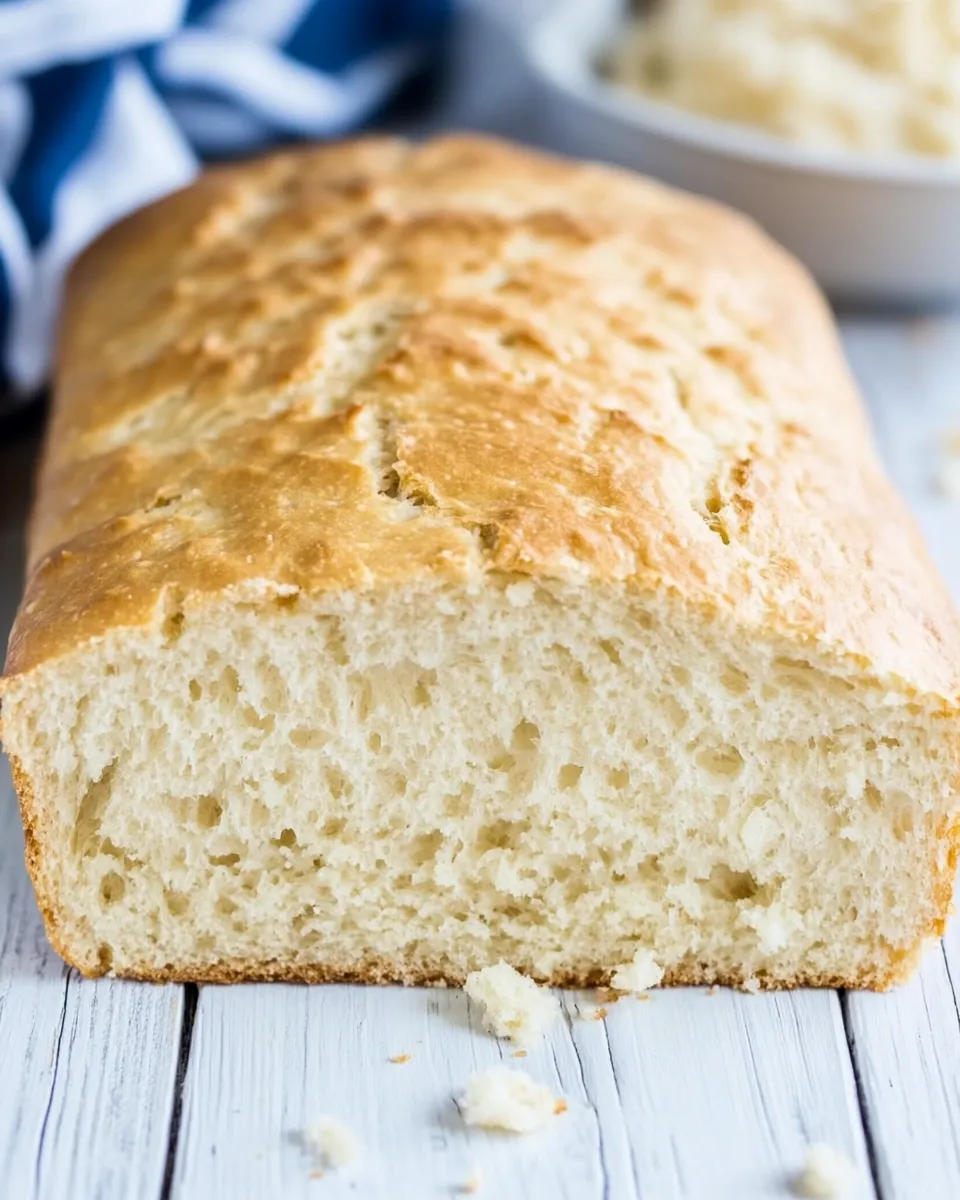
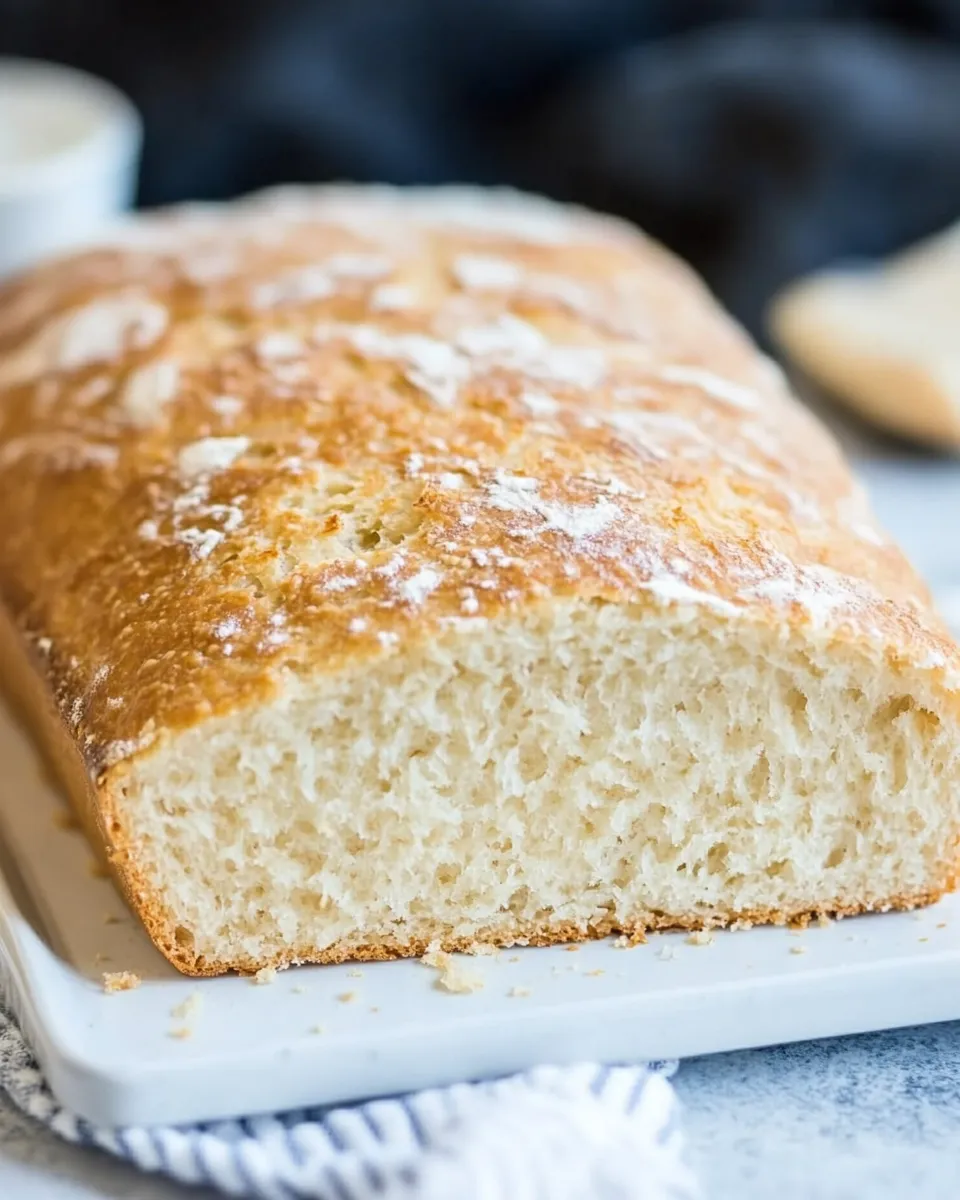
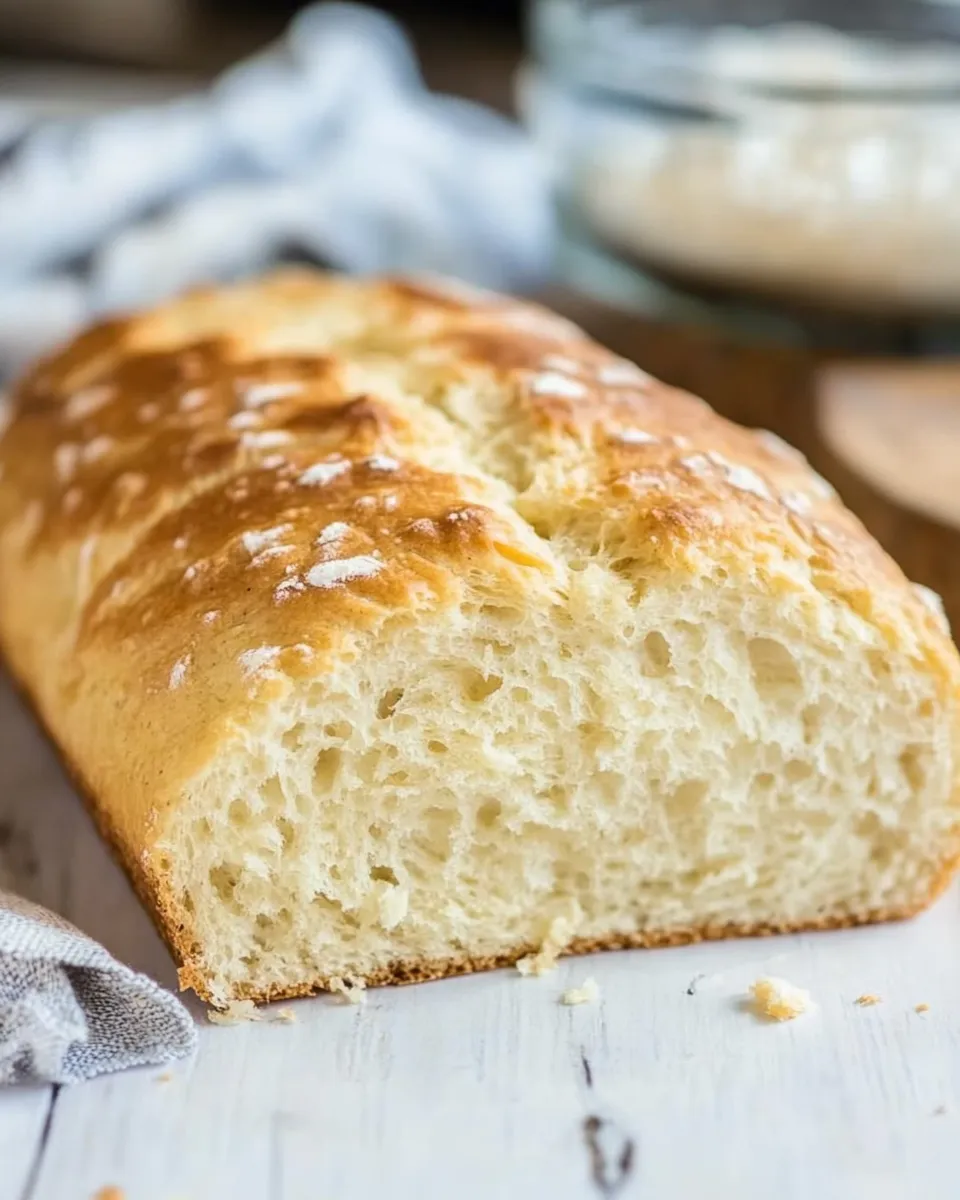
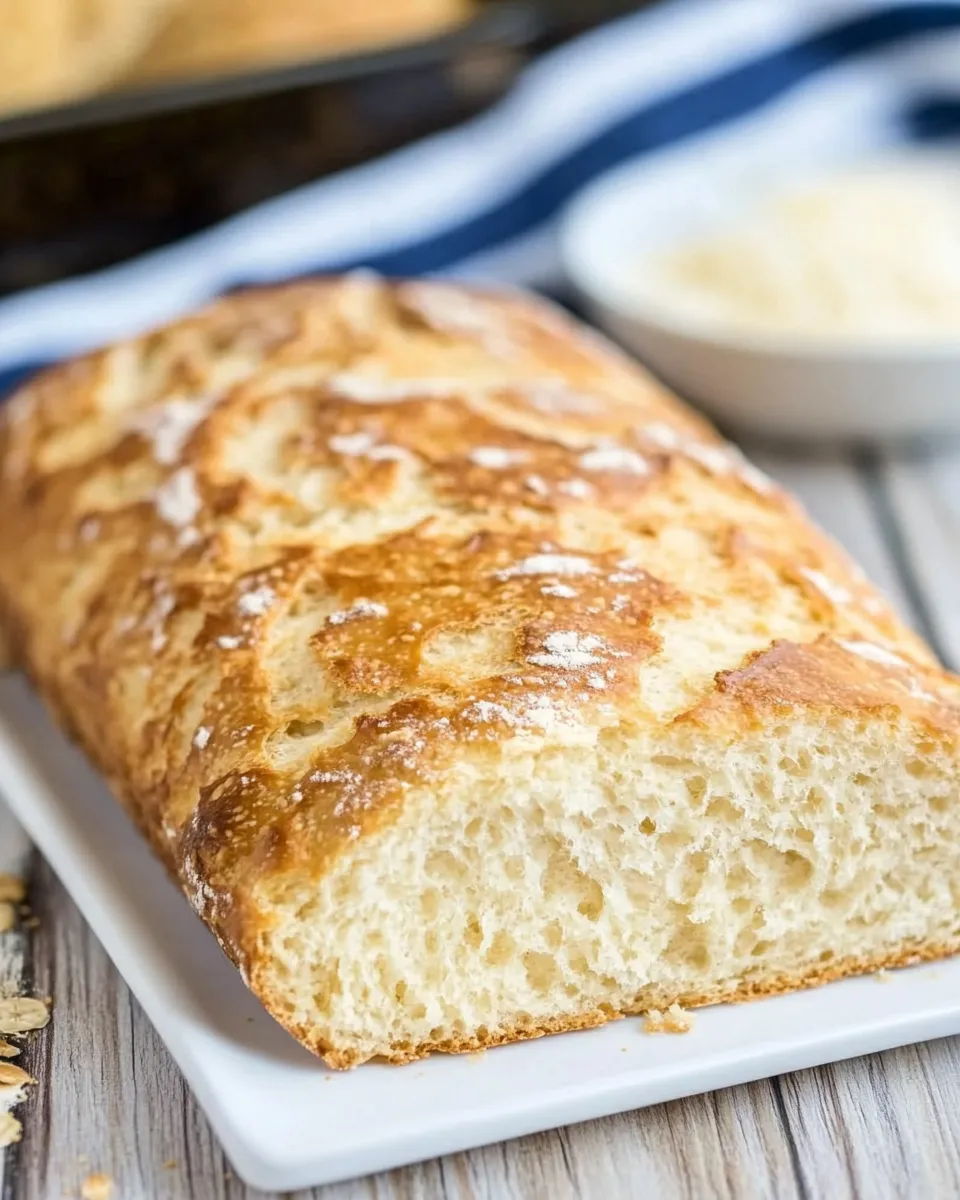
Homemade Buttermilk Bread
There’s something incredibly comforting about the aroma of freshly baked bread wafting through your kitchen. Homemade Buttermilk Bread is one of those delightful recipes that can elevate your baking game with minimal effort. This bread is soft, slightly sweet, and has a tender crumb that makes it perfect for sandwiches, toasts, or simply enjoying with a pat of butter. Let’s dive into the art of making this delicious bread in your own kitchen!
Top Reasons to Make Homemade Buttermilk Bread
- Flavor: Homemade Buttermilk Bread has a rich, tangy flavor from the buttermilk that you just can’t replicate with store-bought options.
- Freshness: Nothing beats the freshness of bread made from scratch, allowing you to enjoy the taste of warm bread straight from the oven.
- Control Ingredients: By making your own bread, you have complete control over the ingredients, ensuring they are wholesome and free from preservatives.
- Customization: This recipe serves as a blank canvas, perfect for adding herbs, spices, or even cheese for a unique twist.
- Family Tradition: Baking bread can be a wonderful tradition to share with family, creating memories that last a lifetime.
Shopping List
- 2 cups all-purpose flour
- 1/2 cup granulated sugar
- 1 1/2 teaspoons baking powder
- 1/2 teaspoon baking soda
- 1 teaspoon salt
- 1 cup buttermilk
- 1 large egg
- 1/4 cup butter, melted
Recommended Tools
- Mixing Bowls: A set of mixing bowls will help you combine your dry and wet ingredients effortlessly.
- Measuring Cups and Spoons: Accurate measurements ensure your bread turns out perfectly every time.
- Whisk: A whisk is great for combining your wet ingredients thoroughly.
- Loaf Pan: A standard loaf pan is essential for shaping your bread as it bakes.
- Cooling Rack: Once baked, a cooling rack allows air to circulate around the bread, preventing it from becoming soggy.
Method: Homemade Buttermilk Bread
Step 1: Preheat Your Oven
Begin by preheating your oven to 350°F (175°C). This ensures that the bread bakes evenly and achieves a lovely golden crust.
Step 2: Prepare the Loaf Pan
Grease your loaf pan with a little butter or non-stick spray to prevent the bread from sticking once baked.
Step 3: Combine Dry Ingredients
In a large mixing bowl, whisk together the 2 cups of all-purpose flour, 1/2 cup of granulated sugar, 1 1/2 teaspoons of baking powder, 1/2 teaspoon of baking soda, and 1 teaspoon of salt. Mix until well combined.
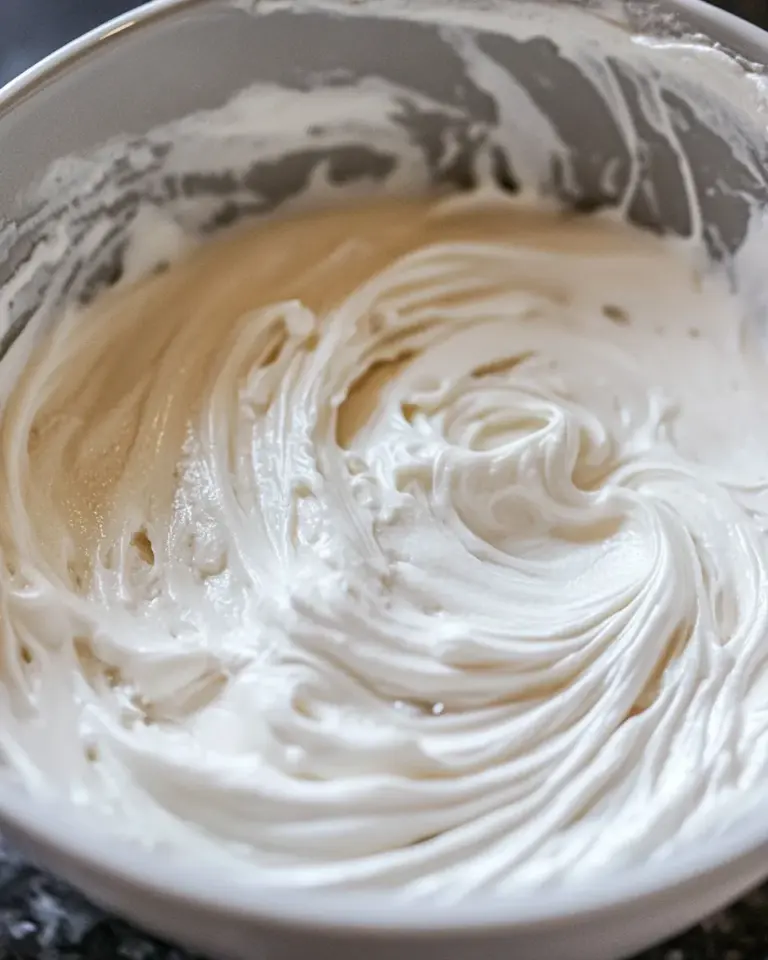
Step 4: Mix Wet Ingredients
In a separate bowl, combine the 1 cup of buttermilk, 1 large egg, and 1/4 cup of melted butter. Whisk them together until they are fully incorporated.
Step 5: Combine Wet and Dry Ingredients
Make a well in the center of the dry ingredients and pour in the wet mixture. Using a spatula or wooden spoon, gently mix until just combined. Be careful not to overmix; a few lumps are perfectly fine.
Step 6: Pour into the Loaf Pan
Transfer the batter into your prepared loaf pan, spreading it evenly. Smooth the top with a spatula for a nice finish.
Step 7: Bake
Place the loaf pan in the preheated oven and bake for 50-60 minutes, or until a toothpick inserted in the center comes out clean. The top should be golden brown and slightly domed.
Step 8: Cool
Once baked, remove the bread from the oven and let it cool in the pan for about 10 minutes. After that, turn it out onto a cooling rack to cool completely before slicing.
Seasonal Adaptations
- Fall Flavors: Add 1 teaspoon of cinnamon and 1/2 teaspoon of nutmeg for a warm, spiced version perfect for autumn.
- Herb Infusion: Mix in 2 tablespoons of fresh chopped rosemary or thyme for a savory twist.
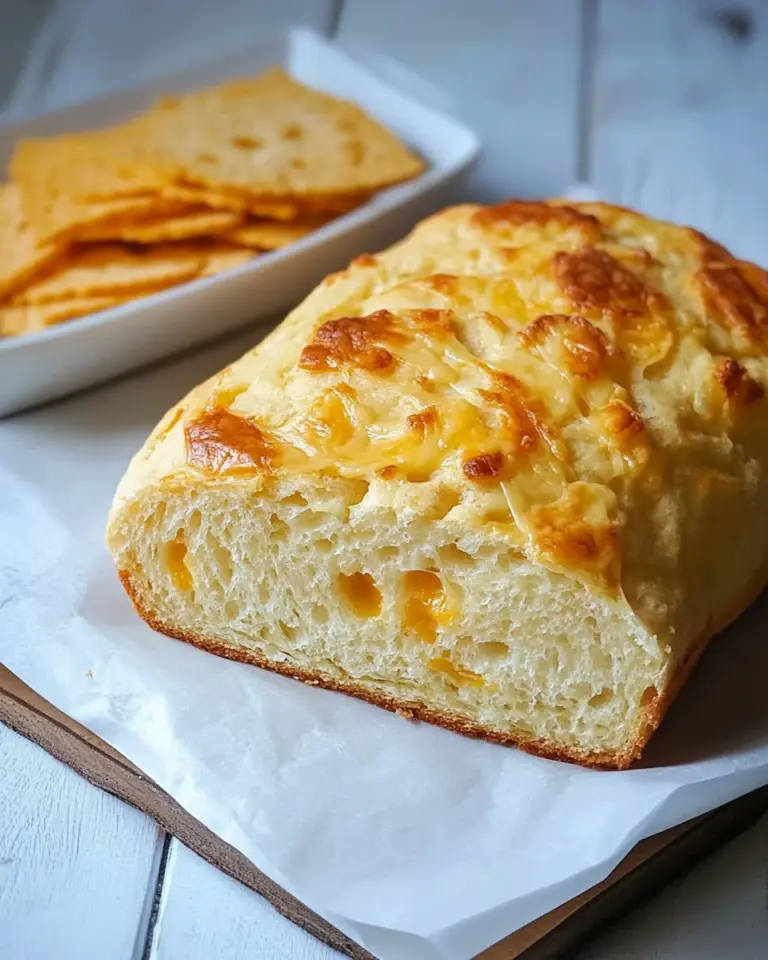
- Cheesy Goodness: Stir in 1 cup of shredded cheese, such as cheddar or mozzarella, for a rich, cheesy bread.
- Fruit and Nut Addition: Consider adding 1/2 cup of chopped walnuts or pecans and 1/2 cup of dried cranberries for a delightful texture and flavor contrast.
Mistakes Even Pros Make
- Overmixing: Don’t overmix the batter, as this can lead to dense and tough bread. Mix just until combined.
- Not Measuring: Always measure your ingredients accurately. Use proper measuring cups for dry and wet ingredients to avoid inconsistencies.
- Skipping the Cooling Step: Cutting into the bread too soon can lead to a gummy texture. Allow it to cool fully on a rack.
- Ignoring Oven Temperature: Every oven is different. Use an oven thermometer to ensure yours is accurate, as an incorrect temperature can affect baking time and outcome.
Keep It Fresh: Storage Guide
Homemade Buttermilk Bread can be enjoyed fresh, but if you have leftovers, here’s how to store it:
- Room Temperature: Store in an airtight container or wrapped in plastic wrap for up to 3 days.
- Refrigerator: If you want it to last a bit longer, you can refrigerate it for about a week. Just make sure it’s well wrapped to prevent it from drying out.
- Freezer: For longer storage, slice the bread and freeze the slices in a resealable bag. It will keep well for up to 3 months. Toast from frozen or let it thaw at room temperature.
Your Questions, Answered
Can I use milk instead of buttermilk?
While buttermilk gives the bread a unique flavor and texture, you can substitute it with milk by adding 1 tablespoon of vinegar or lemon juice to 1 cup of milk. Let it sit for 5 minutes before using to create a buttermilk substitute.
Can I make this bread without sugar?
You can reduce the sugar or replace it with honey or maple syrup, but keep in mind that sugar contributes to the bread’s moisture and browning. Adjust liquid ingredients accordingly if using liquid sweeteners.
What can I serve with Homemade Buttermilk Bread?
This versatile bread is perfect for sandwiches, topped with jam, or served alongside soups and salads. It also pairs well with a simple drizzle of olive oil and balsamic vinegar for dipping.
How can I tell when the bread is done baking?
A toothpick inserted in the center should come out clean, and the bread should have a golden-brown color on top. You can also gently tap the bottom of the loaf; it should sound hollow when it’s done.
Hungry for More?
If you enjoyed making this Homemade Buttermilk Bread, there’s a whole world of baking waiting for you! From crusty artisan loaves to fluffy dinner rolls, the possibilities are endless. Stay tuned for more delicious recipes that will fill your kitchen with warmth and joy. Happy baking!
There’s nothing quite like the satisfaction of pulling a warm loaf of Homemade Buttermilk Bread from your oven, the aroma enveloping you in a cozy embrace. So roll up your sleeves, gather your ingredients, and enjoy the delightful journey of homemade baking!
Homemade Buttermilk Bread
Ingredients
Equipment
Method
- Step 1: Preheat your oven to 350°F (175°C).
- Step 2: Grease your loaf pan with a little butter or non-stick spray.
- Step 3: In a large mixing bowl, whisk together the flour, sugar, baking powder, baking soda, and salt.
- Step 4: In a separate bowl, combine the buttermilk, egg, and melted butter. Whisk until fully incorporated.
- Step 5: Make a well in the center of the dry ingredients and pour in the wet mixture. Mix gently until just combined.
- Step 6: Transfer the batter into your prepared loaf pan.
- Step 7: Bake for 50-60 minutes, or until a toothpick inserted in the center comes out clean.
- Step 8: Let the bread cool in the pan for about 10 minutes, then transfer to a cooling rack.
Notes
- Store bread in an airtight container for up to 3 days at room temperature.
- For longer storage, freeze slices in a resealable bag for up to 3 months.
- Try adding spices or herbs for a unique twist!