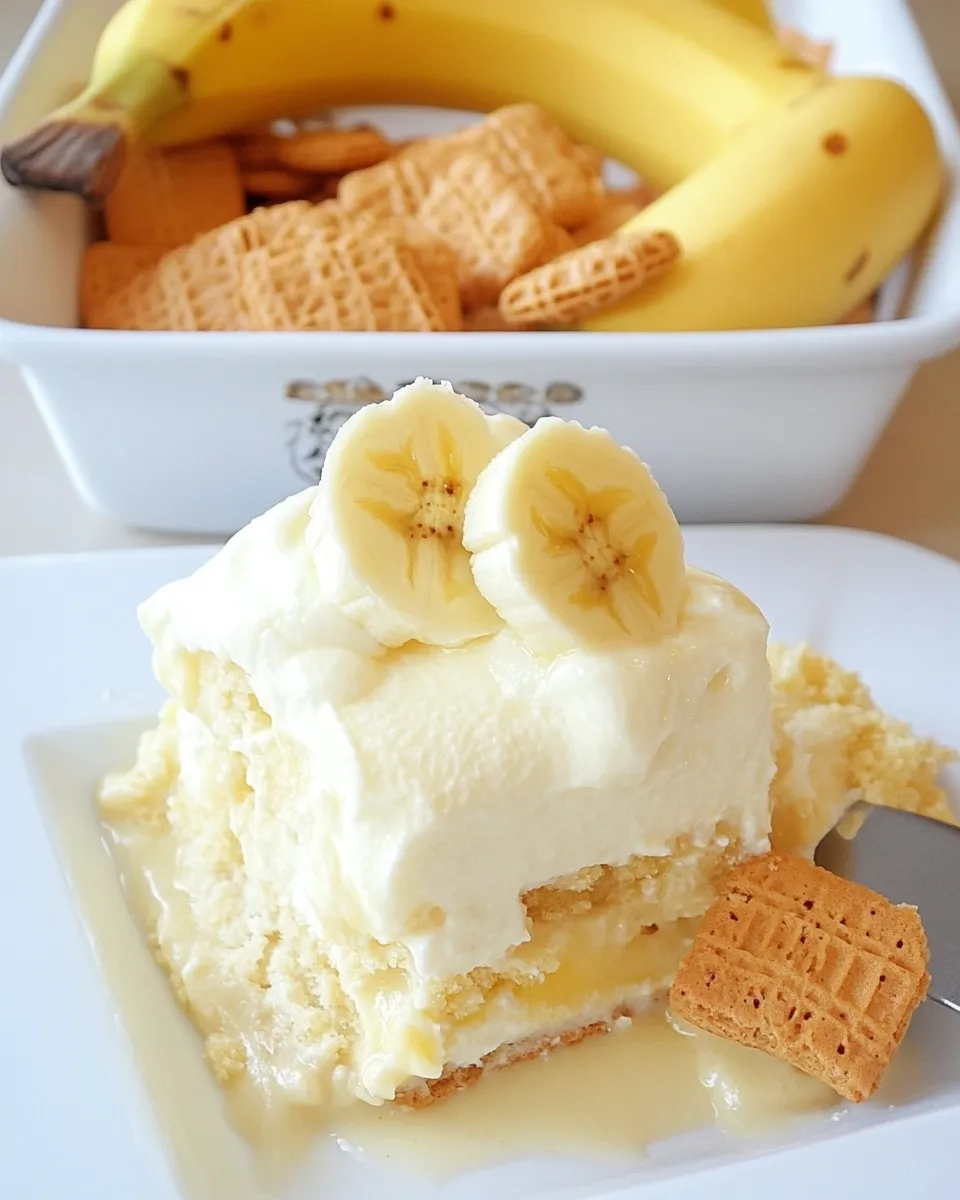
Nilla Wafers Banana Cream Dessert
If you’re on the hunt for a dessert that is not only easy to make but is also guaranteed to delight your friends and family, look no further than this Nilla Wafers Banana Cream Dessert. This sweet, creamy treat layers crunchy Nilla Wafers, luscious banana cream pudding, and fluffy whipped topping, resulting in a dessert that is as beautiful to look at as it is delicious to eat. Perfect for gatherings, potlucks, or simply to satisfy a sweet tooth, this dessert is a classic for good reason.
Why It’s Crowd-Pleasing
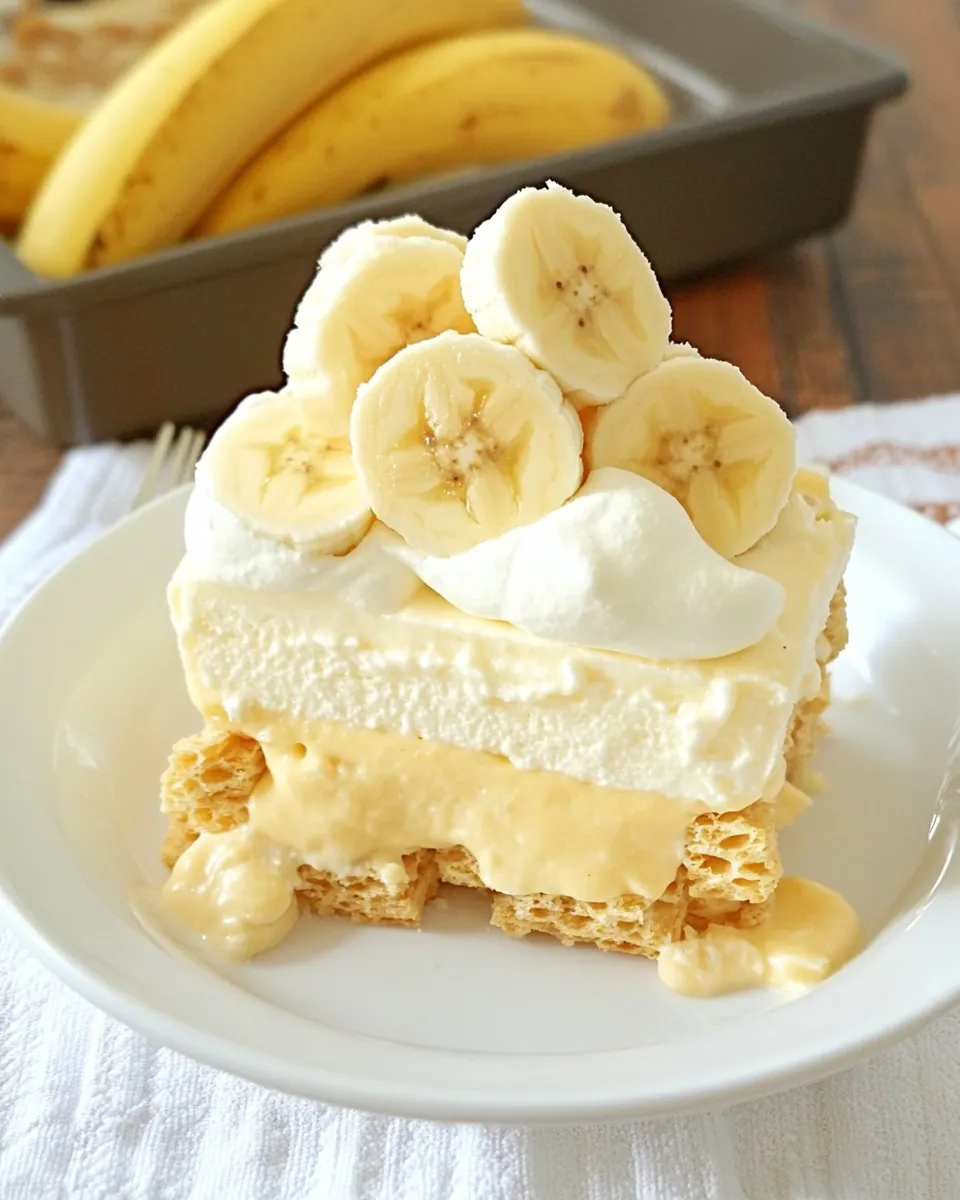
There’s something inherently comforting about banana cream desserts, and this Nilla Wafers Banana Cream Dessert takes that comfort to the next level. The combination of textures—from the creamy pudding to the crunchy wafers—creates a delightful experience with every bite. Plus, its bright, inviting appearance draws people in, making it a beautiful centerpiece for any dessert table. Whether you’re serving it at a family gathering or a casual get-together with friends, you can trust that this dessert will be a hit.
Ingredient Rundown
To create this scrumptious dessert, you’ll need the following ingredients:
- 45 Nilla Wafers – About 2 cups crushed, these iconic cookies provide a sweet crunch and form the base of our dessert.
- 6 Tbs butter – Melted to help bind the crushed Nilla Wafers together, giving the crust a rich flavor.
- 1 box Banana Cream Pudding – A large box of instant banana cream pudding mix creates the creamy filling.
- 8 oz Cool Whip – Thawed, this whipped topping adds a light, airy texture to the dessert.
- 2 Bananas – Sliced, fresh bananas lend a natural sweetness and complement the banana flavor of the pudding.
Must-Have Equipment
Before you dive into making your Nilla Wafers Banana Cream Dessert, gather the following kitchen essentials:
- Mixing Bowl – For combining the crushed Nilla Wafers and melted butter.
- 9×13 Inch Baking Dish – Ideal for layering your dessert and serving it straight from the dish.
- Whisk – To prepare the pudding and ensure a smooth consistency.
- Spatula – For spreading the layers evenly and gently folding ingredients together.
Build Nilla Wafers Banana Cream Dessert Step by Step
Creating this delicious dessert is straightforward and fun. Follow these easy steps:
Step 1: Prepare the Crust
In a mixing bowl, combine the crushed Nilla Wafers and melted butter until the mixture resembles wet sand. Press this mixture firmly into the bottom of a 9×13 inch baking dish to form an even crust.
Step 2: Make the Pudding
In a separate bowl, whisk together the banana cream pudding mix with the milk according to the package instructions. This will usually require about 2 cups of cold milk. Stir until the mixture thickens.
Step 3: Fold in the Cool Whip
Once the pudding has thickened, gently fold in the thawed Cool Whip until fully combined. This will create a light, fluffy filling for your dessert.
Step 4: Layer the Dessert
Spread half of the pudding mixture evenly over the prepared crust. Then, layer half of the sliced bananas on top of the pudding. Repeat this step with the remaining pudding and banana slices.
Step 5: Final Touch
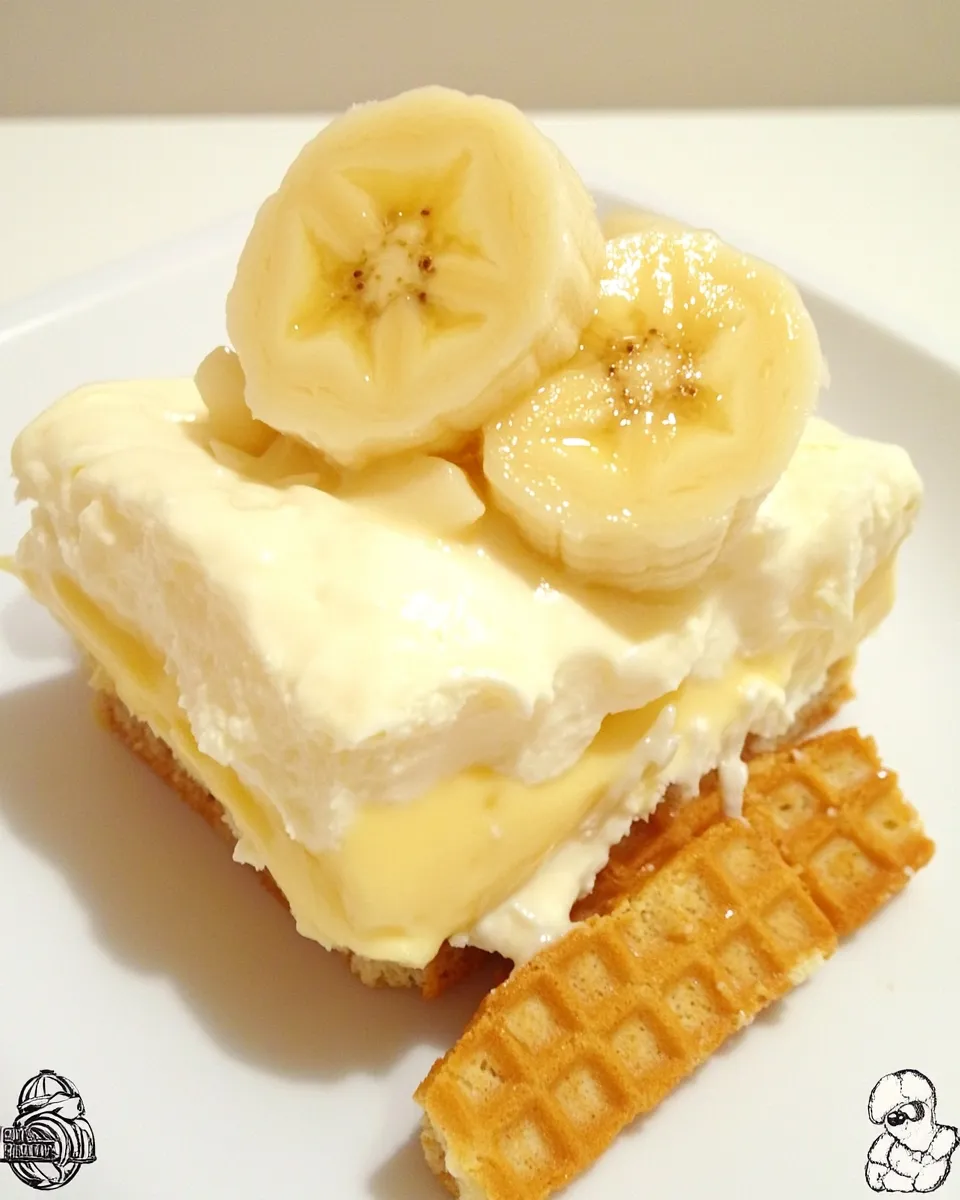
Top the final layer of pudding with the remaining banana slices, and if desired, garnish with additional crushed Nilla Wafers for an extra crunch.
Step 6: Chill
Cover the dish with plastic wrap and refrigerate for at least 4 hours, or overnight if possible. This allows the flavors to meld together beautifully.
Healthier Substitutions
While the classic recipe is delicious, you might want to make a few healthier tweaks:
- Use Whole Grain Nilla Wafers – For a bit more fiber and nutrients.
- Swap Cool Whip for Greek Yogurt – This adds protein and cuts down on sugar while maintaining creaminess.
- Opt for Sugar-Free Pudding – For a lower-calorie version that doesn’t skimp on flavor.
- Use Almond Milk – Instead of regular milk, almond milk can be a lower-calorie alternative.
Little Things that Matter
When making your Nilla Wafers Banana Cream Dessert, here are a few tips to ensure success:
- Make sure to use ripe bananas for the best flavor and sweetness.
- Don’t skip the chilling time; it’s essential for the pudding to set properly.
- For added flavor, consider a sprinkle of cinnamon on top before serving.
- Store any leftovers in the refrigerator, but it’s best enjoyed within a few days for optimal freshness.
Make-Ahead & Storage
This Nilla Wafers Banana Cream Dessert is perfect for making ahead of time. In fact, the flavors improve as it sits! You can prepare it a day in advance and let it chill in the fridge, which makes it an excellent option for parties or family gatherings. To store, cover the dish tightly with plastic wrap or aluminum foil to prevent it from absorbing any odors from the fridge. It can be kept in the refrigerator for up to 3 days. However, for the best texture and taste, enjoy it fresh within the first 2 days.
Handy Q&A
Can I use a different flavor of pudding?
Absolutely! While banana cream is traditional, you can experiment with other flavors such as vanilla, chocolate, or even butterscotch for a unique twist on this dessert.
What if I don’t have Cool Whip?
If you don’t have Cool Whip on hand, you can make your own whipped topping by beating heavy cream with a bit of sugar until soft peaks form. This will be a delicious and fresh alternative!
Can I freeze this dessert?
It’s not recommended to freeze this dessert as the texture can change once thawed. The whipped topping may separate, and the bananas could brown. It’s best served fresh from the fridge.
How do I prevent the bananas from browning?
To keep your banana slices looking fresh, you can toss them in a little lemon juice before layering them in the dessert. This will help prevent browning while adding a subtle citrus flavor.
Bring It Home
As you can see, the Nilla Wafers Banana Cream Dessert is not just a treat; it’s a delightful experience that brings comfort and joy to any occasion. With its creamy layers and crunchy textures, it’s sure to become a favorite among your family and friends. The beauty of this dessert lies in its simplicity and the way it captures the flavors of childhood nostalgia while still being perfect for adults.
So why wait? Gather your ingredients, follow the steps, and treat yourself to a slice of deliciousness that is sure to bring smiles all around. Your taste buds will thank you, and you might just find yourself making this Nilla Wafers Banana Cream Dessert a regular staple in your dessert rotation. Enjoy every creamy, dreamy bite!
Nilla Wafers Banana Cream Dessert
Ingredients
Equipment
Method
- Step 1: Prepare the Crust - In a mixing bowl, combine the crushed Nilla Wafers and melted butter until the mixture resembles wet sand. Press this mixture firmly into the bottom of a 9x13 inch baking dish to form an even crust.
- Step 2: Make the Pudding - In a separate bowl, whisk together the banana cream pudding mix with the milk according to the package instructions. This will usually require about 2 cups of cold milk. Stir until the mixture thickens.
- Step 3: Fold in the Cool Whip - Once the pudding has thickened, gently fold in the thawed Cool Whip until fully combined. This will create a light, fluffy filling for your dessert.
- Step 4: Layer the Dessert - Spread half of the pudding mixture evenly over the prepared crust. Then, layer half of the sliced bananas on top of the pudding. Repeat this step with the remaining pudding and banana slices.
- Step 5: Final Touch - Top the final layer of pudding with the remaining banana slices, and if desired, garnish with additional crushed Nilla Wafers for an extra crunch.
- Step 6: Chill - Cover the dish with plastic wrap and refrigerate for at least 4 hours, or overnight if possible. This allows the flavors to meld together beautifully.
Notes
- Use ripe bananas for the best flavor and sweetness.
- Don't skip the chilling time; it's essential for the pudding to set properly.
- For added flavor, sprinkle some cinnamon on top before serving.