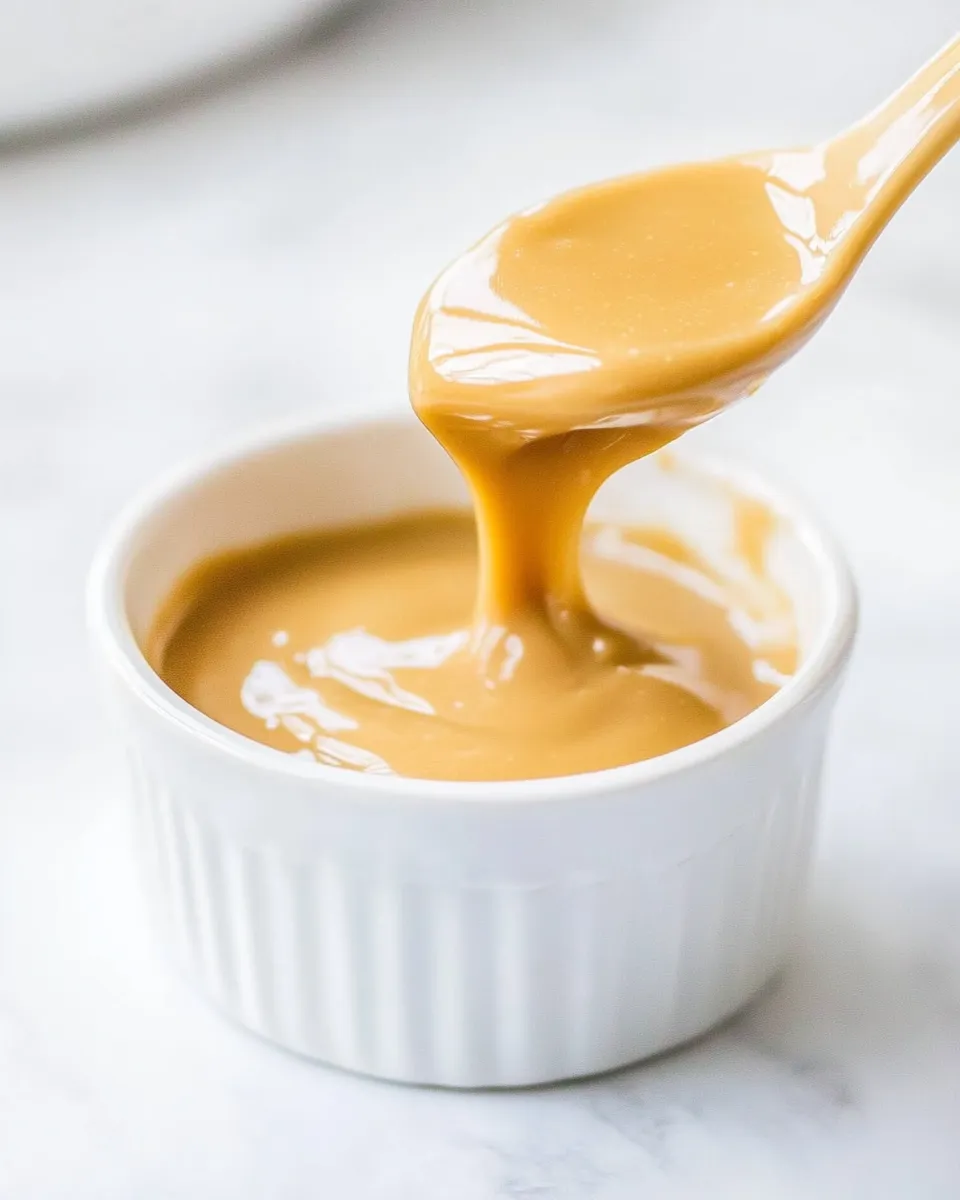
Quicker Dulce De Leche
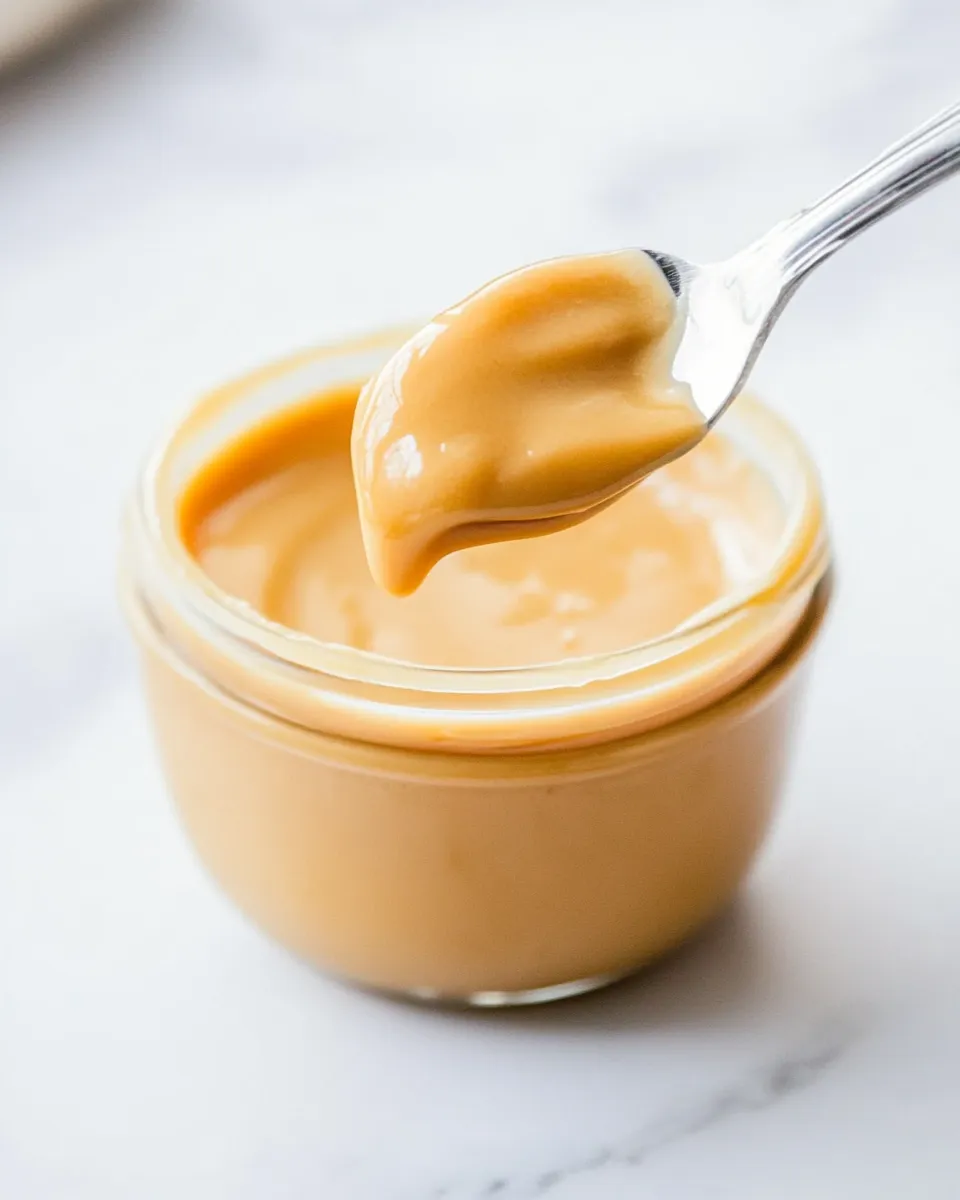
There’s something incredibly satisfying about creating your own dulce de leche at home. The rich, caramel-like flavor and the smooth, velvety texture are irresistible, making it a favorite topping for desserts or even a delightful treat on its own. If you’ve ever thought that making dulce de leche was a tedious task, think again! This Quicker Dulce De Leche recipe simplifies the process, allowing you to enjoy this delicious treat without spending hours in the kitchen. With just a can of sweetened condensed milk and a few simple steps, you can create a luscious sauce that elevates your desserts to a whole new level.
Why It’s Crowd-Pleasing
Dulce de leche is loved by many for its sweet, creamy flavor that pairs beautifully with a variety of dishes. Here are a few reasons why this Quicker Dulce De Leche is sure to impress:
- Versatile Use: Whether drizzled over ice cream, mixed into cakes, or enjoyed straight from the jar, it enhances both sweet and savory dishes.
- Easy to Make: With just one ingredient and a straightforward method, it’s perfect for beginners and busy cooks alike.
- Impressive Flavor: The deep caramel notes create a luxurious dessert experience that feels gourmet.
- Customizable: You can adjust the thickness and sweetness according to your preference.
What to Buy
To make your own Quicker Dulce De Leche, you’ll need the following ingredients:
- 1 (14-ounce can) sweetened condensed milk: This is the star of the show! Make sure to choose a high-quality brand for the best flavor.
- Optional: Foil or parchment paper, if you’re using the oven method, to help prevent any burning and to keep things tidy.
Kitchen Gear Checklist
Before you get started with your Quicker Dulce De Leche, make sure you have the following kitchen essentials:
- Small saucepan: For the stovetop method, a saucepan will help you control the cooking process.
- Oven-safe baking dish: If you choose the oven method, a baking dish will hold your sweetened condensed milk effectively.
- Whisk or spoon: You’ll need this to stir the mixture occasionally for even cooking.
- Measuring cups: For measuring out water if you’re using the oven method.
- Storage jars: Once your dulce de leche is ready, you’ll want to store it in clean jars for easy access.
Stepwise Method: Quicker Dulce De Leche
Let’s dive into the simple steps to create your own Quicker Dulce De Leche.
Step 1: Prepare Your Setup
Start by deciding which method you’d like to use: stovetop or oven. Both methods yield delicious results, but the stovetop is quicker if you’re short on time.
Step 2: Stovetop Method
1. Pour the sweetened condensed milk into a small saucepan.
2. Place the saucepan over medium heat and bring the milk to a gentle simmer. Make sure to stir continuously to prevent scorching.
3. Continue to cook for about 10-15 minutes, stirring often. You’ll notice the color changing to a light caramel.
4. Once it reaches your desired thickness and color, remove it from the heat and let it cool slightly before transferring it to a jar.
Step 3: Oven Method
1. Preheat your oven to condensed milk in an oven-safe baking dish. If using foil or parchment paper, cover the dish tightly.
2. Fill a larger baking dish with water, creating a water bath for the condensed milk.
3. Place the smaller dish into the larger one and bake for about 1 to 1.5 hours, stirring occasionally, until it’s a beautiful caramel color.
4. Remove it from the oven, let it cool, and then store it in a jar.
Warm & Cool Weather Spins
No matter the season, your Quicker Dulce De Leche can be easily adapted:
- Warm Treats: In cooler months, serve it warm over pancakes or waffles for a comforting breakfast.
- Cool Treats: In warmer weather, drizzle it over ice cream or yogurt for a refreshing dessert.
- Seasonal Flavors: Add a pinch of cinnamon or a splash of vanilla extract for added flavor depth.
Pitfalls & How to Prevent Them
While making Quicker Dulce De Leche is generally straightforward, here are some common pitfalls to watch out for:
- Burning: Always keep an eye on the mixture, especially if using the stovetop method. Stirring frequently will help prevent burning.
- Too Thick or Thin: If it becomes too thick, you can whisk in a little milk to reach your desired consistency. If it’s too thin, continue to cook until it thickens up.
- Cooling Too Quickly: Allow the dulce de leche to cool in the jar; it will thicken further as it cools.
Store, Freeze & Reheat
Your Quicker Dulce De Leche can be stored, frozen, and reheated with ease.
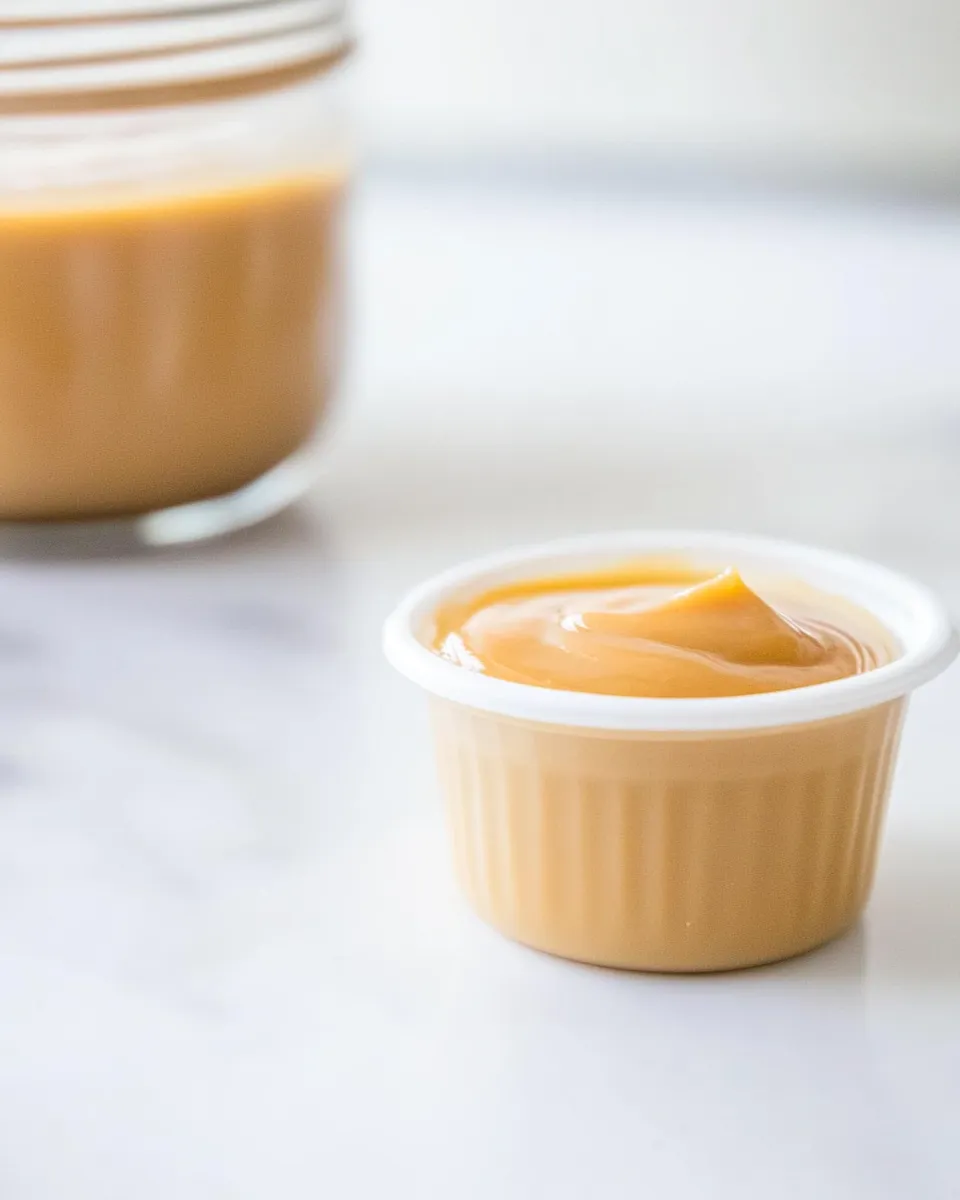
To store: Keep your dulce de leche in an airtight jar in the refrigerator for up to two weeks. The flavor will deepen as it sits!
To freeze: Place it in an airtight container or freezer-safe jar, leaving some space for expansion. It can be frozen for up to three months.
To reheat: Warm it slowly in the microwave or on the stovetop, adding a splash of milk if needed to regain a smooth texture.
Quick Q&A
Can I use fat-free sweetened condensed milk for this recipe?
While you can use fat-free sweetened condensed milk, the flavor and creaminess may not be as rich as with regular sweetened condensed milk.
How do I know when my dulce de leche is done?
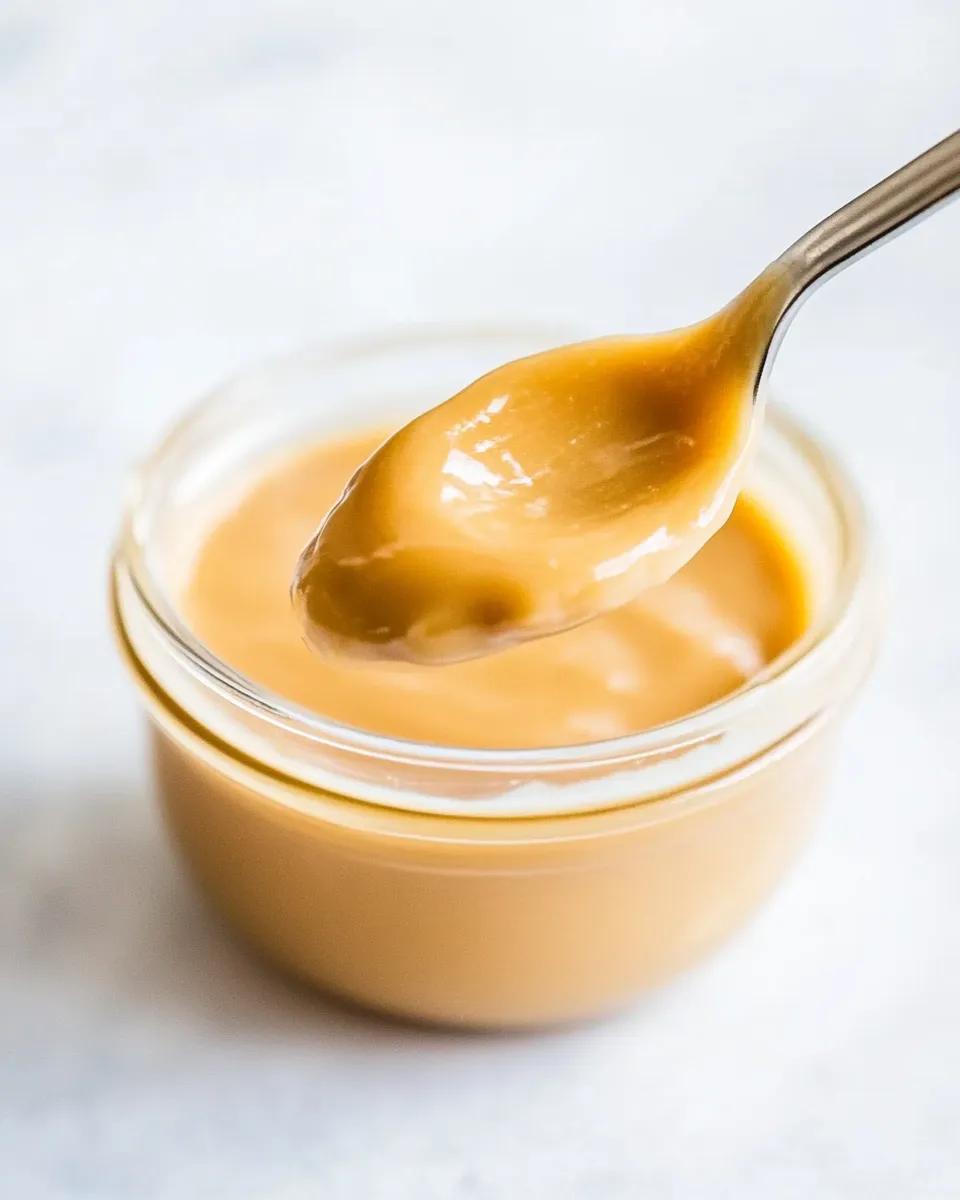
It’s done when it has a deep caramel color and a thick, pourable consistency. Remember, it will thicken more as it cools.
Can I flavor my dulce de leche?
Absolutely! Consider adding vanilla extract, sea salt, or even espresso powder for a unique twist.
What’s the best way to use dulce de leche?
It’s incredibly versatile! Use it as a topping for desserts, in baked goods, or even in savory dishes like tacos for a sweet contrast.
Let’s Eat
With your Quicker Dulce De Leche ready, it’s time to enjoy this delectable treat! Whether you’re drizzling it on your favorite dessert, stirring it into your morning coffee, or simply enjoying it by the spoonful, you’ll find that this homemade version far surpasses anything you can buy at the store. So gather your friends and family, and share the joy of this sweet delight. Happy indulging!
Quicker Dulce De Leche
Ingredients
Equipment
Method
- Step 1: Prepare Your Setup: Decide between stovetop or oven method.
- Step 2: Stovetop Method: Pour sweetened condensed milk into a small saucepan. Place over medium heat and bring to a gentle simmer, stirring continuously.
- Continue to cook for about 10-15 minutes, stirring often until color changes to light caramel. Remove from heat and let cool slightly before transferring to a jar.
- Step 3: Oven Method: Preheat oven. Pour condensed milk into an oven-safe baking dish. Optionally cover with foil or parchment.
- Fill a larger baking dish with water, placing the smaller dish inside to create a water bath. Bake for about 1 to 1.5 hours, stirring occasionally, until caramel color is achieved.
- Remove from oven, let cool, and store in a jar.
Notes
- Store in an airtight jar in the refrigerator for up to two weeks; flavor deepens over time.
- Freeze in an airtight container for up to three months; leave space for expansion.
- Reheat slowly in the microwave or stovetop, adding milk if needed for smooth texture.